DjangoでデータベースSQLiteを使う際の手順
概要
Djangoのアプリを作る際に使用するデータベース(DB)の設定方法について記します。
ここではSQLiteを使用します。
SQLiteは大規模なアプリに向かないため、複数アクセスを同時に処理する必要のあるアプリの場合には最初から別のDBを検討して下さい。
対象OSはWindowsです。
VisualStudioCode(以下 VSCode)を使用します。
以下の手順で作成します。
- モデルクラスの定義
- マイグレーションファイルの作成
- マイグレーションの実行
- Django管理サイトの表示
- 管理アカウントの作成
- 管理ツールへのモデル登録
- モデルにエントリを追加
- カウント値の追加
事前に以下の設定を行っているものとします。
モデルクラスの定義
ここではカウンタを作ります。
ボタンを押すとカウントアップするので、カウント数を覚えておく必要があります。カウント数をDBで管理します。
models.pyにクラスを作成してメンバ変数にカウンタ数を定義します。
from django.db import models

# Create your models here.
class Counter(models.Model):
    number = models.IntegerField()
マイグレーションファイルの作成
マイグレーションファイルを作成します。コマンドは以下です。app01の部分はコマンド名を入力します。
python .\manage.py makemigrations app01
(venv) PS C:\ws\sample> python .\manage.py makemigrations app01
Migrations for 'app01':
  app01\migrations\0001_initial.py
    - Create model Counter
マイグレーションの実行
マイクレーションを実行します。コマンドは以下です。
python .\manage.py migrate
(venv) PS C:\ws\sample> python .\manage.py migrate
Operations to perform:
  Apply all migrations: admin, app01, auth, contenttypes, sessions
Running migrations:
  Applying contenttypes.0001_initial... OK
  Applying auth.0001_initial... OK
  Applying admin.0001_initial... OK
  Applying admin.0002_logentry_remove_auto_add... OK
  Applying admin.0003_logentry_add_action_flag_choices... OK
  Applying app01.0001_initial... OK
  Applying contenttypes.0002_remove_content_type_name... OK
  Applying auth.0002_alter_permission_name_max_length... OK
  Applying auth.0003_alter_user_email_max_length... OK
  Applying auth.0004_alter_user_username_opts... OK
  Applying auth.0005_alter_user_last_login_null... OK
  Applying auth.0006_require_contenttypes_0002... OK
  Applying auth.0007_alter_validators_add_error_messages... OK
  Applying auth.0008_alter_user_username_max_length... OK
  Applying auth.0009_alter_user_last_name_max_length... OK
  Applying auth.0010_alter_group_name_max_length... OK
  Applying auth.0011_update_proxy_permissions... OK
  Applying auth.0012_alter_user_first_name_max_length... OK
  Applying sessions.0001_initial... OK
Django管理サイトの表示
Djangoにはデータを管理するためのDjango管理サイトが用意されています。
project/urls.py を見ると以下のように最初から"admin/"が定義されています。
urlpatterns = [
    path('admin/', admin.site.urls),
Djangoサーバを起動してブラウザで以下のURLを表示するとDjango管理サイトが表示されます。
http://127.0.0.1:8000/admin
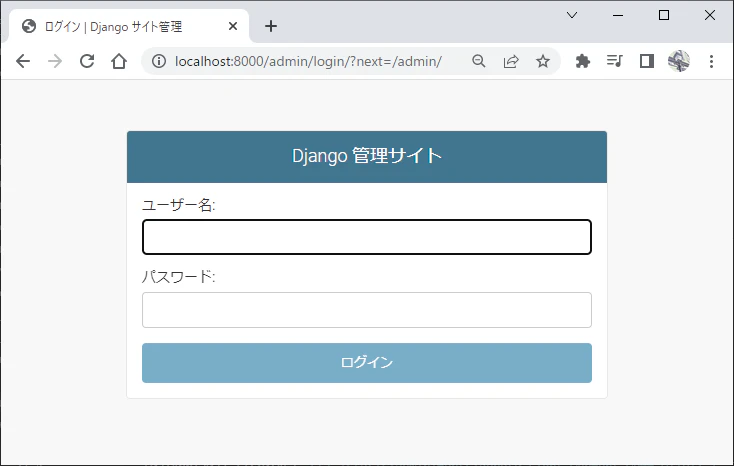
管理アカウントの作成
Django管理サイトを使うためには管理アカウントが必要です。このサイトにログインするためのユーザー名とパスワードを作成します。
これはコマンドで行うため、VScodeのターミナルで以下を入力します。
python .\manage.py createsuperuser
パスワードは app01admin としました。これはサンプルなので単純なものにしていますが本番はもっと複雑なものを使用します。
余談ですが、adminというURLも攻撃を受けやすいので運用時にはほかの名前にしたり無効にしたりします。
(venv) PS C:\ws\sample> python .\manage.py createsuperuser
ユーザー名 (leave blank to use 'main'): admin
メールアドレス:
Password:
Password (again):
Superuser created successfully.
管理ツールへのモデル登録
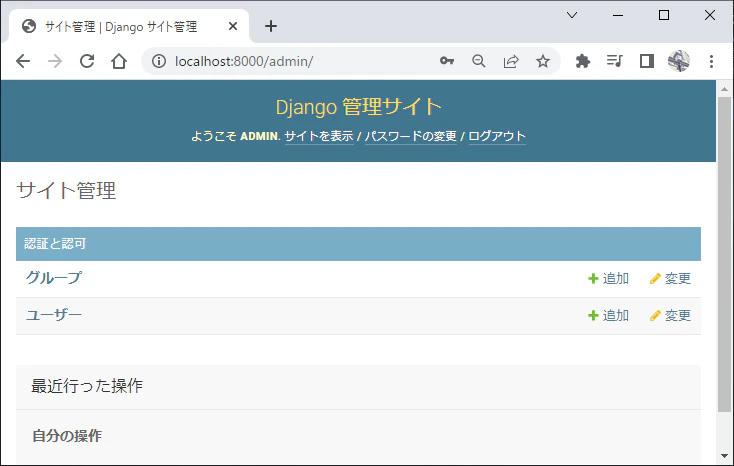
管理するモデルを登録します。これをしないとDjango管理サイトに作成したモデルが表示されません。
Django管理サイトにログインすると以下のh画面が表示されます。
登録前は 認証と認可 / グループ、ユーザー が表示されています。
app01/admin.py に以下のように記述を追加します。
from django.contrib import admin
+ from .models import Counter

# Register your models here.
+ admin.site.register(Counter)
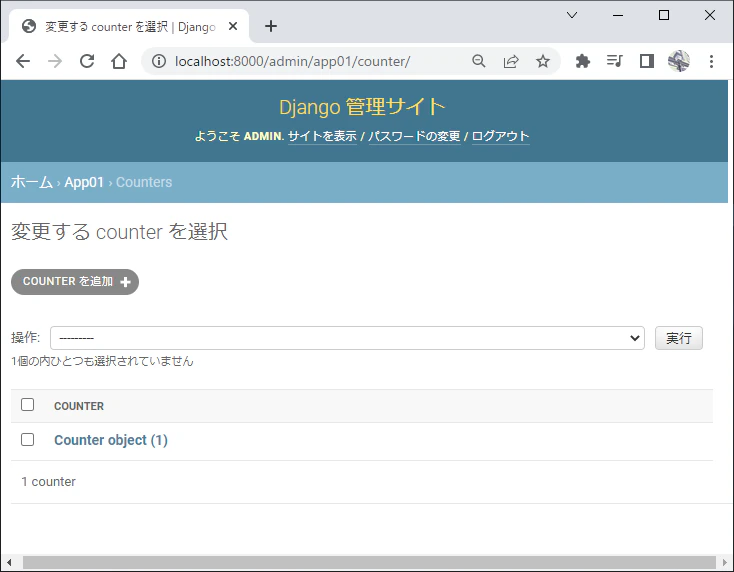
登録後は APP01 / Counters の表示が増えます。

モデルにレコードを追加
Django管理サイトで Counters をクリックしてレコードを追加します。
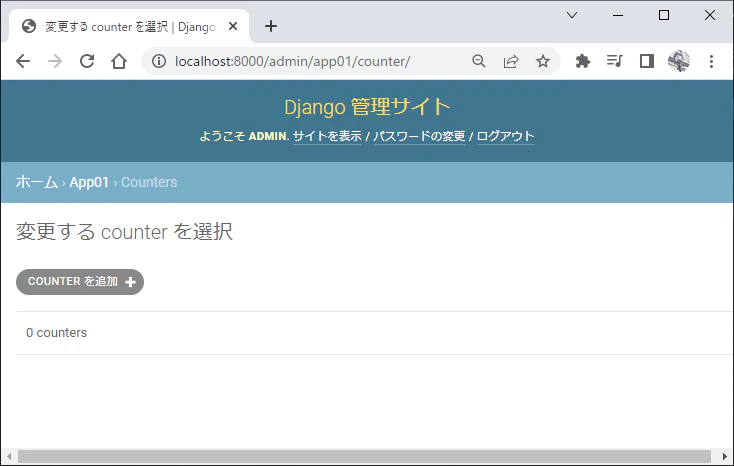
COUNTERを追加 をクリックします。
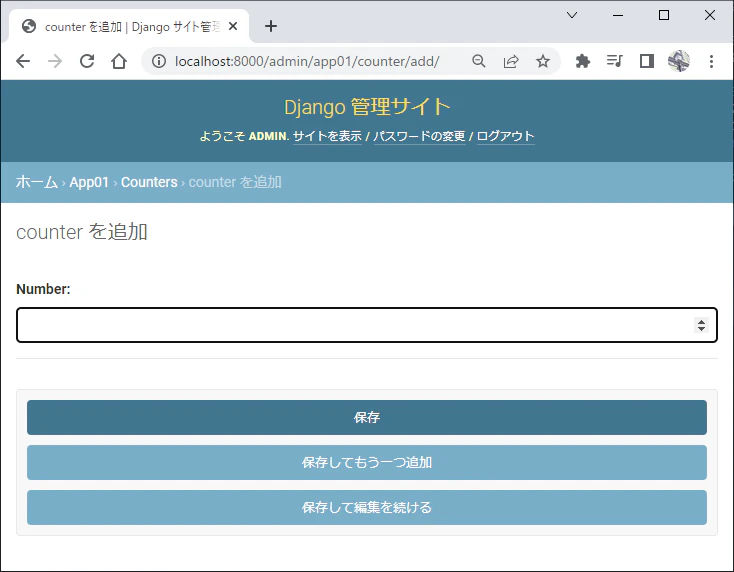
Number に 0 を入力して 保存 をクリックします。
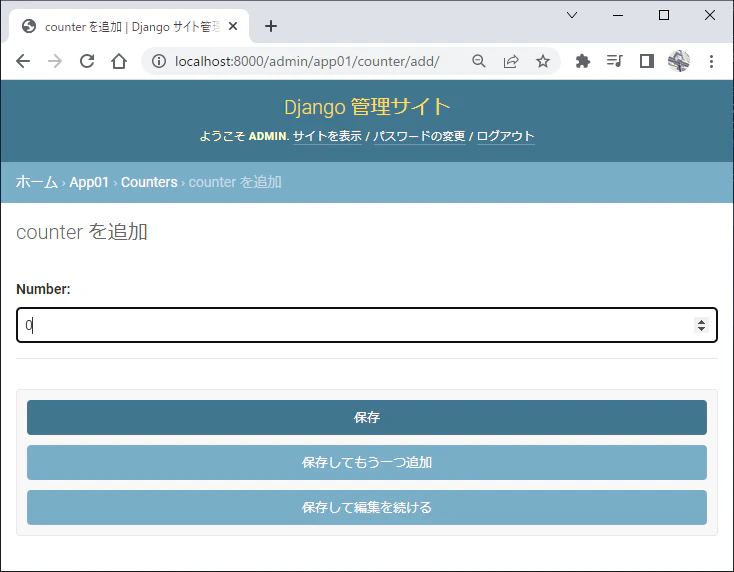
レコードが追加されました。
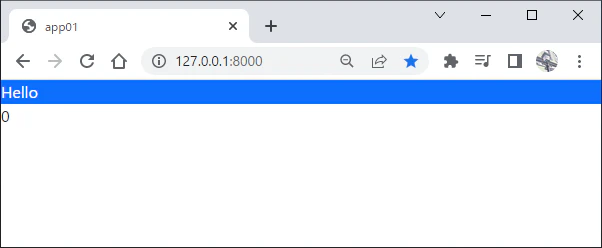
カウント値の追加
テンプレートにカウント値を表示するようにします。
{% extends 'app01/base.html' %}
{% block content %}
  <div class="bg-primary text-white">
    {{text}}
  </div>
+  <div>
+    {{number}}
+  </div>
{% endblock content %}
views.pyでテンプレートにカウント値を渡すように記述します。
from django.shortcuts import render
+ from .models import Counter

# Create your views here.

def index(request):
+    record = Counter.objects.get()
    message = {
        'title':'app01',
        'text':'Hello',
+        'number':f'{record.number}',
    }
    return render(request, 'app01/index.html', message)
Djyangoサーバを実行してapp01を表示するとカウント値が表示されるようになります。
ボタン追加
カウントアップボタンとクリアボタンを追加して完成させます。
{% extends 'app01/base.html' %}
{% block content %}
  <div class="bg-primary text-white">
    {{text}}
  </div>
  <div>
    {{number}}
+
+    <form action="{{countup_url}}" method="get">
+      <div class="button1">
+          <button name="BTN1" type="submit" class="btn btn-primary">カウントアップ</button>
+      </div>
+    </form>
+    <form action="{{clear_url}}" method="get">
+      <div class="button2">
+          <button name="BTN2" type="submit" class="btn btn-secondary">クリア</button>
+      </div>
+    </form>
  </div>

  {% endblock content %}
from django.shortcuts import render
from .models import Counter

+MY_URL = 'http://127.0.0.1:8000/'

# Create your views here.
def index(request):
    record = Counter.objects.get()
    message = {
        'title':'app01',
        'text':'Hello',
        'number':f'{record.number}',
+        'countup_url':MY_URL + 'countup',
+        'clear_url':MY_URL + 'clear',
    }
    return render(request, 'app01/index.html', message)

+def countup(request):
+    record = Counter.objects.get()
+    record.number += 1
+    record.save()
+    return index(request)
+
+def clear(request):
+    record = Counter.objects.get()
+    record.number = 0
+    record.save()
+    return index(request)
urlpatterns = [
    path('admin/', admin.site.urls),
    path('', include('app01.urls')),
+    path('/countup/', include('app01.urls')),
+    path('/clear/', include('app01.urls')),
]
from django.urls import path
from . import views

urlpatterns = [
    path('', views.index),
+    path('countup', views.countup),
+    path('clear', views.clear),
]
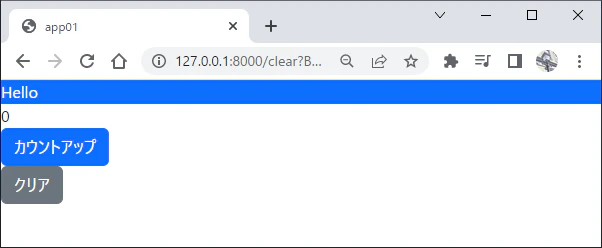
カウントアップを押すとインクリメントし、クリアを押すと0になります。