ストレージのお値段が高いのでAWSに乗り換えられないか検討する
私は、いま、ニコラン というサービスと、nicoappli というサービスを2つやっている。nicoappliの方はそんなに真面目にはやってないけど。
ニコラン はニコニコ動画の独自ランキングサイト。nicoappli はitunesランキングを、週単位で、スクレイプしてまとめたものだ。
ニコラン はさくらVPSのSSD 4Gプラン。nicoappli はさくらVPSの4Gプランを使っている。ニコラン は速度が欲しかったのでSSDを使い、nicoappli はデータをスクレイプしたかったので、容量の大きなHHD(400GB)が付いているプランにしている。
合計で月7000円程度かかっており、年間8万程度なので若干高く感じている。もう少し安く出来ないかと考えていたが、最近AWSが安くなったので、試算してみた。AWS m1.large のspot instanceが0.0201ドルなので一ヶ月で約14ドルになる。だいぶお安くなるので、データストレージだけ乗り換えられないか検証してみた。幸いなことにm1.largeの容量は、420GBx2=840GBなので、容量不足に悩まされることはなさそうだ。SSDのHDDに比べてAWSの普通のHDDは遅いが、m1.largeはメモリが8GB付いているので、上手くメモリーに載せることで、高速化させる腹だ。
ちなみに、ニコラン のストレージはSSD上のmysqlを nicoappli のストレージは、mongodbを使っているので、それの移行ができればよいのだ。
AWS側の準備 (LVMを使ってhddの容量増加)
AWSのm1.largeをubuntu14.04で立ち上げて、LVMを使って容量の増加を行う。
これを参考
420x2の利用
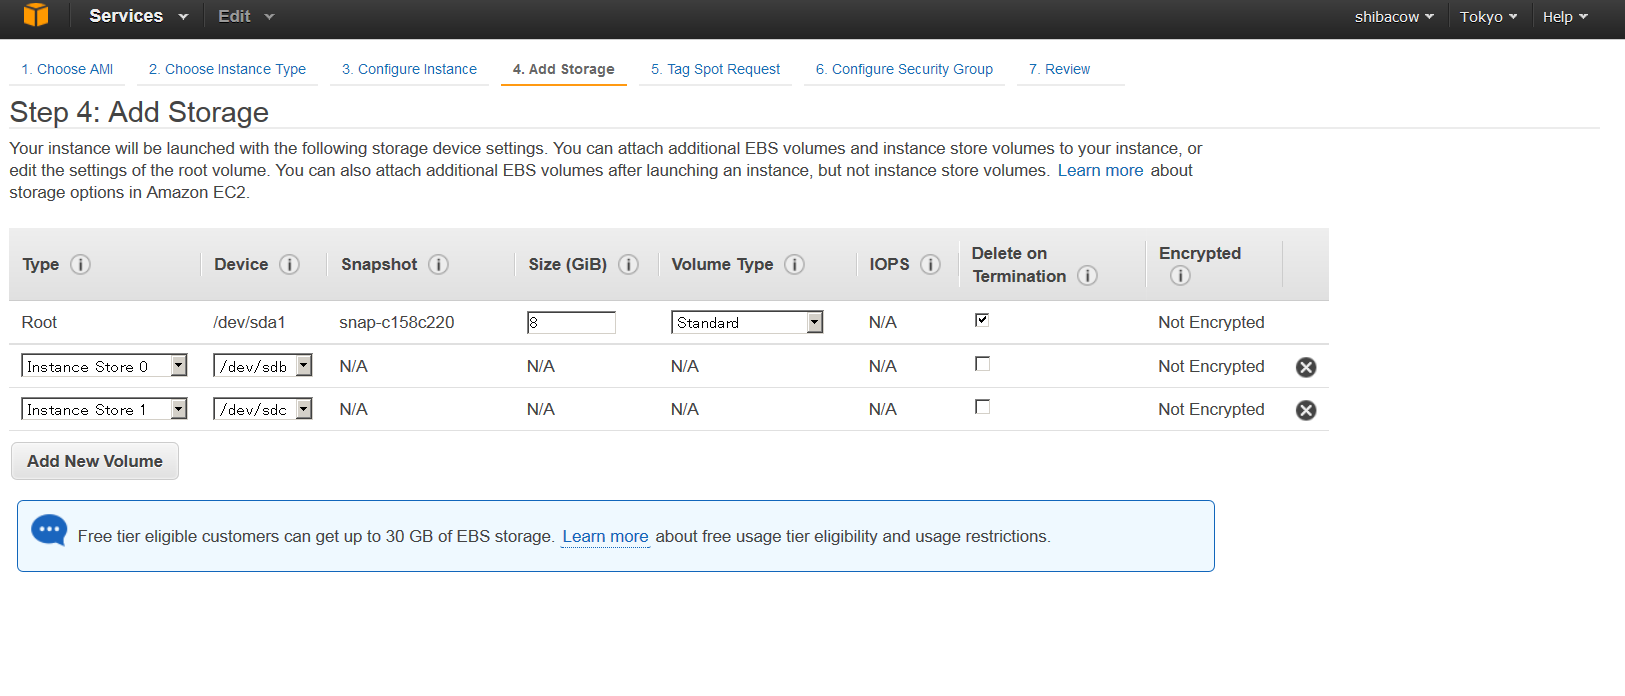
予めEC2の起動時に、ストレージを2つ選択して立ち上げなければならない。
忘れるとあとで拡張できない。そのため注意が必要だ。
LVMを使って容量増加
ubuntu@ip-10-156-93-112:~$ sudo aptitude install -y lvm2
ubuntu@ip-10-156-93-112:~$ sudo modprobe dm-mod
ubuntu@ip-10-156-93-112:~$ sudo fdisk -l #<- fdiskで容量の確認

          Disk /dev/xvda1: 8589 MB, 8589934592 bytes
          255 heads, 63 sectors/track, 1044 cylinders, total 16777216 sectors
          Units = sectors of 1 * 512 = 512 bytes
          Sector size (logical/physical): 512 bytes / 512 bytes
          I/O size (minimum/optimal): 512 bytes / 512 bytes
          Disk identifier: 0x00000000

          Disk /dev/xvda1 doesn\'t contain a valid partition table

          Disk /dev/xvdb: 450.9 GB, 450934865920 bytes
          255 heads, 63 sectors/track, 54823 cylinders, total 880732160 sectors
          Units = sectors of 1 * 512 = 512 bytes
          Sector size (logical/physical): 512 bytes / 512 bytes
          I/O size (minimum/optimal): 512 bytes / 512 bytes
          Disk identifier: 0x00000000

          Disk /dev/xvdb doesn\'t contain a valid partition table

          Disk /dev/xvdc: 450.9 GB, 450934865920 bytes
          255 heads, 63 sectors/track, 54823 cylinders, total 880732160 sectors
          Units = sectors of 1 * 512 = 512 bytes
          Sector size (logical/physical): 512 bytes / 512 bytes
          I/O size (minimum/optimal): 512 bytes / 512 bytes
          Disk identifier: 0x00000000

          Disk /dev/xvdc doesn\'t contain a valid partition table

ubuntu@ip-10-156-93-112:~$ sudo umount /mnt #<-容量を増やす前に、umoutしないと怒られます。
ubuntu@ip-10-156-93-112:~$ sudo pvcreate /dev/xvdb
            Physical volume "/dev/xvdb" successfully created
ubuntu@ip-10-156-93-112:~$ sudo pvcreate /dev/xvdc
            Physical volume "/dev/xvdc" successfully created
ubuntu@ip-10-156-93-112:~$ sudo pvscan #<- 420GBづつあります。
            PV /dev/xvdb                      lvm2 [419.97 GiB]
            PV /dev/xvdc                      lvm2 [419.97 GiB]
            Total: 2 [839.93 GiB] / in use: 0 [0   ] / in no VG: 2 [839.93 GiB]
ubuntu@ip-10-156-93-112:~$ sudo vgcreate vsakura /dev/xvdb /dev/xvdc
            Volume group "vsakura" successfully created
ubuntu@ip-10-156-93-112:~$ sudo vgs
            VG      #PV #LV #SN Attr   VSize   VFree
            vsakura   2   0   0 wz--n- 839.93g 839.93g
ubuntu@ip-10-156-93-112:~$ sudo lvcreate -l 100%FREE -n sdata vsakura #<- 100%で割り当て
            Logical volume "sdata" created
ubuntu@ip-10-156-93-112:~$ sudo lvscan
            ACTIVE            '/dev/vsakura/sdata' [839.93 GiB] inherit
ubuntu@ip-10-156-93-112:~$ sudo mkfs.ext4 -j /dev/vsakura/sdata #<- ファイルシステムを作る。若干時間がかかります
          mke2fs 1.42.9 (4-Feb-2014)
         ...
          Writing superblocks and filesystem accounting information:
          done
ubuntu@ip-10-156-93-112:~$ sudo mount /dev/vsakura/sdata /mnt #<-マウントします
ubuntu@ip-10-156-93-112:~$ df -h
          Filesystem                 Size  Used Avail Use% Mounted on
          /dev/mapper/vsakura-sdata  827G   73M  785G   1% /mnt #<- 増えた
mysql-server,mongodbのデータフォルダーを、大容量のDiskへ変更。
上で、データディスクの容量を増やしたが、mysql,mongodbともデータフォルダは/var/lib以下にある。そのため先ほど追加した/mntの容量が増えても、それを利用できない。mysql,mongoとも、/mnt以下を利用するように修正が必要だ。
mysql-server,mongodbのインストール
まず、必要なパッケージを入れる
ubuntu@ip-10-156-93-112:/etc$sudo aptitude install -y emacs
ubuntu@ip-10-156-93-112:/etc$sudo aptitude install -y tmux

ubuntu@ip-10-156-93-112:/etc$ sudo aptitude install -y mysql-server-5.6
ubuntu@ip-10-156-93-112:/etc/mysql$ sudo service mysql stop #<-修正するので止める
ubuntu@ip-10-156-93-112:/etc/mysql$ sudo aptitude install -y  mongodb
ubuntu@ip-10-156-93-112:/etc/mysql$ sudo service  mongodb stop #<-修正するので止める
途中mongoの接続テストをした際に、
ubuntu@ip-10-156-93-112:/etc/mysql$ mongo
MongoDB shell version: 2.4.9
connecting to: test
Sat Jun  7 08:10:46.416 Error: couldn\'t connect to server 127.0.0.1:27017 at src/mongo/shell/mongo.js:145
exception: connect failed
このようなエラーが出るときは、
http://stackoverflow.com/questions/22128884/mongo-is-not-connecting-but-installed-and-show-version
を参考に、
sudo rm /var/lib/mongodb/mongod.lock
を行えば良い。合わせてDBのリペアも行った。
DBの格納先の変更
mongodb,mysqlのデータ格納先を変更
ubuntu@ip-10-156-93-112:/mnt/lib$ cd /mnt/lib
ubuntu@ip-10-156-93-112:/mnt/lib$ sudo mv /var/lib/mongodb mongodb
ubuntu@ip-10-156-93-112:/mnt/lib$ sudo mv /var/lib/mysql mysql
シンボリックリンクを作成
ubuntu@ip-10-156-93-112:/var/lib$ sudo ln -s /mnt/lib/mongodb mongodb
ubuntu@ip-10-156-93-112:/var/lib$ sudo ln -s /mnt/lib/mysql mysql
mongodbのデータパスの修正
/etc/mongodb.confを修正する。
# Where to store the data.
dbpath=/var/lib/mongodb
↓
# Where to store the data.
dbpath=/mnt/lib/mongodb
mysqlのpathを変更
/etc/mysql/my.cnfを修正する
datadir         = /var/lib/mysql
↓
datadir         = /mnt/lib/mysql
mysqlのapparrmorに先ほどのデータフォルダーを追加する。
ubuntuのmysqlはapparrmorという仕組みで、アクセスできるpathが決まっている。下のリンクを参照して、新しく追加したデータdirをapparrmorに追加する。
apparrmorでmysqlの追加する。
/etc/apparmor.d/local/usr.sbin.mysqld
を編集
/mnt/lib/mysql/ r,
/mnt/lib/mysql/** rwk,
を追加
その後、mysqlサーバと、mongodbサーバを再起動。それぞれのログにエラーがなければOK.
mysqlの速度強化
上の例で、mysql,mongodbともに容量は増えた。もう一点、mysqlに関しては、mysqlをチューニングして、速度の工場を目指す。
my.cnfは次のようにした。
[mysqld]
...中略

# * InnoDB
#
# InnoDB is enabled by default with a 10MB datafile in /var/lib/mysql
/.
# Read the manual for more InnoDB related options. There are many!

# You can write your other MySQL server options here
# ...
# innodb_data_home_dir =
#
# Data files must be able to hold your data and indexes
# innodb_data_file_path = /db/ibdata1:2000M;/dr2/db/ibdata2:2000M:aut
oextend
#
# Set buffer pool size to 50-80% of your computer's memory,
# but make sure on Linux x86 total memory usage is < 2GB
innodb_buffer_pool_size = 4G #<- m1.largeは7.5GBなどで、4GB程度取る。

# innodb_log_group_home_dir = /dr3/iblogs
#
innodb_log_files_in_group = 2
#
# Set the log file size to about 25% of the buffer pool size
innodb_log_file_size= 1G
innodb_log_buffer_size=8M
#
innodb_flush_log_at_trx_commit=1
# innodb_lock_wait_timeout=50
#
# Uncomment the next lines if you want to use them
# innodb_thread_concurrency=5
innodb_file_per_table=1 #< テーブルごとにidbを作る。
その後、mysqlを再起動する。
その他データ移行作業
その後データの移行作業を行った。
mysqlはレプリケーションを使用した。レプリケーションの詳細は、http://wadslab.net/wiki/index.php?MySQL%20%A5%EC%A5%D7%A5%EA%A5%B1%A1%BC%A5%B7%A5%E7%A5%F3%A4%CE%A5%BB%A5%C3%A5%C8%A5%A2%A5%C3%A5%D7%BC%EA%BD%E7 を参考にした。
mongodbのレプリケーションに関しては、http://www.onaxer.com/2013/02/05/setup-mongodb-masterslave-replication/ を参考にした。mongodb.confのmaster/slaveをそれぞれtrueにして、sourceをslaveに指定すれば良いので楽だった。注意点は、slaveからmasterへきちんとmongoでアクセスできるか最初に確認することだろう。
MySQLの速度を比較してみる。
さくらのSSDから、m1.largeへ移行する際に気になったのが、SQLの実行速度だ。それを比較してみた。
比較したテーブルは、デイリーのタグのポイントが入ったテーブル。テーブルサイズは400万レコード
使用したSQLはこちら
select tag,avg(point) as avg,count(*) as cnt from daily_tag_points where date between "2013-05-01" and "2014-06-01" group by tag having cnt > 20 order by cnt desc,avg desc limit 100;
| タイプ | m1.large | サクラSSD4G |
|---|---|---|
| 表示結果 | (1 min 16.43 sec) | (33.07 sec) |
| 秒数変換 | 76.43 sec | 33.07 sec |
大体m1.largeが2倍強遅い。SSDはさすがである。がまあ、耐えられる速度かなという気もする。