Heapsterでメトリックスを取得し、そのメトリックスをInfluxDBへ保存し、Grafanaでモニタリングします。
このように書くと大変に思えますが、Kubernetesだったらポンとインストールすれば出来上がります。
Kubernetesクラスタにインストールする
注意: このインストールは本番環境ではなく開発環境でお試し下さい。
1, まず適当なディレクトリにheapsterをgit clone
$ git clone https://github.com/kubernetes/heapster.git
2, GrafanaのService TypeをNodePortにする
$ cd headpster/
# grafana.yamlを編集し、type: NodePortにする
$ vim deploy/kube-config/influxdb/grafana.yaml

# 以下のようにする
$ git diff
diff --git a/deploy/kube-config/influxdb/grafana.yaml b/deploy/kube-config/influxdb/grafana.yaml
index 0bd35728..266f47ab 100644
--- a/deploy/kube-config/influxdb/grafana.yaml
+++ b/deploy/kube-config/influxdb/grafana.yaml
@@ -64,7 +64,7 @@ spec:
   # or through a public IP.
   # type: LoadBalancer
   # You could also use NodePort to expose the service at a randomly-generated port
-  # type: NodePort
+  type: NodePort
   ports:
   - port: 80
     targetPort: 3000
3, Heapster, InfluxDB, Grafanaのリソースを作成
$ kubectl apply -f deploy/kube-config/influxdb/
deployment "monitoring-grafana" created
service "monitoring-grafana" created
serviceaccount "heapster" created
deployment "heapster" created
service "heapster" created
deployment "monitoring-influxdb" created
service "monitoring-influxdb" created

$ kubectl apply -f deploy/kube-config/rbac/heapster-rbac.yaml
clusterrolebinding "heapster" created
kubectl get all -n kube-systemをうって Heapster, InfluxDB, Grafanaのリソースが作成されていることを確認する。
4, Grafanaへアクセス
$ kubectl describe svc monitoring-grafana -n kube-system | grep NodePort:で表示されるportとnodeのIPを使ってアクセスする
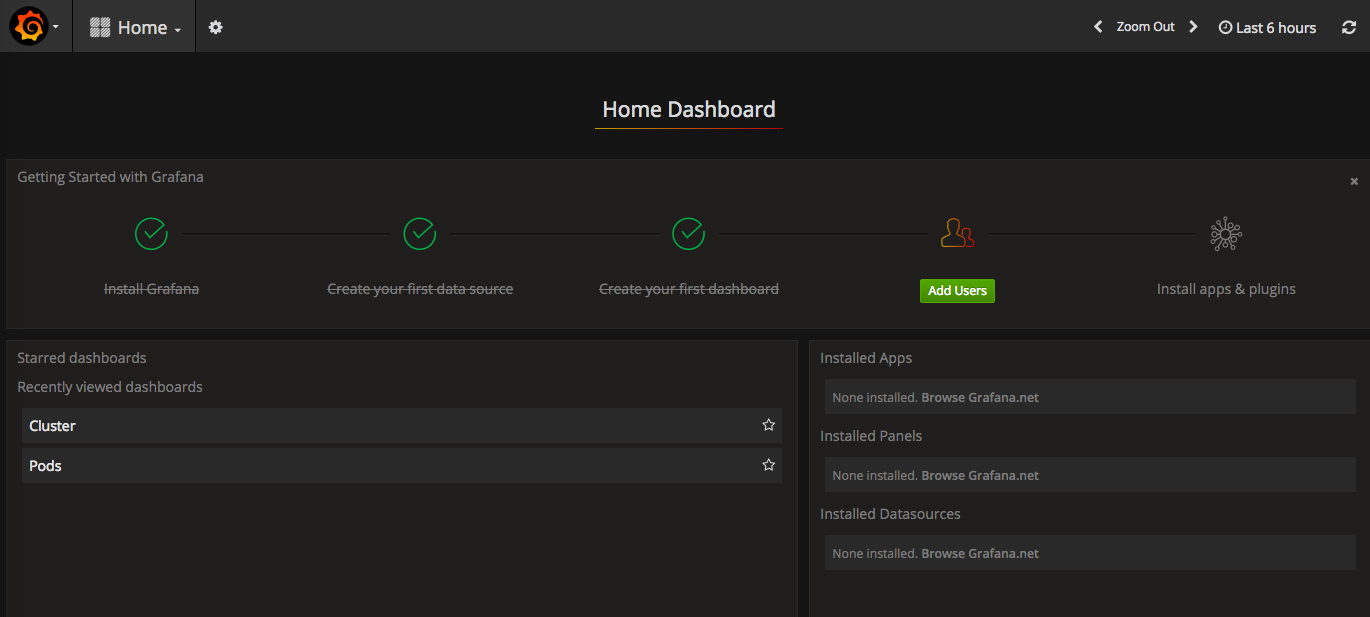
最初はこんな画面が表示される。
Add Usersと表示されているが別にユーザ作成しなくてもよい。

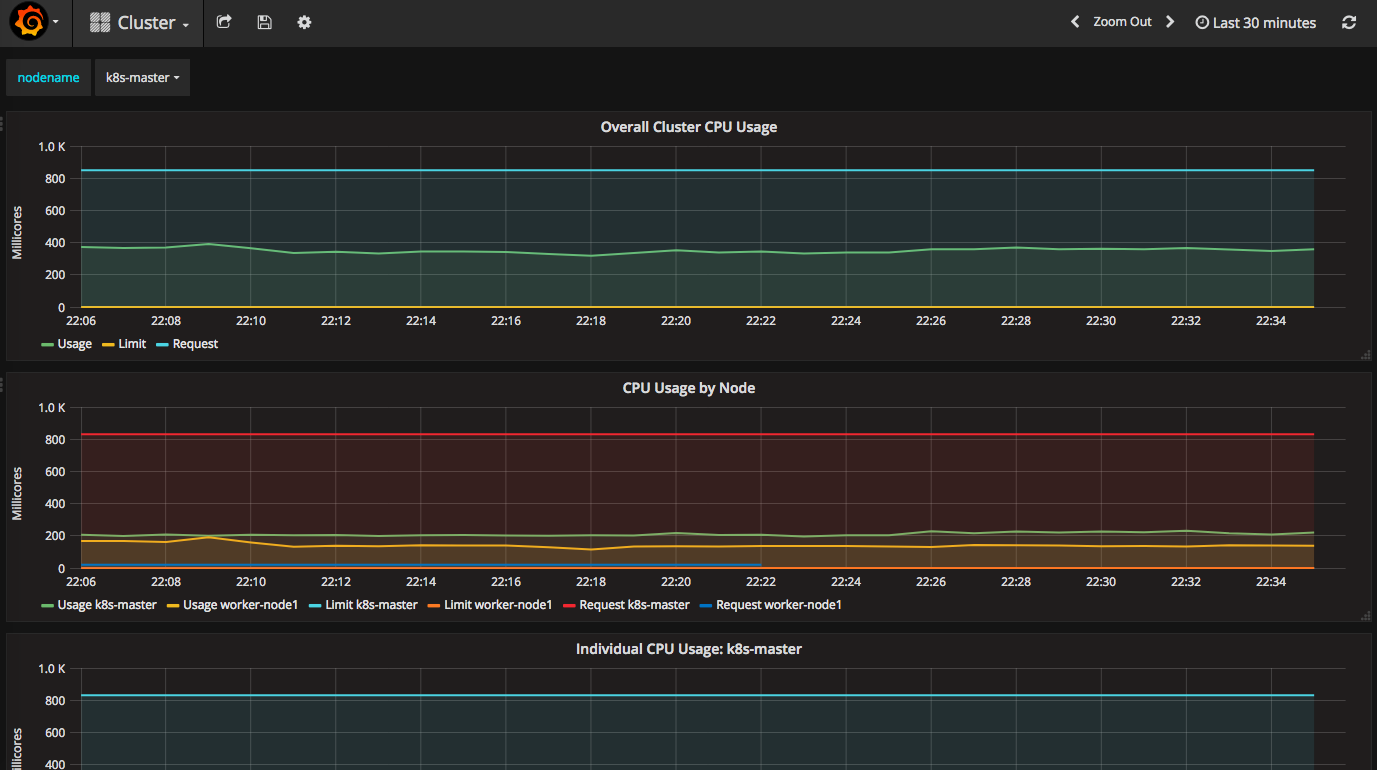
上のHomeをクリックして、Clusterを選ぶとこんな画面が表示される。
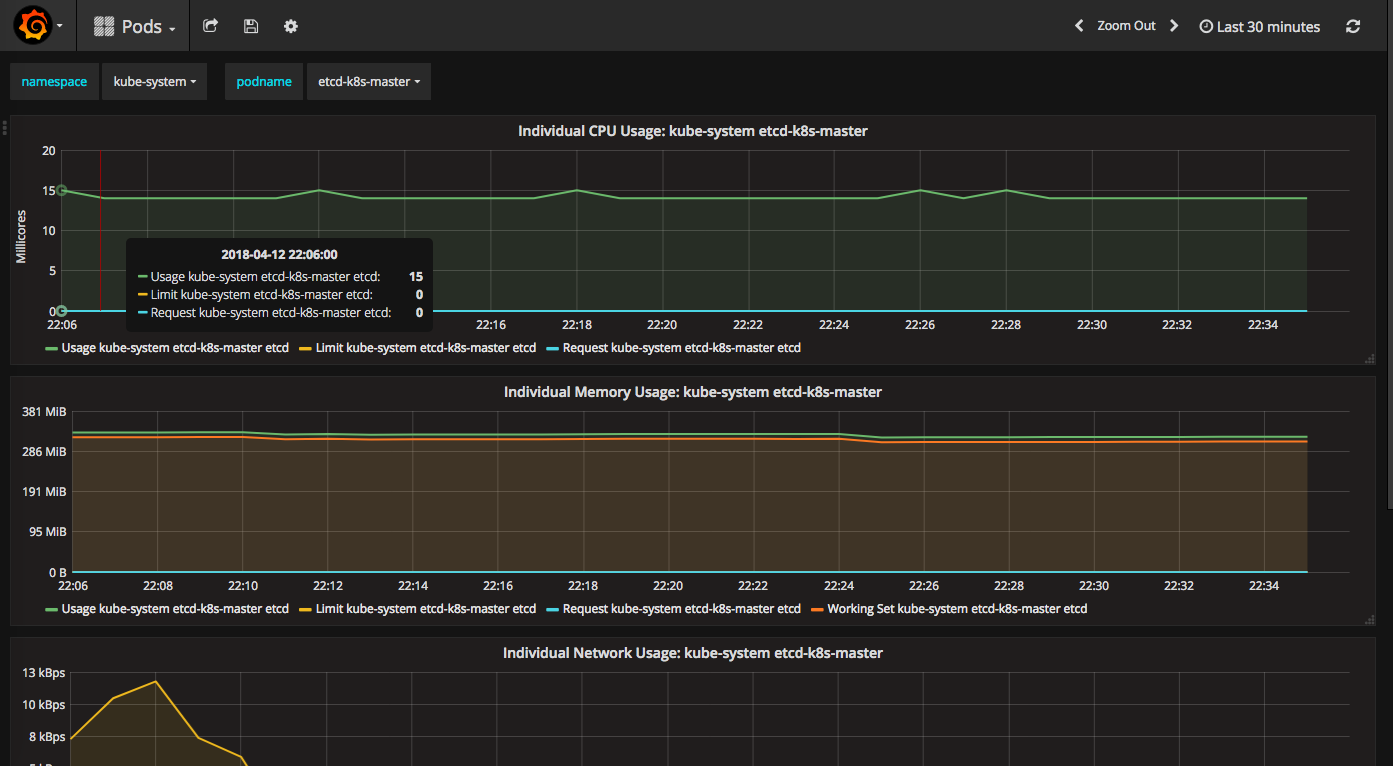
上のHomeをクリックして、Podsを選ぶとこんな画面が表示される。
簡単にカッコいい画面がみれて気分がいいですね。
Minikubeにインストールする
Minikubeの場合はさらに簡単です。addonsが提供されているので、以下ですみます。
# インストール
$ minikube addons enable heapster

# minikubeならHeapster addonを有効にした時点でInfluxDBもGrafanaも有効になる

# 画面をみる
$ minikube service monitoring-grafana -n kube-system
kubectl topコマンドを使ってリソースの使用量を確認してみる
Heapsterをインストールするとkubectl topコマンドを使ってリソース(CPU/Memory/Storage)のメトリックスが見れるようになります。
$ kubectl top pod
NAME                    CPU(cores)   MEMORY(bytes)
nginx-8b8ddbf99-z7vtl   0m           1Mi

$ kubectl top node
NAME           CPU(cores)   CPU%      MEMORY(bytes)   MEMORY%
k8s-master     213m         10%       2801Mi          36%
worker-node1   132m         6%        2386Mi          30%
Heapsterをインストールしたばかりのときにkubectl topコマンドを使うと
error: metrics not available yetと表示されるかもしれません。その場合はしばし待ちましょう。
参考

