この記事はMonstar Lab, Inc. Advent Calendar 2016 1日目の記事です。
モンスター・ラボ初のAdvent Calendarです!よろしくお願いします。🙋
オフィスにHueがやってきた!!!
先日、どうしてもHueが欲しくて「Hueほしいよォ〜〜」って言ってたら、会社がR&D用に買ってくれました。
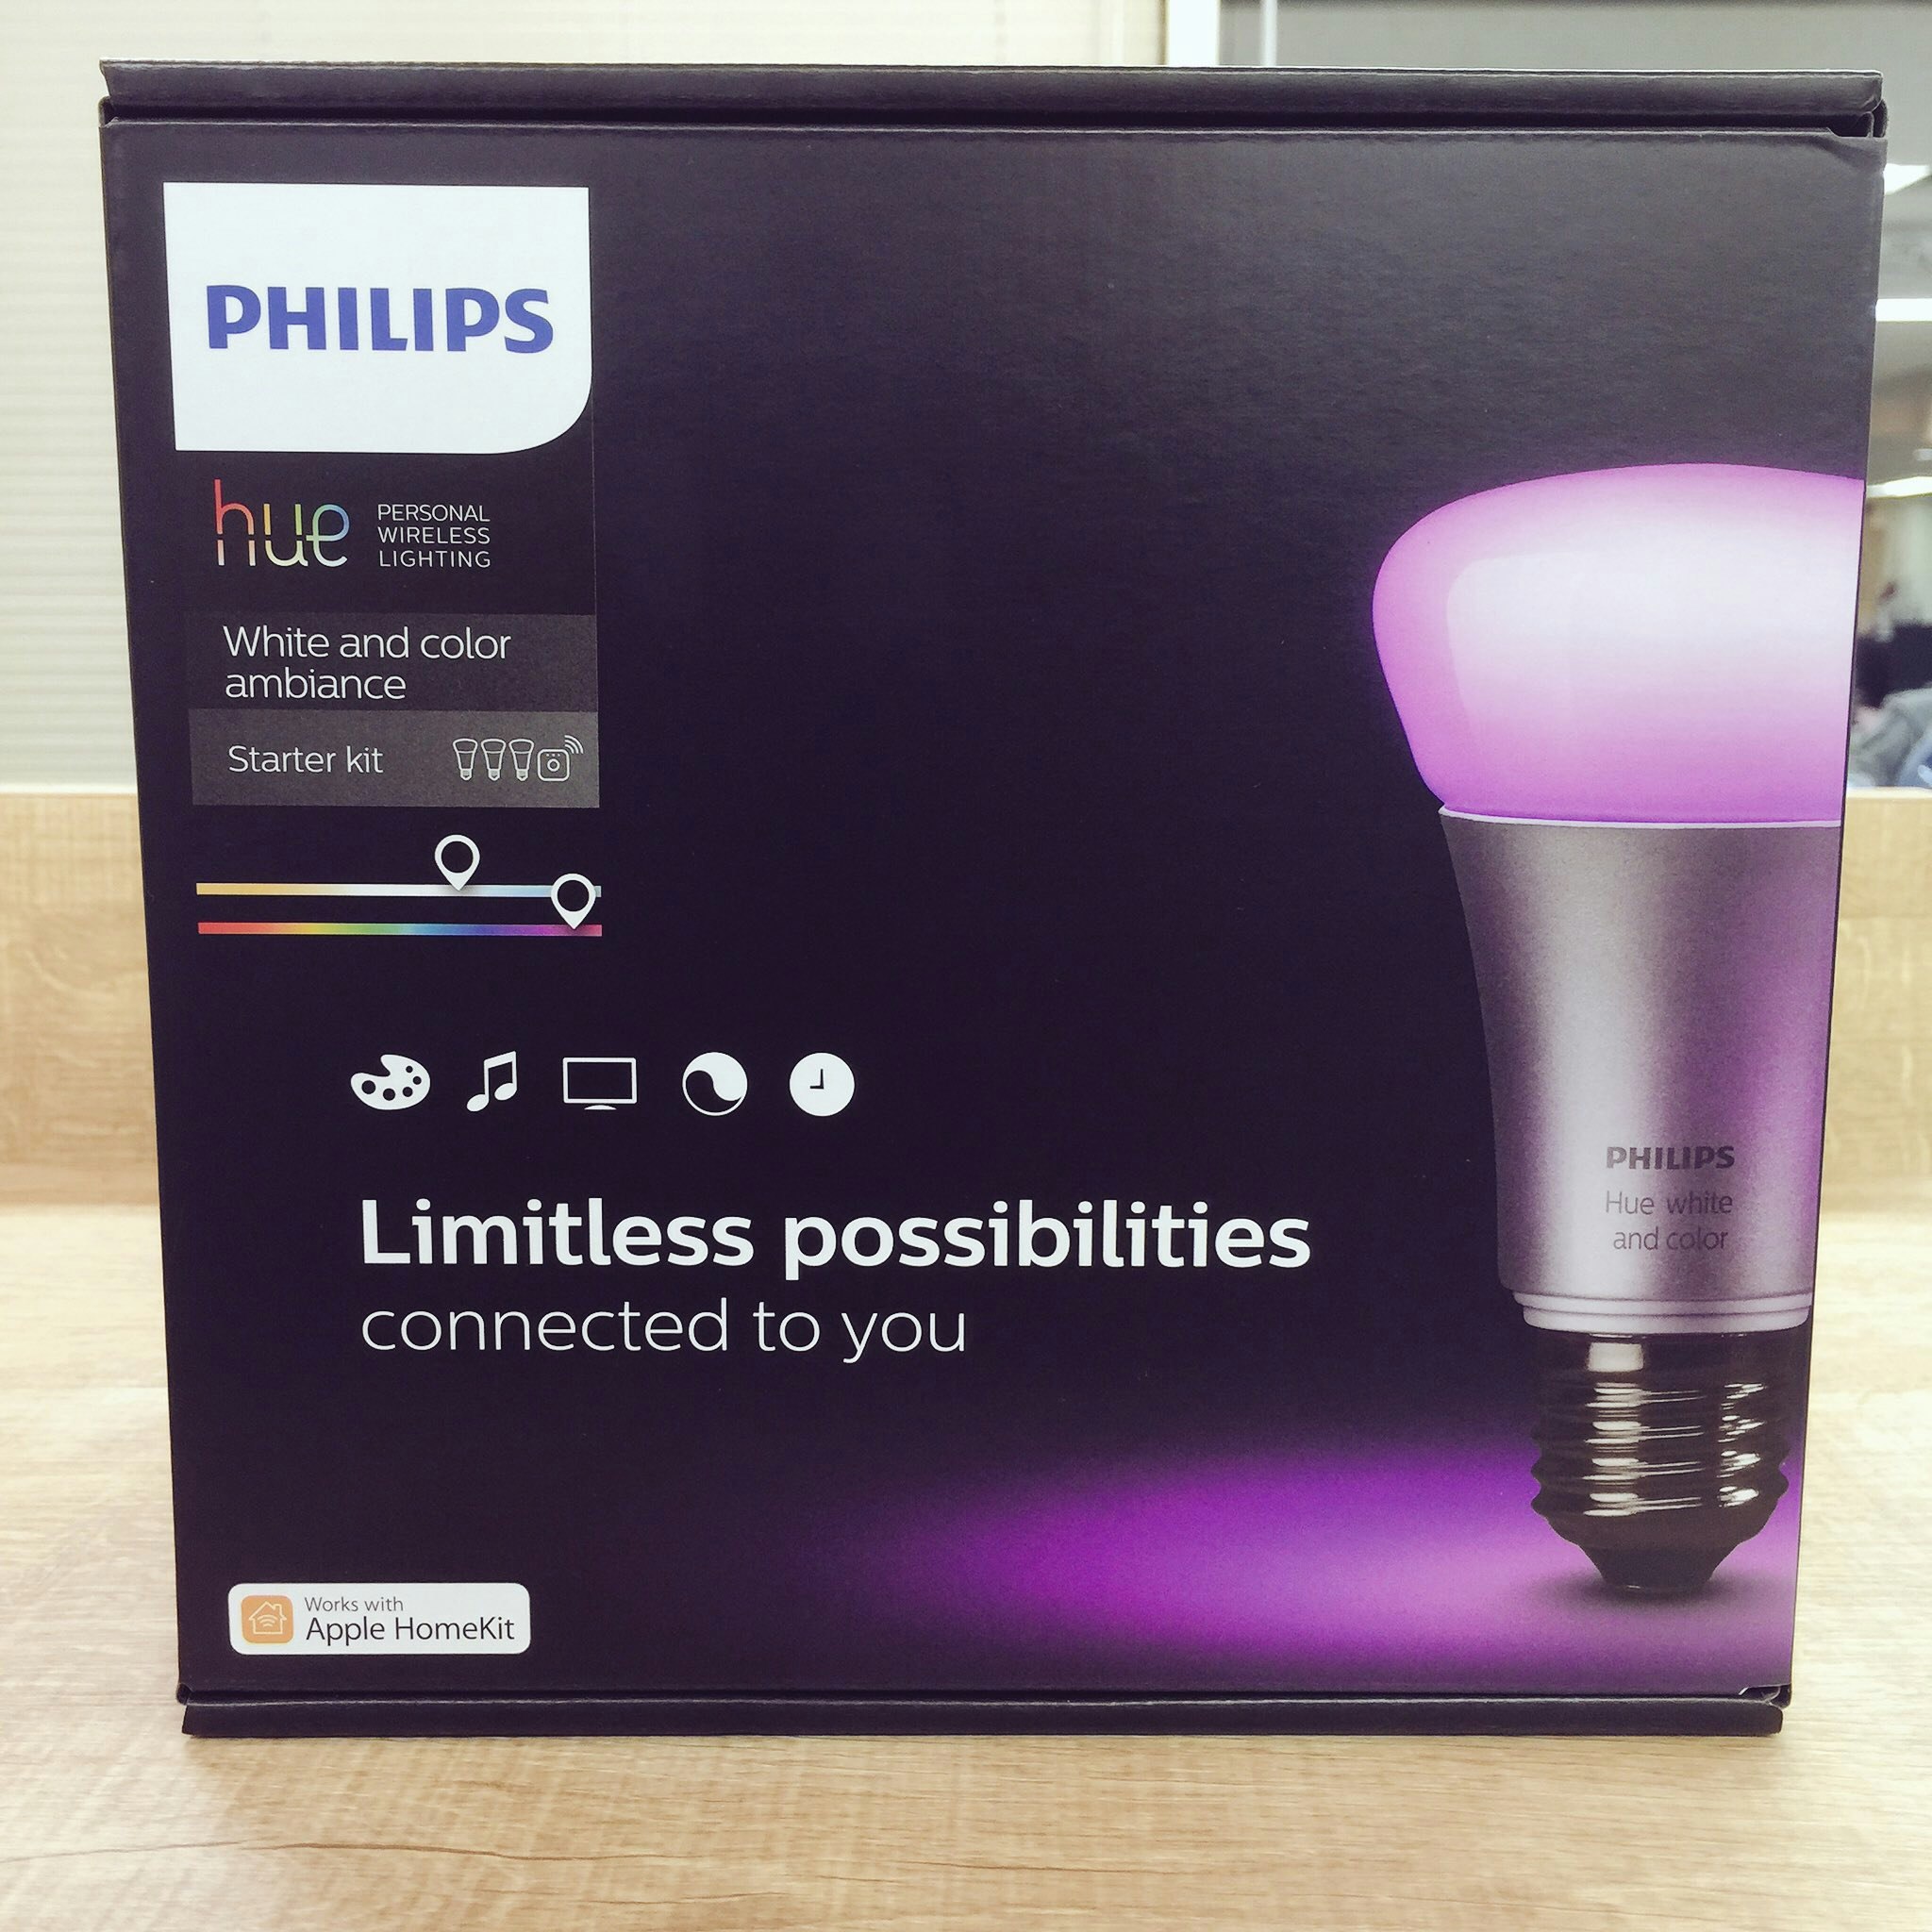
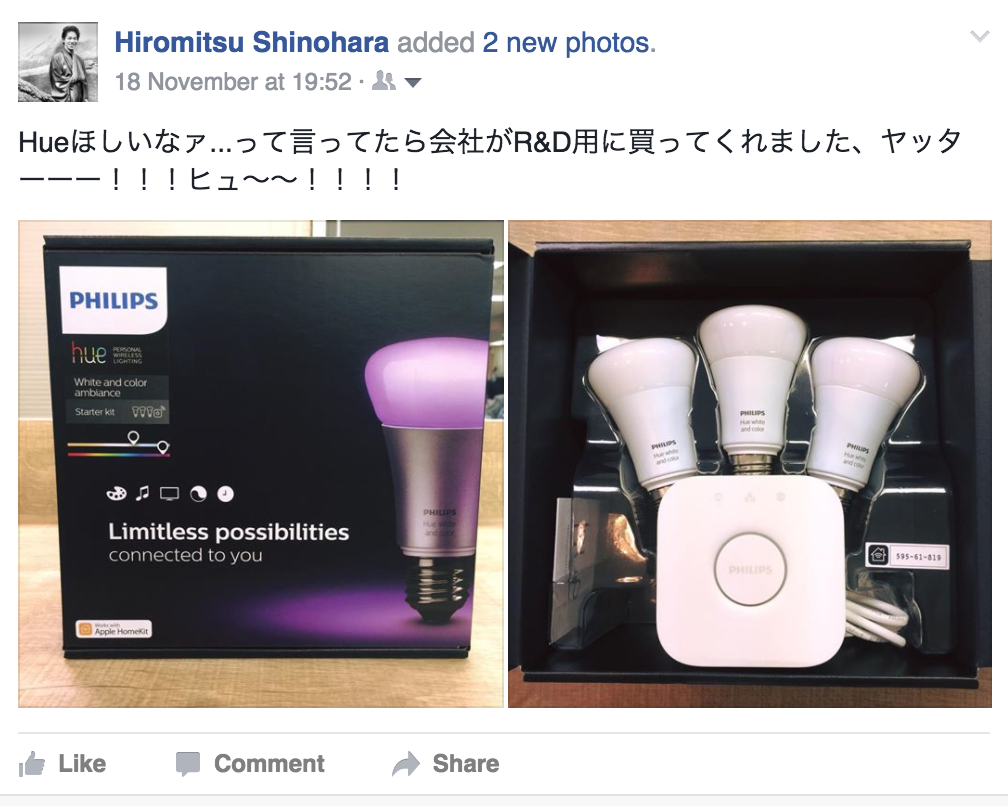
ありがとうございます!!!!
というわけで、さっそくオフィスで使ってみました。
Hueのセットアップ
IPアドレスを調べる
Hueブリッジが同じネットワーク内に繋がっている状態で https://www.meethue.com/api/nupnp にアクセスすると、IPアドレス情報が取得できます。

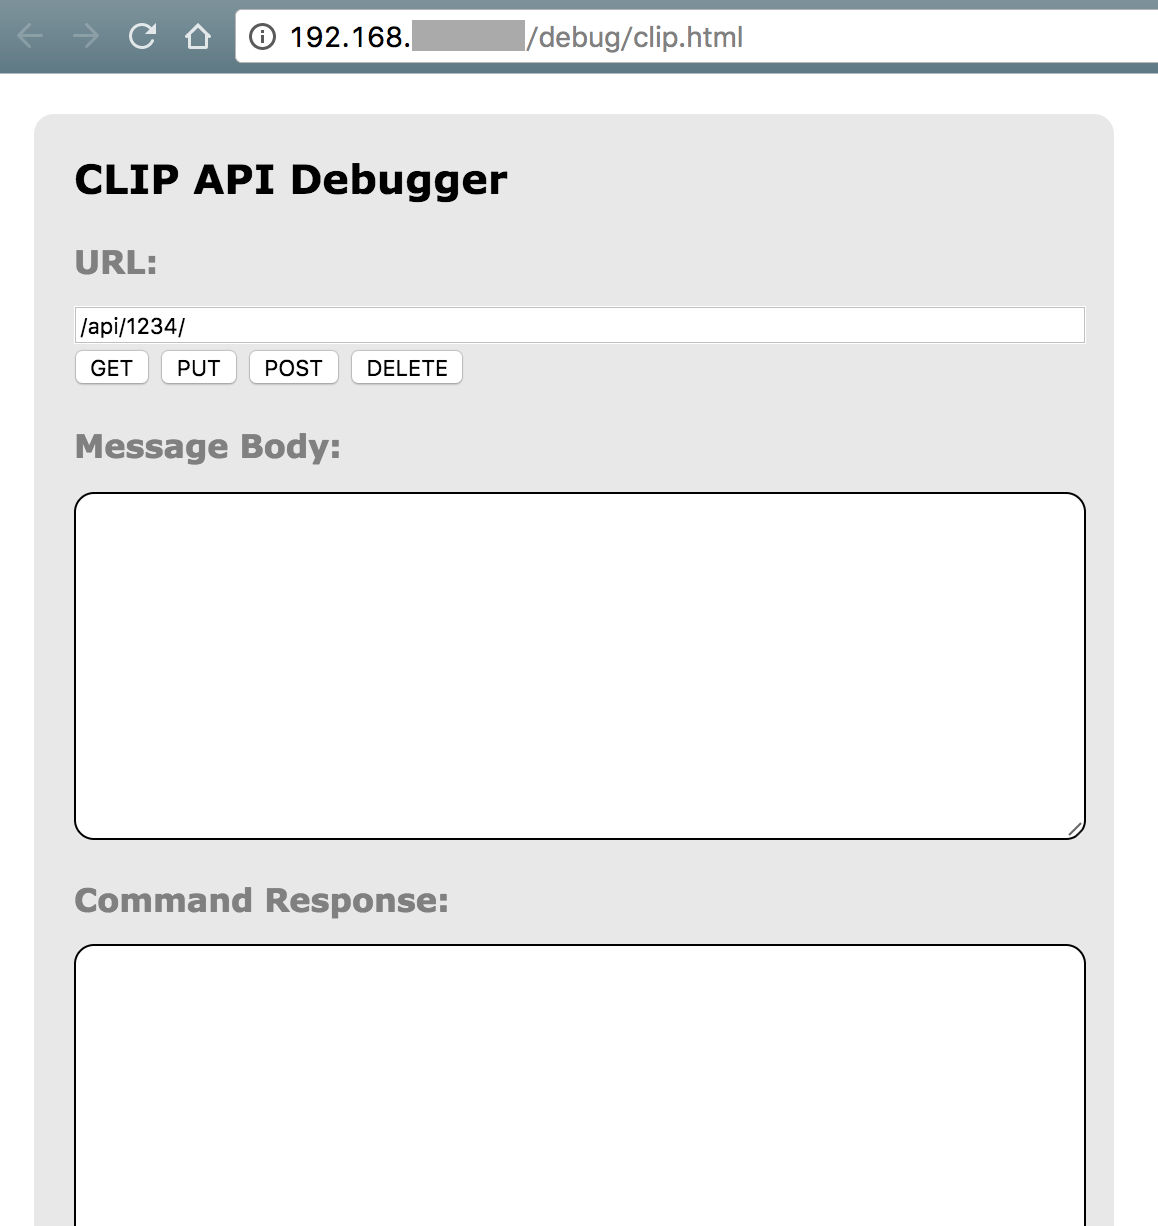
APIデバッグツールを使う
http://<IPアドレス>/debug/clip.html にアクセスするとデバッグツールが使えます。
ユーザを作成する
下記のように指定します。
URL:
/api
HTTP METHOD:POST
Message Body:{"devicetype": "hogehoge"}
以前は username を指定できたらしいのですが、公式サイト(http://www.developers.meethue.com/documentation/getting-started )に、
Currently it is possible to create your own usernames in the bridge (e.g. “newdeveloper”), however, this option will be removed in future bridge versions, so we need to use the randomly generated username that the bridge creates for you.
と書いてあったので、ランダム値の username を使うしかなさそうです・・・。
作成の際には、ブリッジのリンクボタン(ブリッジ中央のボタン)を押してから POST します。
success したら、 username がレスポンスされます。
動作例(APIデバッグツール)
Hueのステータスを取得
URL:
/api/<username>/lights/
HTTP METHOD:GET
Command Response:
{
	"1": {
		"state": {
			"on": false,
			"bri": 254,
			"hue": 14910,
			"sat": 144,
			"effect": "none",
			"xy": [
				0.4596,
				0.4105
			],
			"ct": 370,
			"alert": "none",
			"colormode": "ct",
			"reachable": true
		},
		"type": "Extended color light",
		"name": "Hue color lamp 1",
		"modelid": "LCT007",
		"manufacturername": "Philips",
		"uniqueid": "00:17:88:01:02:31:58:07-0b",
		"swversion": "5.38.1.14919"
	},
	"2": {
		"state": {
			"on": false,
			"bri": 43,
			"hue": 0,
			"sat": 0,
			"effect": "none",
			"xy": [
				0.6409,
				0.3332
			],
			"ct": 0,
			"alert": "none",
			"colormode": "xy",
			"reachable": false
		},
		"type": "Extended color light",
		"name": "Hue color lamp 2",
		"modelid": "LCT007",
		"manufacturername": "Philips",
		"uniqueid": "00:17:88:01:02:31:56:f7-0b",
		"swversion": ""
	},
	"3": {
		"state": {
			"on": false,
			"bri": 43,
			"hue": 0,
			"sat": 0,
			"effect": "none",
			"xy": [
				0.6409,
				0.3332
			],
			"ct": 0,
			"alert": "none",
			"colormode": "xy",
			"reachable": false
		},
		"type": "Extended color light",
		"name": "Hue color lamp 3",
		"modelid": "LCT007",
		"manufacturername": "Philips",
		"uniqueid": "00:17:88:01:02:31:56:c7-0b",
		"swversion": ""
	}
}
1 と書いている数字がHueの識別IDです。
Hueの点灯/消灯
URL:
/api/<username>/lights/status/1
HTTP METHOD:PUT
MessageBody:{"on":true}or{"on":false}
Hueの色操作
URL:
/api/<username>/lights/status/1
HTTP METHOD:PUT
MessageBody:{"on":true, "sat":254, "bri":254,"hue":10000}
sat は彩度、 bri は輝度、 hue は色相(0~65535の範囲。16bitColor?)
動作例(curl)
ターミナルから curl でも叩けます。
Hueのステータスを取得
curl http://<IP-address>/api/<username>/lights/
Hueの点灯/消灯
curl http://<IP-address>/api/<username>/lights/1/state -X PUT -d '{"on":true}'
curl http://<IP-address>/api/<username>/lights/1/state -X PUT -d '{"on":false}'
Hueの色操作
curl http://<IP-address>/api/<username>/lights/1/state -X PUT -d '{"on":true, "sat":254, "bri":254,"hue":10000}'
余談ですが、CLIでJsonを GET する場合、jqを導入すると幸せになれます。
センサーと連携してみる
温度センサと連携して、オフィスの気温によって照明の色が変わるIoTを作ってみました。
- ハードウェア: Arduino UNO
- センサー: 温度センサ LM35
- フレームワーク: Jonny-Five
var five = require("johnny-five");
var fetch = require("node-fetch");
var board = new five.Board();
var requestBody;

board.on("ready", function() {
    var temperature = new five.Thermometer({
        controller: "LM35",
        pin: "A0",
        freq: 1000
    });

    temperature.on('data', function() {
        console.log('celsius: ', this.celsius);

        if (this.celsius >= 27) {
            requestBody = '{"on":true, "sat":254, "bri":50,"hue":10000}';
        } else if (this.celsius == 26) {
            requestBody = '{"on":true, "sat":254, "bri":50,"hue":20000}';
        } else if (this.celsius == 25) {
            requestBody = '{"on":true, "sat":254, "bri":50,"hue":30000}';
        } else if (this.celsius <= 24) {
            requestBody = '{"on":true, "sat":254, "bri":50,"hue":40000}';
        }

        fetch('http://<IP-address>/api/<username>/lights/1/state', {
            method: 'PUT',
            body: requestBody
        })
        .then(function(res) {
            return res.json();
        }).then(function(json) {
            console.log(json);
        });
    });
});
23〜24℃では通常の照明色ですが、
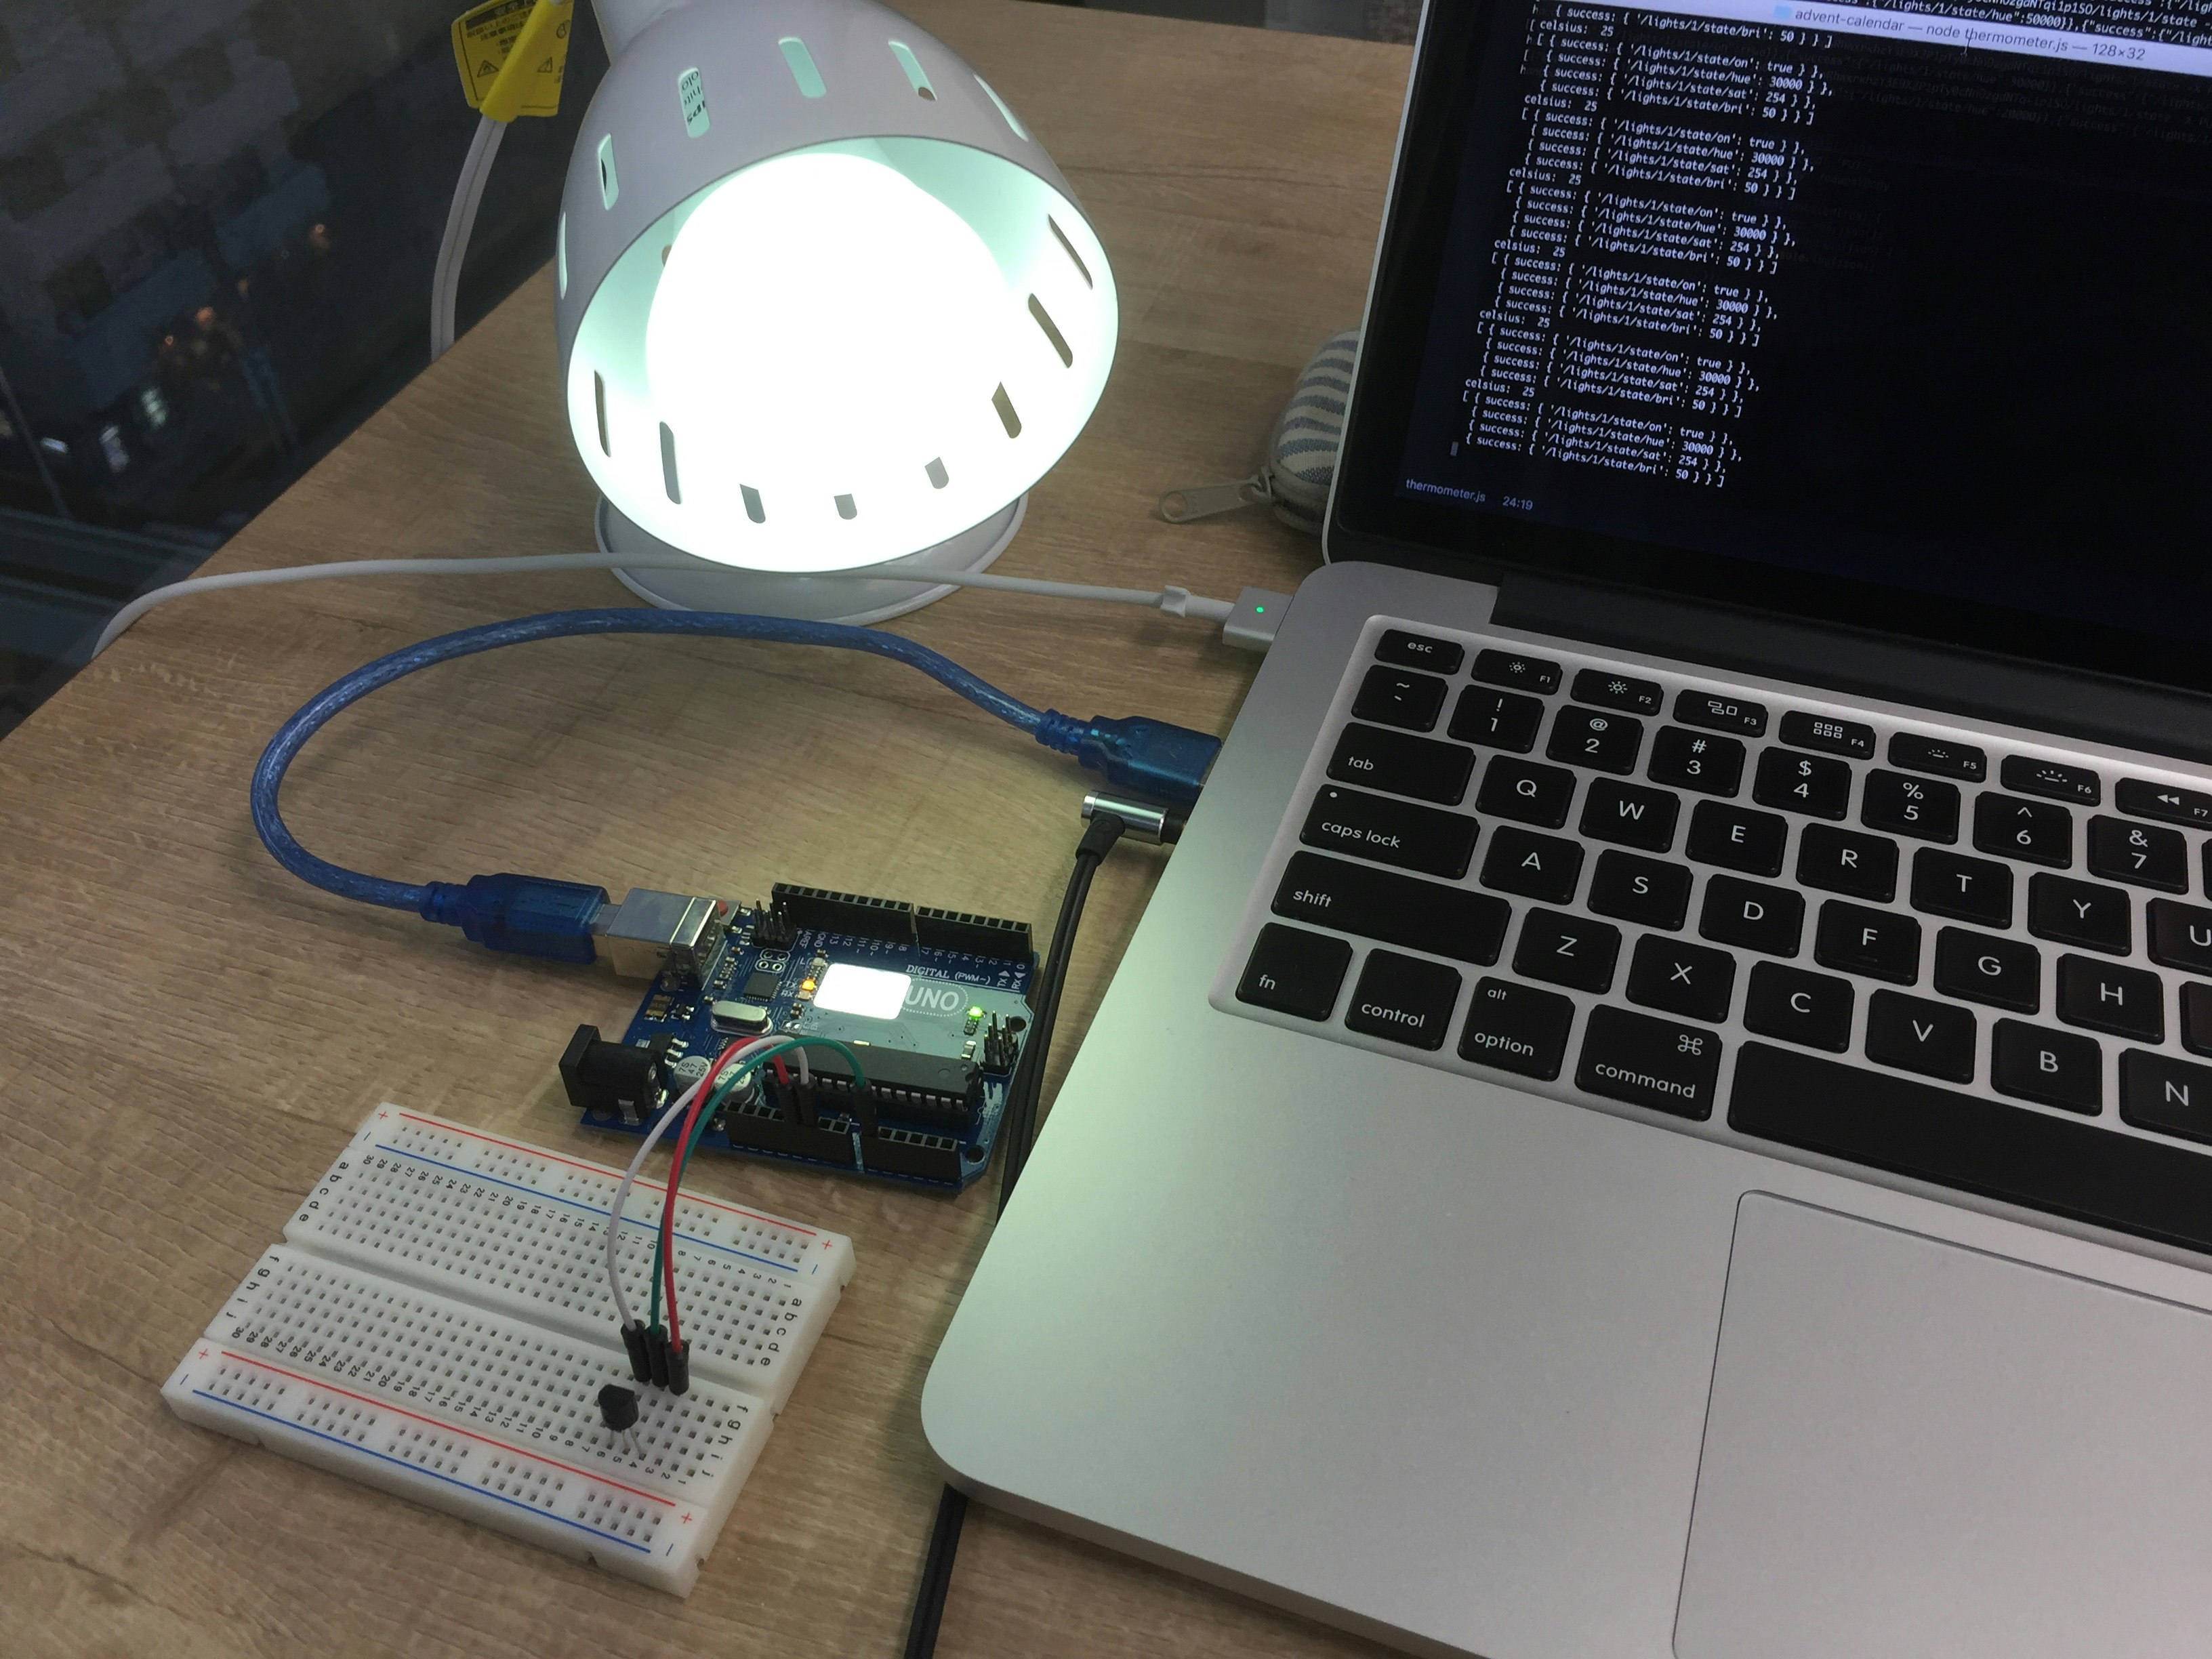
少し暑くなってくると(25℃〜27℃以上)、照明の色が暖色に変わります。
(実験ではわざと温度センサに触れて温度を上げています。)

まとめ
Hueをセンサーと組み合わせて、オフィスの気温を視覚的に把握できるようになりました。
他にも、組み合わせとアイディア次第で応用ができそうです。
- 湿度を測定して、オフィスエリアの乾燥を検知する(+加湿器を操作する)
- 至適温度を越えたら、Slackに通知する(+エアコンを操作する)
などなど。
IoTを使ってより良いオフィス環境を手に入れていきましょう!!!!!
明日は @noboru_i 氏が担当します。お楽しみに!
参考サイト
- Getting started
http://www.developers.meethue.com/documentation/getting-started - 未来を感じる照明:Hueで遊んでみた その1
http://heckey.hatenablog.com/entry/2014/01/06/154100 - プログラマブル電球hueをRubyから使う
http://shokai.org/blog/archives/8324 - CLIでJSONの整形をする
http://yuroyoro.hatenablog.com/entry/2013/04/02/190709