(過去枠が空いてたので登録しちゃいました。)
flutter の firebase_auth plugin に、Sign in with Apple の対応が入りました!
早速これを取り入れたので、簡単にまとめておきます。
ドキュメントとしては、以下2つを見てください。
Sign in with Apple を有効に
Apple Developer Console | Certificates, Identifiers & Profiles からやってもいいですが、Xcode からが手っ取り早いかと思います。
Signing は Automatically manage signing をオンにしているとします。
-
Signing & Capabilitiesから+Capabilityをクリック

- Sign in with Apple を追加
- entitlements に
Sign in with Appleの項目が追加されたことを確認
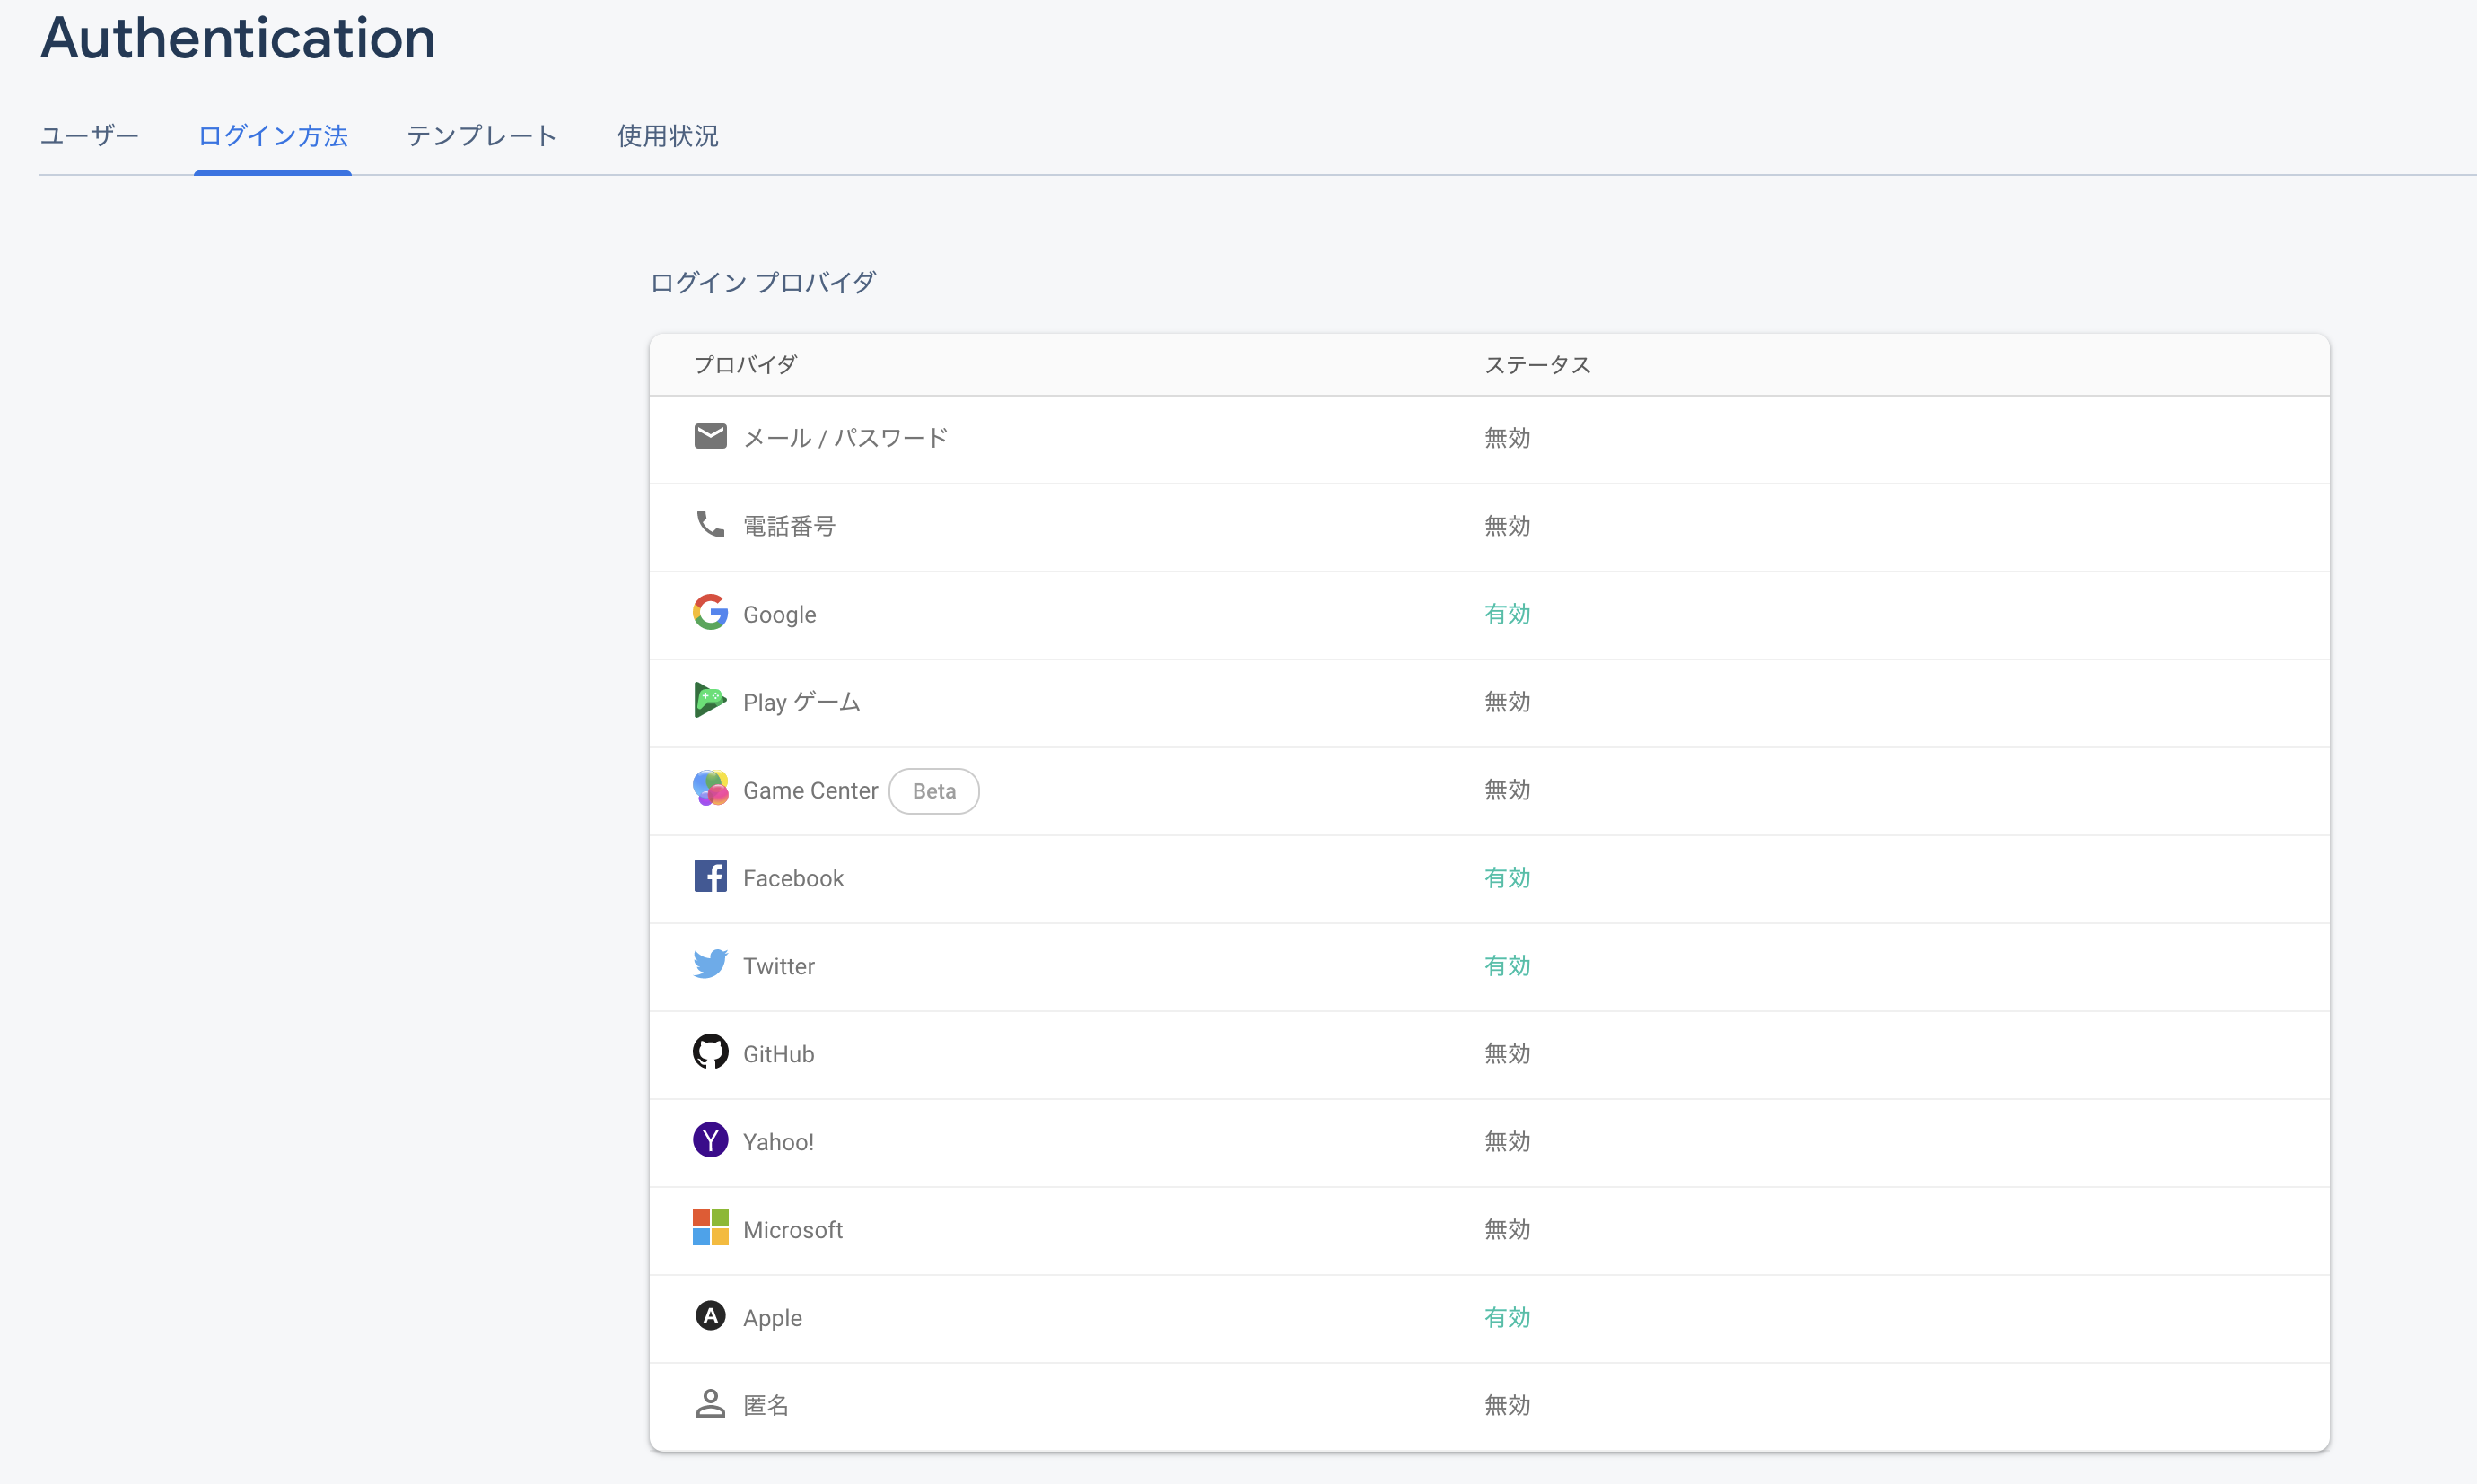
Firebase Authentication
- Apple を有効にする
- Android でも使いたいなら、諸々追加の設定項目があるので設定します。iOS だけなら、基本的にはこれだけ。
- もしメールを送りたいとかがあれば、Apple Developer Console | More から追加で設定を行う。
Flutter
あとはクライアント実装するのみ。
簡単に書いておきます。
Sign in 処理
pubspec.yaml
firebase_auth: ^0.15.3
apple_sign_in: ^0.1.0
authentication.dart
Future<AuthResult> _signInWithApple() async {
  final result = await AppleSignIn.performRequests([
    AppleIdRequest(
      requestedScopes: [Scope.fullName],
      requestedOperation: OpenIdOperation.operationLogin,
    )
  ]);
  // TODO: result.status を見てエラーハンドリング

  const oAuthProvider = OAuthProvider(providerId: 'apple.com');
  final credential = oAuthProvider.getCredential(
    idToken: String.fromCharCodes(result.credential.identityToken),
    accessToken: String.fromCharCodes(result.credential.authorizationCode),
  );
  return await FirebaseAuth.instance.signInWithCredential(credential);
}
ちなみに、Cloud Functions を使って Authentication の onCreate に Trigger して Firestore に User の Dcoument を作るようにしている場合は、後続の処理で Document を timeout 付き firstWhere で Listen する感じです。
ボタン
あとは、Apple のガイドライン に従ってボタンを配置すればおしまいだと思います。
package で済ませたい場合は、例えば flutter_auth_buttons とかがあります。
あ、あとは iOS 13 以上で使える機能なので、device_info を使って分岐を入れるくらいでしょうか。
pubspec.yaml
device_info: ^0.4.1+4
Future<bool> _canSignInWithApple() async {
  if (!Platform.isIOS) return false; // Android ではこの機能を提供しない方針の場合。
  final iosInfo = await DeviceInfoPlugin().iosInfo;
  final version = iosInfo.systemVersion;
  // 13 以上なら〜
}