背景と実施したこと
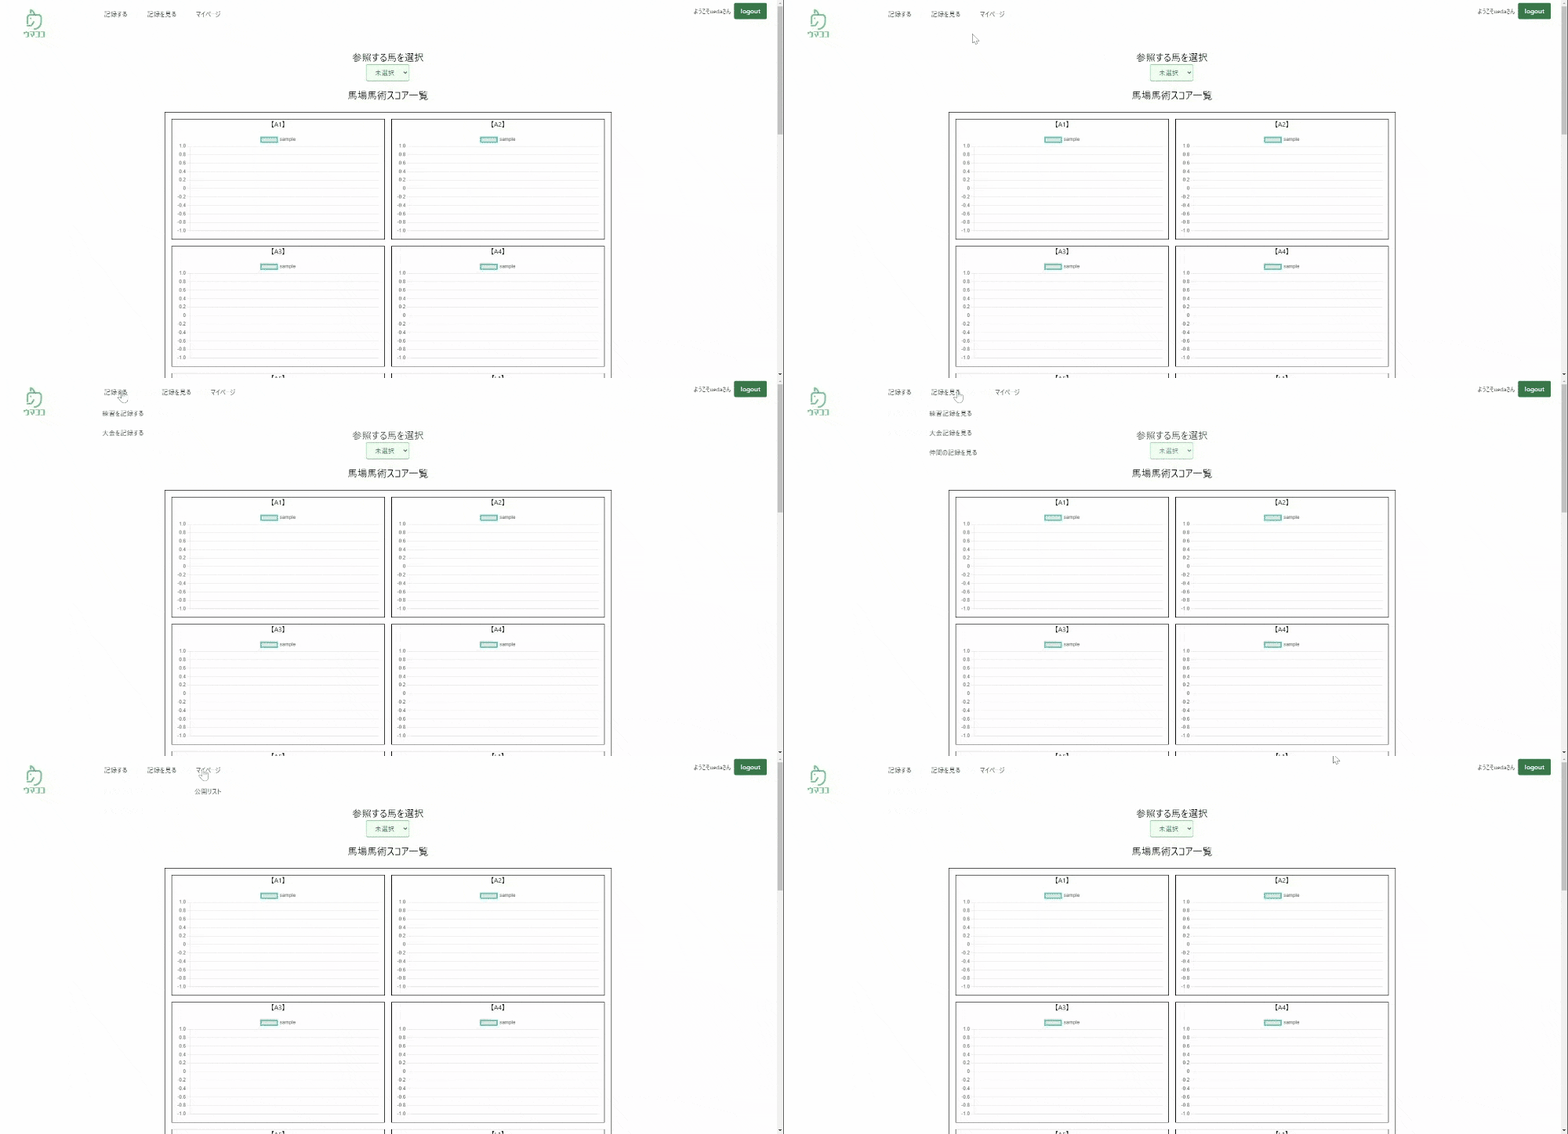
ナビゲーションメニューをホバーしたときにドロップダウンとしてメニューが表示されるようにしたかった。
(以下のイメージ)

使用している技術のver情報は以下の通りです。
next: 12.0.7
react: 17.0.2
TailwindCSS: 3.01
typescript: 4.5.4
参考にした記事
概要
- peerというクラスを使うよ
- ある要素にpeer-xxxxと指定することで、peerクラスに対するアクションがあった際の表示をコントロールできるよ
コードの全体像
先にコードの全体像を記載します(関係している部分のみ抜粋)
const menu = [
    {
      name: '記録する',
      childmenu: [
        {
          text: '練習を記録する',
          path: '/practice',
        },
        {
          text: '大会を記録する',
          path: '/competition',
        },
      ],
    },
    {
      name: '記録を見る',
      childmenu: [
        {
          text: '練習記録を見る',
          path: '/noteIndex',
        },
        {
          text: '大会記録を見る',
          path: '/scoreView/mydata',
        },
        {
          text: '仲間の記録を見る',
          path: '/noteIndex/mygroup',
        },
      ],
    },
    {
      name: 'マイページ',
      childmenu: [
        {
          text: '公開リスト',
          path: '/mypage',
        },
      ],
    },
  ];

//中略

        <nav>
          <ul className='ml-24 hidden  md:flex '>
            {menu.map((item, index) => (
              <li key={index} className={'text-base text-gray-900'}>
                <button className=' peer block px-6 py-4'>{item.name}</button>
                <div className='hidden flex-col bg-white hover:flex peer-hover:flex'>
                  {item.childmenu.map((childmenu, chilMenuIndex) => (
                    <React.Fragment key={chilMenuIndex}>
                      <Link href={childmenu.path}>
                        <a className='hover:bg-gray-200 px-5 py-3 hover:border-b-4 hover:opacity-70'>
                          {childmenu.text}
                        </a>
                      </Link>
                    </React.Fragment>
                  ))}
                </div>
              </li>
            ))}
          </ul>
        </nav>
ポイントは
<button className=' peer block px-6 py-4'>{item.name}</button>
でpeerを使っている部分と
                <div className='hidden flex-col bg-white hover:flex peer-hover:flex'>
                  {item.childmenu.map((childmenu, chilMenuIndex) => (
                    <React.Fragment key={chilMenuIndex}>
                      <Link href={childmenu.path}>
                        <a className='hover:bg-gray-200 px-5 py-3 hover:border-b-4 hover:opacity-70'>
                          {childmenu.text}
                        </a>
                      </Link>
                    </React.Fragment>
                  ))}
                </div>
でpeer-hoberを使っている部分です。
peerクラスとは何か
公式ドキュメントによると、兄弟要素をスタイリングする際に活用できるもののようです。
使い方のイメージとしては
- peerクラスを指定した要素を作る(仮に兄と呼称)
- 兄に何か操作が行われたとき(今回だとhover)に表示したい要素(仮に弟と呼称)にpeer-hoverと指定する
という2STEPです。
もちろんhover以外にもcheckedやfocusなど様々なアクションが指定できます。
これを活用すればツールチップなども簡単に作成できそうですね。
hover時にドロップダウンメニューを出す実装をより詳しく説明
必要な要素を改めて分解すると、以下の2つに分解できます。
- 横並びに表示するメニュー(こっちが兄)
- hoverする際に表示するドロップダウンメニュー(こっちが弟)
それぞれを配列で持つ必要があるので、まずこのような形でデータを用意します。
const menu = [
    {
      name: '横に並べるメニューA',
      childmenu: [
        {
          text: 'ドロップダウンA-1',
          path: '/xxx',
        },
        {
          text: 'ドロップダウンA-2',
          path: '/xxx',
        },
      ],
    },
    {
      name: '横に並べるメニューB',
      childmenu: [
        {
          text: 'ドロップダウンB-1',
          path: '/xxx',
        },
        {
          text: 'ドロップダウンB-2',
          path: '/xxx',
        },
        {
          text: 'ドロップダウンB-3',
          path: '/xxx',
        },
      ],
    },
   ]
続いて親の顔より見たmap関数を使って兄要素を横に並べます。
ここではliとbuttonを使っています。buttonが兄になるのでpeerを指定しましょう。
 {menu.map((item, index) => (
              <li key={index} className={'text-base text-gray-900'}>
                <button className=' peer block px-6 py-4'>{item.name}</button>

              </li>
            ))}
続いて、兄をhoverした際に表示する要素を作ります。ここでもやはりmapを使います。
                <button className=' peer block px-6 py-4'>{item.name}</button>
                //以下を追加
                <div className='hidden flex-col bg-white hover:flex peer-hover:flex'>
                  {item.childmenu.map((childmenu, chilMenuIndex) => (
                    <React.Fragment key={chilMenuIndex}>
                      <Link href={childmenu.path}>
                        <a className='hover:bg-gray-200 px-5 py-3 hover:border-b-4 hover:opacity-70'>
                          {childmenu.text}
                        </a>
                      </Link>
                    </React.Fragment>
                  ))}
                </div>
通常時は隠しておきたいのでhiddenを加え、peer要素がhoverした際には表示したいのでpeer-hover:flexを指定します。
また、兄要素から弟要素にhoverが移動したときも弟は表示され続ける必要があるのでhover:flexを指定します。
さらに弟要素の中の各リストのaタグにhover:border-bを指定することで、ユーザがどのドロップダウンメニューをクリックするかを可視化してわかりやすくしています。
z-indexを指定してドロップダウンメニューを重ねた方がよさそう
コードは省略しますが、この手のUIを作る場合はヘッダー全体をz-indexを使って上位階層に持って行った方がよさそうです。
これをしておかないと、ドロップダウンメニューの表示に合わせてbodyのコンテンツがしたにずれて、ちらちらと表示が動くことになり若干ストレスを感じます。
※これを機に他のサイトの同様のUIをいろいろ見て回ったのですが、どれも基本的にはbodyコンテンツの上にドロップダウンメニューを重ねて表示しているようでした。
まとめ
今回初めてpeerクラスを使ったので、学びの共有でした。
peerクラスはとても便利そうなのでぜひ覚えておきたいですね。