この記事について
タイトルの通りGitHubとCircleCIのアカウント作成から連携までを説明していきます。
上記2サービスの連携を最短距離で進めることがゴールなので、各サービスなど細かい箇所については言及しません。
また、初心者向けに書いているため、既に知見のある方は読み流して頂き、間違いがあればご指摘いただけると喜びます。
※アカウントを既に持っているなど対応が不要な項目は読み飛ばしていただければと思います。
GitHub アカウント作成
-
GitHubのページにアクセスします
-
今回はアカウント作成を行うので画面右上の
Sign upを押下してください

-
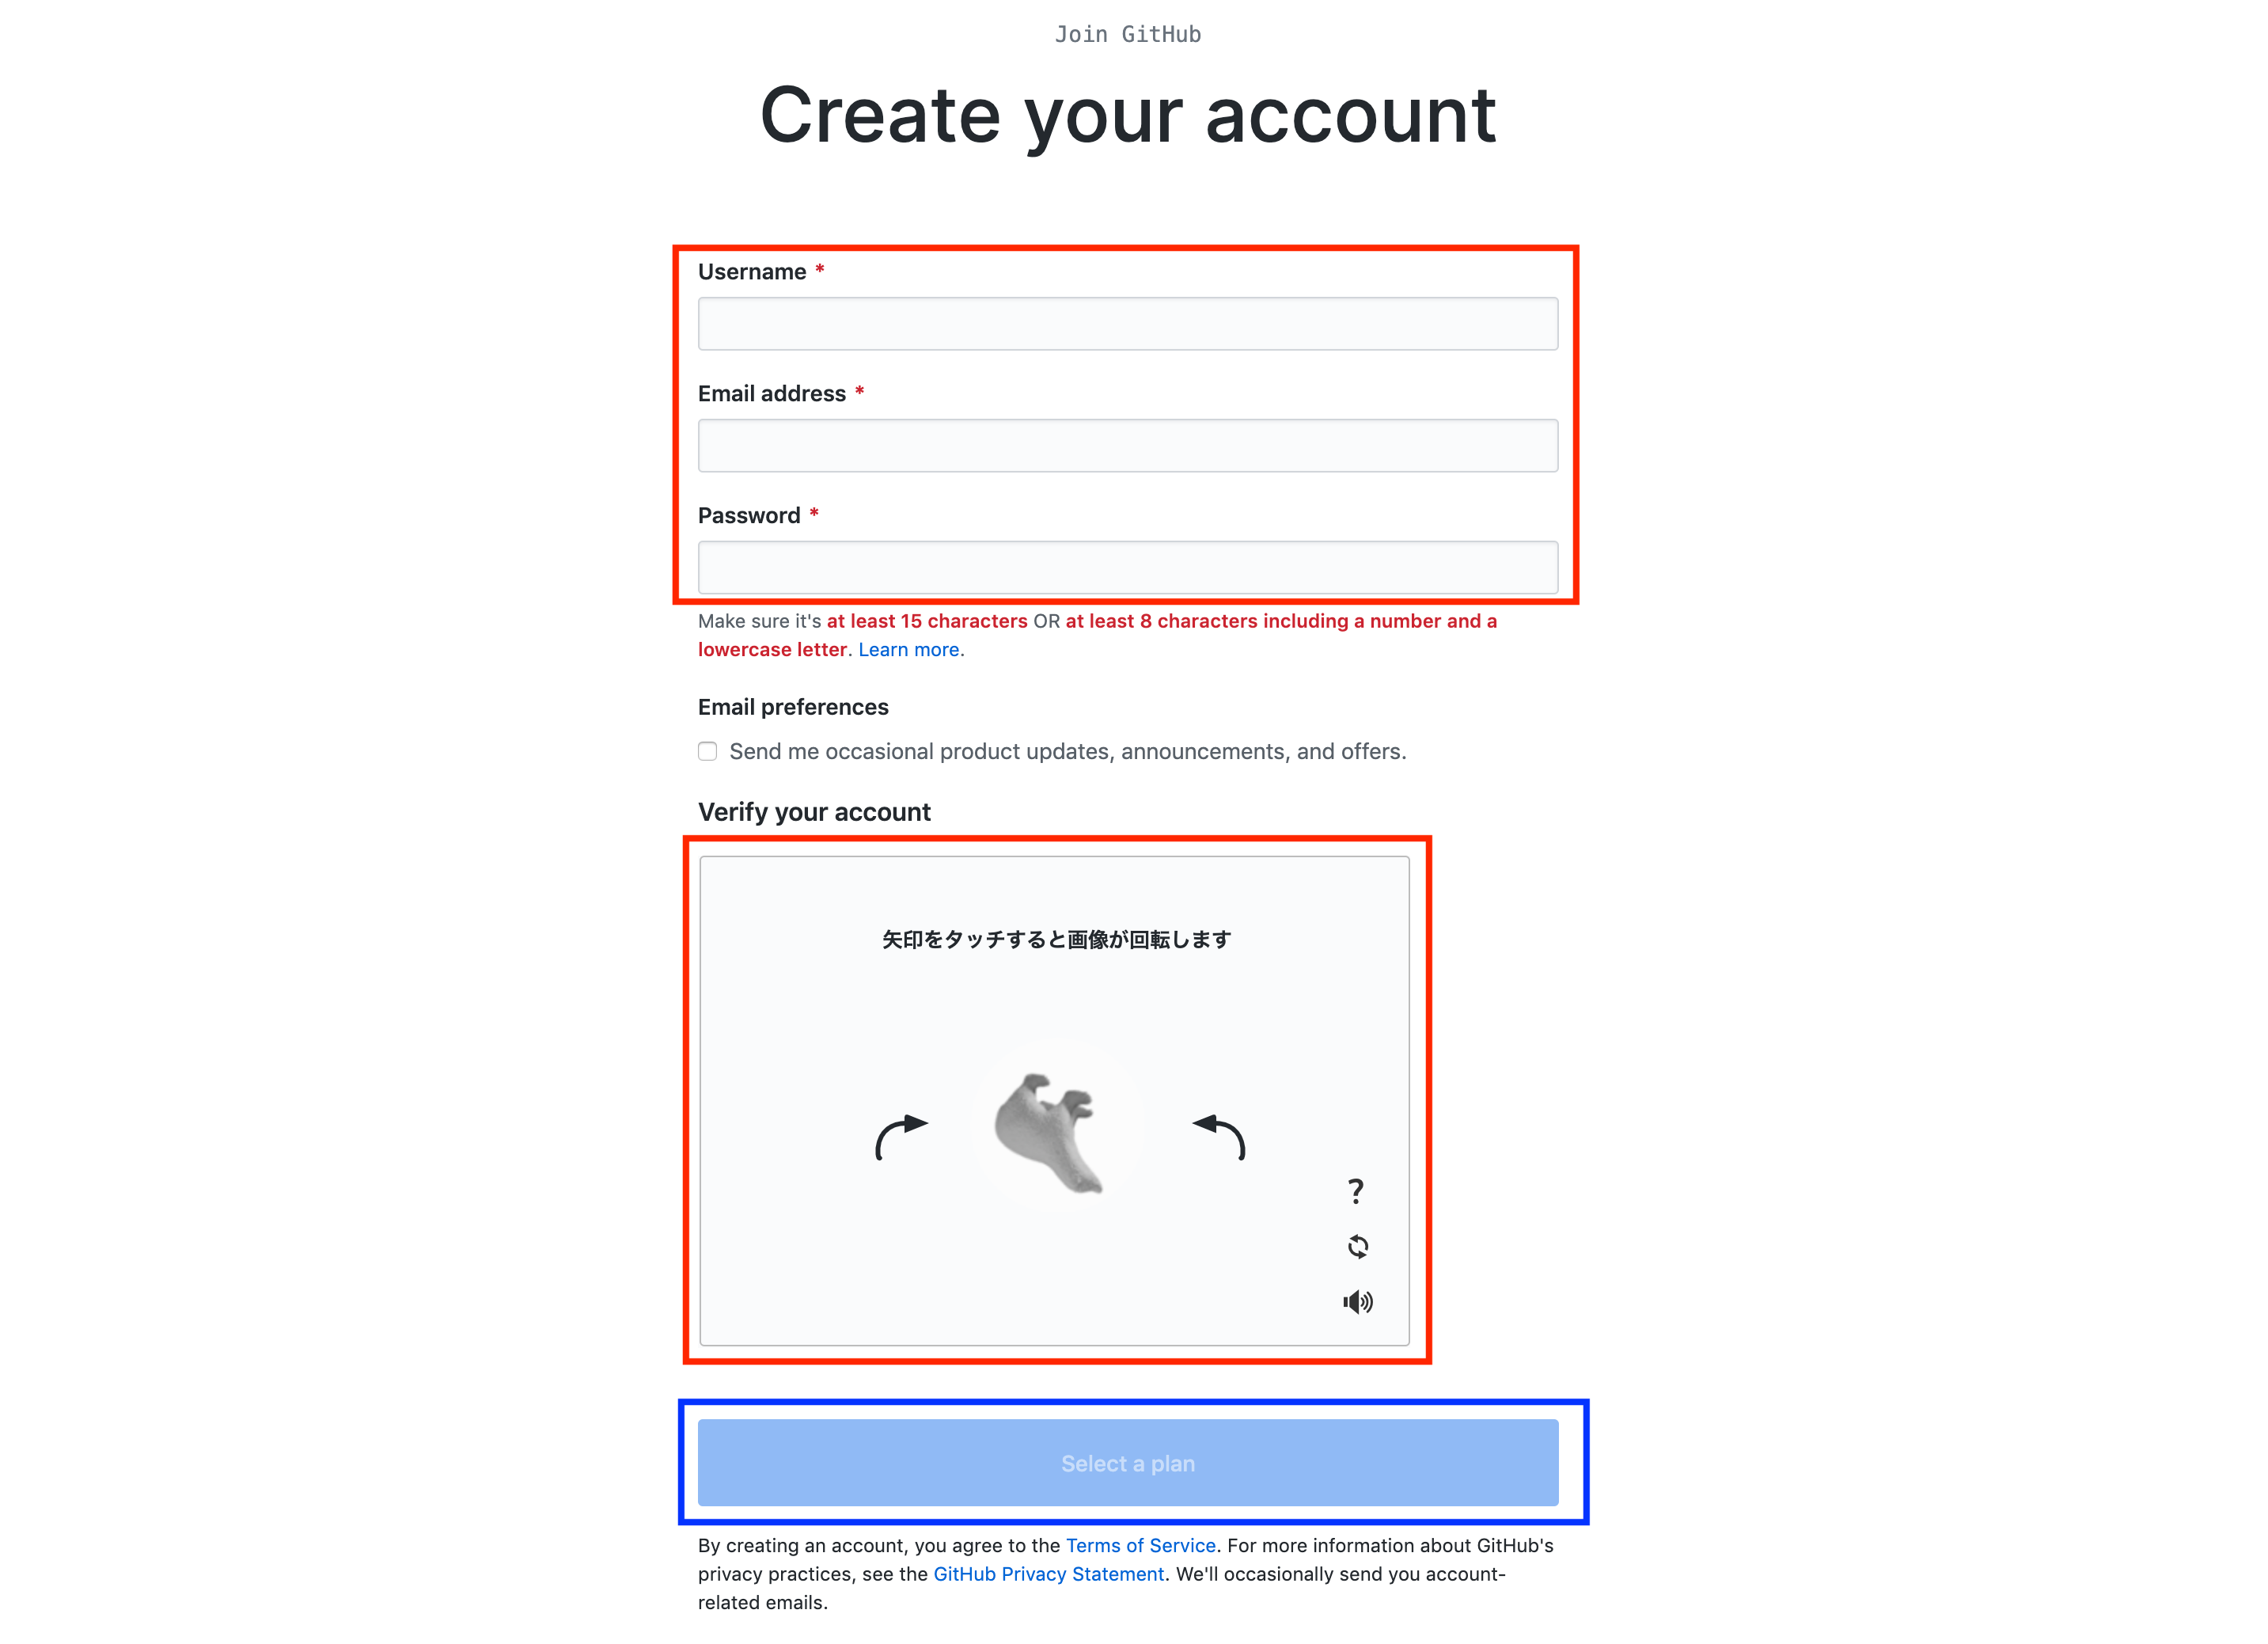
ユーザー名 / メールアドレス / パスワードを入力し、Verify your accountのパズルを解いたら、Select a planを押下します
-
この画面が表示されたら登録したメールアドレスにメールが届いているので、開封して
Verify email addressを押下します

-
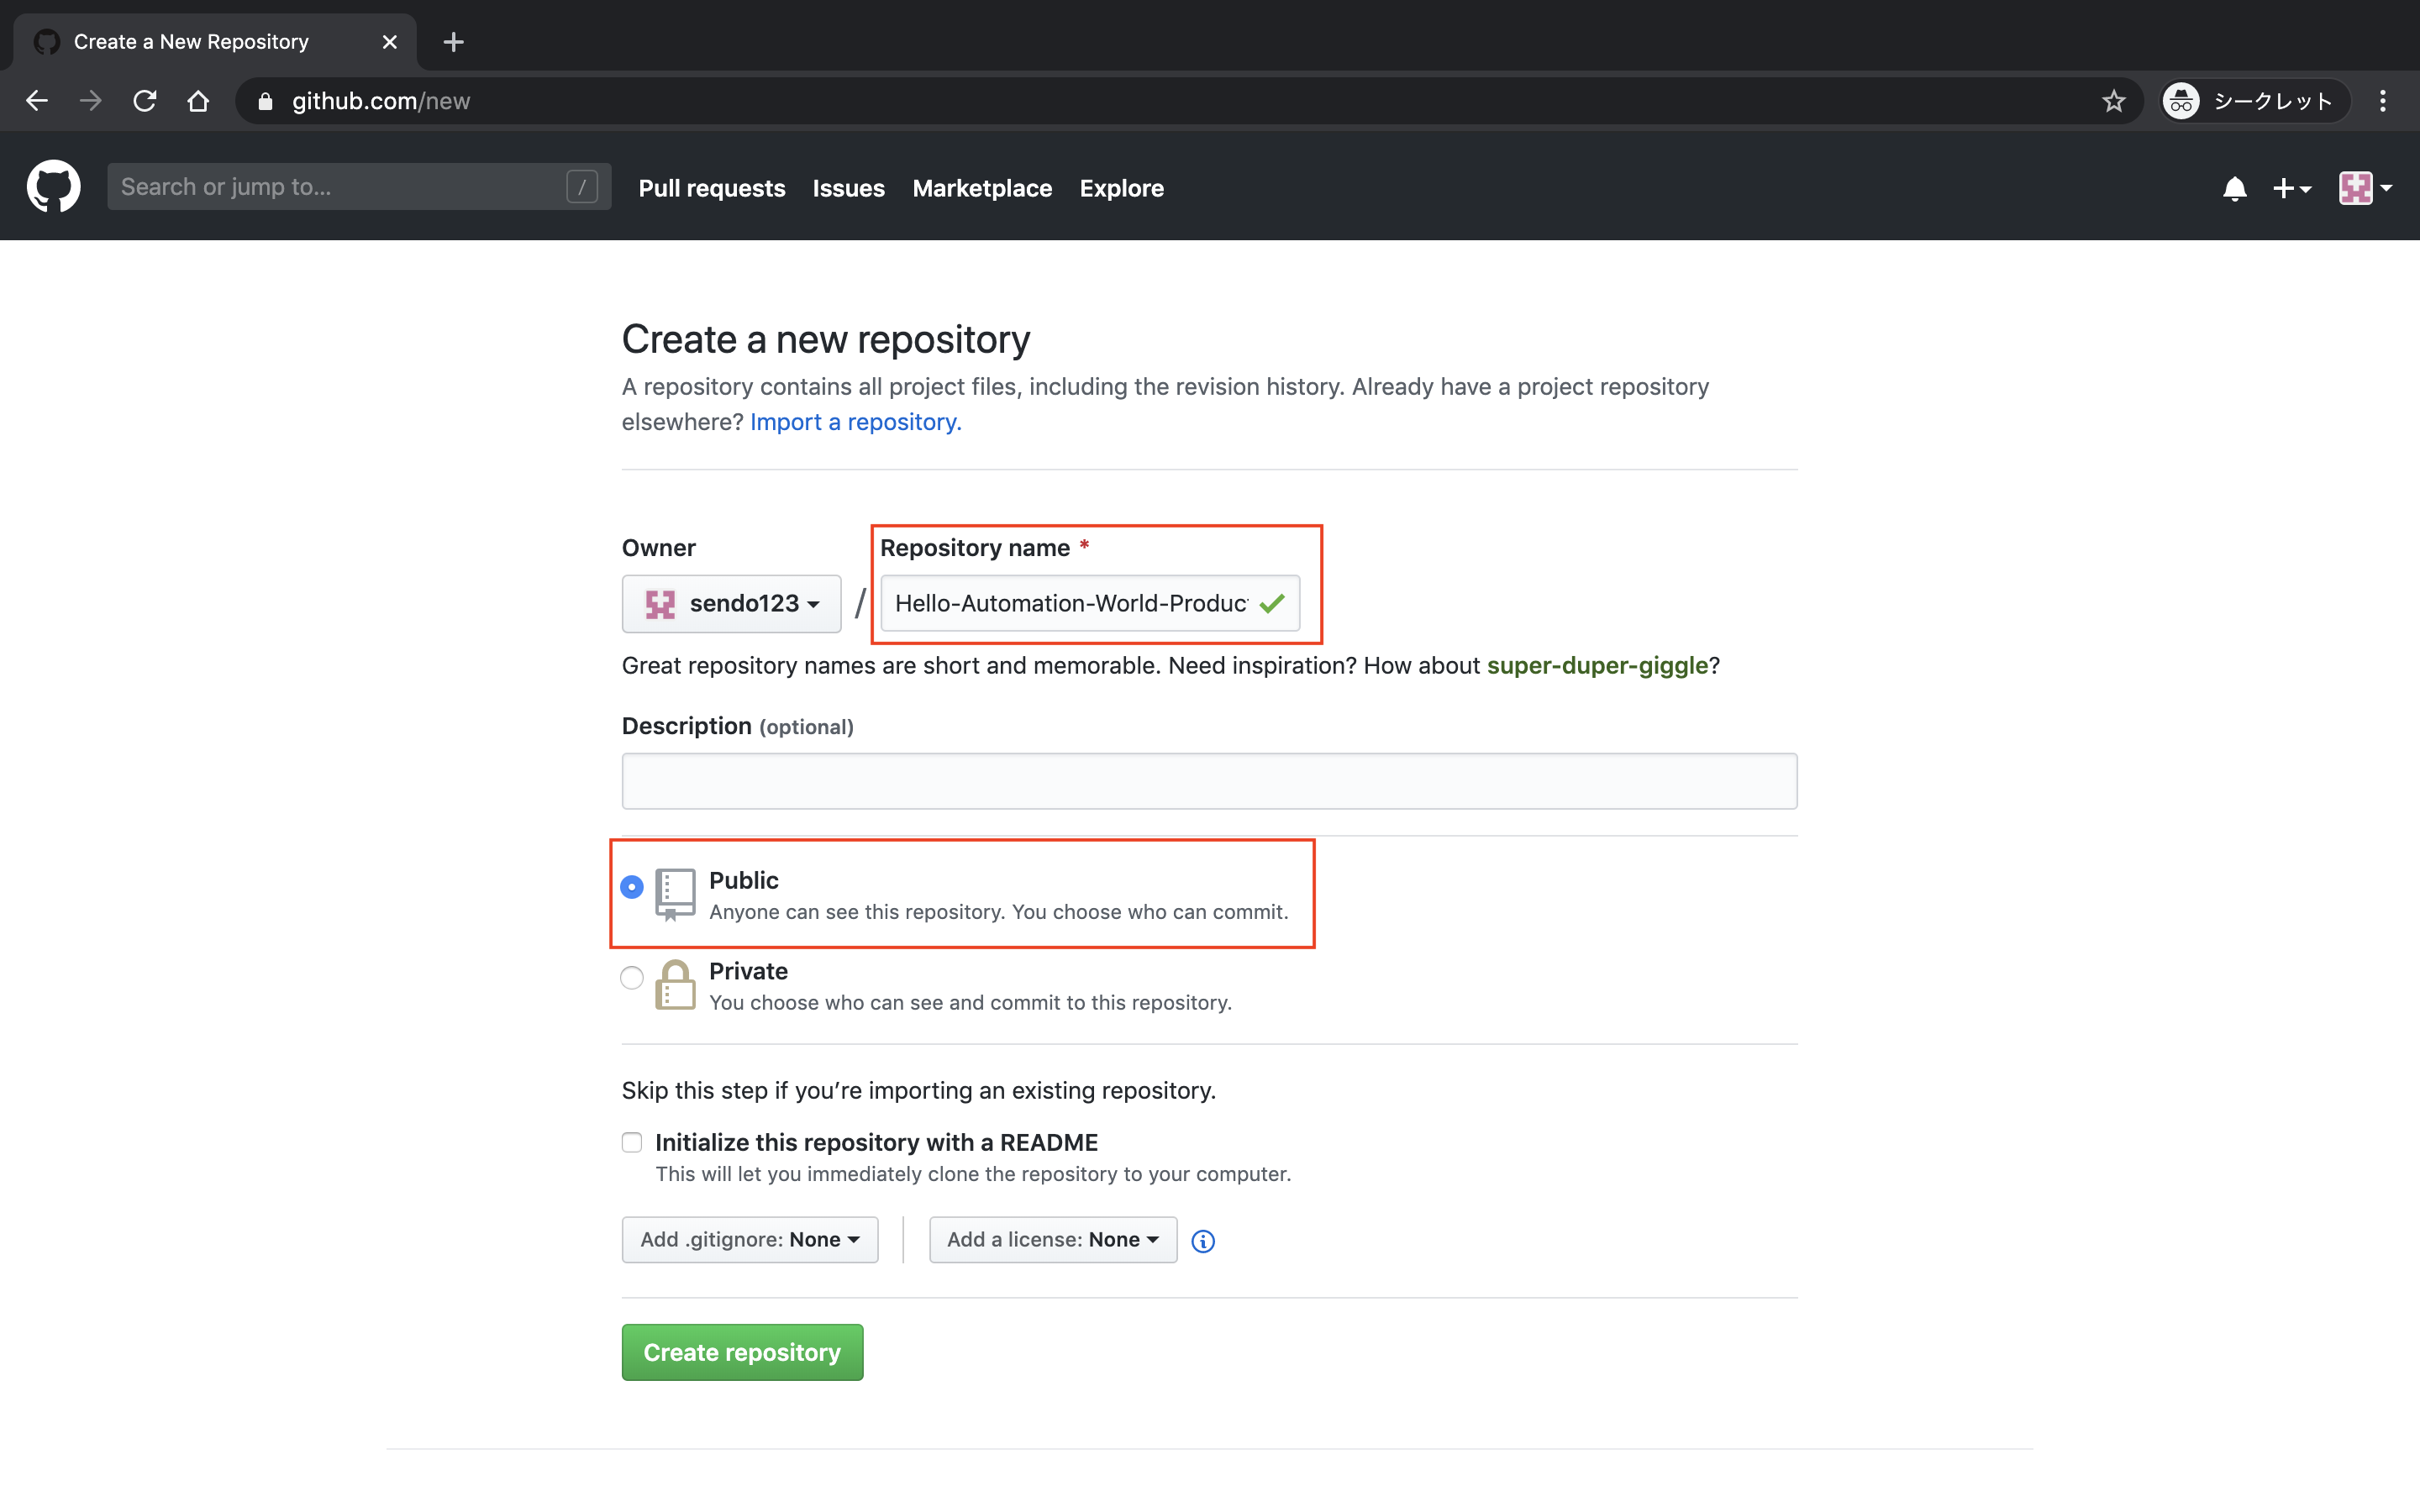
Repository name(好きな名前でokです)、Publicを選択し、Create repositoryを押下します
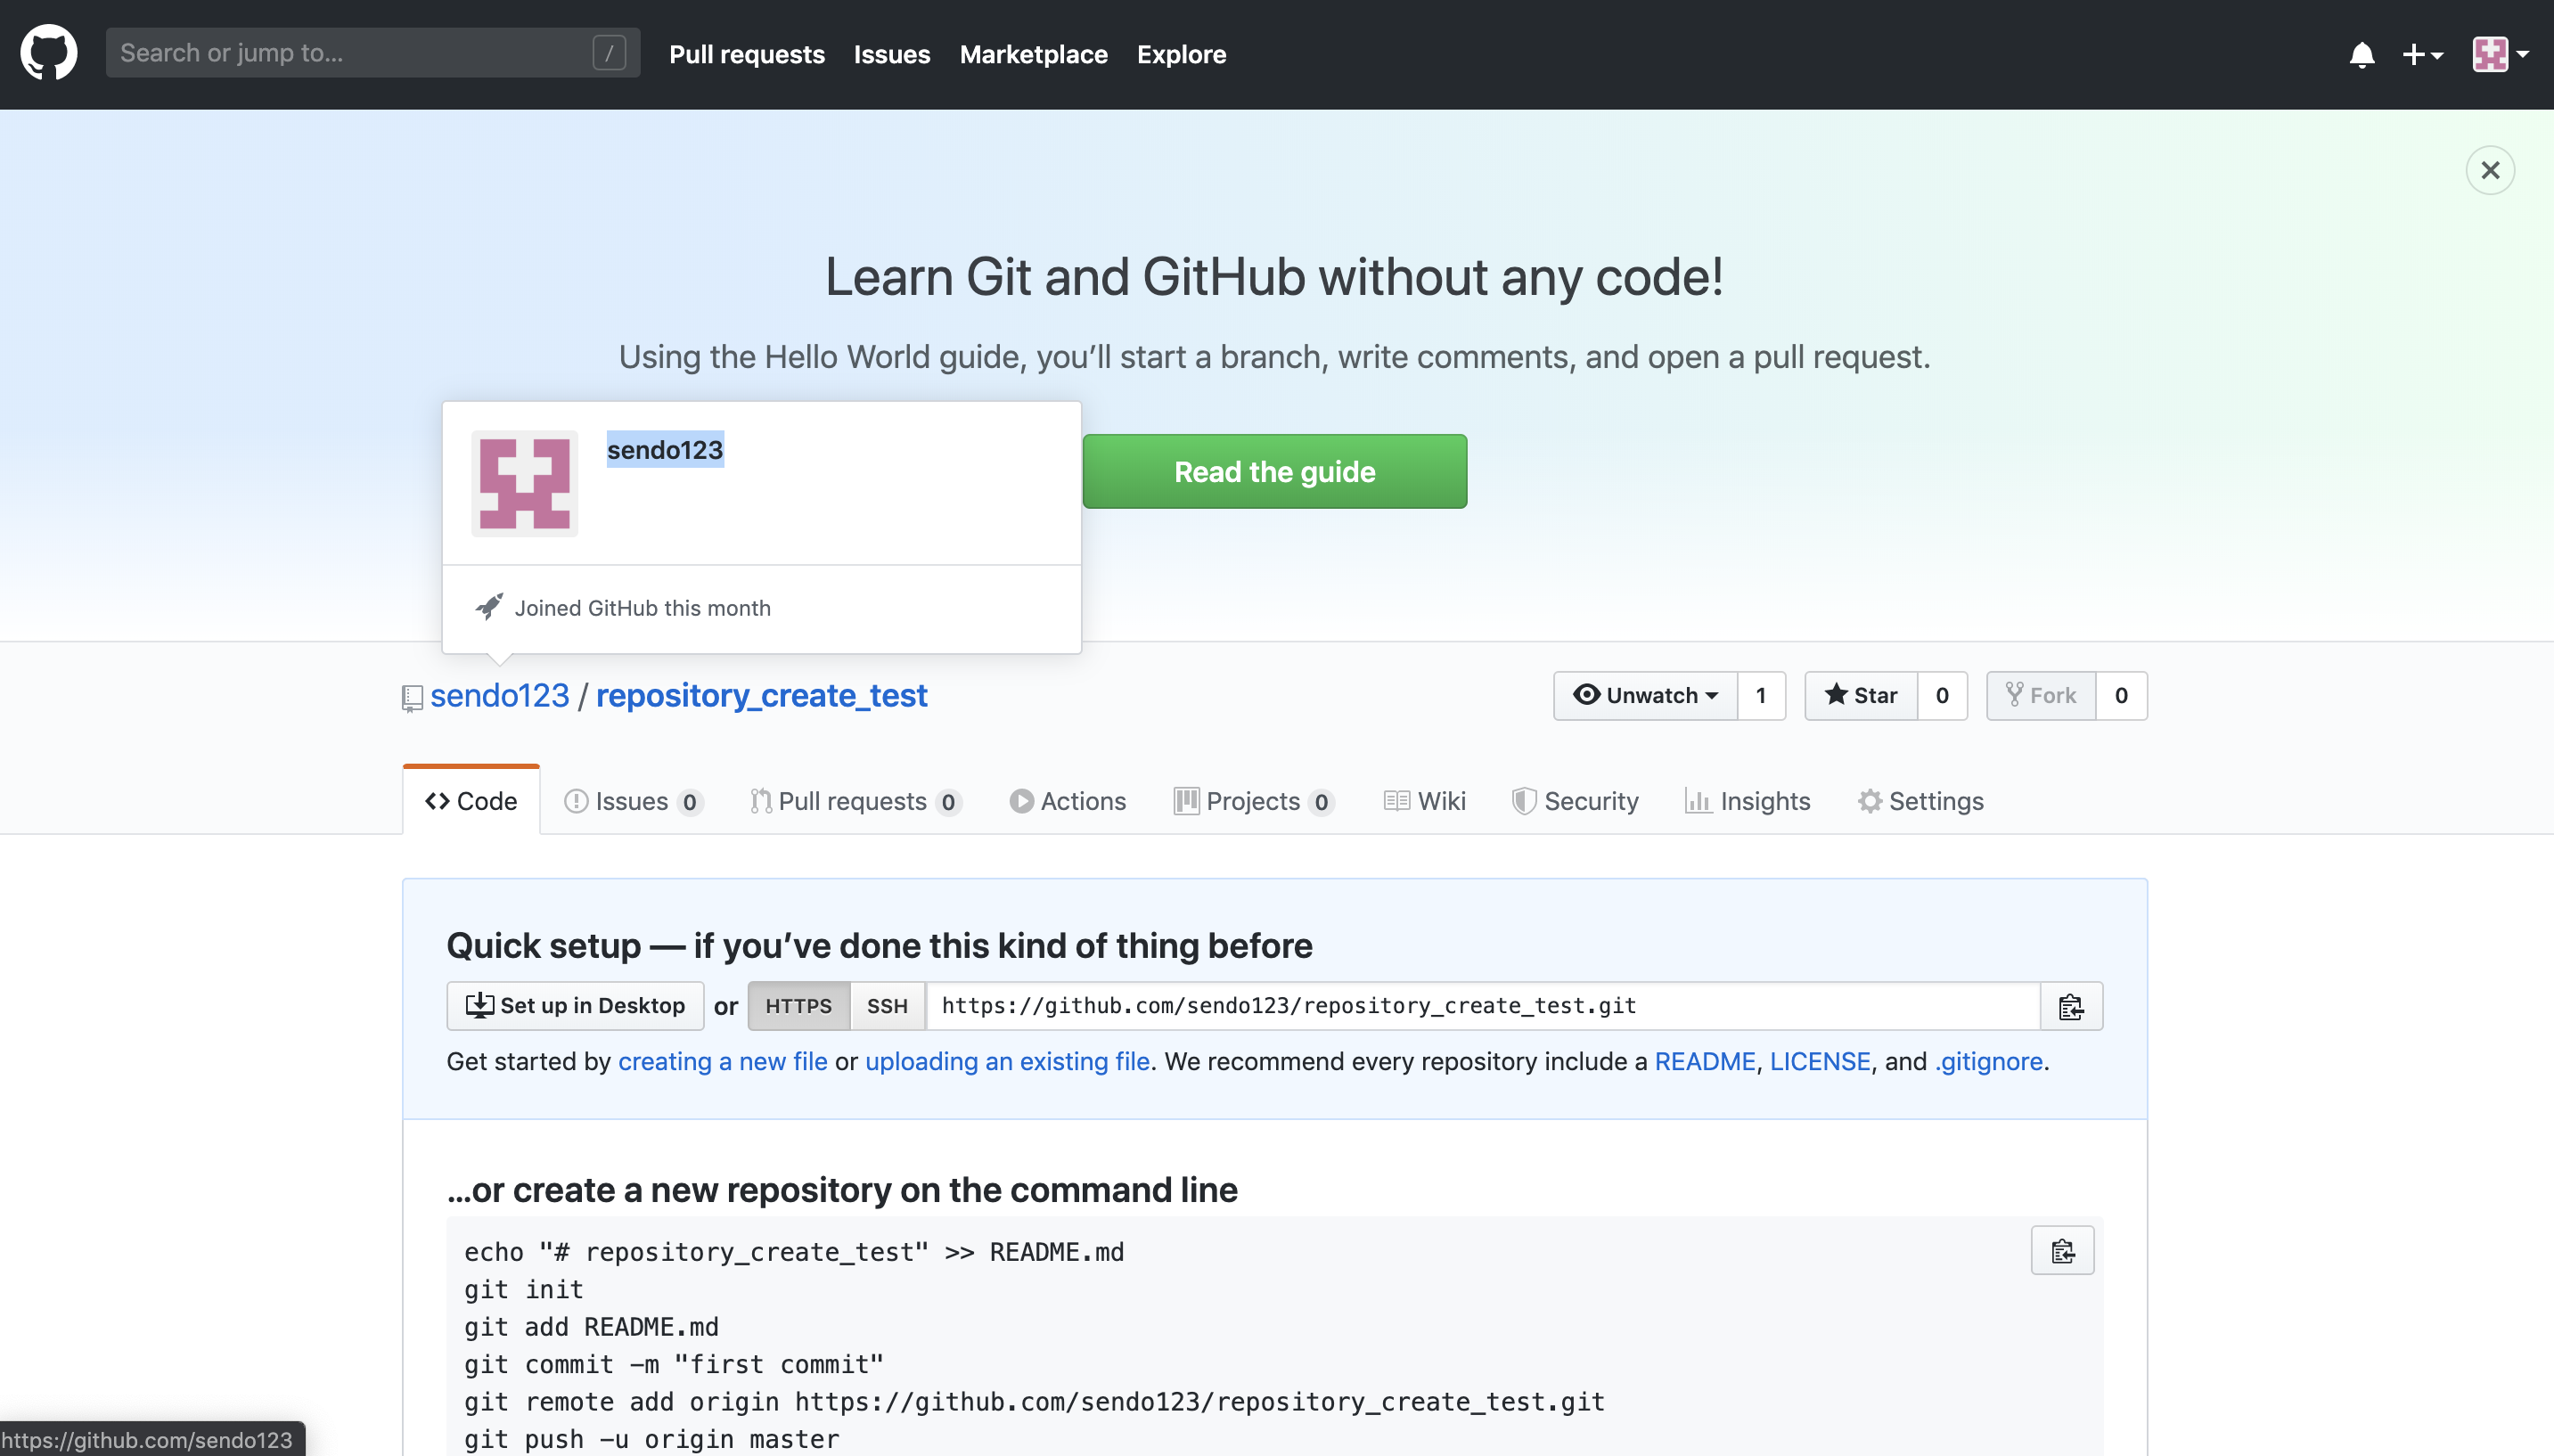
- この画面が表示されたらGitHubアカウントとリポジトリの作成が完了です
CircleCI アカウント作成
-
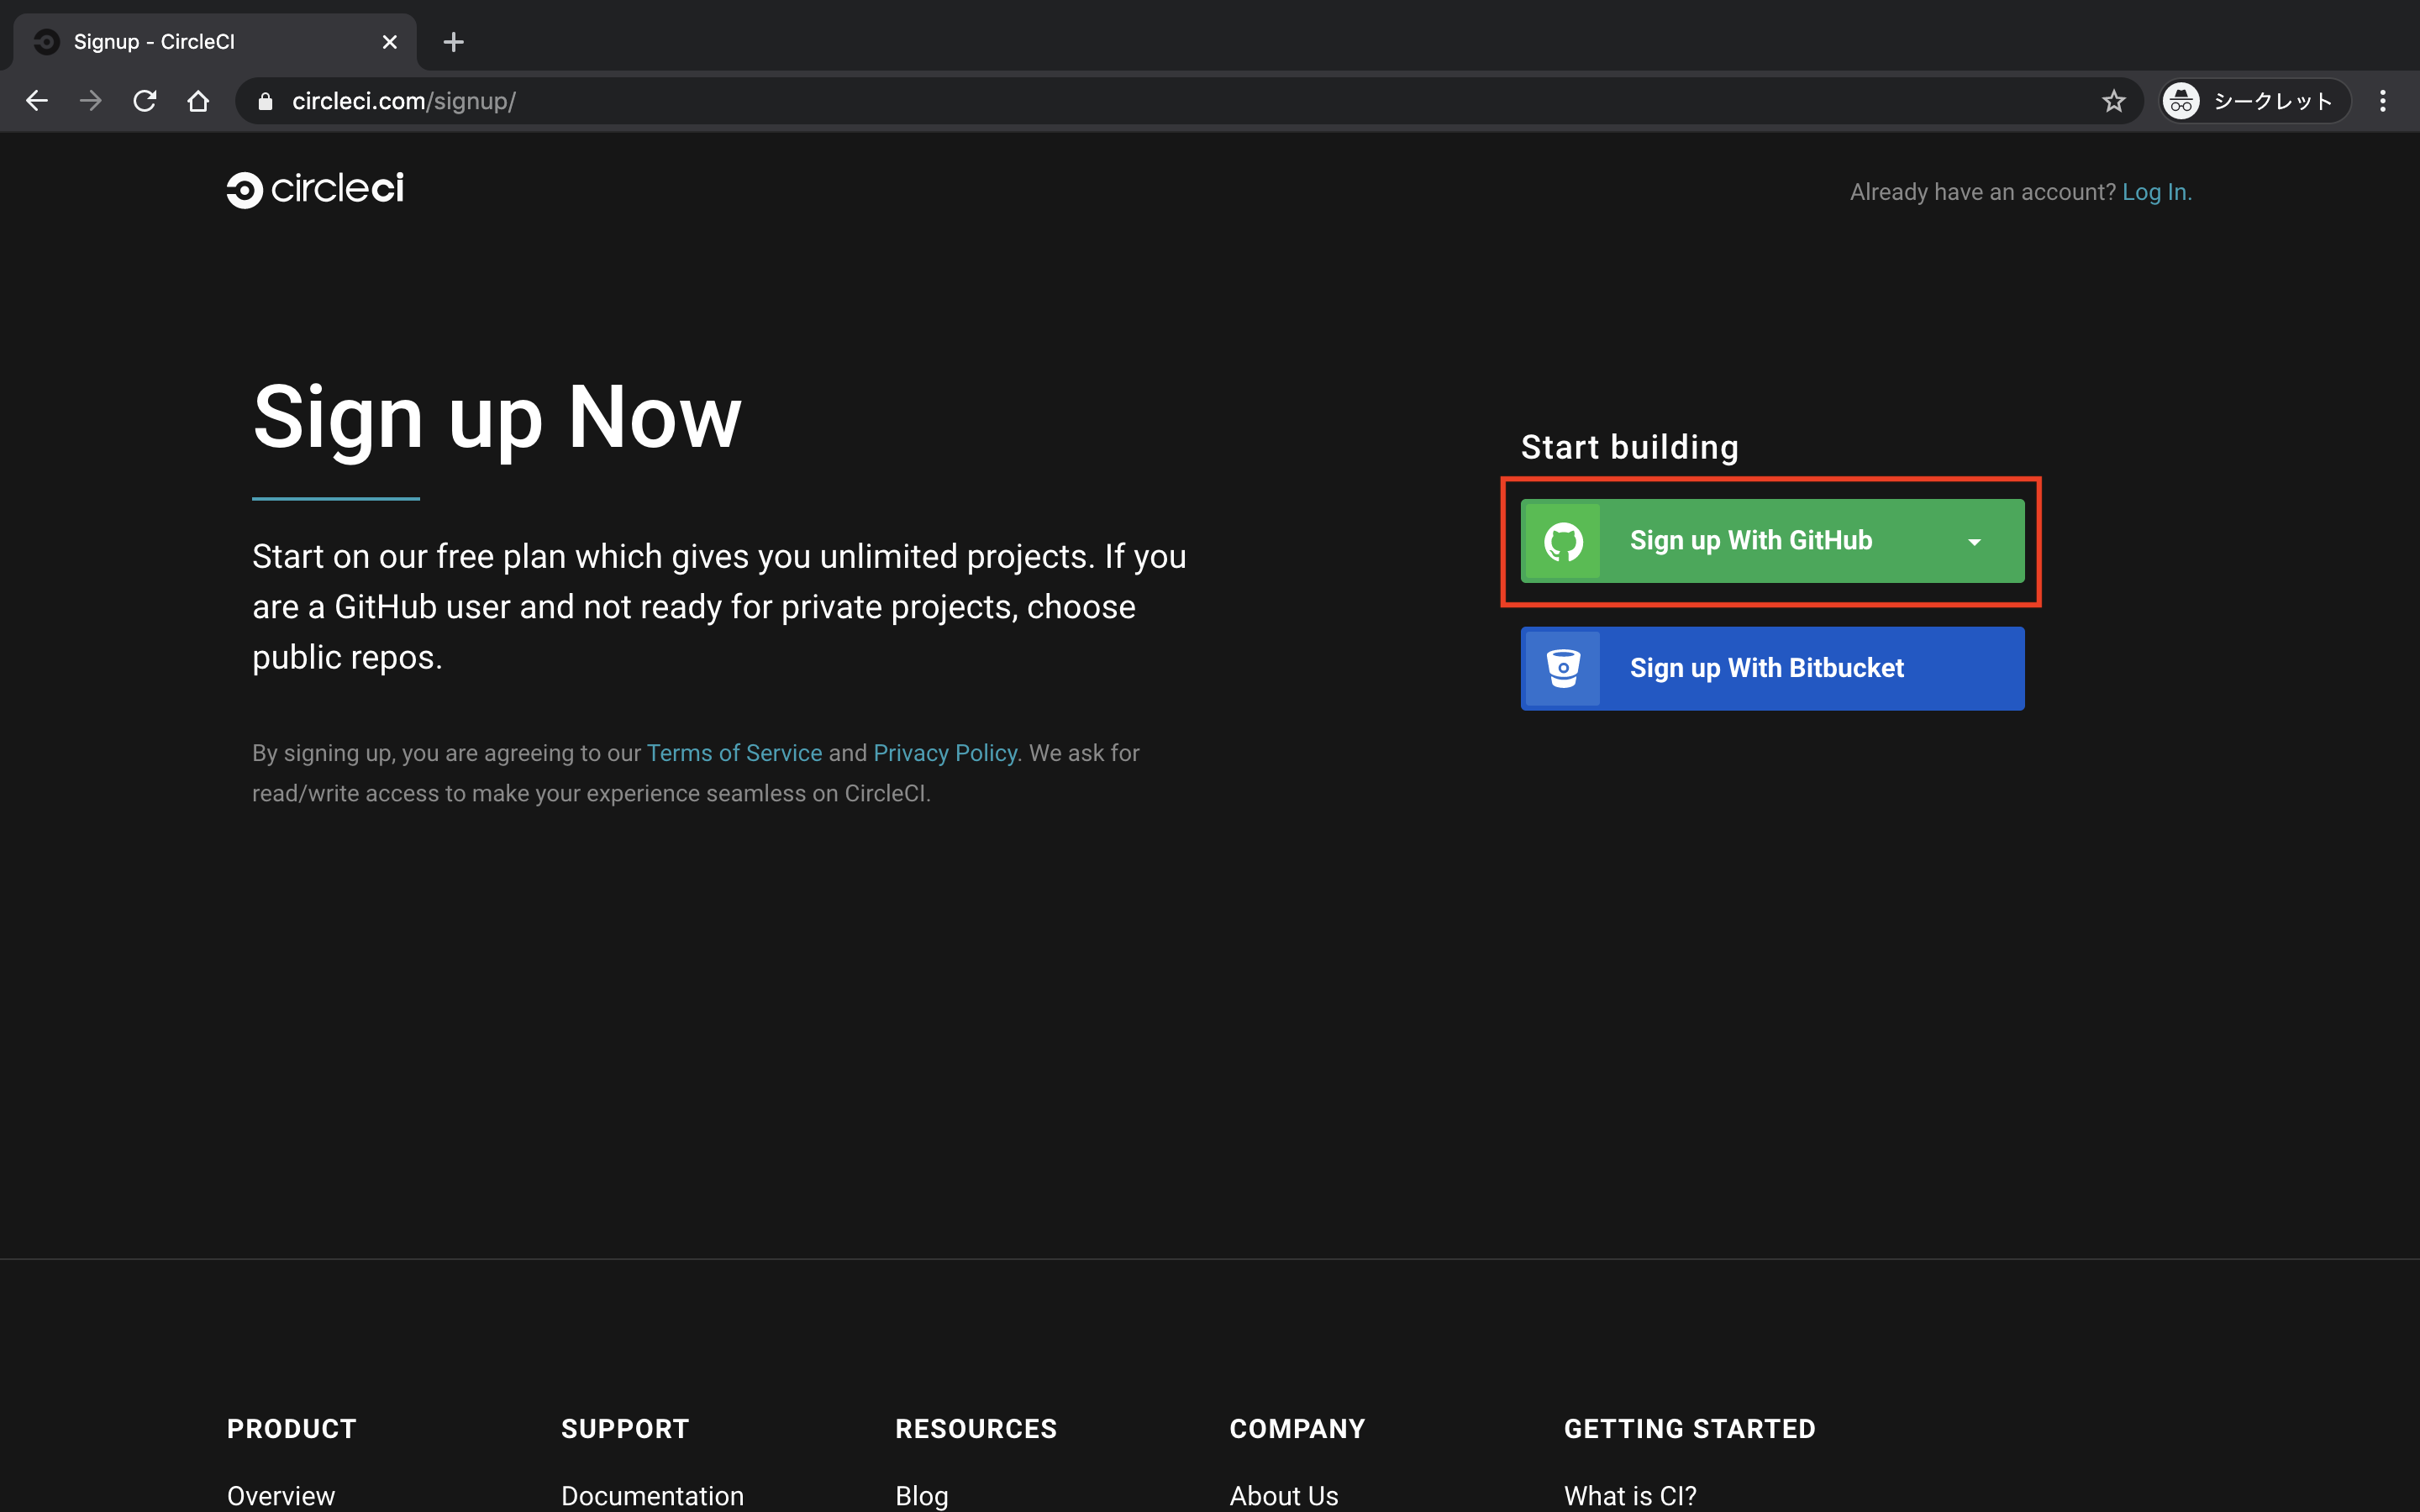
CircleCIのページにアクセスし、
Sign up With GitHubを押下します
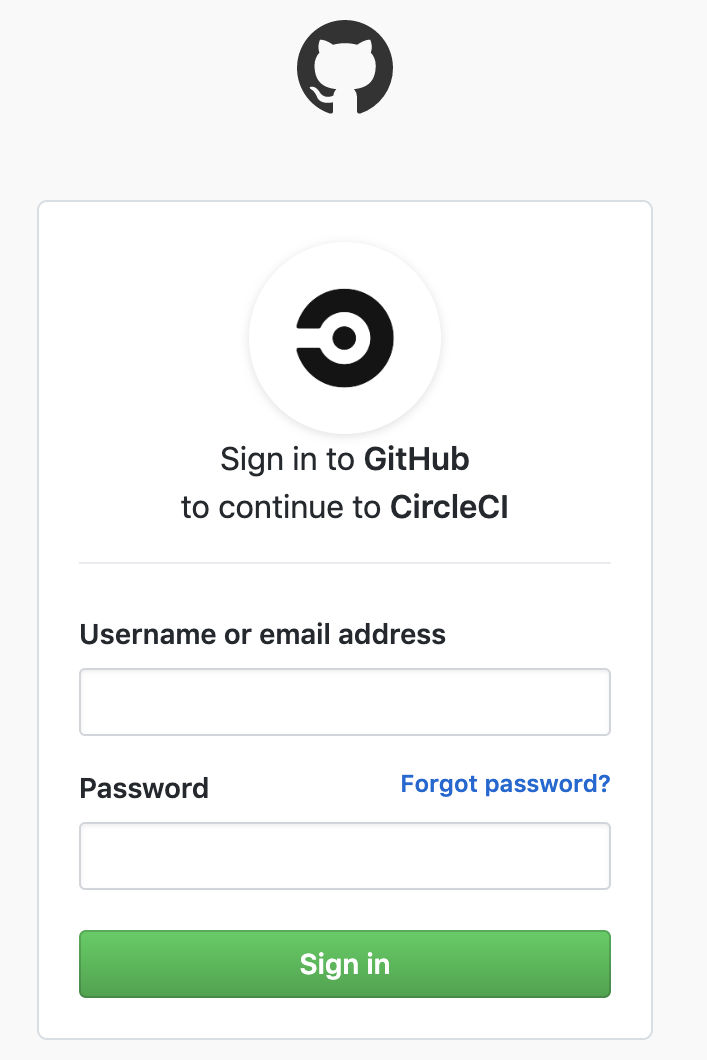
- GitHubに登録した
ユーザー名 or メールアドレスとパスワードを入力して、Sign inを押下します
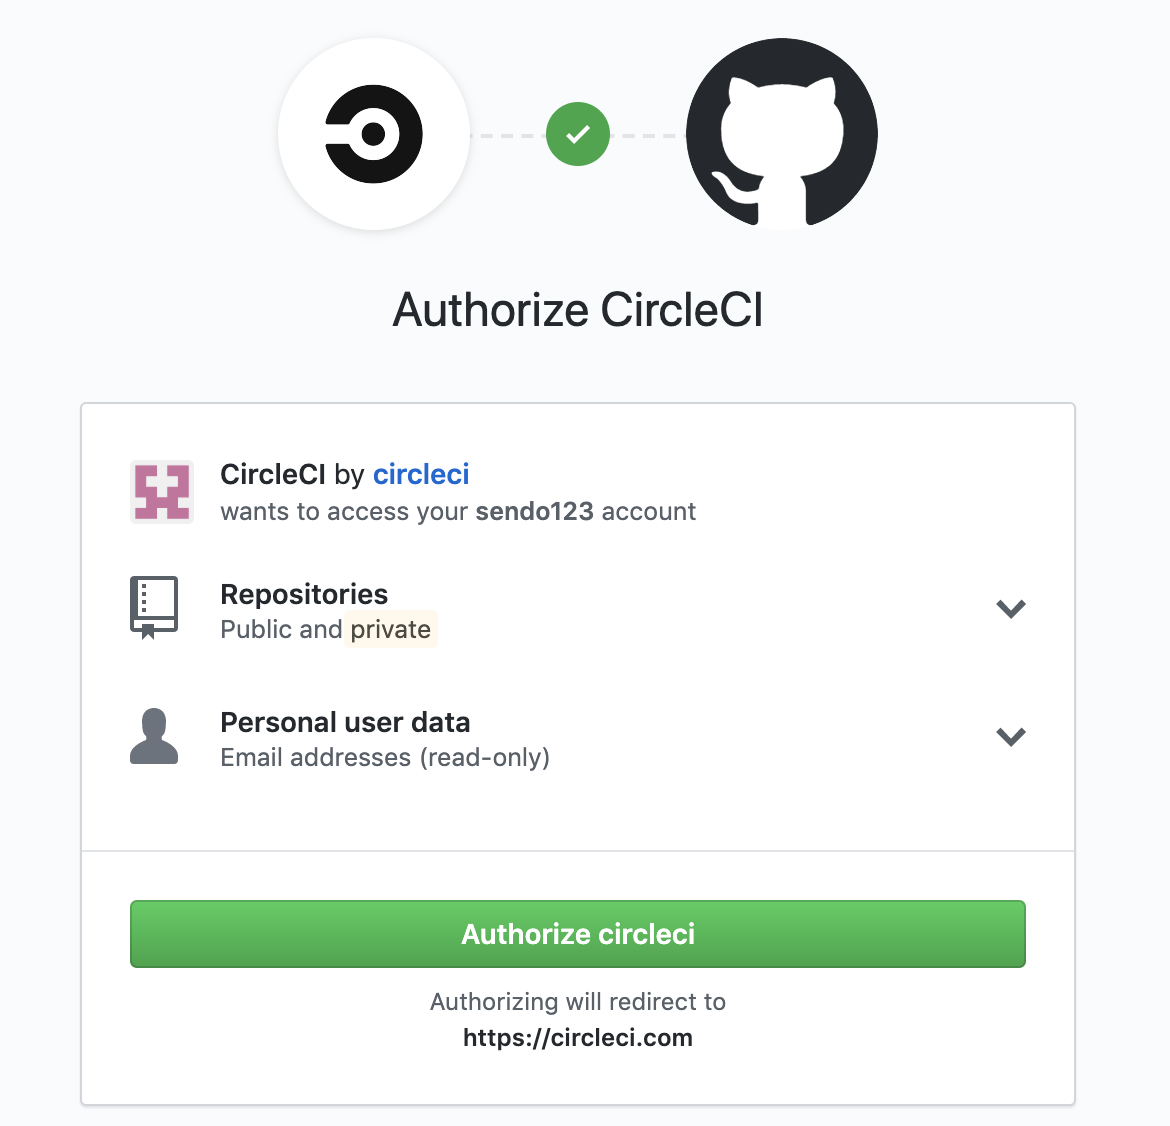
- この画面は何もせず
Authorize circleciを押下でOKです
- リダイレクト画面が表示された後、以下の画面が表示されたらCircleCIのアカウント作成は完了です

GitHubのリポジトリとCircleCIの連携
CircleCI アカウント作成の手順4から始めます
万が一CircleCIからログアウトしてしまっても、再度CircleCIにログインすれば、以下の手順2から再開することができます
- 画面右上の
Go to Appを押下します

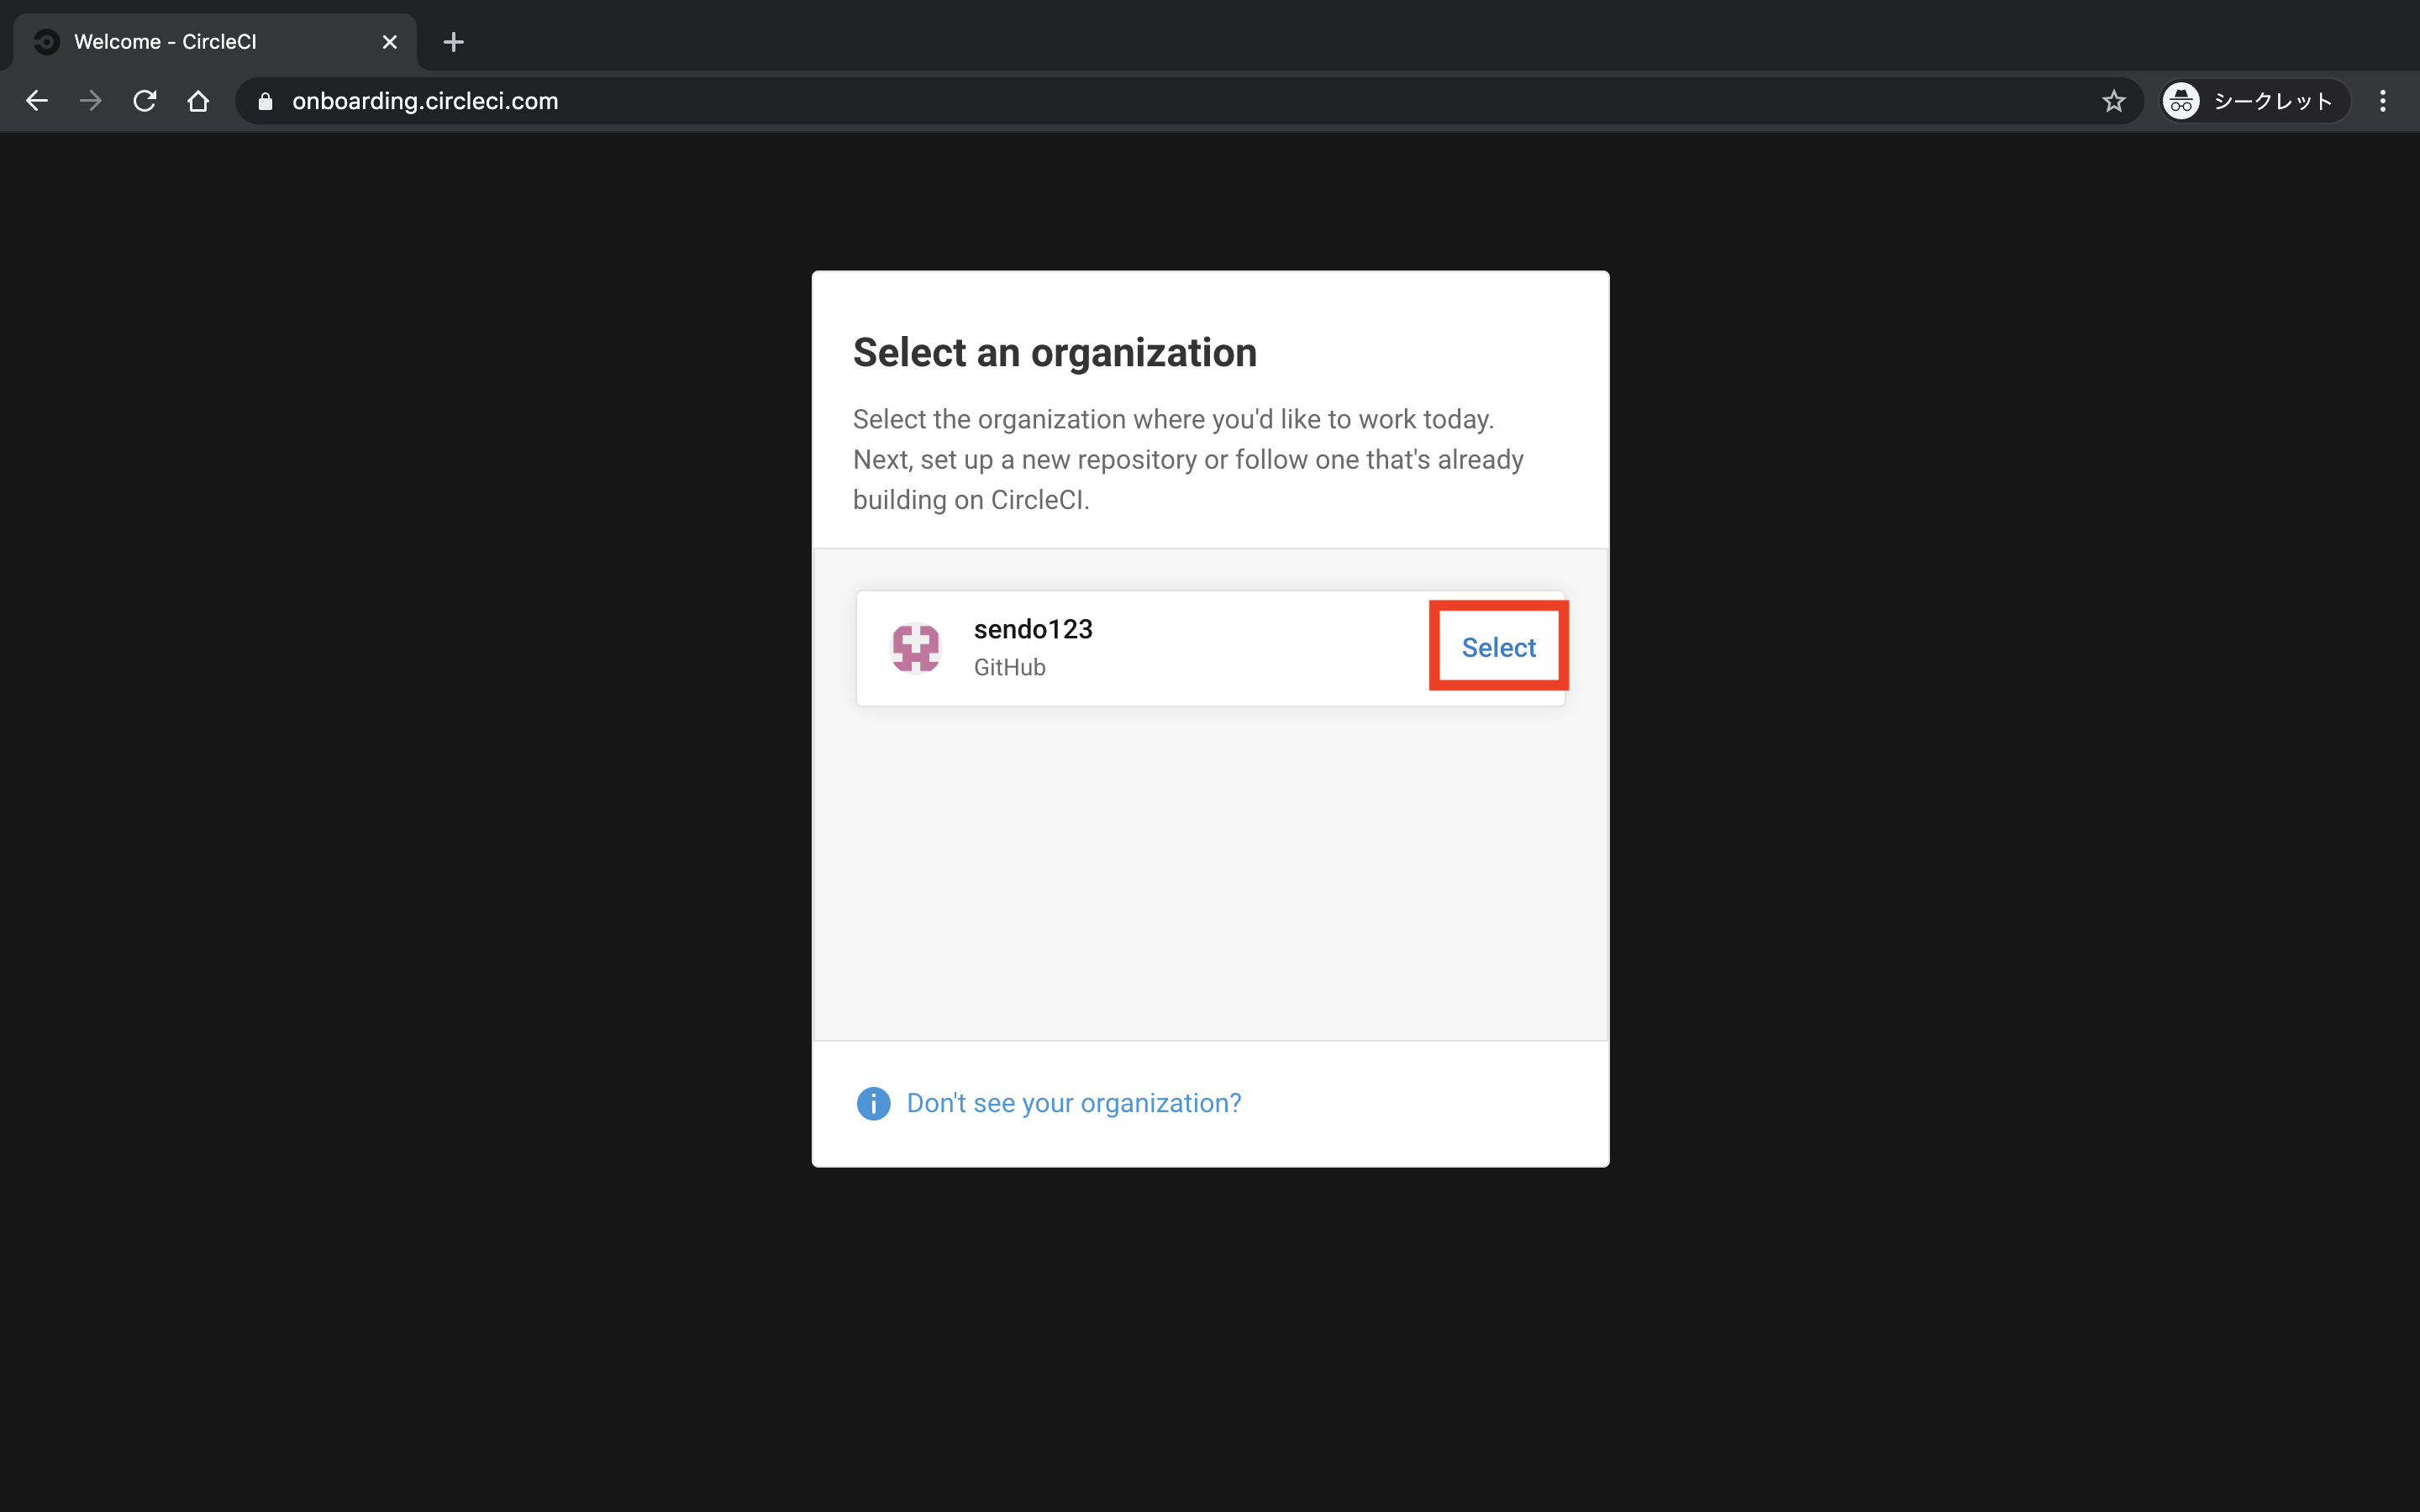
- 先ほど作成したGitHubのアカウントが表示されるので選択します
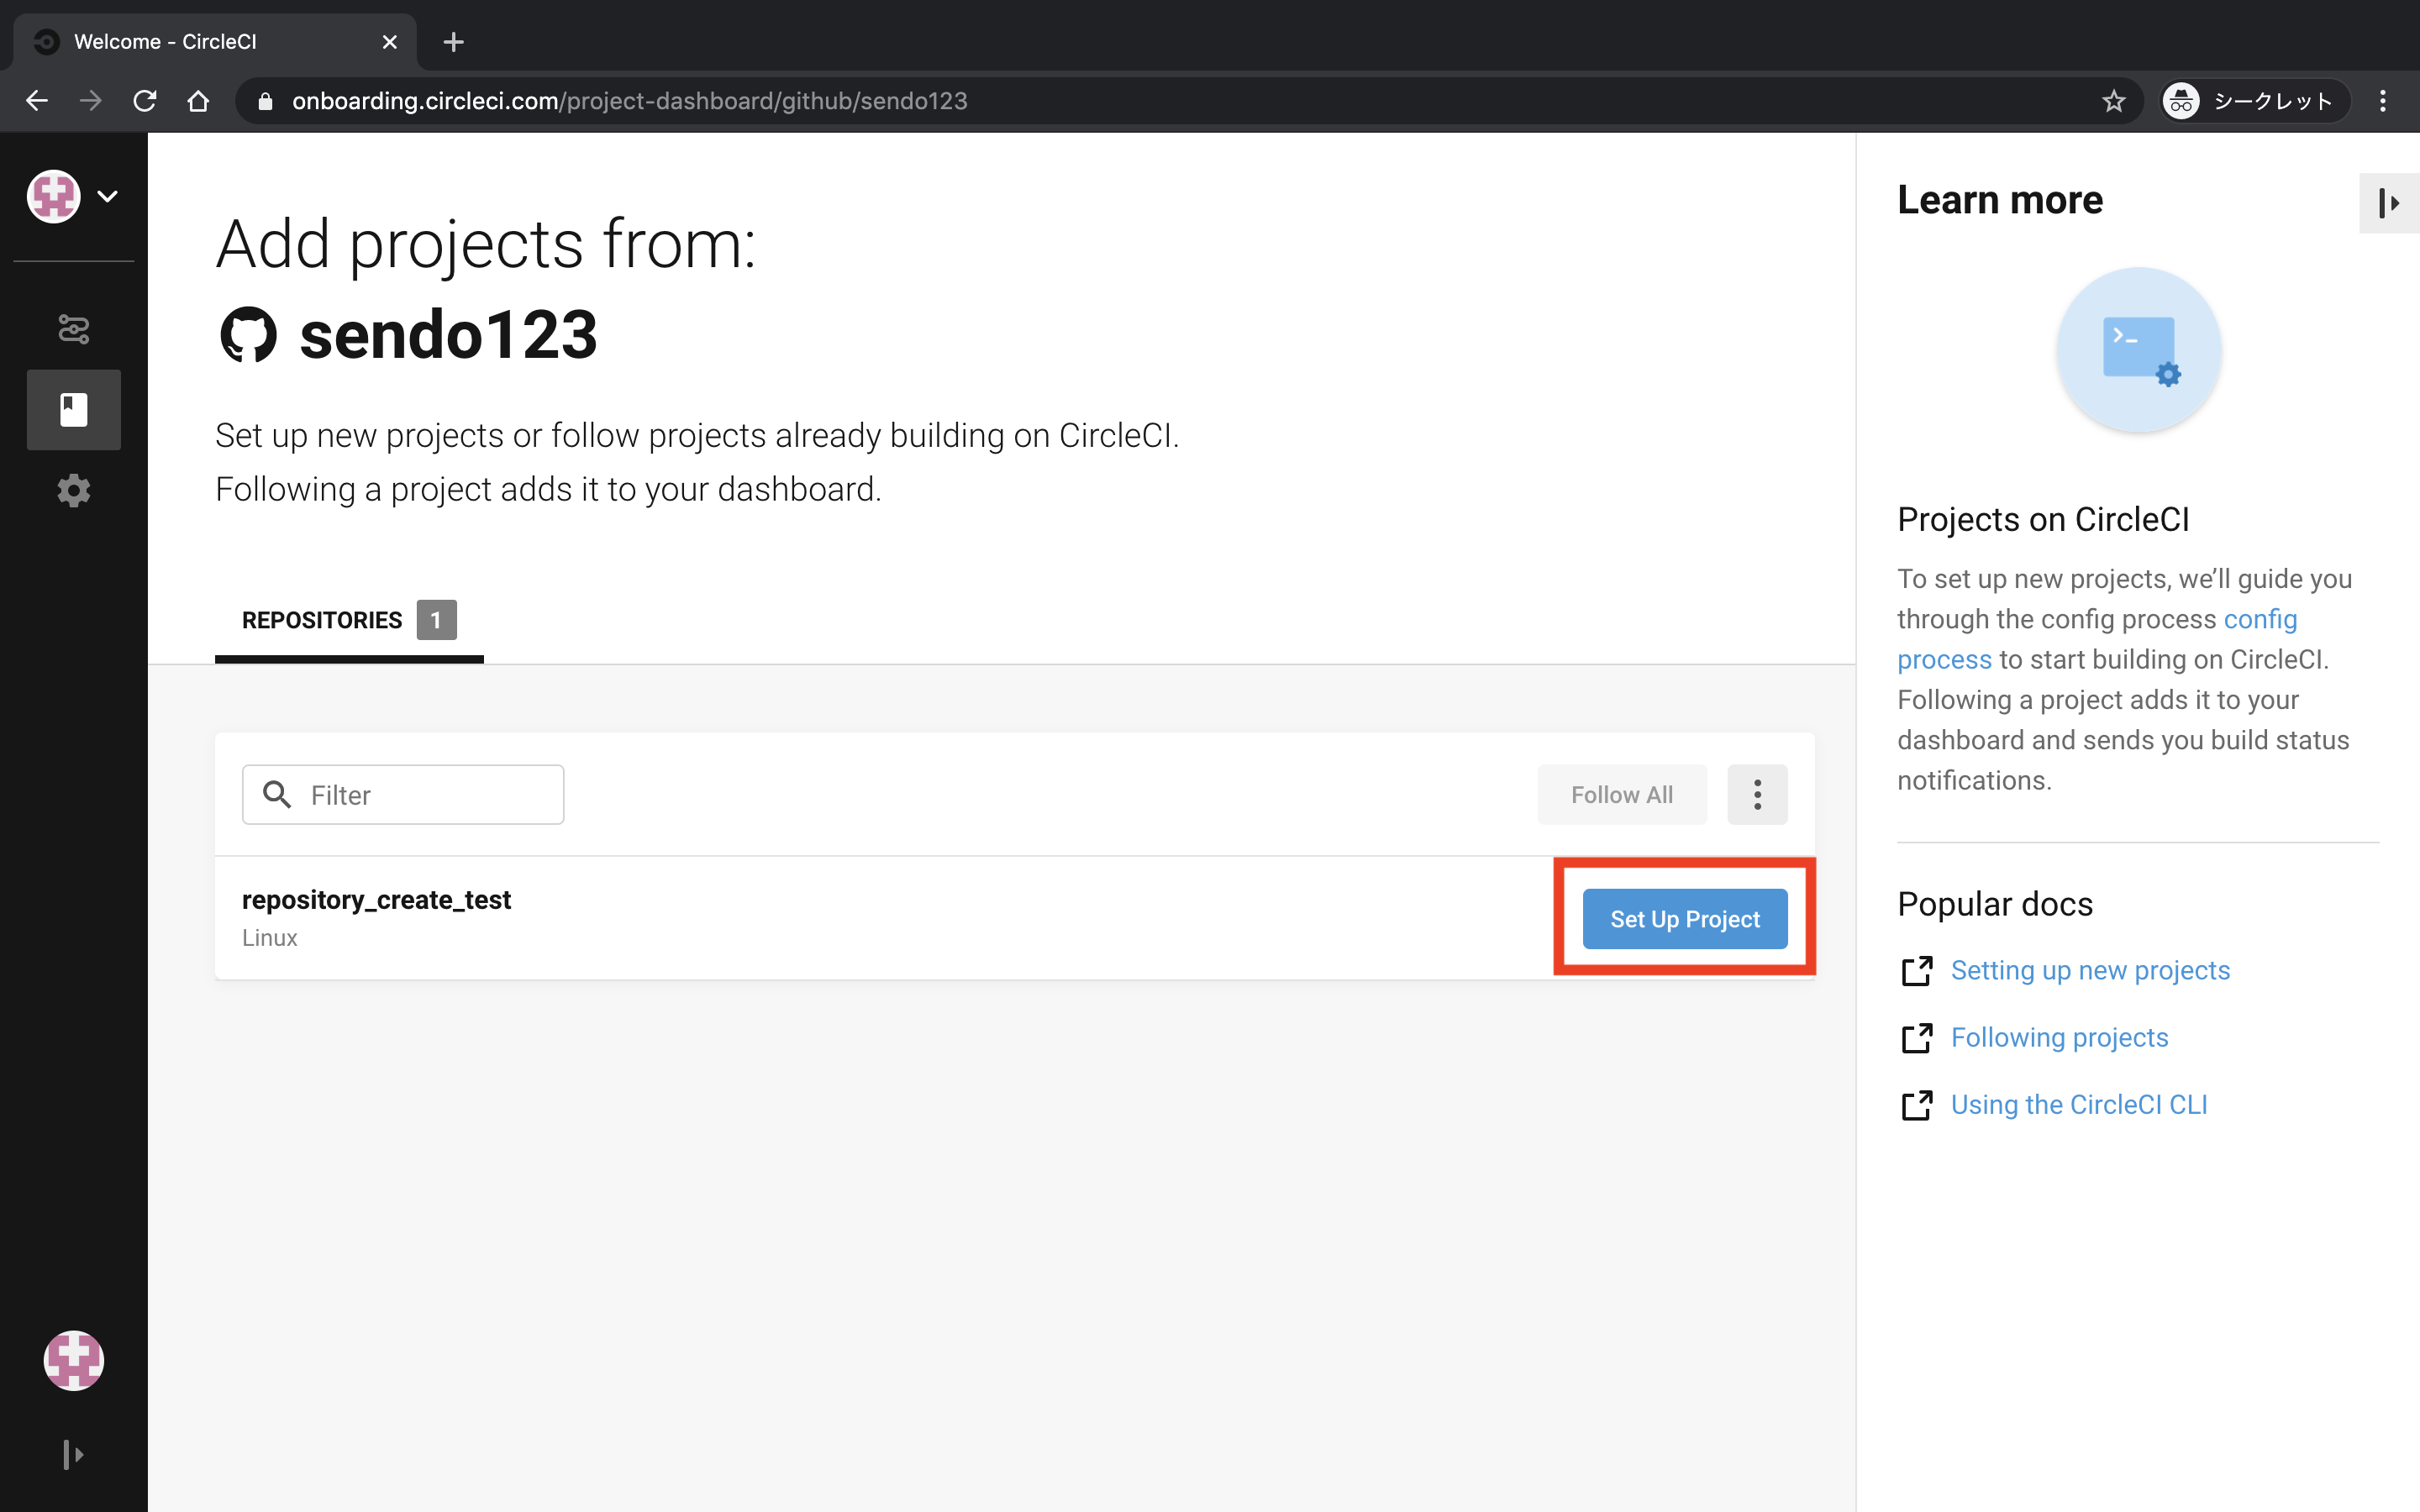
- 先ほどGitHubで作成したリポジトリが表示されているので、リポジトリ名の横の
Set Up Projectを押下します
- そのまま
Start Buildingを押下します
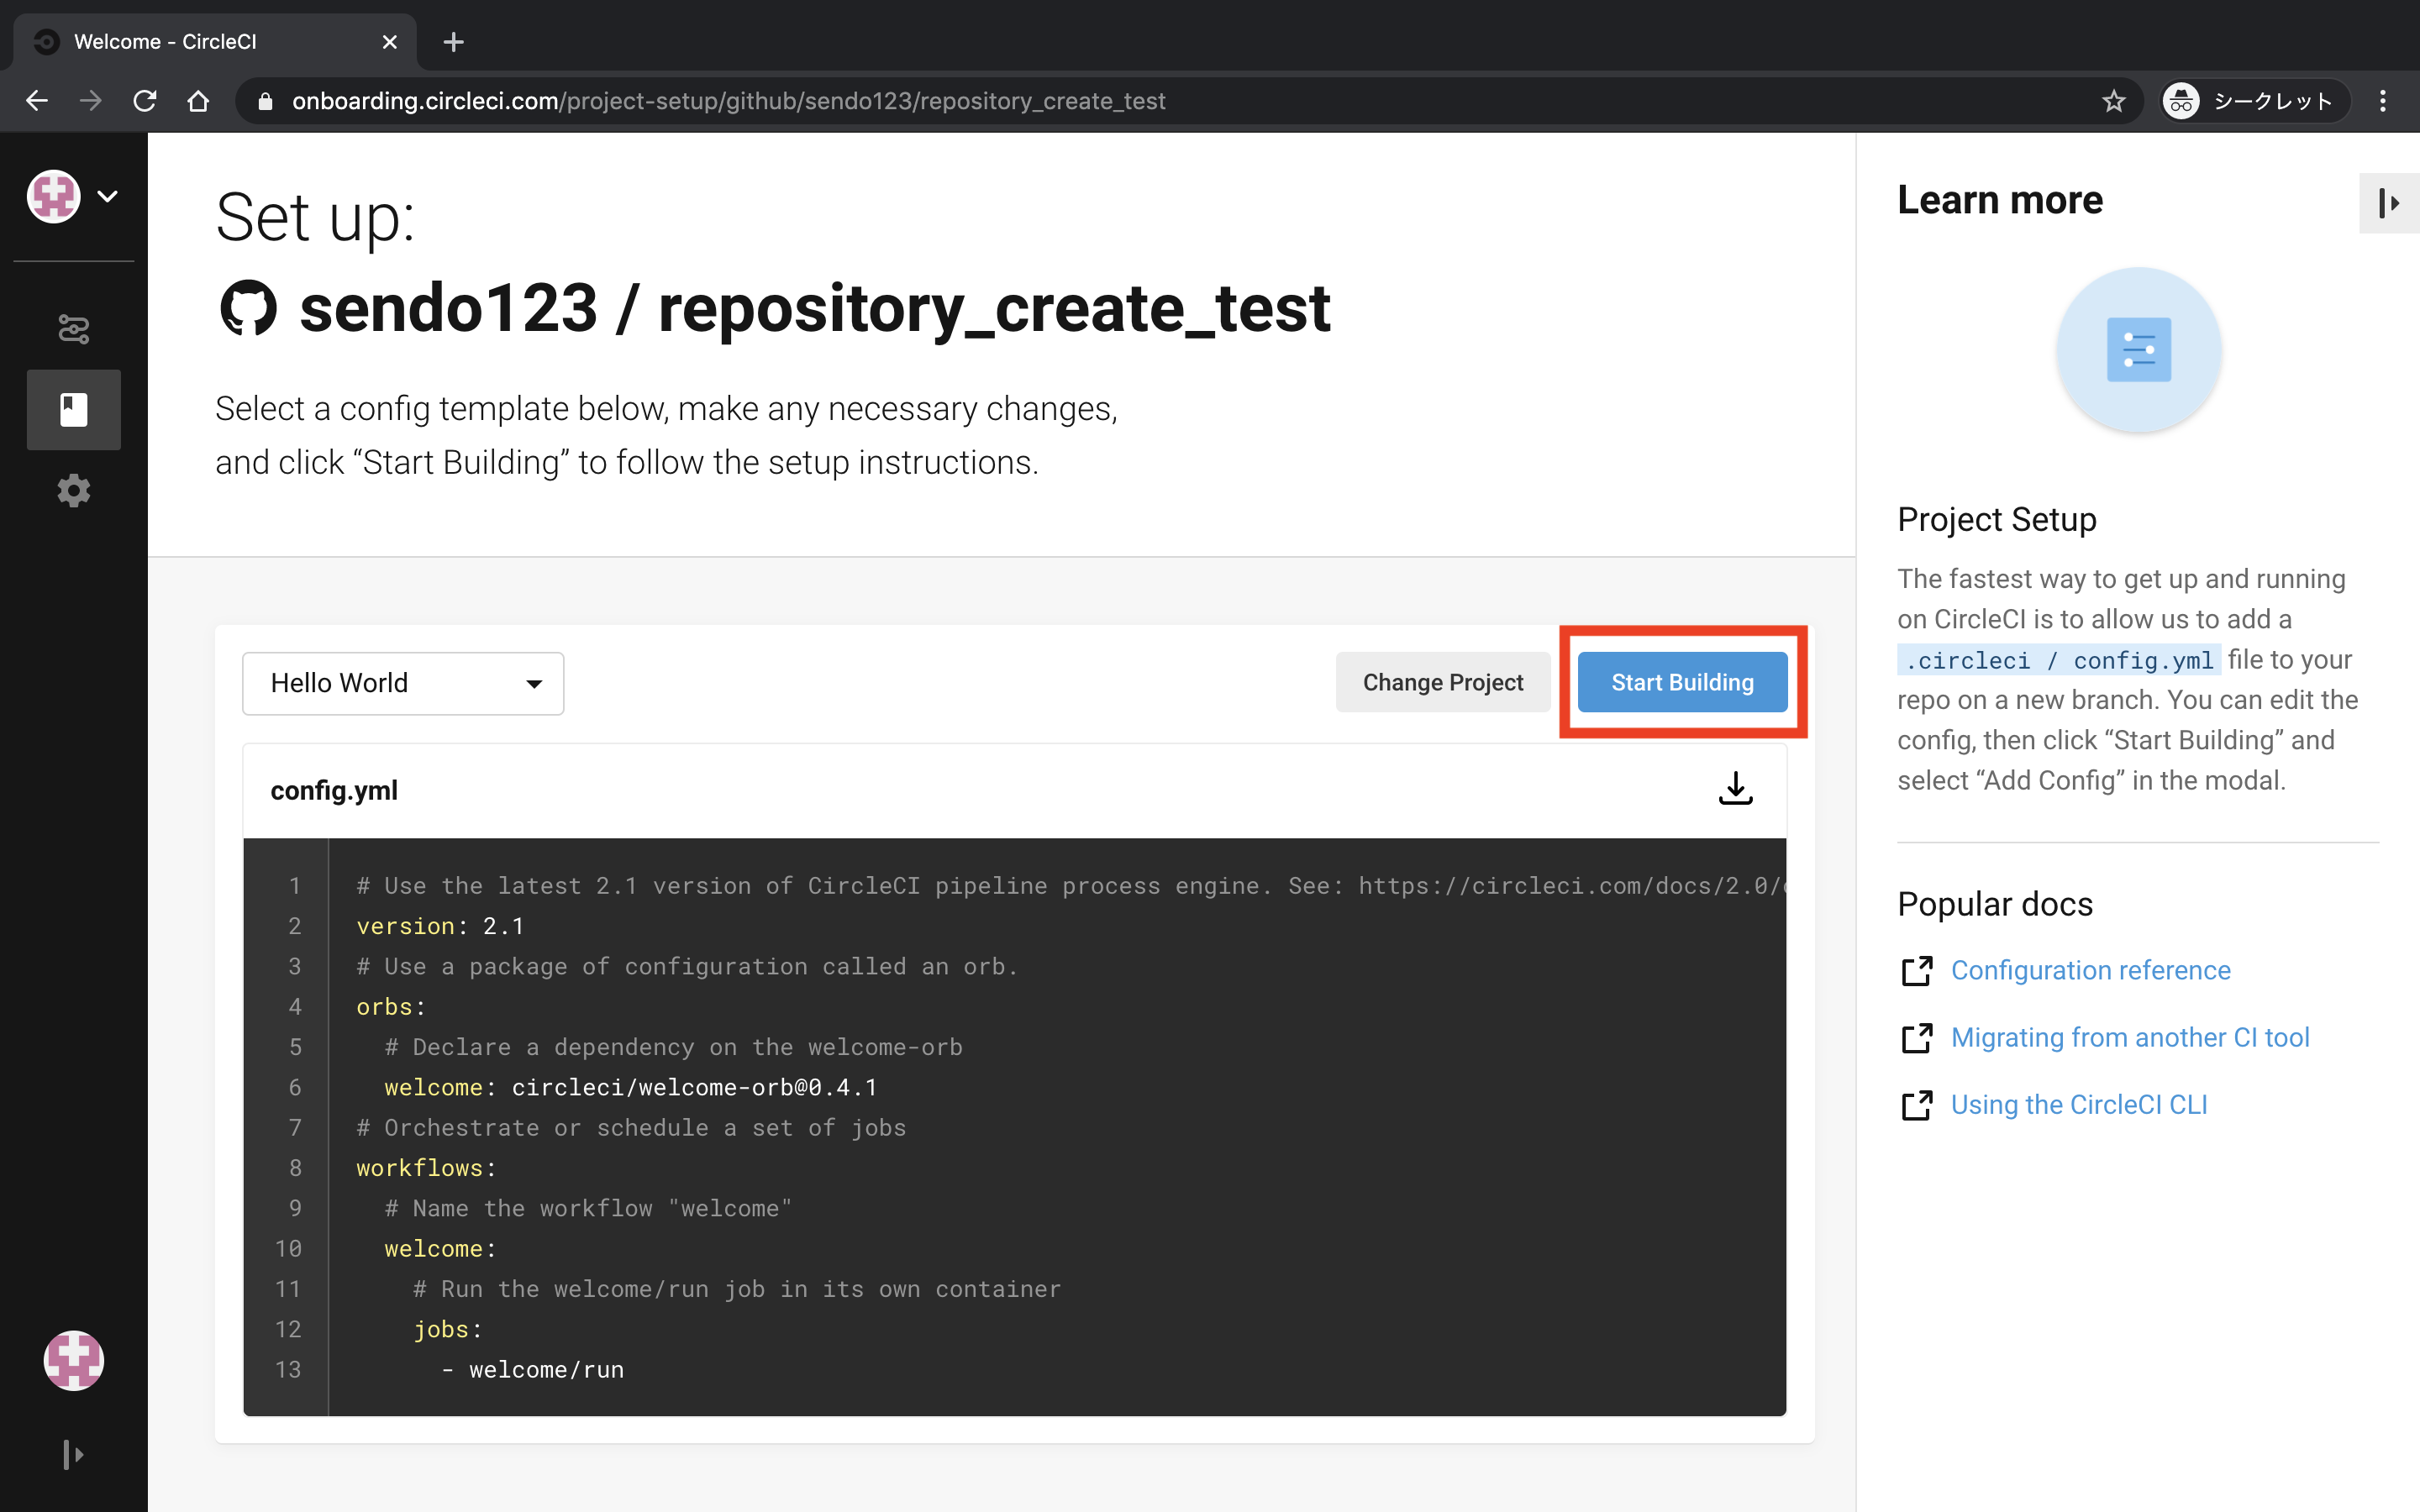
- この時点では
.circleci/config.ymlが無いので準備します
Download config.ymlを押下してyamlをダウンロードしてください
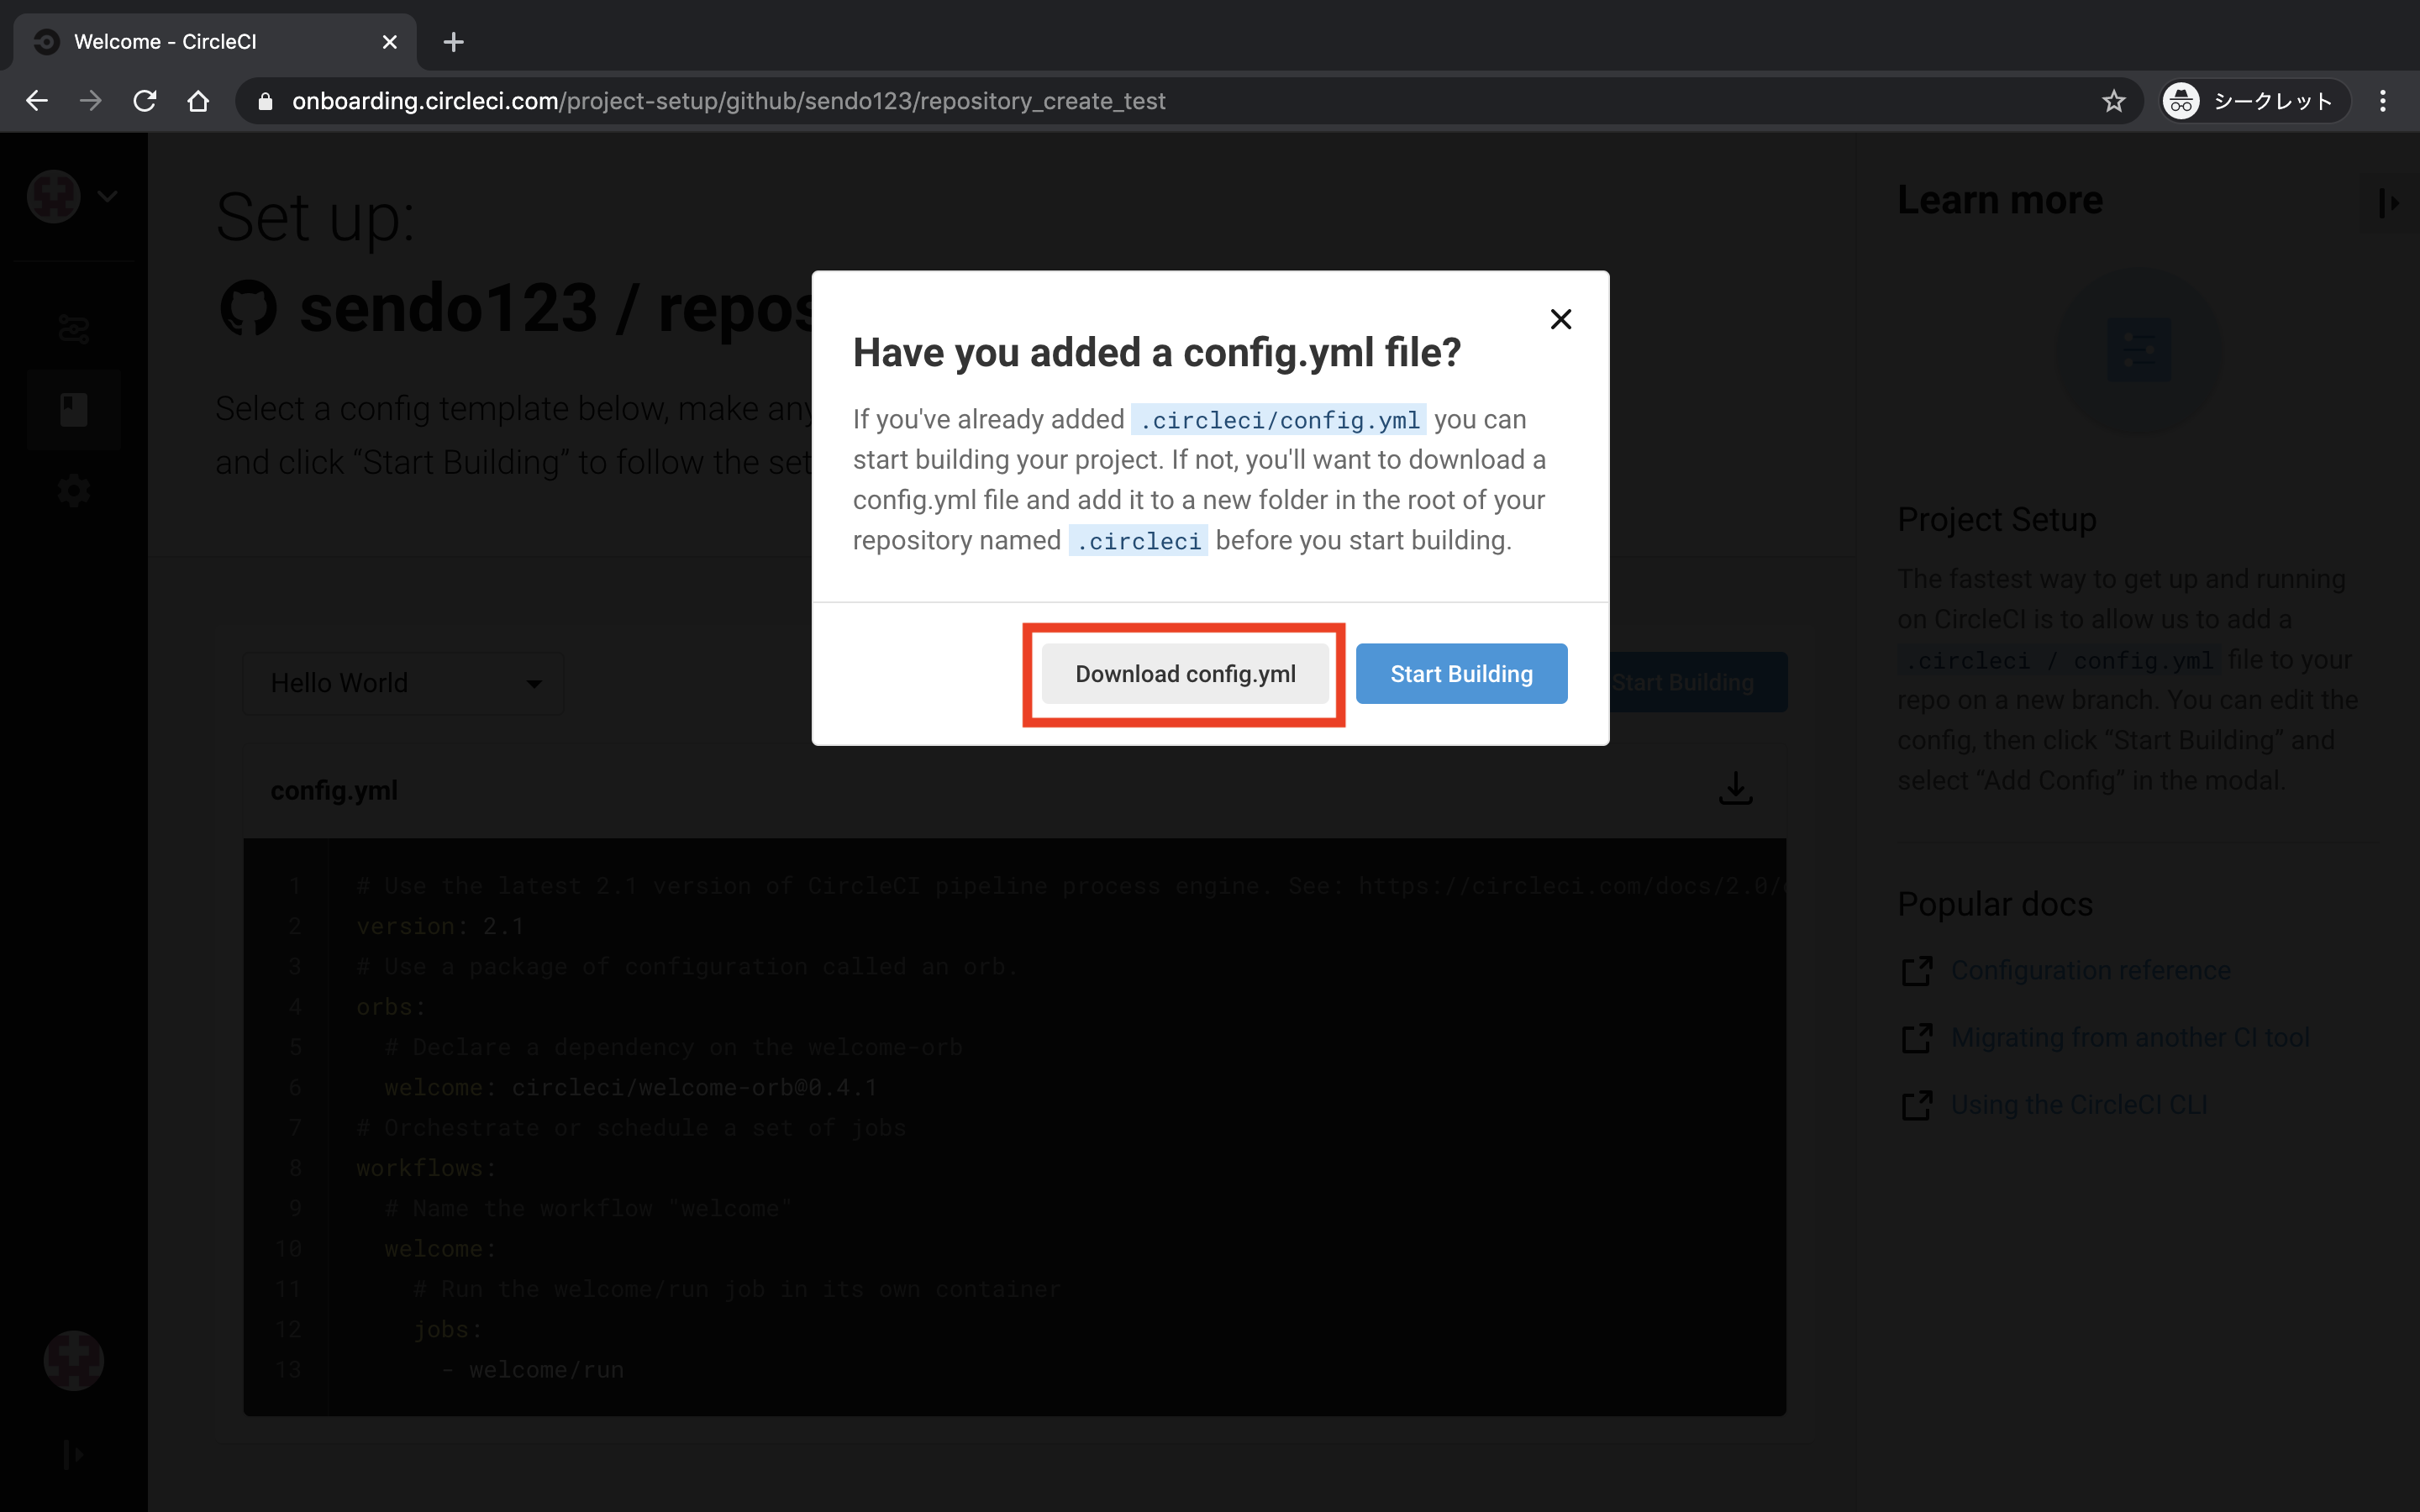
- ダウンロードしたyamlファイルを以下の構成になるように配置して、masterブランチでcommitしてGitHubにpushしてください
.
├── .circleci
│   └── config.yml
- CircleCIの画面に戻り、
Start Buildingを押下してください
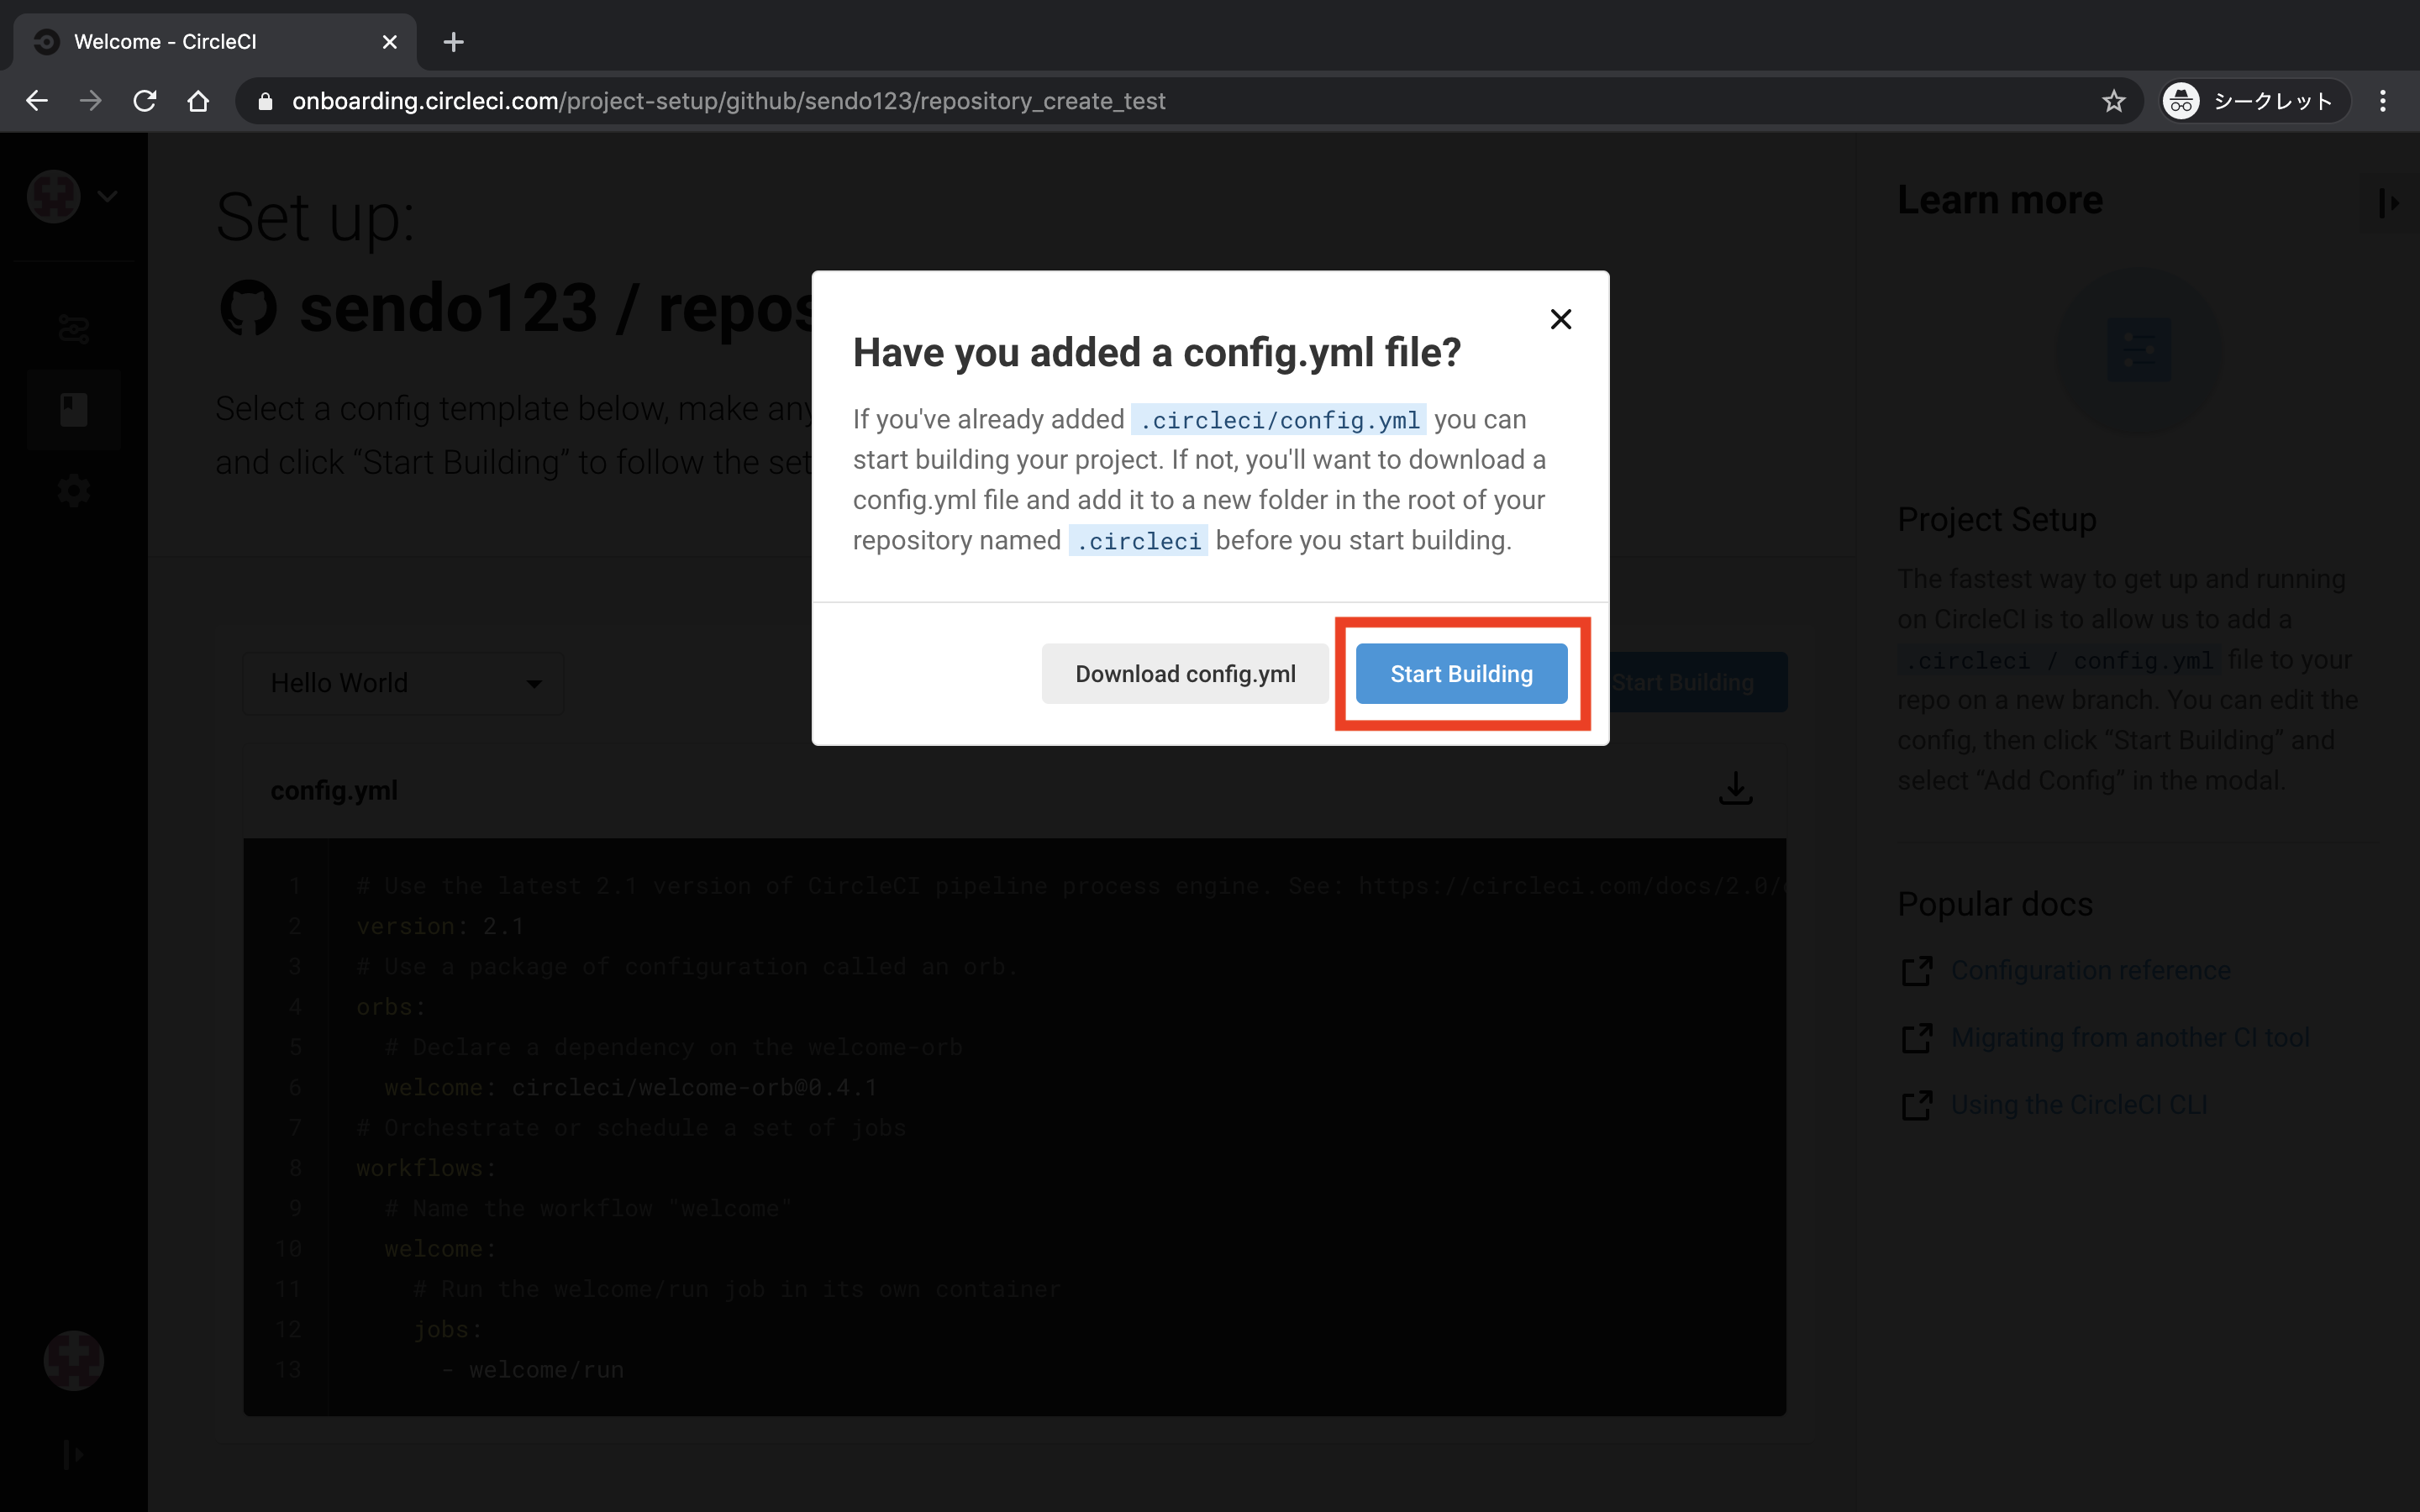
- この画面は右上の×マークを押下してもらえれば大丈夫です
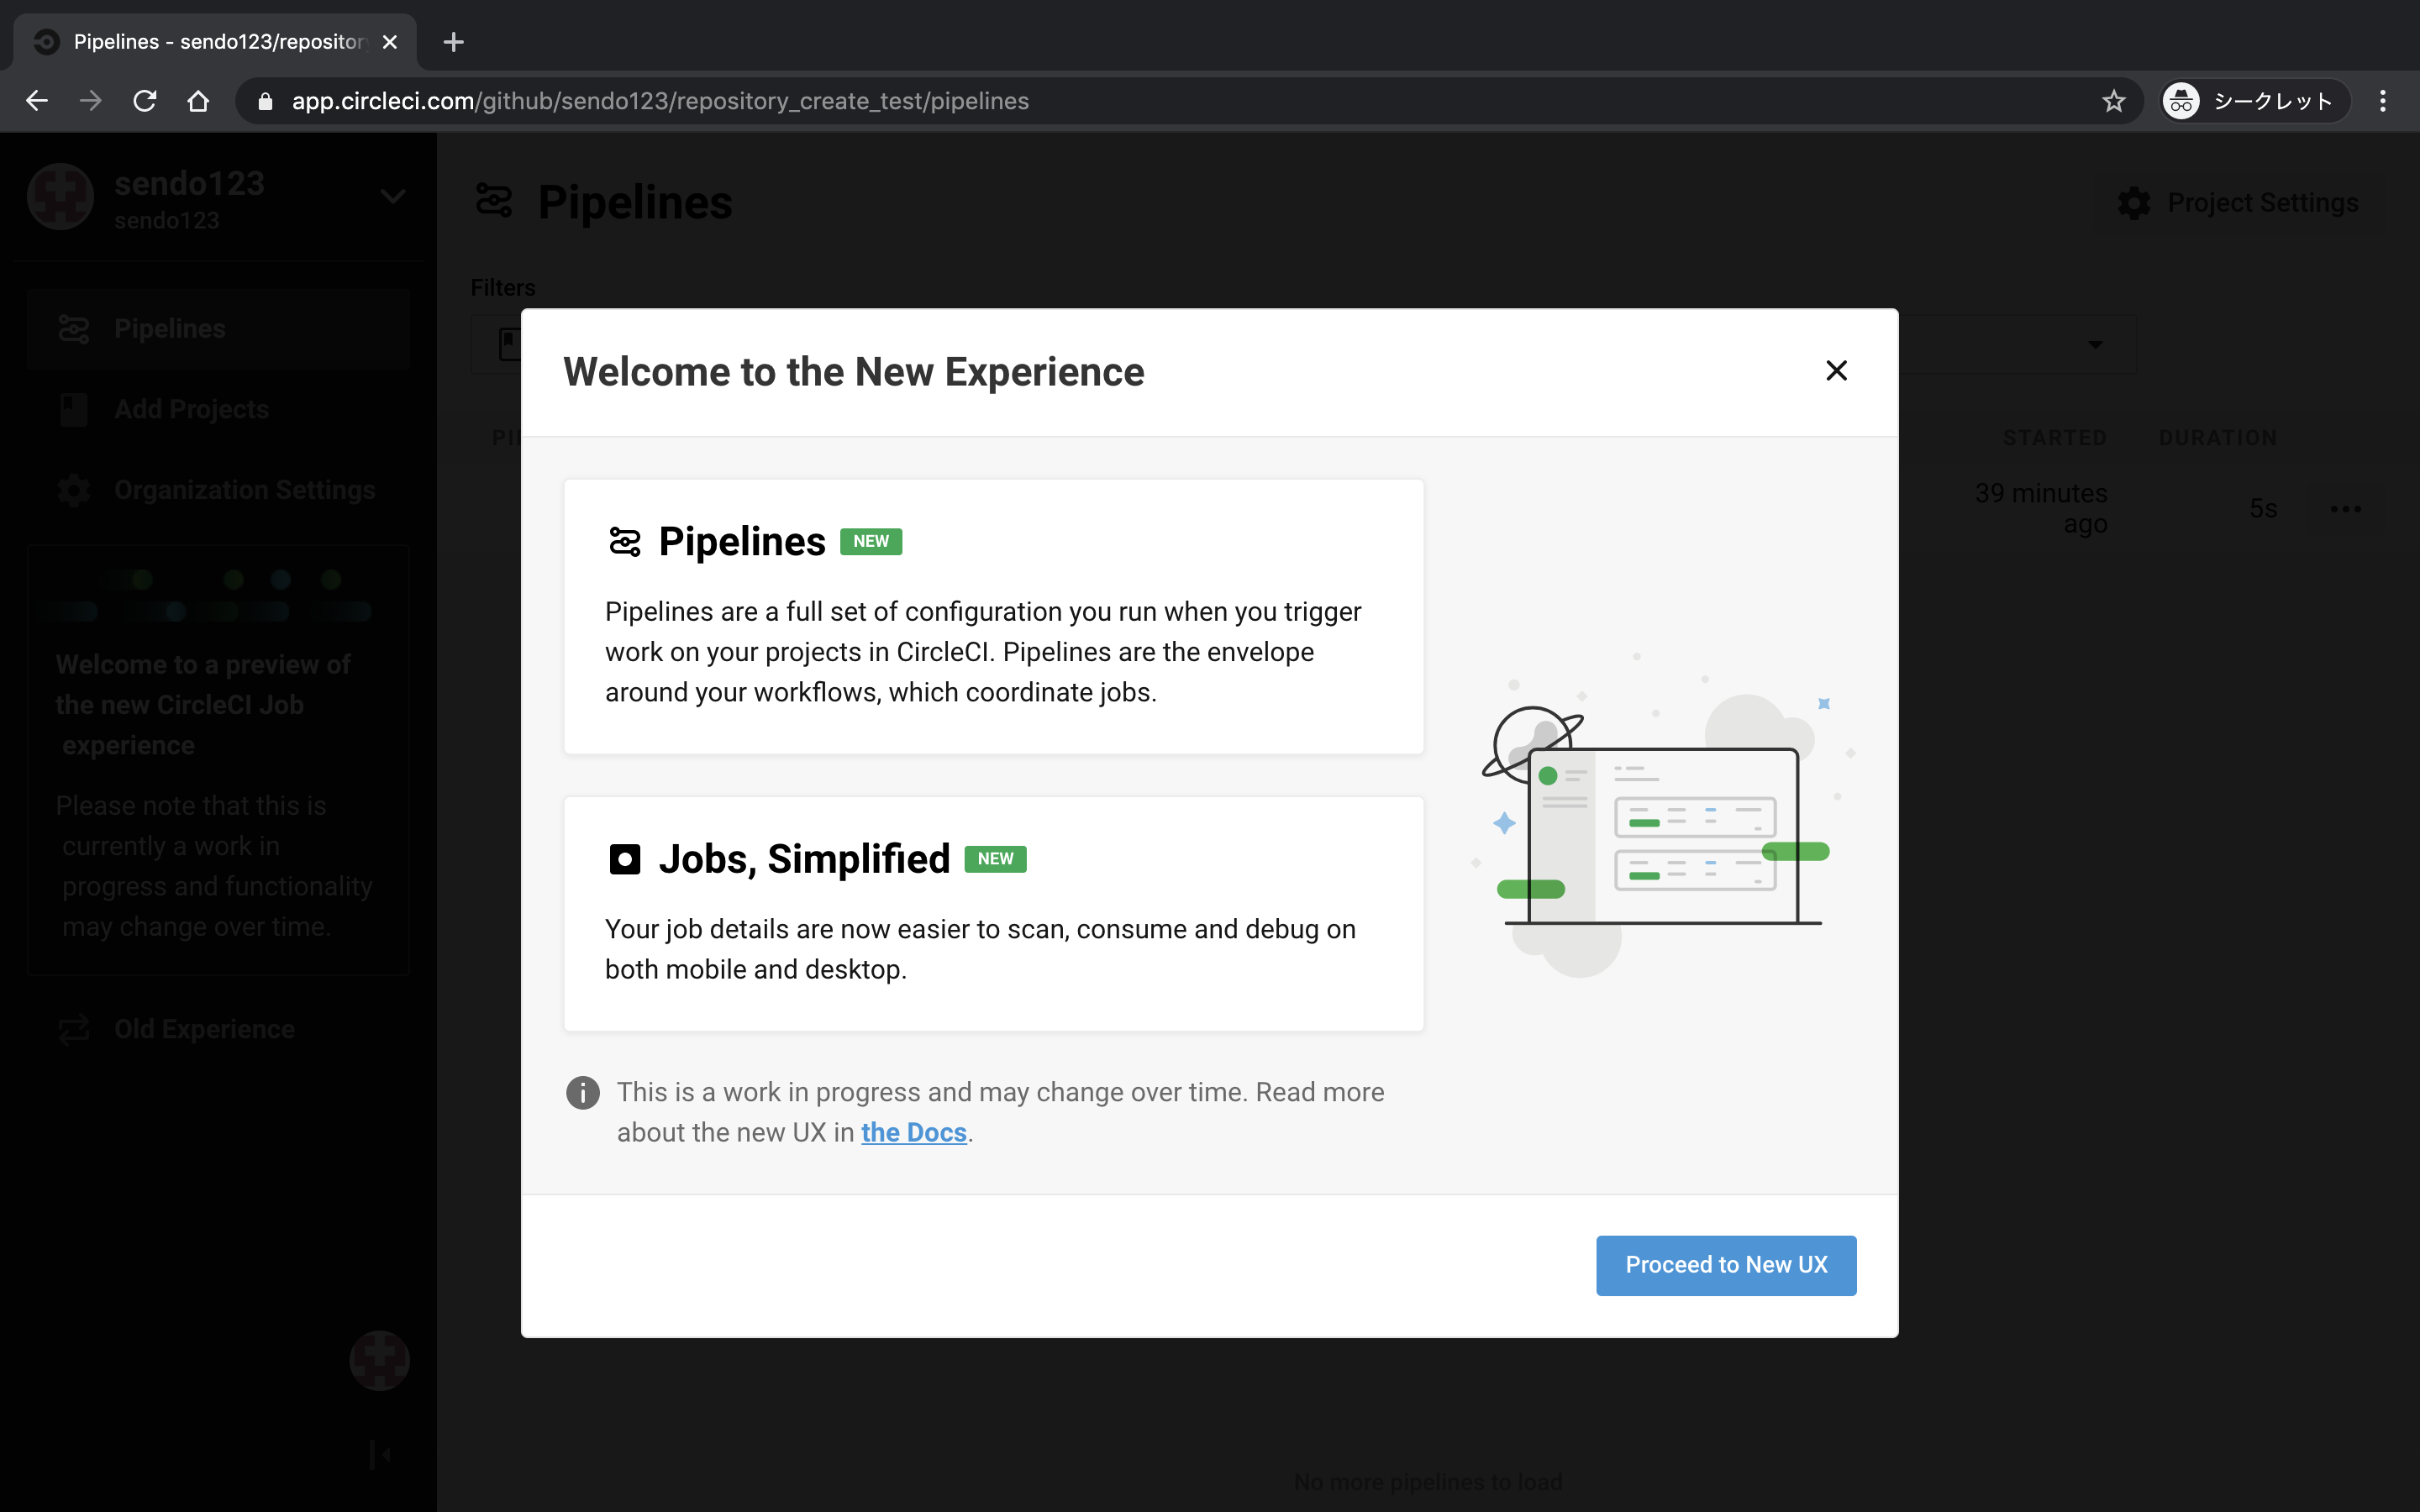
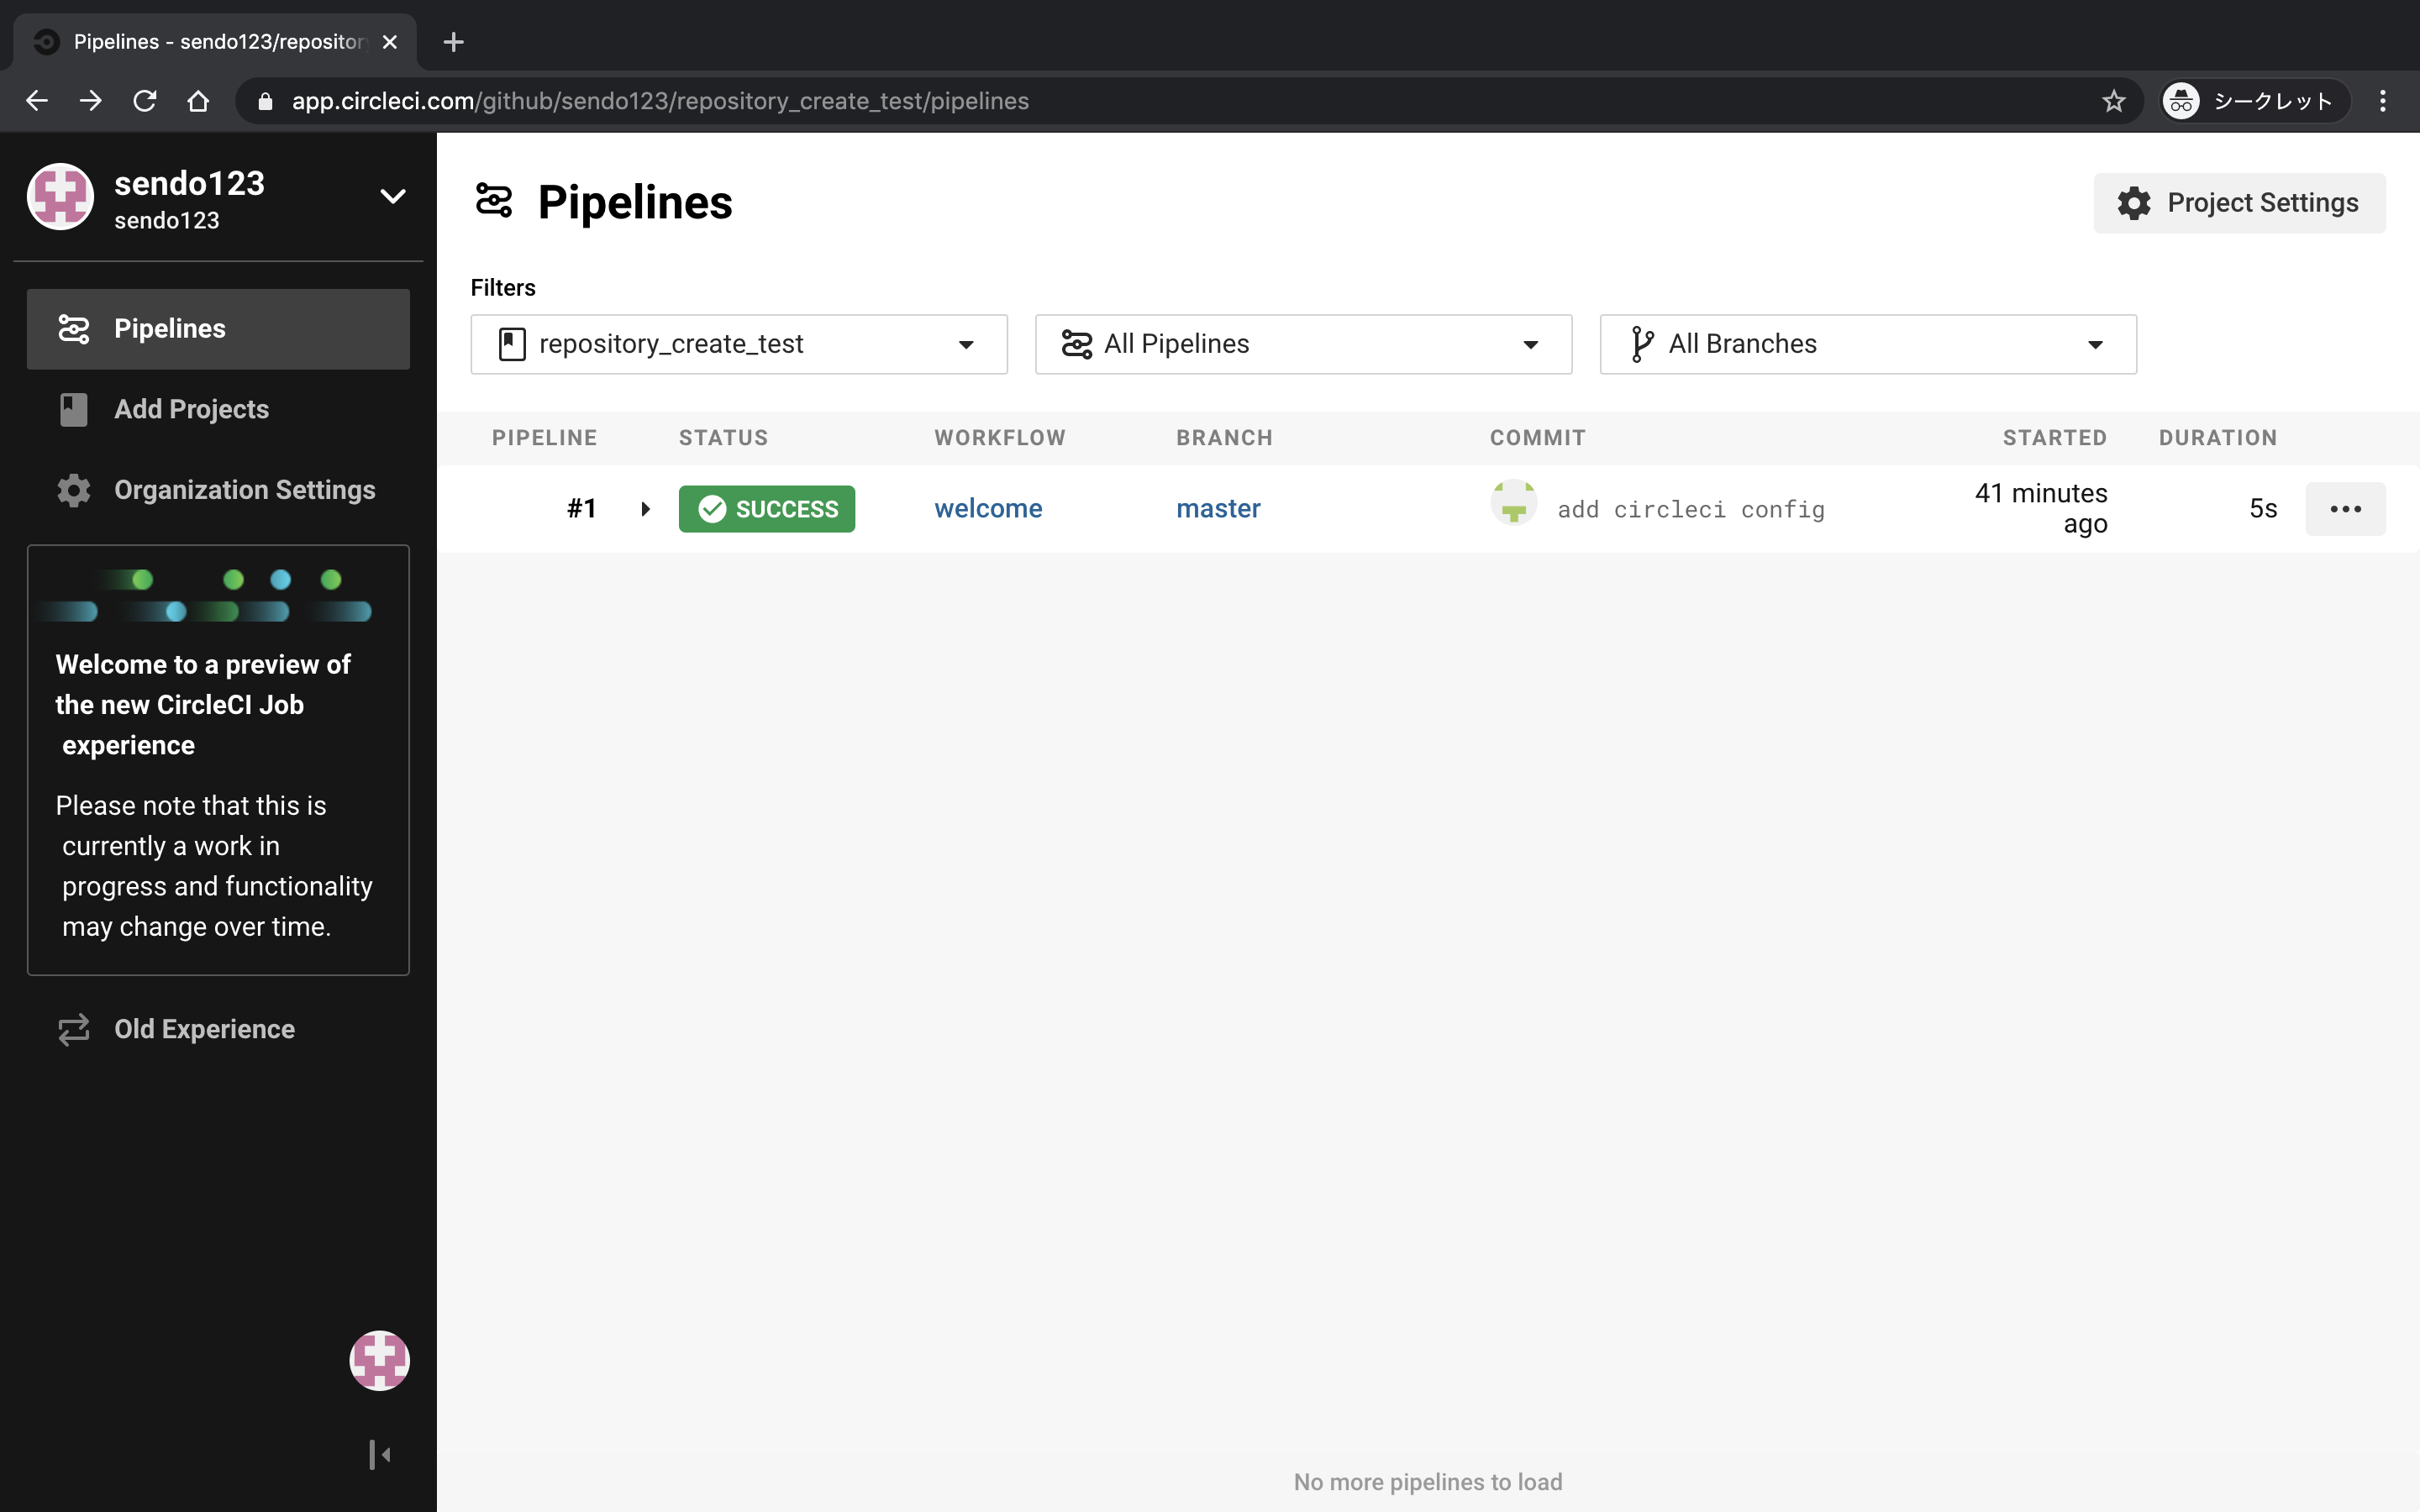
- この画面が表示されたら連携は完了です。お疲れ様でした!
リンク集
GitHub ログイン
CircleCI ログイン
CircleCI 公式ドキュメント
最後に
初のQiita記事なこともあり手探りで書いたため分かりにくい箇所もあるかと思いますが、
この記事をきっかけにCI/CDに興味を持っていただける人が増えると嬉しいです。
自動化はいいぞ

