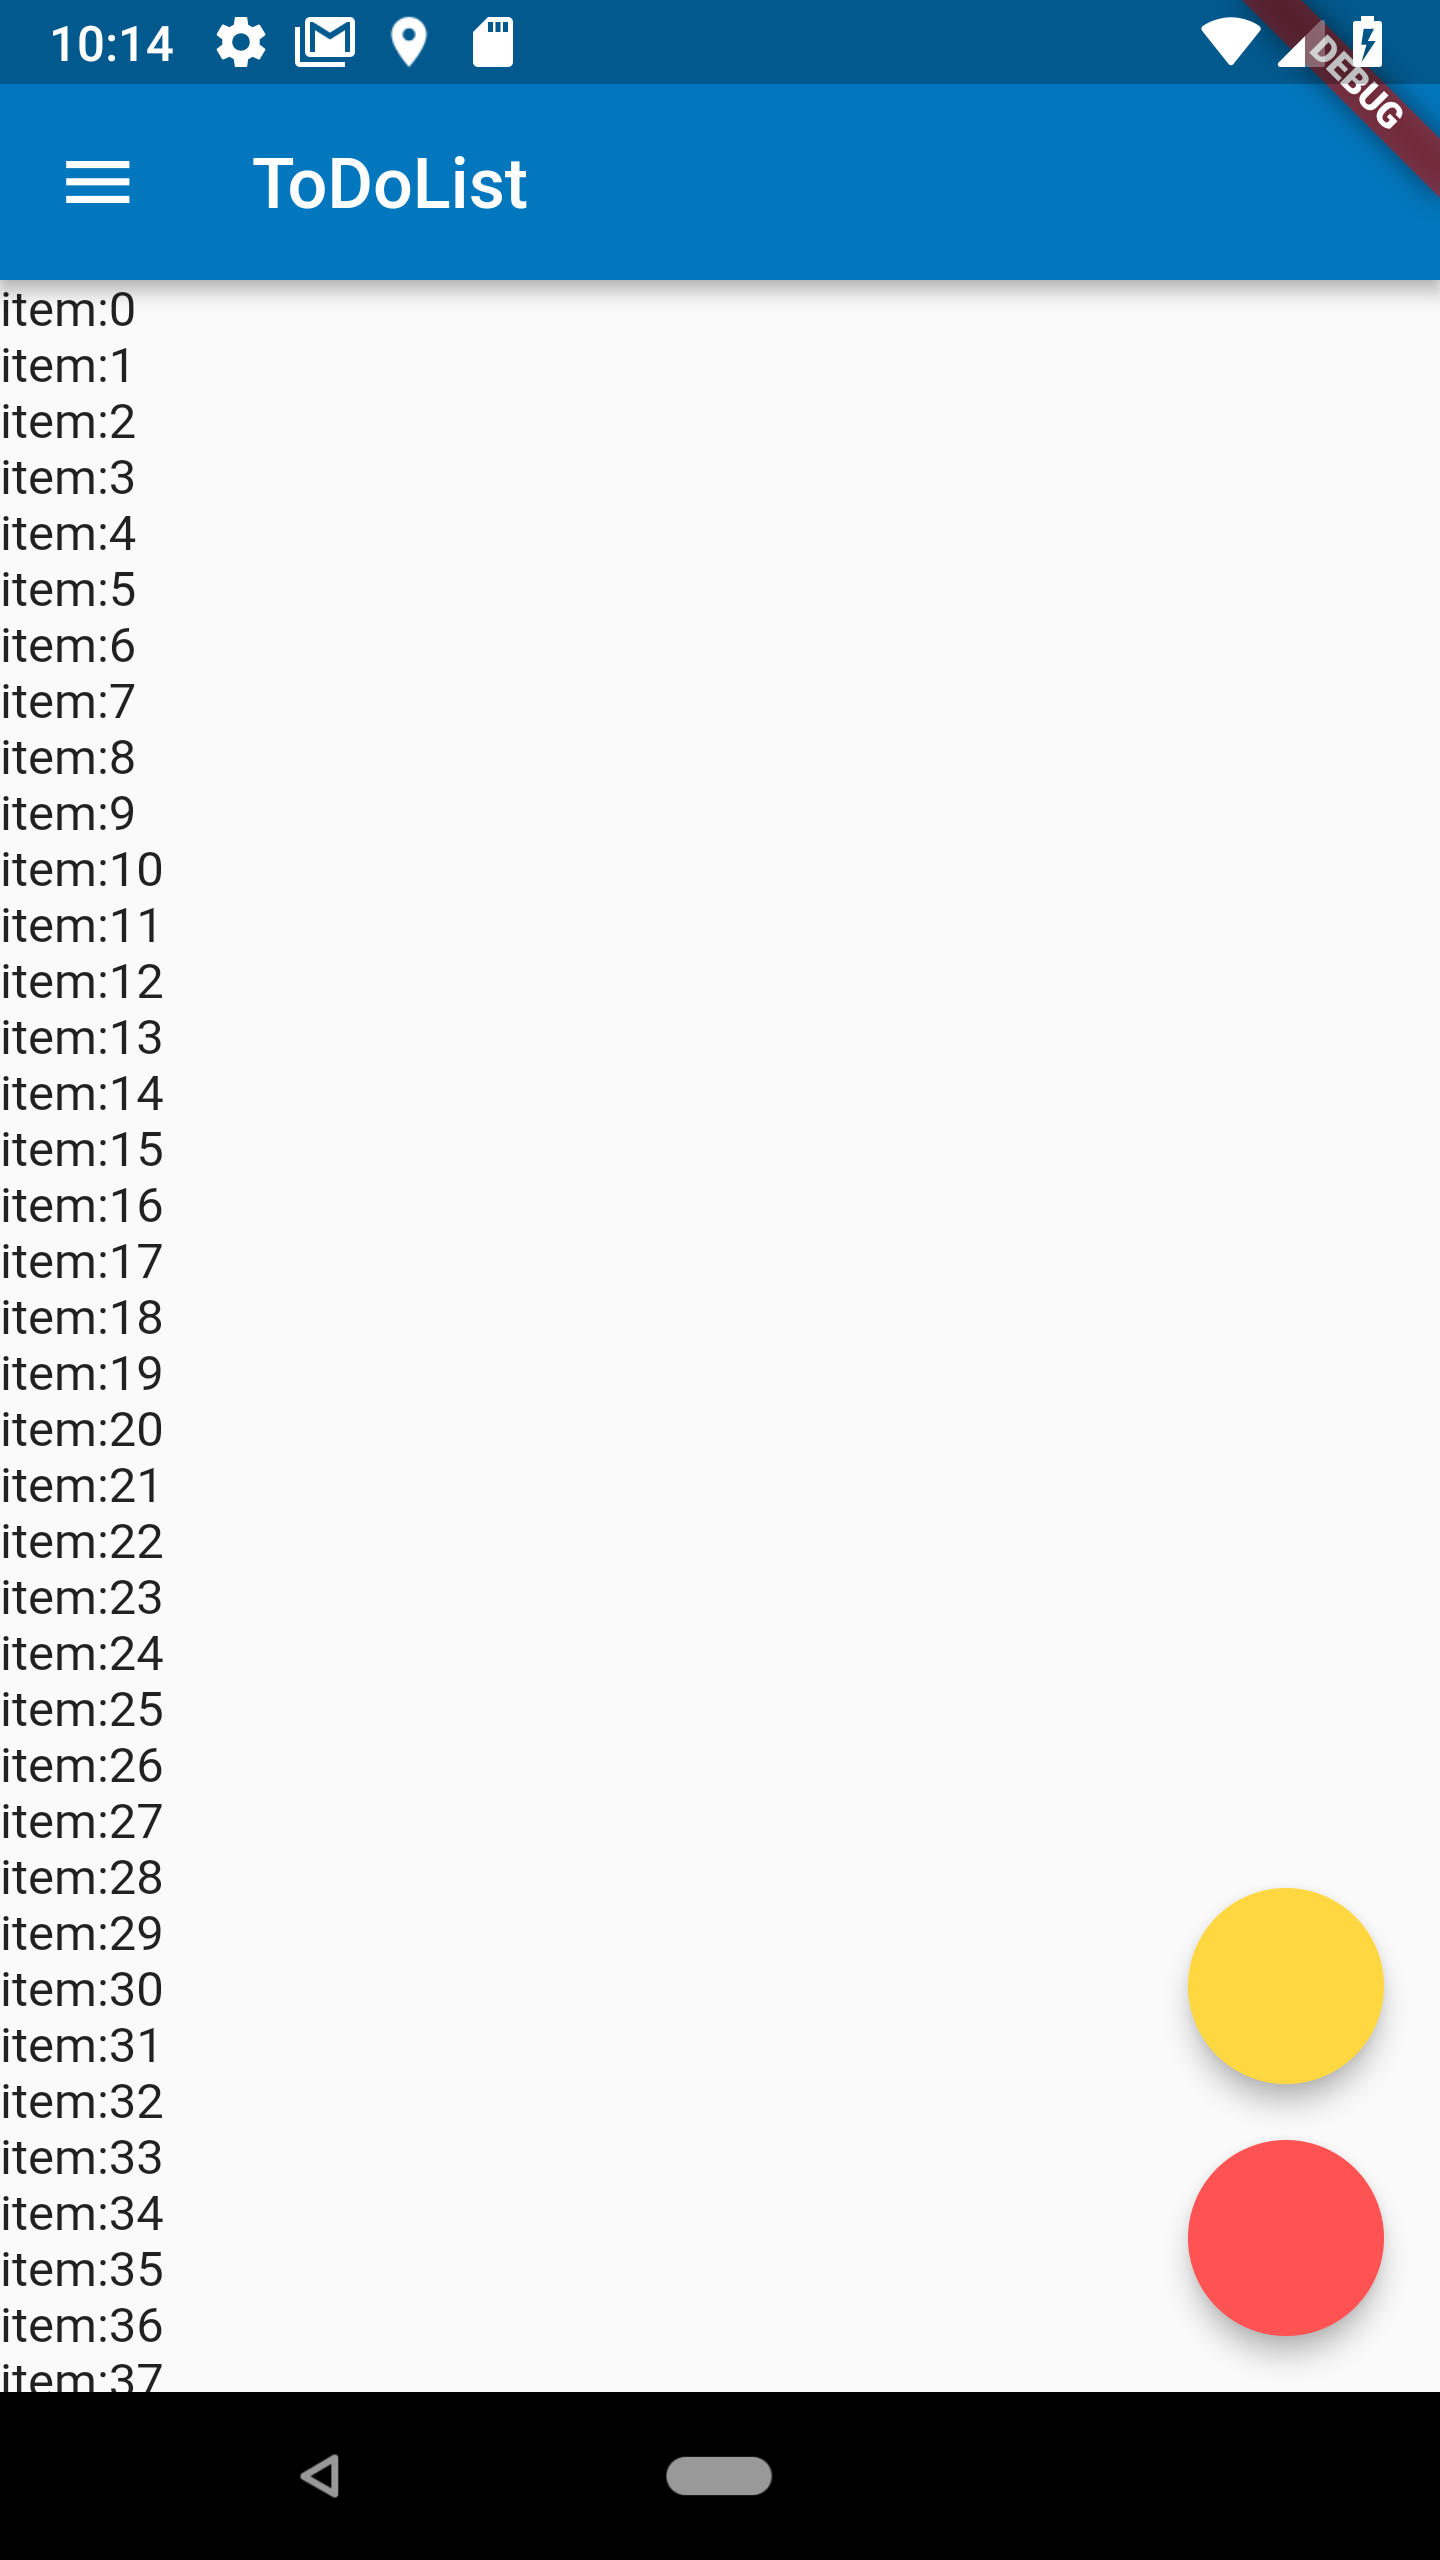
Flutterで2つのFloatingActionButtonを表示する方法を紹介します。
ScaffoldのコンストラクタにあるfloatingActionButtonを使用します。
名前からはFloatingActionButtonのインスタンスしか設定できなそうですが、実はWidgetで宣言されています。
つまりColumnで2つのFabをラップして1つのウィジェットにして渡すことで2つのFloatingActionButtonを持つScaffoldを作成することができます。
コード例は次の通り。
  @override
  Widget build(BuildContext context) {
    return Scaffold(
      floatingActionButton: Column(
        verticalDirection: VerticalDirection.up, // childrenの先頭を下に配置
        mainAxisSize: MainAxisSize.min,
        children: <Widget>[
          FloatingActionButton(
            backgroundColor: Colors.redAccent,
            onPressed: () {
              print("pressed");
            },
          ),
          Container( // 余白のためContainerでラップ
            margin: EdgeInsets.only(bottom: 16.0),
            child: FloatingActionButton(
              backgroundColor: Colors.amberAccent,
              onPressed: () {
                print("pressed");
              },
            ),
          ),
        ],
      ),
      appBar: AppBar(
        title: Text("Hoge"),
      ),
      body: Text("Hoge")
    );
  }
こんな感じになります。
