概要
Windows Form でアプリを作ったことはあるが、WPF でアプリを作ったことなかったのでやってみた
WPF で作る場合のざっくりとしたメリットとデメリット
-
メリット
- タッチ対応がしやすい
- 解像度に依存しない見た目が作れる
- リッチな見た目やアニメーションが作りやすい
- ユニットテストがしやすい(これはちゃんと画面表示部と実処理部分を分離して書く必要がある)
-
デメリット
- xaml覚えるのが面倒
- 資産を使いまわせない
- Formに比べて情報が少ない
環境
Blend for Visual Studio 2017
無償で利用でき、WPF 作るなら普通の Visual Studio を使うより画面を作りやすかった
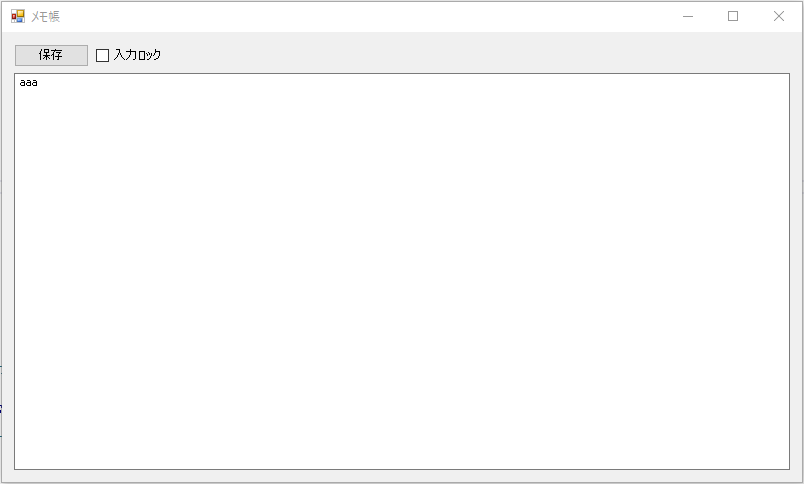
簡易メモ帳アプリを試しに作る
- 機能は以下
- 起動時にテキストがあれば読み込む
- ボタンを押してテキストボックスの文字列を.txtに保存
- チェックボックスがチェック状態だと入力をロック
Windows Form で作った場合のコード
using System;
using System.Collections.Generic;
using System.ComponentModel;
using System.Data;
using System.Drawing;
using System.Linq;
using System.Text;
using System.Threading.Tasks;
using System.Windows.Forms;
using System.IO;

namespace WindowsForms_memo
{
    public partial class Form1 : Form
    {
        private string saveFileName = @"memo.txt";

        public Form1()
        {
            InitializeComponent();
        }

        private void Form1_Load(object sender, EventArgs e)
        {
            // ファイルがあれば起動時に開く
            if (!File.Exists(saveFileName))
            {
                return;
            }
            StreamReader sr = new StreamReader(saveFileName, Encoding.GetEncoding("Shift_JIS"));
            textBoxMemo.Text = sr.ReadToEnd();
            sr.Close();
        }

        private void buttonSave_Click(object sender, EventArgs e)
        {
            // 保存用ダイヤログを開く
            saveFileDialog1.InitialDirectory = Application.StartupPath;
            saveFileDialog1.FileName = saveFileName;
            if (saveFileDialog1.ShowDialog() == DialogResult.OK)
            {
                System.IO.Stream stream;
                stream = saveFileDialog1.OpenFile();
                if (stream != null)
                {
                    // ファイルに書き込む
                    System.IO.StreamWriter sw = new System.IO.StreamWriter(stream);
                    sw.Write(textBoxMemo.Text);
                    sw.Close();
                    stream.Close();
                }
            }
        }

        private void checkBoxLock_CheckedChanged(object sender, EventArgs e)
        {
            // チェック時はテキスト入力をロック
            textBoxMemo.ReadOnly = checkBoxLock.Checked;
        }
    }
}
見た目がほぼ同じアプリを WPF で作った場合のコード
using System;
using System.Collections.Generic;
using System.Linq;
using System.Text;
using System.Threading.Tasks;
using System.Windows;
using System.Windows.Controls;
using System.Windows.Data;
using System.Windows.Documents;
using System.Windows.Input;
using System.Windows.Media;
using System.Windows.Media.Imaging;
using System.Windows.Navigation;
using System.Windows.Shapes;
using System.IO;
using Microsoft.Win32;

namespace Wpf_memo
{
    /// <summary>
    /// MainWindow.xaml の相互作用ロジック
    /// </summary>
    public partial class MainWindow : Window
    {
        private string saveFileName = @"memo.txt";

        public MainWindow()
        {
            InitializeComponent();
        }

        private void Window_Loaded(object sender, RoutedEventArgs e)
        {
            // ファイルがあれば起動時に開く
            if (!File.Exists(saveFileName))
            {
                return;
            }
            StreamReader sr = new StreamReader(saveFileName, Encoding.GetEncoding("Shift_JIS"));
            textBoxMemo.Text = sr.ReadToEnd();
            sr.Close();
        }

        private void buttonSave_Click(object sender, RoutedEventArgs e)
        {
            // 保存用ダイヤログを開く
            SaveFileDialog saveFileDialog1 = new SaveFileDialog();
            saveFileDialog1.InitialDirectory = Environment.CurrentDirectory;
            saveFileDialog1.FileName = saveFileName;
            if (saveFileDialog1.ShowDialog() == true)
            {
                System.IO.Stream stream;
                stream = saveFileDialog1.OpenFile();
                if (stream != null)
                {
                    // ファイルに書き込む
                    System.IO.StreamWriter sw = new System.IO.StreamWriter(stream);
                    sw.Write(textBoxMemo.Text);
                    sw.Close();
                    stream.Close();
                }
            }
        }

        private void checkBoxLock_Click(object sender, RoutedEventArgs e)
        {
            textBoxMemo.IsReadOnly = checkBoxLock.IsChecked.Value;
        }
    }
}
<Window x:Class="Wpf_memo.MainWindow"
        xmlns="http://schemas.microsoft.com/winfx/2006/xaml/presentation"
        xmlns:x="http://schemas.microsoft.com/winfx/2006/xaml"
        xmlns:d="http://schemas.microsoft.com/expression/blend/2008"
        xmlns:mc="http://schemas.openxmlformats.org/markup-compatibility/2006"
        xmlns:local="clr-namespace:Wpf_memo"
        mc:Ignorable="d"
        Title="メモ帳" Height="450" Width="800" Loaded="Window_Loaded">
    <Grid>
        <Button x:Name="buttonSave" Content="保存" HorizontalAlignment="Left" Margin="10,10,0,0" VerticalAlignment="Top" Width="75" Click="buttonSave_Click"/>
        <CheckBox x:Name="checkBoxLock" Content="入力ロック" HorizontalAlignment="Left" Margin="90,13,0,0" VerticalAlignment="Top" Click="checkBoxLock_Click"/>
        <TextBox x:Name="textBoxMemo" HorizontalAlignment="Left" Height="374.04" Margin="10,34.96,0,0" TextWrapping="Wrap" VerticalAlignment="Top" Width="772" AcceptsReturn="True"/>

    </Grid>
</Window>
Blend for Visual Studio で WPF 作ったときの手法
- Buttonなどのコントローラはアセットのコントロール内のものをドラック&ドロップして配置
- プロパティでコントローラの名前を設定
- イベントはプロパティのイベントハンドラーで登録
- xamlは自動生成されたもので一切編集していない
感想
簡単なアプリならほぼ同じやり方で作れるので、新規でアプリ作るなら乗り換えてみるのもありかも
ただ WPF アプリ作るなら MVVM パターンで作って、デザイン部分と実処理部分を分離する方法で作ったほうがいい(逆にそれをしないなら WPF に乗り換える意味があまりない)
MVVMで同じアプリを作った記事は以下
https://qiita.com/seka/items/50d253c824e8914f937e