csvインポート機能実装手順を記載してみました。
ご参考程度にどうぞ。
1.Railsプロジェクト作成
1-1.Railsプロジェクト作成
# terminal
rails new sample
1-2.Controller,View,Model作成
# terminal
rails g controller Users
rails g model User name:string age:integer
rails db:migrate
1-3.CSV出力用サンプルデータを作成
db/seeds.rb
User.create!(
  id: 1,
  name: "seinosuke",
  age: 24
)

User.create!(
  id: 2,
  name: "takanosuke",
  age: 31
)

User.create!(
  id: 3,
  name: "konosuke",
  age: 30
)
1-4.DBにデータ格納
# terminal
rails db:seed
1-5.Controllerにアクション追加
app/contollers/users_contoller.rb
def index
  @users = User.all
end
1-6.View作成
app/views/users/index.html.erb
<h1>ユーザー一覧</h1>

<table>
  <thead>
    <tr>
      <th>ID</th>
      <th>名前</th>
      <th>年齢</th>
    </tr>
  </thead>

  <tbody>
    <% @users.each do |user| %>
      <tr>
        <td><%= user.id %></td>
        <td><%= user.name %></td>
        <td><%= user.age %></td>
      </tr>
    <% end %>
  </tbody>
</table>
1-7.Route編集
config/routes.rb
resources :users
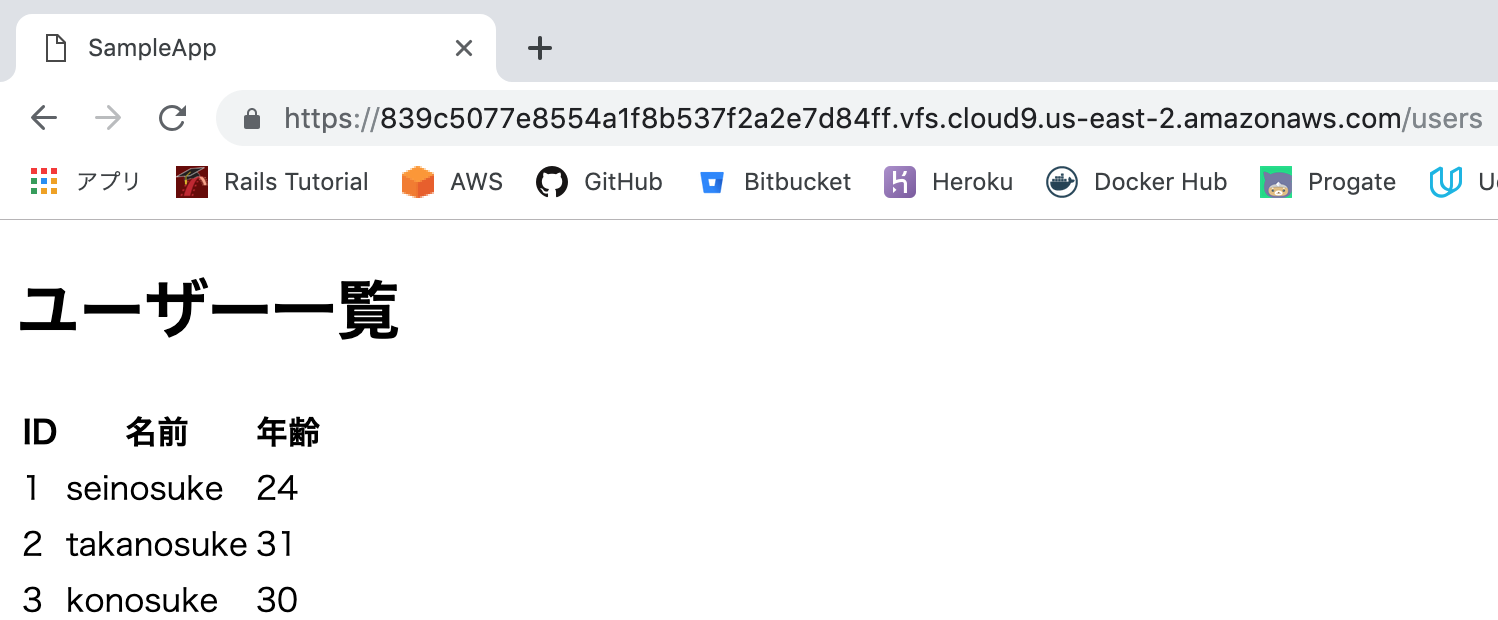
1-8.rails s でサーバ起動し、URL:/useresを指定してデータの表示を確認
2.CSVアップロード機能実装
2-1.ruby標準ライブラリであるcsvを追加
config/application.rb
require 'rails/all'
require 'csv'
2-2.Gemであるroo(Excel, CSV, OpenOffice, GoogleSpreadSheetを開くことが可能)を追加してbundle install
# Gemfile
gem 'roo'
2-3.Viewにcsvファイルアップロード用の入力フィールドを追加
app/views/users/index.html.erb
<%= form_tag import_users_path, multipart: true do %>
  <%= file_field_tag :file %>
  <%= submit_tag "インポート" %>
<% end %>
※以下のような入力フィールドが表示される

2-4.Routeを追加
config/routes.rb
Rails.application.routes.draw do
  resources :users do
    collection { post :import }
  end
end
2-5.Controllerでファイル受領、リダイレクトするimportを追加
app/controllers/users_controller.rb
  def index
    @users = User.all
  end

  def import
    # fileはtmpに自動で一時保存される
    User.import(params[:file])
    redirect_to users_url
  end
2-6.Modelでcsv読み込み、DBに登録するインポート処理を実装
app/model/user.rb
class User < ApplicationRecord
  def self.import(file)
    CSV.foreach(file.path, headers: true) do |row|
      # IDが見つかれば、レコードを呼び出し、見つかれなければ、新しく作成
      user = find_by(id: row["id"]) || new
      # CSVからデータを取得し、設定する
      user.attributes = row.to_hash.slice(*updatable_attributes)
      # 保存する
      user.save
    end
  end

  # 更新を許可するカラムを定義
  def self.updatable_attributes
    ["id", "name", "age"]
  end
end
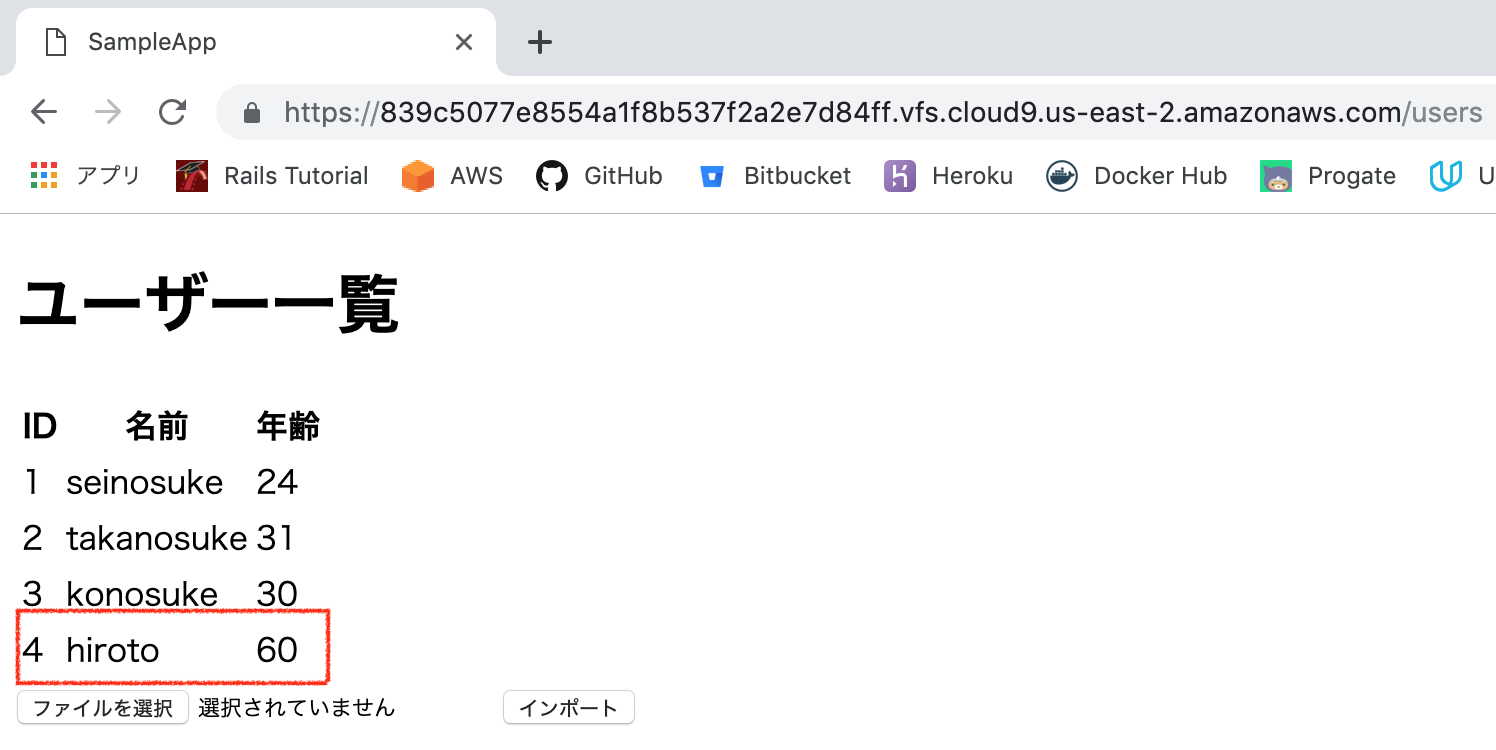
2-7.以下アップロード用ファイルを準備
id,name,age
4,hiroto,60
2-8.アップロード(csv内データが表示されていることを確認)
終わり