Intersection ObserverAPIについて
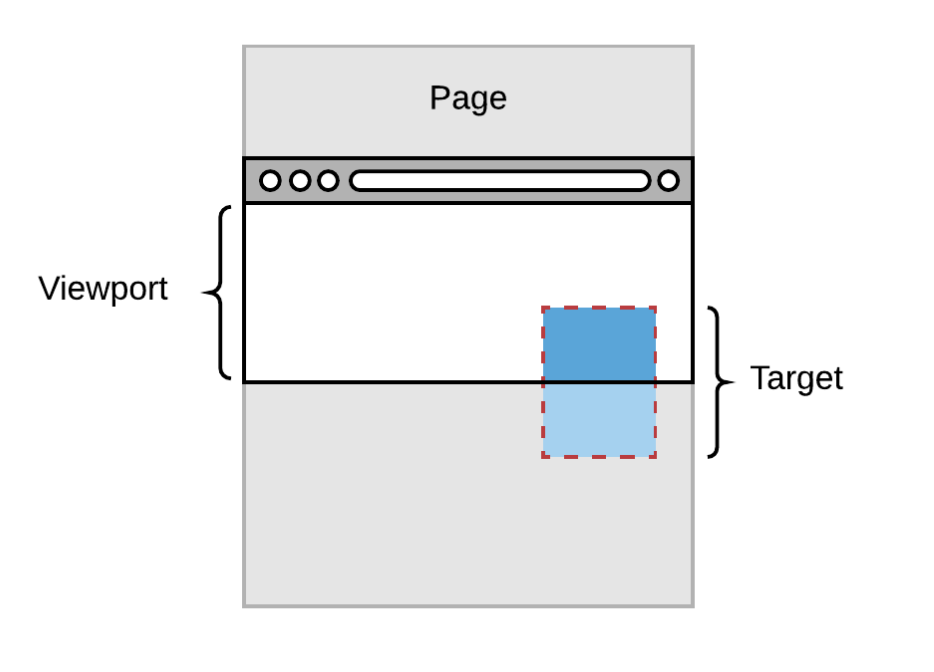
Intersection ObserverAPIは、「画面上のある要素が、ブラウザ上の表示されている領域(viewport)に対してどの位置にあるかを監視して教えてくれる」という機能を持っている交差監視APIです。(IE11対応ならPolyfill必要)
言い換えると、ユーザーがブラウザ上のページをスクロールした時、特定の要素=targetがブラウザの表示領域に交わったかどうか(表示領域=viewportに入った時と出た時)を検知します。
引用: HACKS Intersection Observer comes to Firefox
Googlebotが認識できることからSEO的に良さそうだし、scrollイベントのように絶えず要素の位置を確認することを避けられるのでパフォーマンス的にも良さそうです。
Intersection Observer APIを使う
IntersectionObserverオブジェクトを作成し、交差を監視したい要素をobserveします。
基本形
// IntersectionObserverオブジェクトを作成
// 交差時に実行するコールバック関数を渡す
const observer = new IntersectionObserver((entries) => {
  entries.forEach((entry) => console.log(entry));
});

// 監視したい要素をobserve
observer.observe(document.querySelector('.target'));
デフォルトでは、監視したい要素が画面内に入ってきたときに、または完全に下側に出て行ったときにコールバック関数が呼ばれます。
IntersectionObserverEntry
コールバック関数の第一引数には、監視したいtargetの数だけのIntersectionObserverEntryオブジェクトが入ります。
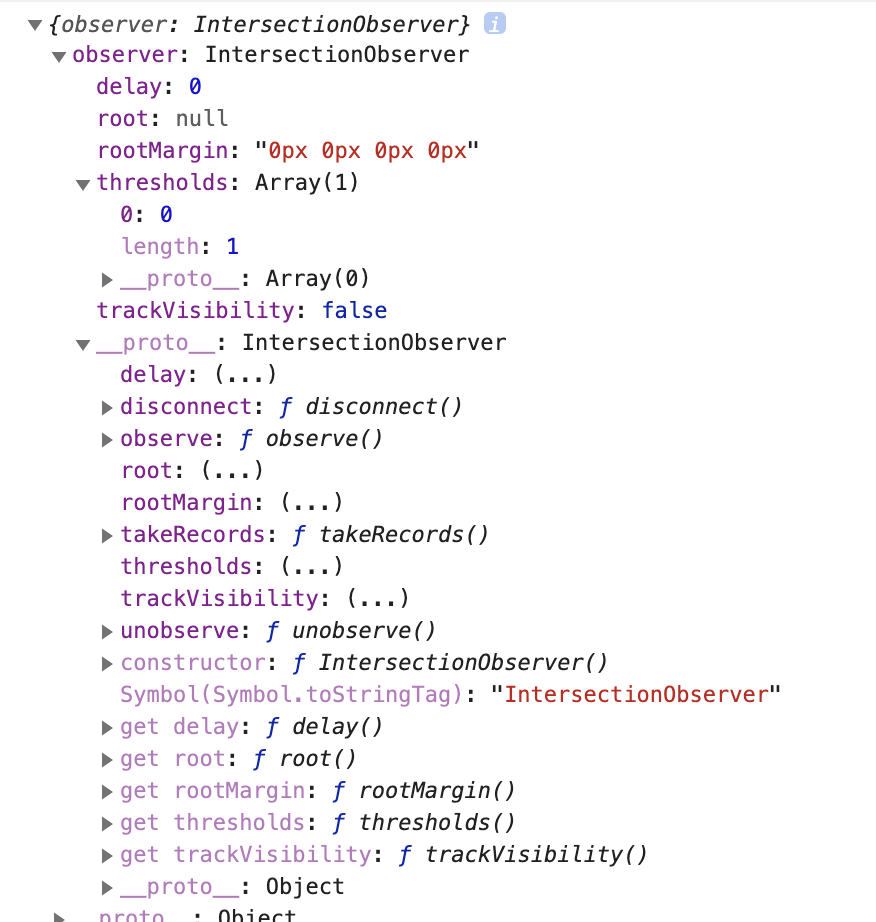
options
2個目の引数として渡されたoptions オブジェクトは、observerのcallbackが呼び出される状況を制御します。
optionsを指定するには、コンストラクタの第二引数にオブジェクトを渡します。root、rootMargin、thresholdの3つがあります。
// オプションを指定
const options = {
  root: document.querySelector('.root'),
  rootMargin: '100px',
  threshold: [0, 0.5, 1.0]
}

// オプションとともにIntersectionObserverオブジェクトを作成
const observer = new IntersectionObserver((entries) => {
  entries.forEach((entry) => console.log(entry))
}, options);

// 監視したい要素をobserve
observer.observe(document.querySelector('.target'));
root: ルート(交差判定のベース)となる要素を指定。指定なし、またはNULLの場合デフォルトではviewportが使用される。rootを明示的に指定することで、viewport以外との交差判定を実現できる。
rootMargin: はrootからのマージンを指定。マージンを指定することで、rootと交差する前に発火させることができる。指定方法はCSSのmarginとほぼ同じで、単位はpxか%(0の場合でも単位が必要)。デフォルトは’0px 0px 0px 0px’。
threshold: 単一の数値もしくは数値の配列でコールバック関数が呼ばれるタイミングを指定、デフォルトでは0。0はほんの少しでもrootに入ってきたときのことを示し、1だと完全にrootに入ってきたときのことを示す。
サンプル作成①
targetであるtargetBoxがviewportに入って100px入ったところでふわっと表示させ、出るところでふわっと消すサンプルです。(cssアニメーションで動きをつけた)
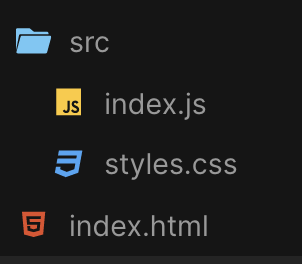
構成
javascript
import "./styles.css";
//コールバック関数の第一引数にはIntersectionObserverEntryオブジェクトが入る
const callback = (entries) => {
entries.forEach((entry) => {
console.log({ entry });
//isIntersectingプロパティは交差しているかどうかのbool値
//viewportに交差し、入ったときにisIntersecting===true、出たときにfalse
if (entry.isIntersecting) {
entry.target.classList.add("is-showTargetBox");
entry.target.textContent = true;
} else {
entry.target.classList.remove("is-showTargetBox");
entry.target.textContent = false;
}
});
};
//Intersection observer のオプションを作成
const option = {
rootMargin: "-100px"
};
//Intersection observer を作成
//ターゲットが IntersectionObserver に指定された閾値を満たす度にコールバックが呼び出される
const io = new IntersectionObserver(callback, option);
//監視したい複数要素をターゲットにした
const targets = document.querySelectorAll(".targetBox");
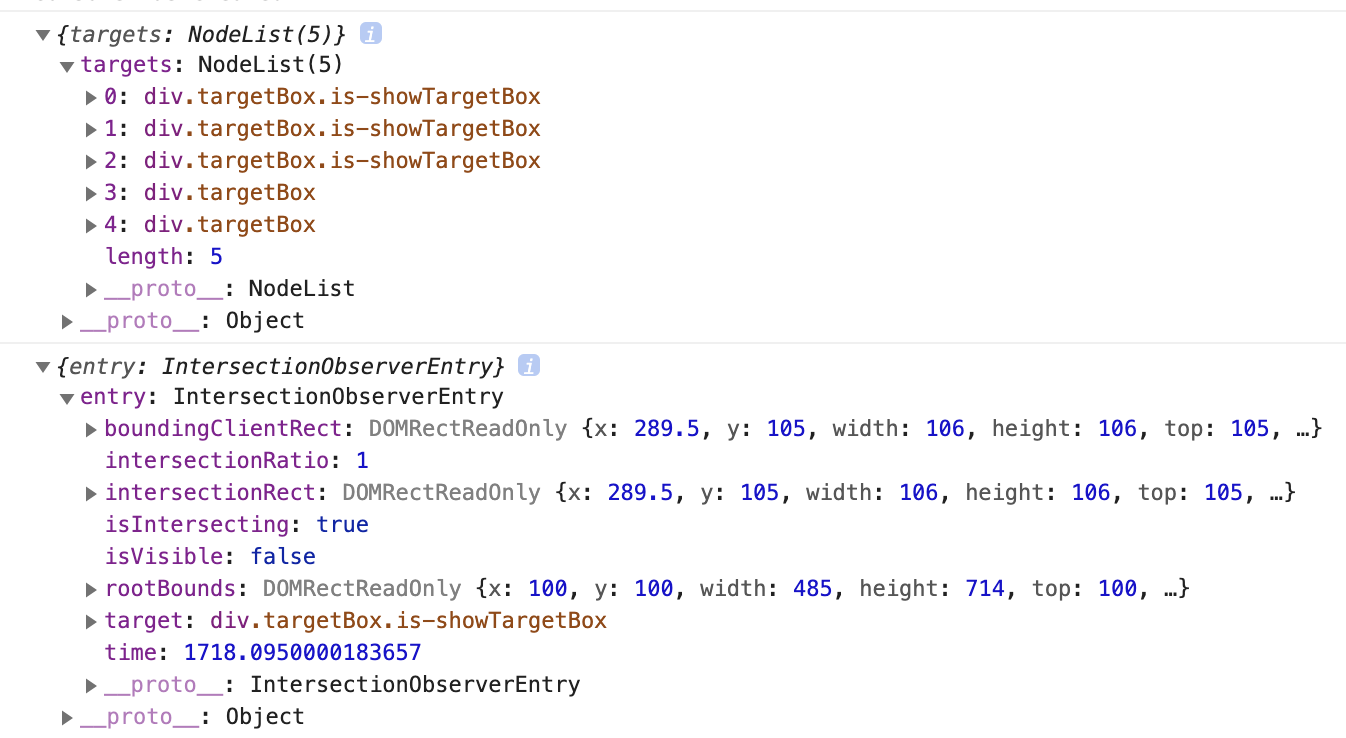
console.log({ targets });
targets.forEach((target) => {
//監視したい対象をobserve
io.observe(target);
});
consoleで確認するとこんな感じ
html
<!DOCTYPE html>
<html>
  <head>
    <title>io EX</title>
    <meta charset="UTF-8" />
  </head>
  <body>
    <div class="height300 bgPink">
      <div class="targetBox">1個目</div>
    </div>
    <div class="height300 bgGray">
      <div class="targetBox">2個目</div>
    </div>
    <div class="height300 bgPink">
      <div class="targetBox">3個目</div>
    </div>
    <div class="height300 bgGray">
      <div class="targetBox">4個目</div>
    </div>
    <div class="height300 bgPink">
      <div class="targetBox">5個目</div>
    </div>
    <script src="src/index.js"></script>
  </body>
</html>
css
body {
  font-family: sans-serif;
}
.height300 {
  height: 300px;
  display: flex;
}
.bgPink {
  background-color: pink;
}
.bgGray {
  background-color: lightgray;
}
.targetBox {
  height: 100px;
  width: 100px;
  background-color: white;
  border: 3px solid yellow;
  margin: auto;
  opacity: 0;
  transition: opacity 0.5s ease-in;
}
.is-showTargetBox {
  opacity: 1;
  transition: opacity 0.5s ease-in;
}
動きはこんな感じ。

サンプル作成②
画像を遅延させるためのコードをメモ
const $lazyLoad = document.querySelectorAll(".lazyload");
const io = new IntersectionObserver(callback, { rootMargin: "-100px" });

$lazyLoad.forEach((element) => {
  io.observe(element);
});

function callback(entries) {
  entries.forEach((entry) => {
//intersectionRatioは交差している量を0.0〜1.0の範囲で示す
    if (entry.intersectionRatio > 0) {
      const imgElement = entry.target;
      imgElement.src = imgElement.dataset.src;

      imgElement.addEventListener("load", () => {
        imgElement.classList.add("lazyloaded");
      });
      io.observe(entry.target);
    }
  });
}
表示遅延させたいimg要素に対してlazyloadクラスを指定し、Intersection Observerで監視。
viewportにtarget要素が交差したら、data-src属性に指定している画像をロード、完了した時点でlazyloadedクラスをaddします😊
おまけ(IE対策)polyfillを読み込ませる
if (!('IntersectionObserver' in window)) {
    appendScript("https://polyfill.io/v3/polyfill.min.js?features=IntersectionObserver");
}