[!NOTE]
この記事は 2013/08/16 に momoto.github.io へ投稿した内容を Qiita へ移行してきたものです
Heroku が提供する PaaS にウェブアプリケーションフレームワーク Django 1.5.2 を展開します。Python は 2.7 を使用しています。
1. django-toolbelt をインストールする
django-toolbelt をインストールするところからはじめていきます。 ここまでに Python と virtualenv がインストールされている必要があります。
まず、Python 環境をつくるためのディレクトリを用意します。
$ mkdir {application_root}
$ cd {application_root}/
virtualenv 1.10.1 をつかって、独立した Python 環境を作成します。
$ virtualenv-2.7 venv --distribute

  New python executable in venv/bin/python2
  Also creating executable in venv/bin/python
  Installing Setuptools......................done.
  Installing Pip.............................done.

$ source venv/bin/activate
pip 1.4.1 をつかってdjango-toolbelt 0.0.1 をインストールします。
(venv) $ pip install django-toolbelt

  Successfully installed django-toolbelt django psycopg2 gunicorn dj-database-url dj-static static
  Cleaning up...
2. Djangoプロジェクトを作成する
Heroku へ展開する Django のプロジェクトを作成していきます。この手順の中で、Heroku のプラットフォームでも動作するように Django の設定を調整する必要があります。
django-admin.py をつかってプロジェクトを作成します。
(venv) $ django-admin.py startproject {project_name} .
アプリケーションのルートディレクトリに Procfile、requirements.txt、.gitignoteを用意します。 Procfile には Heroku の dynos に実行させるコマンドを宣言します。 requirements.txt には必要な Python パッケージを記述します。 .gitignore には Git で追跡しないファイルを明示します。
(venv) $ vi Procfile

  web: gunicorn {project_name}.wsgi

(venv) $ pip freeze > requirements.txt

  Django==1.5.2
  dj-database-url==0.2.2
  dj-static==0.0.5
  django-toolbelt==0.0.1
  gunicorn==17.5
  psycopg2==2.5.1
  static==0.4
  wsgiref==0.1.2

(venv) $ vi .gitignore

  venv
  *.pyc
  staticfiles
{project_name}/settings.py では、データベース URL やスタティックファイルへのパスを調整する必要があります。
# Parse database configuration from $DATABASE_URL
import dj_database_url
DATABASES['default'] =  dj_database_url.config()

# Honor the 'X-Forwarded-Proto' header for request.is_secure()
SECURE_PROXY_SSL_HEADER = ('HTTP_X_FORWARDED_PROTO', 'https')

# Allow all host headers
ALLOWED_HOSTS = ['*']

# Static asset configuration
import os
BASE_DIR = os.path.dirname(os.path.abspath(__file__))
STATIC_ROOT = 'staticfiles'
STATIC_URL = '/static/'

STATICFILES_DIRS = (
    os.path.join(BASE_DIR, 'static'),
)

TEMPLATE_DIRS = (
    os.path.join(BASE_DIR, 'templates'),
)
同様に {project_name}/wsgi.py の内容も変更します。
from django.core.wsgi import get_wsgi_application
from dj_static import Cling

application = Cling(get_wsgi_application())
3. Herokuへ展開する
作成した Django プロジェクトを Heroku へデプロイしていきます。 Git や Heroku Toolbelt と Heroku ユーザアカウントが必要です。
Git をつかってローカルリポジトリを作成します。
(venv) $ git init

  Initialized empty Git repository in ~/{application_root}/.git/

(venv) $ git add .
(venv) $ git commit -m "Initial commit"

  [master (root-commit) 691c642] Initial commit
   8 files changed, 254 insertions(+)
   create mode 100644 .gitignore
   create mode 100644 Procfile
   create mode 100644 requirements.txt
   ...
Heroku Toolbelt をつかって Heroku 側でアプリケーションを作成します。
(venv) $ heroku create

  Creating {application_name}... done, stack is cedar
  http://{application_name}.herokuapp.com/ | git@heroku.com:{application_name}.git
  Git remote heroku added
Git をつかってローカルリポジトリを Heroku プラットフォームへプッシュします。
(venv) $ git push heroku master
-----> Python app detected
-----> No runtime.txt provided; assuming python-2.7.4.
-----> Preparing Python runtime (python-2.7.4)
-----> Installing Distribute (0.6.36)
-----> Installing Pip (1.3.1)
-----> Installing dependencies using Pip (1.3.1)
Installing collected packages: Django, dj-database-url, dj-static, django-toolbelt, gunicorn, psycopg2, static
Successfully installed Django dj-database-url dj-static django-toolbelt gunicorn psycopg2 static
Cleaning up...
-----> Discovering process types
Procfile declares types -> web
-----> Compiled slug size: 34.3MB
-----> Launching... done, v5
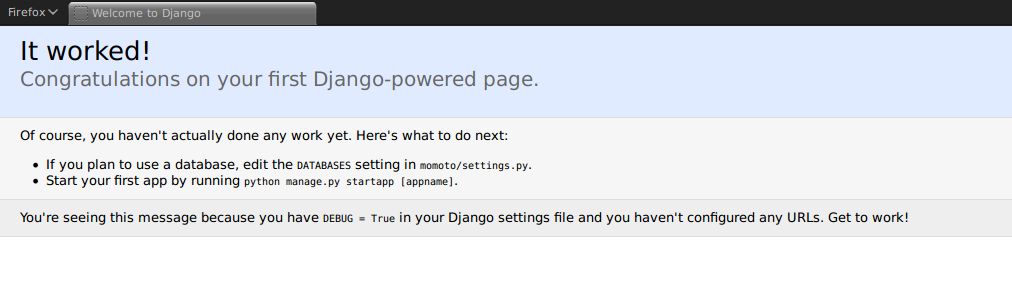
http://{application_name}.herokuapp.com deployed to Heroku
4. 管理サイトを有効化する
管理サイトを有効化する場合は INSTALLED_APPS の django.contrib.admin の行をアンコメントします。 INSTALLED_APPS は {project_name}/settings.py に記述されています。
INSTALLED_APPS = (
    'django.contrib.auth',
    'django.contrib.contenttypes',
    'django.contrib.sessions',
    'django.contrib.sites',
    'django.contrib.messages',
    'django.contrib.staticfiles',
    # Uncomment the next line to enable the admin:
    'django.contrib.admin',
    # Uncomment the next line to enable admin documentation:
    'django.contrib.admindocs',
)
同様に、urlpatterns の url(r'^admin/', include(admin.site.urls)) の行をアンコメントします。 urlpatternsは{project_name}/urls.py に記述されています。
# Uncomment the next two lines to enable the admin:
from django.contrib import admin
admin.autodiscover()

urlpatterns = patterns('',
    # Uncomment the admin/doc line below to enable admin documentation:
    url(r'^admin/doc/', include('django.contrib.admindocs.urls')),

    # Uncomment the next line to enable the admin:
    url(r'^admin/', include(admin.site.urls)),
)
INSTALLED_APPS を変更して Heroku へプッシュした後は、Heroku プラットフォーム側で python manage.py syncdb を実行する必要があります。 Heroku プラットフォーム側でコマンドを実行する場合は heroku run をつかいます。
(venv) $ heroku run python manage.py syncdb
Running `python manage.py syncdb` attached to terminal... up, run.4816
Creating tables ...
Creating table auth_permission
Creating table auth_group_permissions
Creating table auth_group
Creating table auth_user_groups
Creating table auth_user_user_permissions
Creating table auth_user
Creating table django_content_type
Creating table django_session
Creating table django_site
Creating table django_admin_log

You just installed Django's auth system, which means you don't have any superusers defined.
...
Superuser created successfully.
Installing custom SQL ...
Installing indexes ...
Installed 0 object(s) from 0 fixture(s)