はじめに
ラズパイにUbuntuServerをインストールしたので、備忘録として残しておく。
やったこと
- ラズパイにUbuntuをインストール
- Ubuntuの初期設定
- dockerをインストール
環境
| 環境 | 詳細 |
|---|---|
| PC | MacBook Pro 10.15.4 |
| ラズパイ | Raspberry Pi 3 Model B+ |
| ラズパイ OS | Ubuntu Server 20.04.01 LTS |
ラズパイにUbuntuをインストール
1. Raspberry Pi ImagerをMacBookにインストール
2. ラズパイOSを選択し、SDカードに書き込み
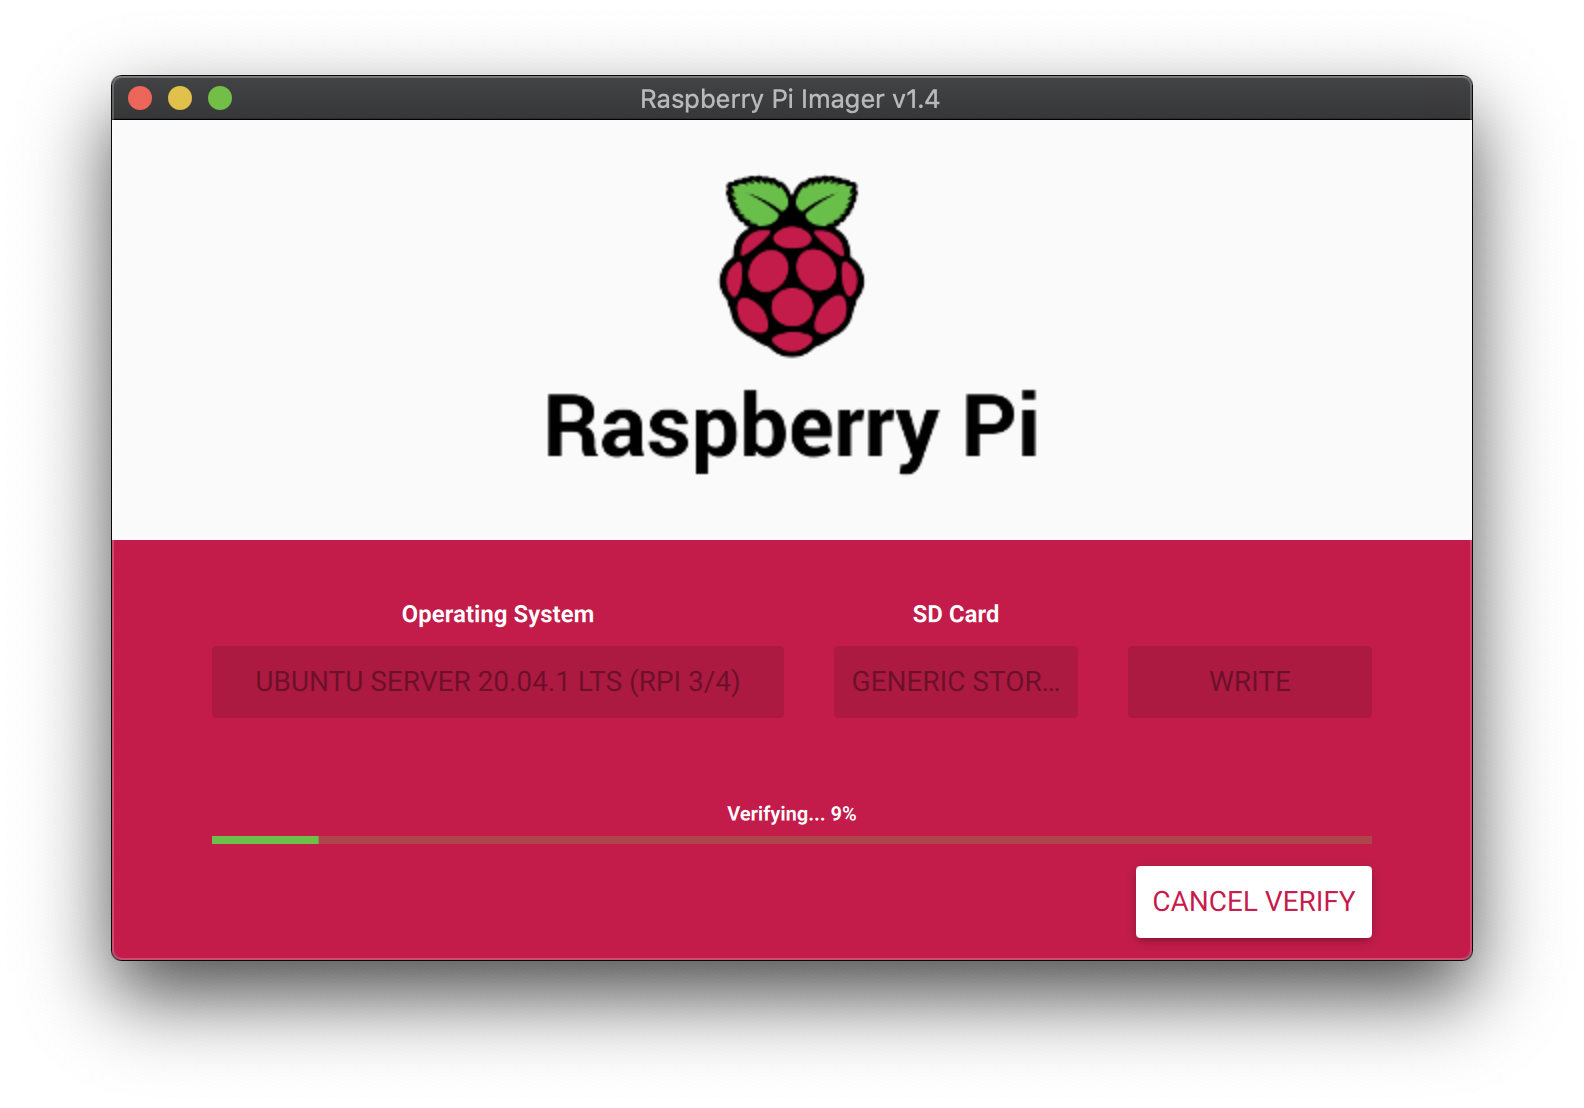
Raspberry Pi Imager使うと楽に書き込みまでできる。
3. ラズパイの起動
SDカードをラズパイに挿入し、電源を入れる。
Ubuntuの初期設定(最低限やっていること)
1. Ubuntuにログイン
初回ログイン後、パスワードの変更を要求される。
| 初期ユーザ | 初期パスワード |
|---|---|
| ubuntu | ubuntu |
2. Ubuntuのアップデート
以下のコマンドで、パッケージをアップデートする。
$ sudo apt-get update
$ sudo apt-get upgrade
3. Ubuntuの自動アップデート設定
パッケージ自動アップデートのためのパッケージをインストールし、有効にする。
$ sudo apt-get install unattended-upgrades
$ sudo dpkg-reconfigure -plow unattended-upgrades
自動アップデートの対象を以下のファイルで設定する。
/etc/apt/apt.conf.d/50unattended-upgrades
4. ssh設定
ホストキーを作成し、sshを再起動する。
$ sudo dpkg-reconfigure openssh-server
$ sudo service ssh restart
PCよりSSHでログインする。
$ ssh ubuntu@<ipアドレス>
5. ファイアウォールの設定
ufwをインストールする。
sudo apt-get install ufw
以下のファイルを編集して、IPv6を無効にする。
/etc/default/ufw
許可したポート以外を閉じる。
※sshの22番ポートのみ許可
$ sudo ufw default deny
$ sudo ufw allow 22
$ sudo ufw enable
許可したポートを確認する。
$ sudo ufw status
Status: active

To                         Action      From
--                         ------      ----
22                         ALLOW       Anywhere
6. 時刻設定
ntpのインストールする。
$ sudo apt-get install ntp
以下の通り、ファイルに追記する。
/etc/ntp.conf
    server -4 ntp.nict.jp
    server -4 ntp1.jst.mfeed.ad.jp
    server -4 ntp2.jst.mfeed.ad.jp
    server -4 ntp3.jst.mfeed.ad.jp
ntpを再起動する。
sudo service ntp restart
ntpの設定を確認する。
$ ntpq -p
     remote           refid      st t when poll reach   delay   offset  jitter
==============================================================================
 ntp.ubuntu.com  .POOL.          16 p    -   64    0    0.000    0.000   0.000
*ntp-a2.nict.go. .NICT.           1 u   56   64  377    5.446   -0.311   1.257
+ntp1.jst.mfeed. 133.243.236.17   2 u   55   64  377    5.478    0.662   1.409
+ntp2.jst.mfeed. 133.243.236.18   2 u   31   64  377    5.884    0.775   1.186
-ntp3.jst.mfeed. 133.243.236.19   2 u   54   64  377    5.206   -2.171   2.470
+golem.canonical 17.253.34.123    2 u   58   64  377  209.017   -0.482   1.305
+alphyn.canonica 142.3.100.2      2 u   57   64  377  146.822   -0.722   1.216
+pugot.canonical 17.253.108.253   2 u   52   64  377  250.782   -0.555   1.252
-chilipepper.can 17.253.108.125   2 u   52   64  377  210.178    0.891   1.535
7. サービスの自動起動
sysv-rc-confをインストールする。
$ wget http://archive.ubuntu.com/ubuntu/pool/universe/s/sysv-rc-conf/sysv-rc-conf_0.99.orig.tar.gz
$ tar zxvf sysv-rc-conf_0.99.orig.tar.gz
$ cd sysv-rc-conf-0.99
$ sudo apt install make
$ sudo make
$ sudo make install
$ sudo apt install libcurses-ui-perl libterm-readkey-perl libcurses-perl
指定したサービスを自動起動設定する。
※今回は、ntpを自動起動に設定
$ sudo sysv-rc-conf ntp on
$ sudo sysv-rc-conf --list ntp
ntp          2:on	3:on	4:on	5:on
なお、起動中のサービスは以下のコマンドで確認できる。
$ service --status-all
8. IPアドレスの固定
環境に合わせて以下のファイルを作成する。
/etc/netplan/99_config.yaml
network:
    version: 2
    renderer: networkd
    ethernets:
        eth0:
            dhcp4: false
            dhcp6: false
            addresses: [192.168.1.1/23]
            gateway4: 192.168.1.254
            nameservers:
                addresses: [192.168.1.254, 8.8.8.8, 8.8.4.4]
以下のコマンドで、設定を反映する。
再起動いらなかった。
$ sudo netplan apply
9. ホスト名の変更
以下のコマンドでホスト名を変更する。
※ubuntu → raspi
$ hostname
ubuntu
$ sudo hostname raspi
$ hostname
raspi
10. OS再起動
$ sudo reboot
dockerのインストール
ラズパイでdocker使うので、インストールする。
aptでdockerとdocker-composeをインストールする。
$ sudo apt install docker docker-compose
dockerを自動起動に設定する。
$ sudo sysv-rc-conf docker on
$ sudo sysv-rc-conf --list docker
docker       2:on	3:on	4:on	5:on
ここまでで終わり