はじめに
AndroidアプリをKotlinで開発する機会をいただいたので、備忘録として残しておく。
今回はFirebaseCloudMessagingを使って、通知機能を実装した。
開発環境
AndroidStudio 3.1
実装
実装について記述する。
Firebase
1.「プロジェクトの追加」から新しいプロジェクトを作成
2.「AndroidアプリにFirebaseを追加」をクリック
3.「Androidパッケージ名」を入力しアプリの登録
4.「google-services.json」をダウンロードし、Androidモジュールのルートディレクトリに移動
5. build.gradleファイルに以下を追加
buildscript {
  dependencies {
    // Add this line
    classpath 'com.google.gms:google-services:4.0.0'
  }
}
dependencies {
  // Add this line
  implementation 'com.google.firebase:firebase-messaging:12.0.1'
}

// Add to the bottom of the file
apply plugin: 'com.google.gms.google-services'
AndroidStudio3.0になってからcompileを使うと、implementationに書き換えるよう警告が出る。
6.「Sync now」をクリックし、変更を完了
AndroidStudio
通知を受け取るためのサービスを実装する。
import android.util.Log
import com.google.firebase.messaging.FirebaseMessagingService
import com.google.firebase.messaging.RemoteMessage

class NotificationService: FirebaseMessagingService() {

    override fun onMessageReceived(remoteMessage: RemoteMessage?) {
        super.onMessageReceived(remoteMessage)

        // ここに通知を受け取った時の処理を記述
        Log.d("Title:", remoteMessage?.notification?.title)
        Log.d("Message:", remoteMessage?.notification?.body)
    }
}
FirebaseMessagingService継承クラスを作成し、onMessageReceivedにプッシュ通知受信時の処理を記述する。
通知受信時、毎回onMessageReceivedが呼ばれるわけではない。フォアグラウンド・バックグラウンド、通知のタイプによって挙動が変わる。
デバイストークンを取得する際は、FirebaseInstanceIdService継承クラスを実装する必要がある。今回は省略...
最後に、ServiceをAndroidManifestに以下を追加する。
<service android:name=".NotificationService">
    <intent-filter>
        <action android:name="com.google.firebase.MESSAGING_EVENT"/>
    </intent-filter>
</service>
おまけ
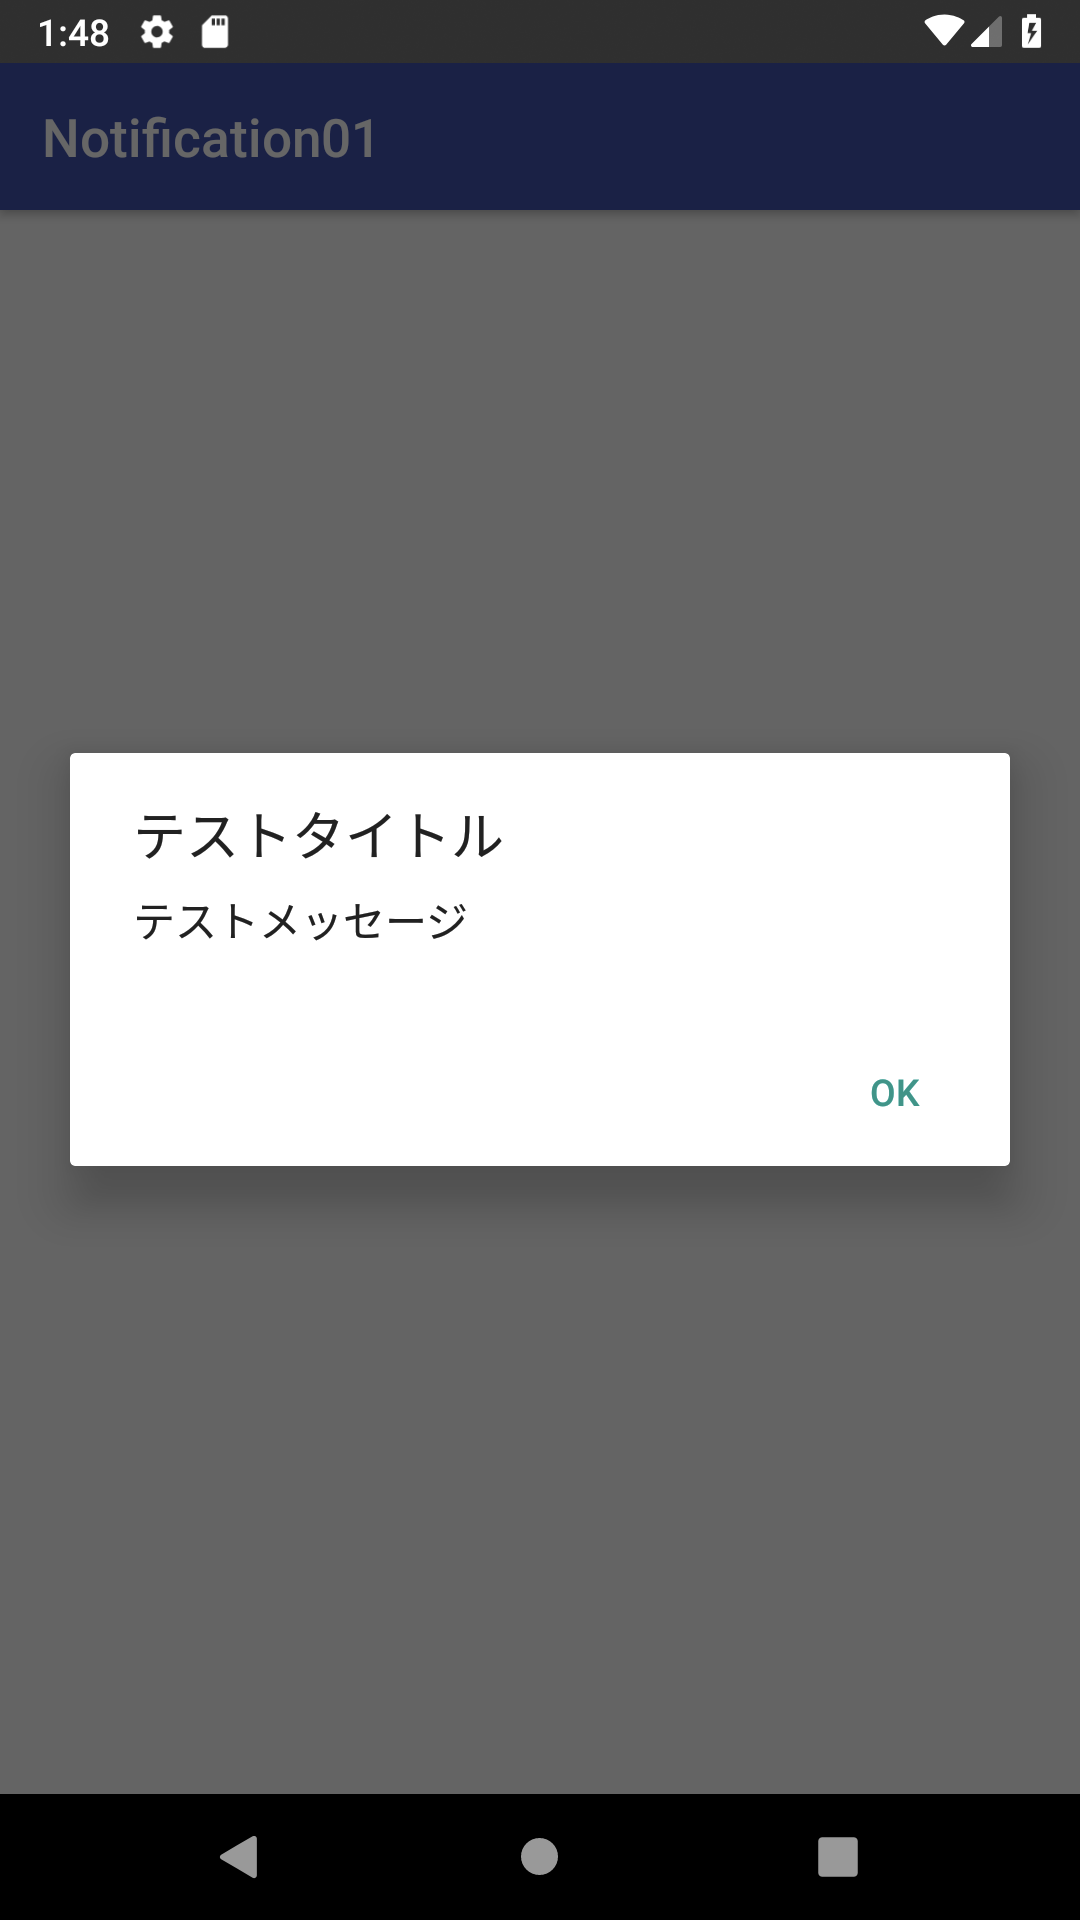
今回は、通知受信時ダイアログを表示する機能を実装した。
Serviceからダイアログの記述をしてもダイアログは表示されない。そのため、ダイアログを表示するためのActivityを実装する。
import android.content.Intent
import android.os.Bundle
import android.support.v7.app.AlertDialog
import android.support.v7.app.AppCompatActivity

class DialogActivity: AppCompatActivity() {

    // onCreate
    override fun onCreate(savedInstanceState: Bundle?) {
        super.onCreate(savedInstanceState)

        // サービスからの情報の受け取り
        val intent: Intent = getIntent()
        val title = intent.getStringExtra("title")
        val message = intent.getStringExtra("message")

        // 表示するダイアログの設定
        var builder: AlertDialog.Builder = AlertDialog.Builder(this)
        // タイトルとメッセージ部分の設定
        builder.setTitle(title).setMessage(message)
                // ボタンタップ時の処理
                .setNegativeButton("OK") { dialog, id ->
                    // ダイアログを閉じる
                    dialog.cancel()
                    // 本Activityを終了する
                    this.finish()
                }

        // ダイアログの生成
        var alert: AlertDialog = builder.create()

        // ダイアログの表示
        alert.show()
    }
}
サービスクラスからDialogActivityに遷移する記述をNotificationServiceに追加する。
class NotificationService: FirebaseMessagingService() {

    override fun onMessageReceived(remoteMessage: RemoteMessage?) {
        super.onMessageReceived(remoteMessage)

        // ここに通知を受け取った時の処理を記述
        Log.d("Test", remoteMessage?.notification?.title)
        Log.d("Test", remoteMessage?.notification?.body)

        // Intentの生成
        var intent: Intent = Intent(applicationContext, DialogActivity::class.java)

        // スタックにタスクが存在しても新しいタスクとして起動する設定
        intent.setFlags(Intent.FLAG_ACTIVITY_NEW_TASK)

        // 通知内のタイトルとメッセージを格納する変数
        var title: String
        var message: String

        // 通知タイトル内容の決定
        if (remoteMessage!!.notification!!.title != null) { title = remoteMessage!!.notification!!.title!! }
        else { title = "" }

        // 通知メッセージ内容の決定
        if (remoteMessage!!.notification!!.body != null) {message = remoteMessage!!.notification!!.body!! }
        else { message = "" }

        //intentに情報の付加
        intent.putExtra("title", title)
        intent.putExtra("message", message)

        // Activityの起動
        startActivity(intent)
    }
}
ダイアログ専用のスタイルを追加する。ダイアログ以外を透過し、自然な 通知アクションにする。
<!-- ダイアログ表示用のテーマ,ダイアログ以外を透過させる -->
    <style name="TransparencyTheme" parent="Theme.AppCompat.Light">
        <item name="android:windowBackground">@android:color/transparent</item>
        <item name="android:windowIsTranslucent">true</item>
        <item name="android:windowTranslucentNavigation">true</item>
        <item name="windowNoTitle">true</item>
        <item name="windowActionBar">false</item>
        <item name="android:windowContentOverlay">@null</item>
    </style>
AndroidManifestに、ダイアログのActivityを追加する。また、スタイルの設定も記述する。
<activity android:name=".DialogActivity"
    android:theme="@style/TransparencyTheme">
</activity>
これで、通知受信時にダイアログが表示される。
Firebaseにて「Cloud Messaging」の「使ってみる」をクリック、そこでメッセージの設定を行う。

最後に
Firebaseは、Android・iOS・Unity・HTMLなど対応しているぽい...便利
あと、このダイアログ表示は、ビーコン受信時のクーポン提示とかに使えそう。