本構成による恩恵
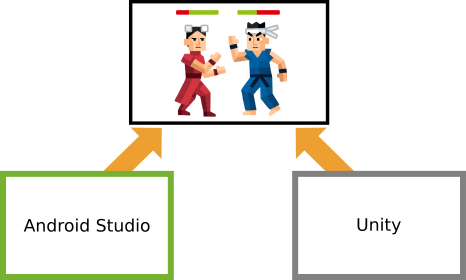
UnityとAndroidが密に連携している場合、Android Studioで効率良くプラグインを開発するのは難しくなる。
そこで、Android StudioでもUnityの実行環境の上で、デバッグ開発を行えるようにし、効率良くプラグインの開発を行えるように工夫した。
動作確認環境
- Windows
- Unity 5.5.1f1
- Android Studio 2.2.3
サンプルプロジェクト
GitHub: UnityAndroidPluginSample
プロジェクト全体の構成
UnityAndroidPluginSample
  │
  └── UnityProject                  // Unityプロジェクト
  │   └── copy_unity_export.bat     // コピーバッチ(Sync Android Studioから実行される)
  │   └── exclude_unity_export.list // コピー除外リスト
  │   └── clean_unity_export.bat    // エクスポートデータの初期化バッチ(Sync Android Studioから実行される)
  │   └── Assets/Plugins/Android
  │       └── AndroidManifest.xml   // 拡張項目を追加するAndroidManifest
  │       └── androidplugin.aar     // プラグイン生成モジュールのビルド結果
  │
  └── AndroidPluginFactory          // Androidプラグイン開発プロジェクト
  │   └── androidplugin             // プラグイン生成モジュール
  │   └── app                       // Unityからエクスポートされたモジュール
  │
  └── UnityExport                   // Unityからエクスポートされた中間データ
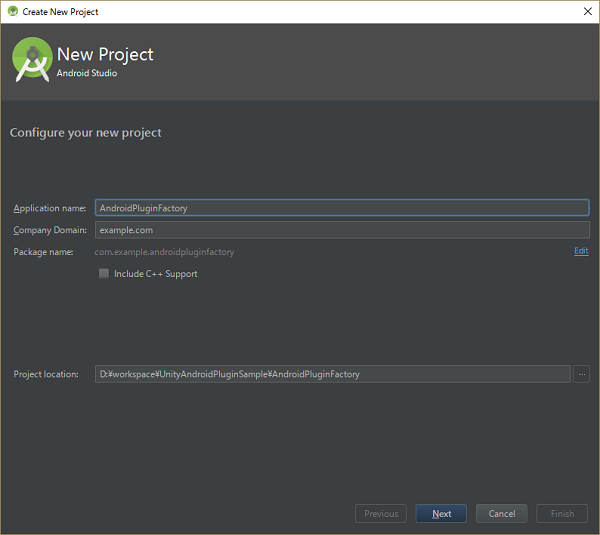
開発環境の構築
-
ベースとなる
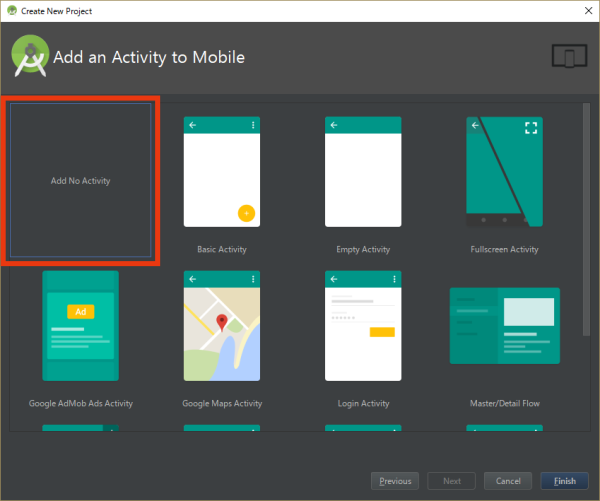
appモジュールを作成する
中身は後の工程でUnityからエクスポートされる為、ここでは空のプロジェクトを選択する。
-
AndroidPluginFactory/appの下は、build.gradleを残し、削除する
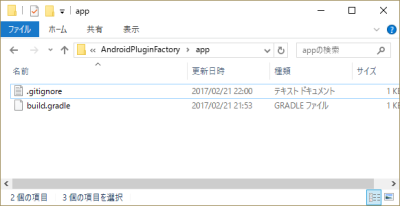
また、build.gradleをプラグイン開発に必要な内容に変更する。dependenciesにandroidpluginモジュールを追加し、Android Studioで実行した際にプラグインと連携できるようにする。app/build.gradleapply plugin: 'com.android.application' android { compileSdkVersion 25 buildToolsVersion "25.0.0" defaultConfig { applicationId "com.example.androidpluginfactory" minSdkVersion 19 targetSdkVersion 25 } } dependencies { compile files('libs/unity-classes.jar') // ビルドタイプに応じて、ライブラリモジュールのビルドタイプを変える releaseCompile project(path: ':androidplugin', configuration: 'release') debugCompile project(path: ':androidplugin', configuration: 'debug') } -
Unityからエクスポートしたデータを、Android Studioの
appモジュールへコピーするバッチを作成copy_unity_export.bat@rem 古いデータを削除 rd /s /q ..\AndroidPluginFactory\app\build rd /s /q ..\AndroidPluginFactory\app\libs rd /s /q ..\AndroidPluginFactory\app\src @rem Unityからエクスポートしたデータを、プラグイン開発プロジェクトへコピー echo A | xcopy /e /EXCLUDE:exclude_unity_export.list ..\UnityExport\UnityProject ..\AndroidPluginFactory\app\ pauseコピー不要なデータの除外リストを作成。
exclude_unity_export.list.mdb build.gradle androidplugin.aarまた、Unityからのエクスポートは上書き出力になる為、初期化するバッチも併せて作成する。
clean_unity_export.batrd /s /q ..\UnityExport -
AndroidManifest.xmlをPlugins/Android下に作成し、UnityのActivityを拡張するAndroidManifest.xml<manifest xmlns:android="http://schemas.android.com/apk/res/android"> <application android:icon="@drawable/app_icon"> <activity android:name="com.example.androidplugin.SampleActivity" android:label="@string/app_name"> <intent-filter> <action android:name="android.intent.action.MAIN" /> <category android:name="android.intent.category.LAUNCHER" /> </intent-filter> </activity> </application> </manifest> -
UnityプロジェクトにAndroid Studioと同期する為のエディタ拡張コードを作成
DevelopmentTool.csusing System.Diagnostics; using System.Linq; using UnityEditor; public class DevelopmentTool { [MenuItem("Tools/Sync Android Studio")] public static void SyncAndroidStudio() { EditorUserBuildSettings.SwitchActiveBuildTarget(BuildTarget.Android); EditorUserBuildSettings.androidBuildSystem = AndroidBuildSystem.Gradle; // エクスポートは上書き出力されてゴミが残ってしまう為、事前に古いエクスポートデータを初期化する RunBatch(@"{Application.dataPath}\..\clean_unity_export.bat"); const BuildOptions options = BuildOptions.AcceptExternalModificationsToPlayer | BuildOptions.Development | BuildOptions.AllowDebugging; BuildPipeline.BuildPlayer( (from scene in EditorBuildSettings.scenes where scene.enabled select scene.path).ToArray(), "../UnityExport", BuildTarget.Android, options ); // プラグイン開発プロジェクトへUnityからエクスポートしたデータをコピー RunBatch(@"{Application.dataPath}\..\copy_unity_export.bat"); } private static void RunBatch(string path) { var process = new Process(); var info = process.StartInfo; info.FileName = path; info.UseShellExecute = false; process.Start(); process.WaitForExit(); process.Close(); } } -
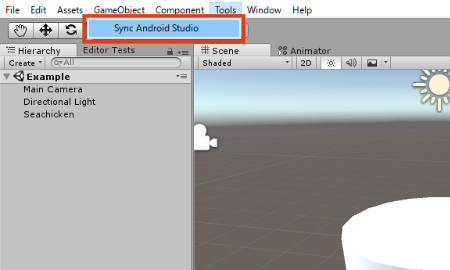
エディタ拡張により表示された「Sync Android Studio」を実行し、
AndroidPluginFactory/app下にUnityの実行データをコピーする
-
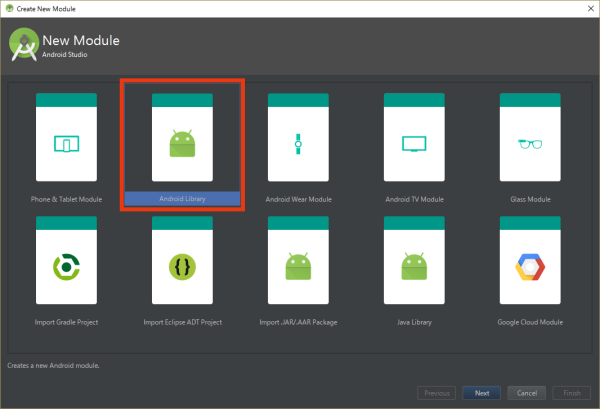
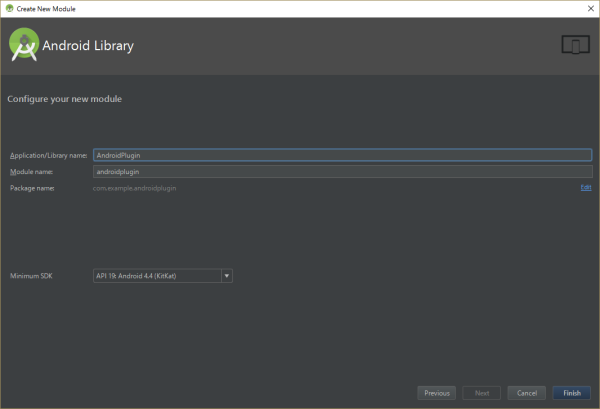
プラグイン開発用モジュールの
build.gradleを編集する- ライブラリモジュールのデバッグビルドを有効化(
BuildConfig.DEBUG等が有効化される) -
dependenciesに、Unityからエクスポートされたライブラリの参照を追加 -
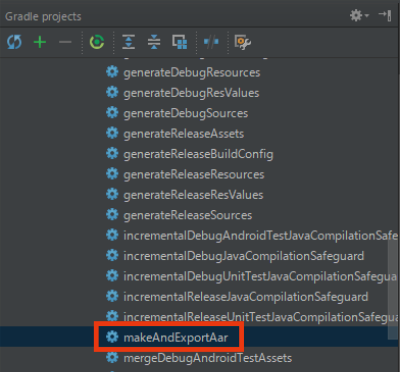
androidpluginモジュールをAAR化してUnityへ転送するスクリプトを追加
adnroidplugin/build.gradleandroid { ~~~ // ライブラリモジュールのデバッグビルドを有効化 publishNonDefault true } dependencies { compile fileTree(dir: 'libs', include: ['*.jar']) compile files('../app/libs/unity-classes.jar') } android.libraryVariants.all { variant -> variant.outputs.each { output -> output.packageLibrary.exclude('libs/unity-classes.jar') } } def AAR_NAME='androidplugin.aar' task makeAndExportAar(type: Copy) { from('build/outputs/aar/') into('../../UnityProject/Assets/Plugins/Android/') include('androidplugin-release.aar') rename('androidplugin-release.aar', AAR_NAME) } makeAndExportAar.dependsOn(build) - ライブラリモジュールのデバッグビルドを有効化(
-
UnityPlayerActivityを拡張するpublic class SampleActivity extends UnityPlayerActivity { @Override protected void onCreate(Bundle savedInstanceState) { super.onCreate(savedInstanceState); // 拡張に成功したら"Android拡張成功!"とToast表示 Toast.makeText(this, R.string.complete_message, Toast.LENGTH_LONG).show(); } } -
最後に、正常にビルドできることを確認する
[ Android Studio側 ]
-
appモジュールを実行 - Toastで「Android拡張成功!」の表示を確認する
[ Unity側 ]
-
運用時の注意点
- ブランチ切り替えを行った場合は、Unityと同期が取れていない為、「Sync Android Studio」を行う
-
androidpluginモジュールを変更した場合は、makeAndExportAarを実行しAARを更新してからコミットする(あくまでもAndroid Studioは拡張機能を開発する為の補助的な位置づけなので、Unityでビルドした際に正常に動作することを意識する)
