 https://swagger.io/
# はじめに
業務でOpenAPIを用いたAPI設計を行い、トップダウンでAPIを実装しました。
簡単な例を用いて一連の流れを紹介します。5分もかからずに試せると思います。
# 概要
[About Swagger Specification | Documentation | Swagger | Swagger](https://swagger.io/docs/specification/about/)
## OpenAPIとは
OpenAPI仕様は、REST APIのAPI記述フォーマット。
OpenAPIファイルを使用すると、次のようなAPI全体を記述できる。
・利用可能なエンドポイント(/users)
・各エンドポイントでの操作(GET /users、POST /users)
・操作パラメーター操作ごとの入出力
・認証方法
・連絡先、ライセンス、利用規約、その他の情報
https://swagger.io/
# はじめに
業務でOpenAPIを用いたAPI設計を行い、トップダウンでAPIを実装しました。
簡単な例を用いて一連の流れを紹介します。5分もかからずに試せると思います。
# 概要
[About Swagger Specification | Documentation | Swagger | Swagger](https://swagger.io/docs/specification/about/)
## OpenAPIとは
OpenAPI仕様は、REST APIのAPI記述フォーマット。
OpenAPIファイルを使用すると、次のようなAPI全体を記述できる。
・利用可能なエンドポイント(/users)
・各エンドポイントでの操作(GET /users、POST /users)
・操作パラメーター操作ごとの入出力
・認証方法
・連絡先、ライセンス、利用規約、その他の情報
API仕様はYAMLまたはJSONで書くことができる。
Swaggerとは
Swaggerは、OpenAPI仕様に基づいて構築された一連のオープンソースツール。
主なSwaggerツールは以下。
| ツール | 概要 |
|---|---|
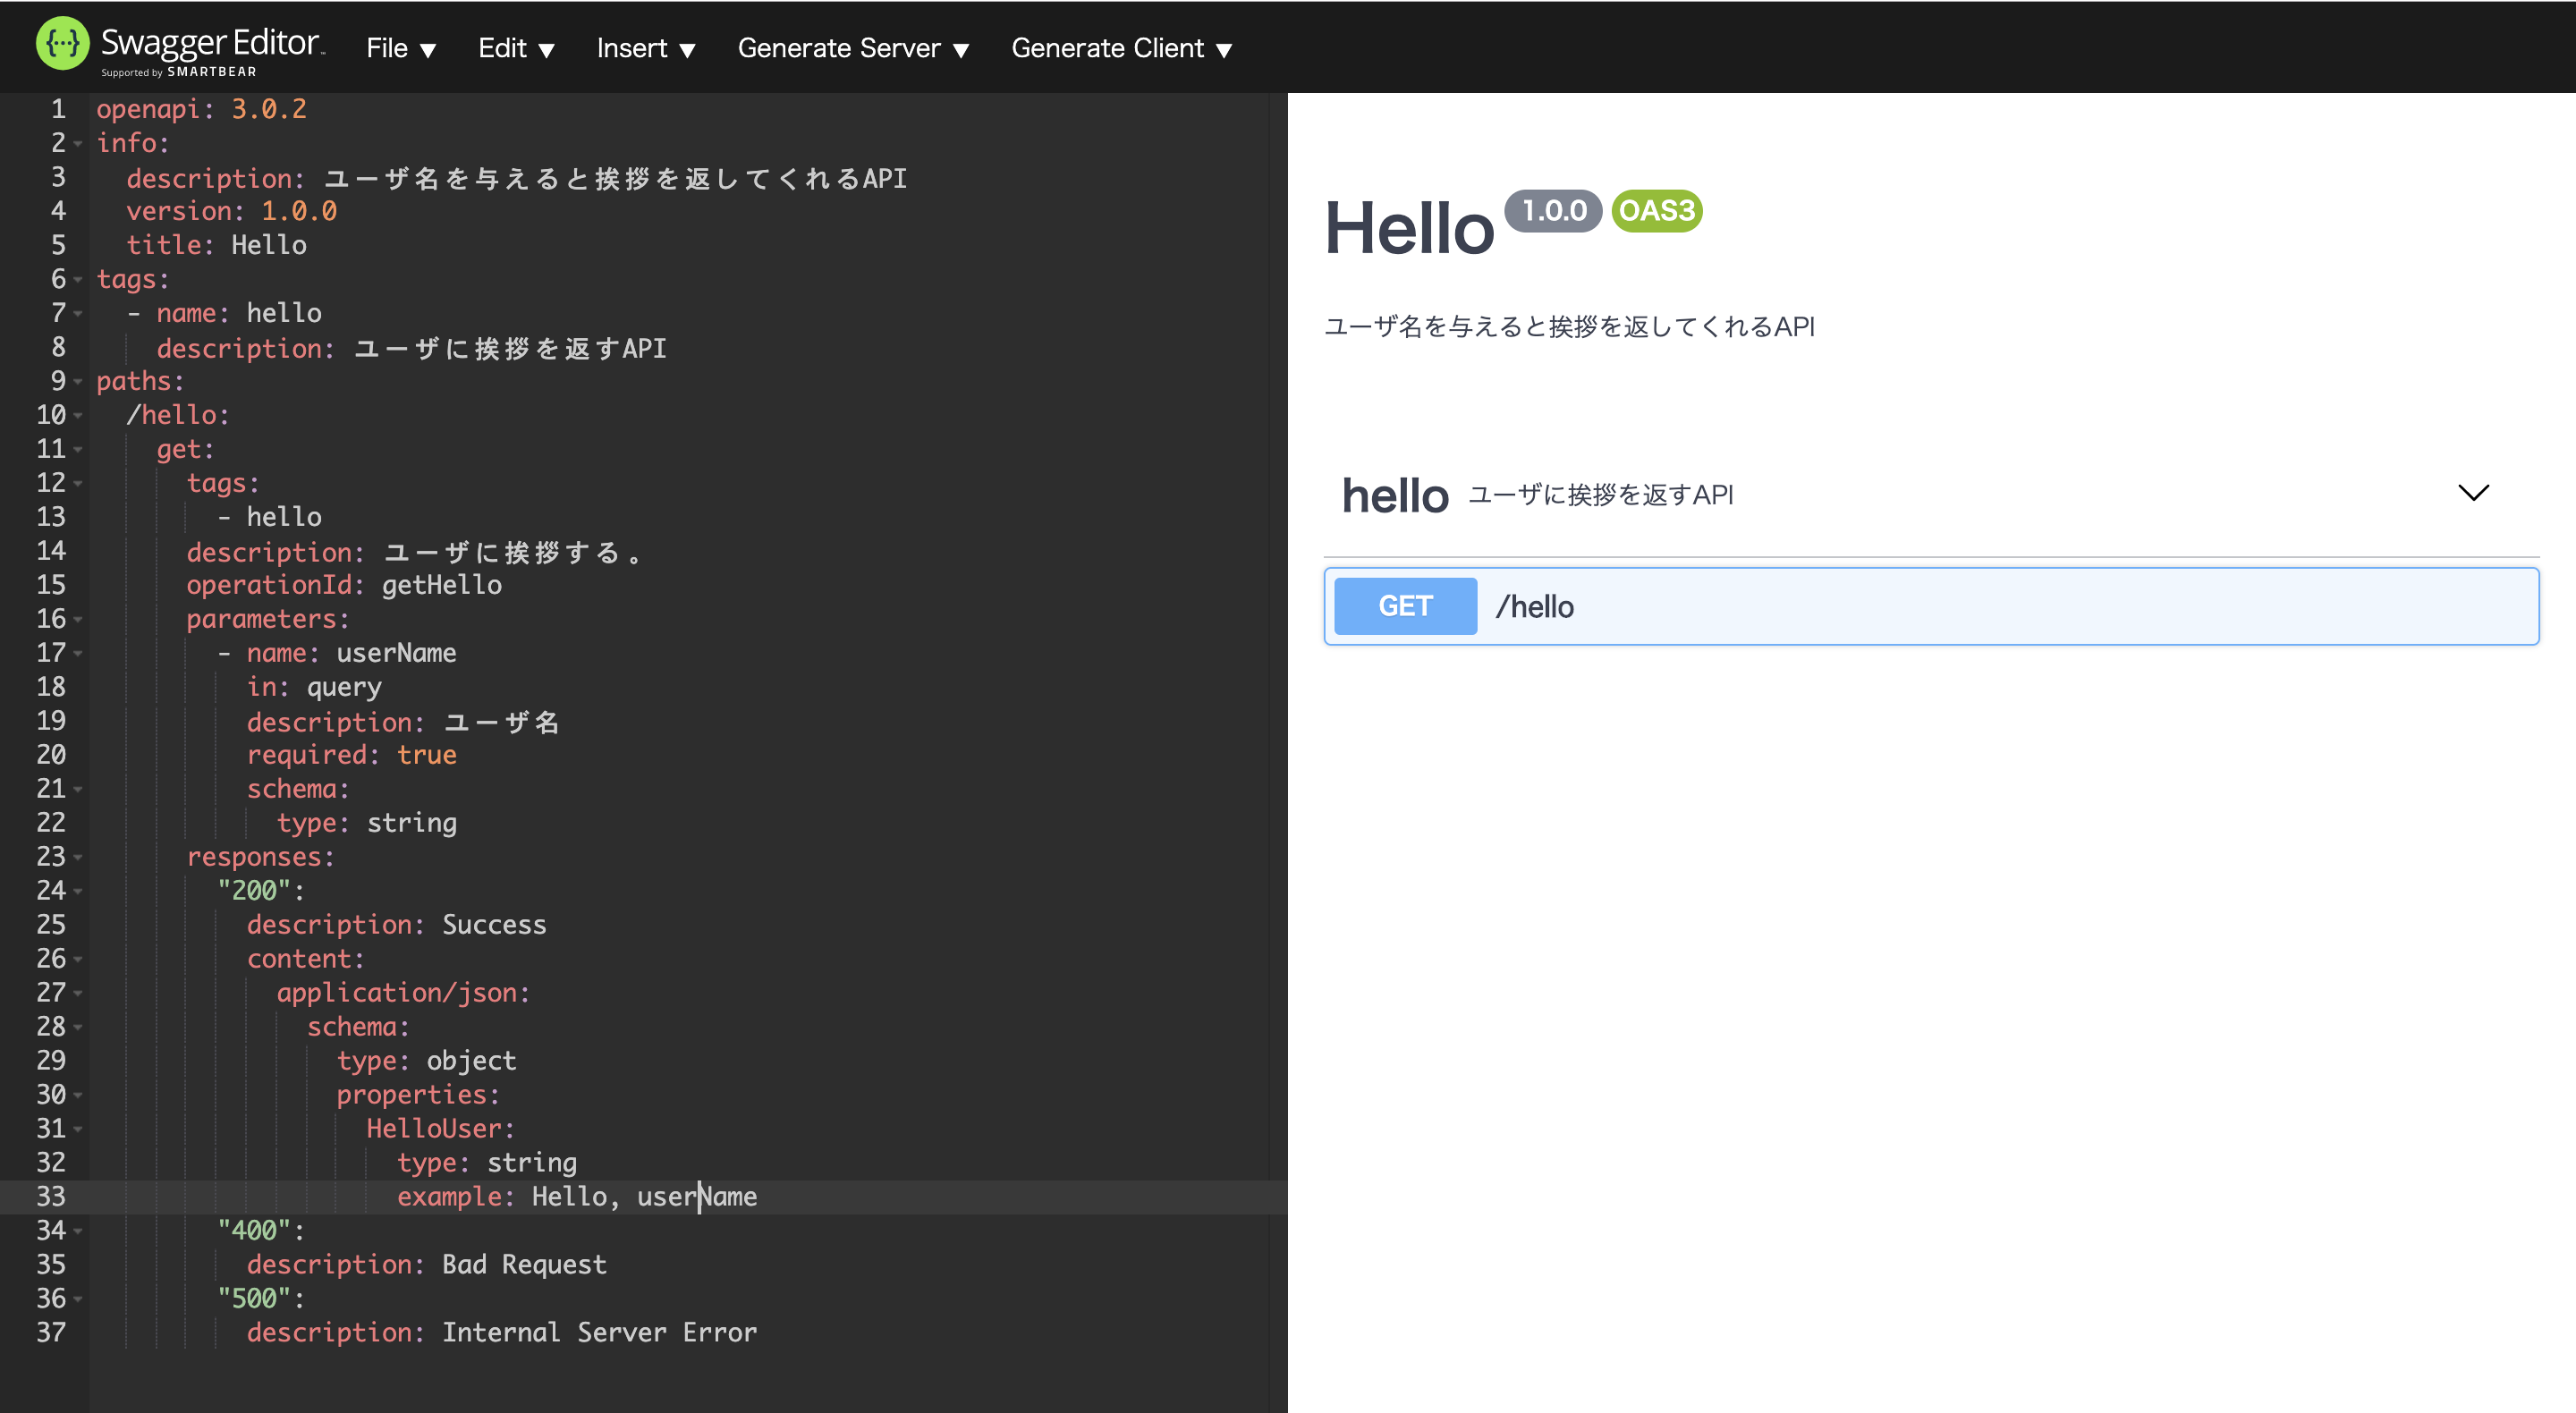
| Swagger Editor | OpenAPIの仕様を記述できるブラウザベースのエディタ。画像の左側半分。 |
| Swagger UI | OpenAPIの仕様を動的なAPIドキュメントとしてレンダリングするツール。画像の右側半分。 |
| Swagger Codegen | OpenAPI仕様からサーバースタブとクライアントライブラリを生成する。画像上部のGenarate ServerとGenerate Client。 |
 以下URLをクリックすると画像と同じ画面が表示されます。デフォルトでペットストアの例が表示されるようです。
https://editor.swagger.io/
以下URLをクリックすると画像と同じ画面が表示されます。デフォルトでペットストアの例が表示されるようです。
https://editor.swagger.io/
OpenAPIドキュメント作成〜API実装
上記のSwaggerツールを使って簡単なAPIを実装します。
今回実装するのは、パラメータに名前を入れてGETリクエストすると、挨拶を返してくれるAPIです。
APIドキュメントを作成する(Swagger Editor)
Swagger Editorを使って、OpenAPI(Swagger3.0)仕様でドキュメントを作成します。
試すだけなので、最小限の情報を記載しています。
File>Save as YAML:YAML形式で保存
File>Convert and save as YAML:JSON形式で保存
hello.yaml
openapi: 3.0.2
info:
  description: ユーザ名を与えると挨拶を返してくれるAPI
  version: 1.0.0
  title: Hello
tags:
  - name: hello
    description: ユーザに挨拶を返すAPI
paths:
  /hello:
    get:
      tags:
        - hello
      description: ユーザに挨拶する。
      operationId: getHello
      parameters:
        - name: userName
          in: query
          description: ユーザ名
          required: true
          schema:
            type: string
      responses:
        "200":
          description: Success
          content:
            application/json:
              schema:
                type: object
                properties:
                  HelloUser:
                    type: string
                    example: Hello, userName
        "400":
          description: Bad Request
        "500":
          description: Internal Server Error
コードを自動生成する(Swagger Codegen)
Genarate Serverをクリックすると以下のように、生成できるサーバ側コードの一覧が表示されます。
今回はpython-flaskを選びます。
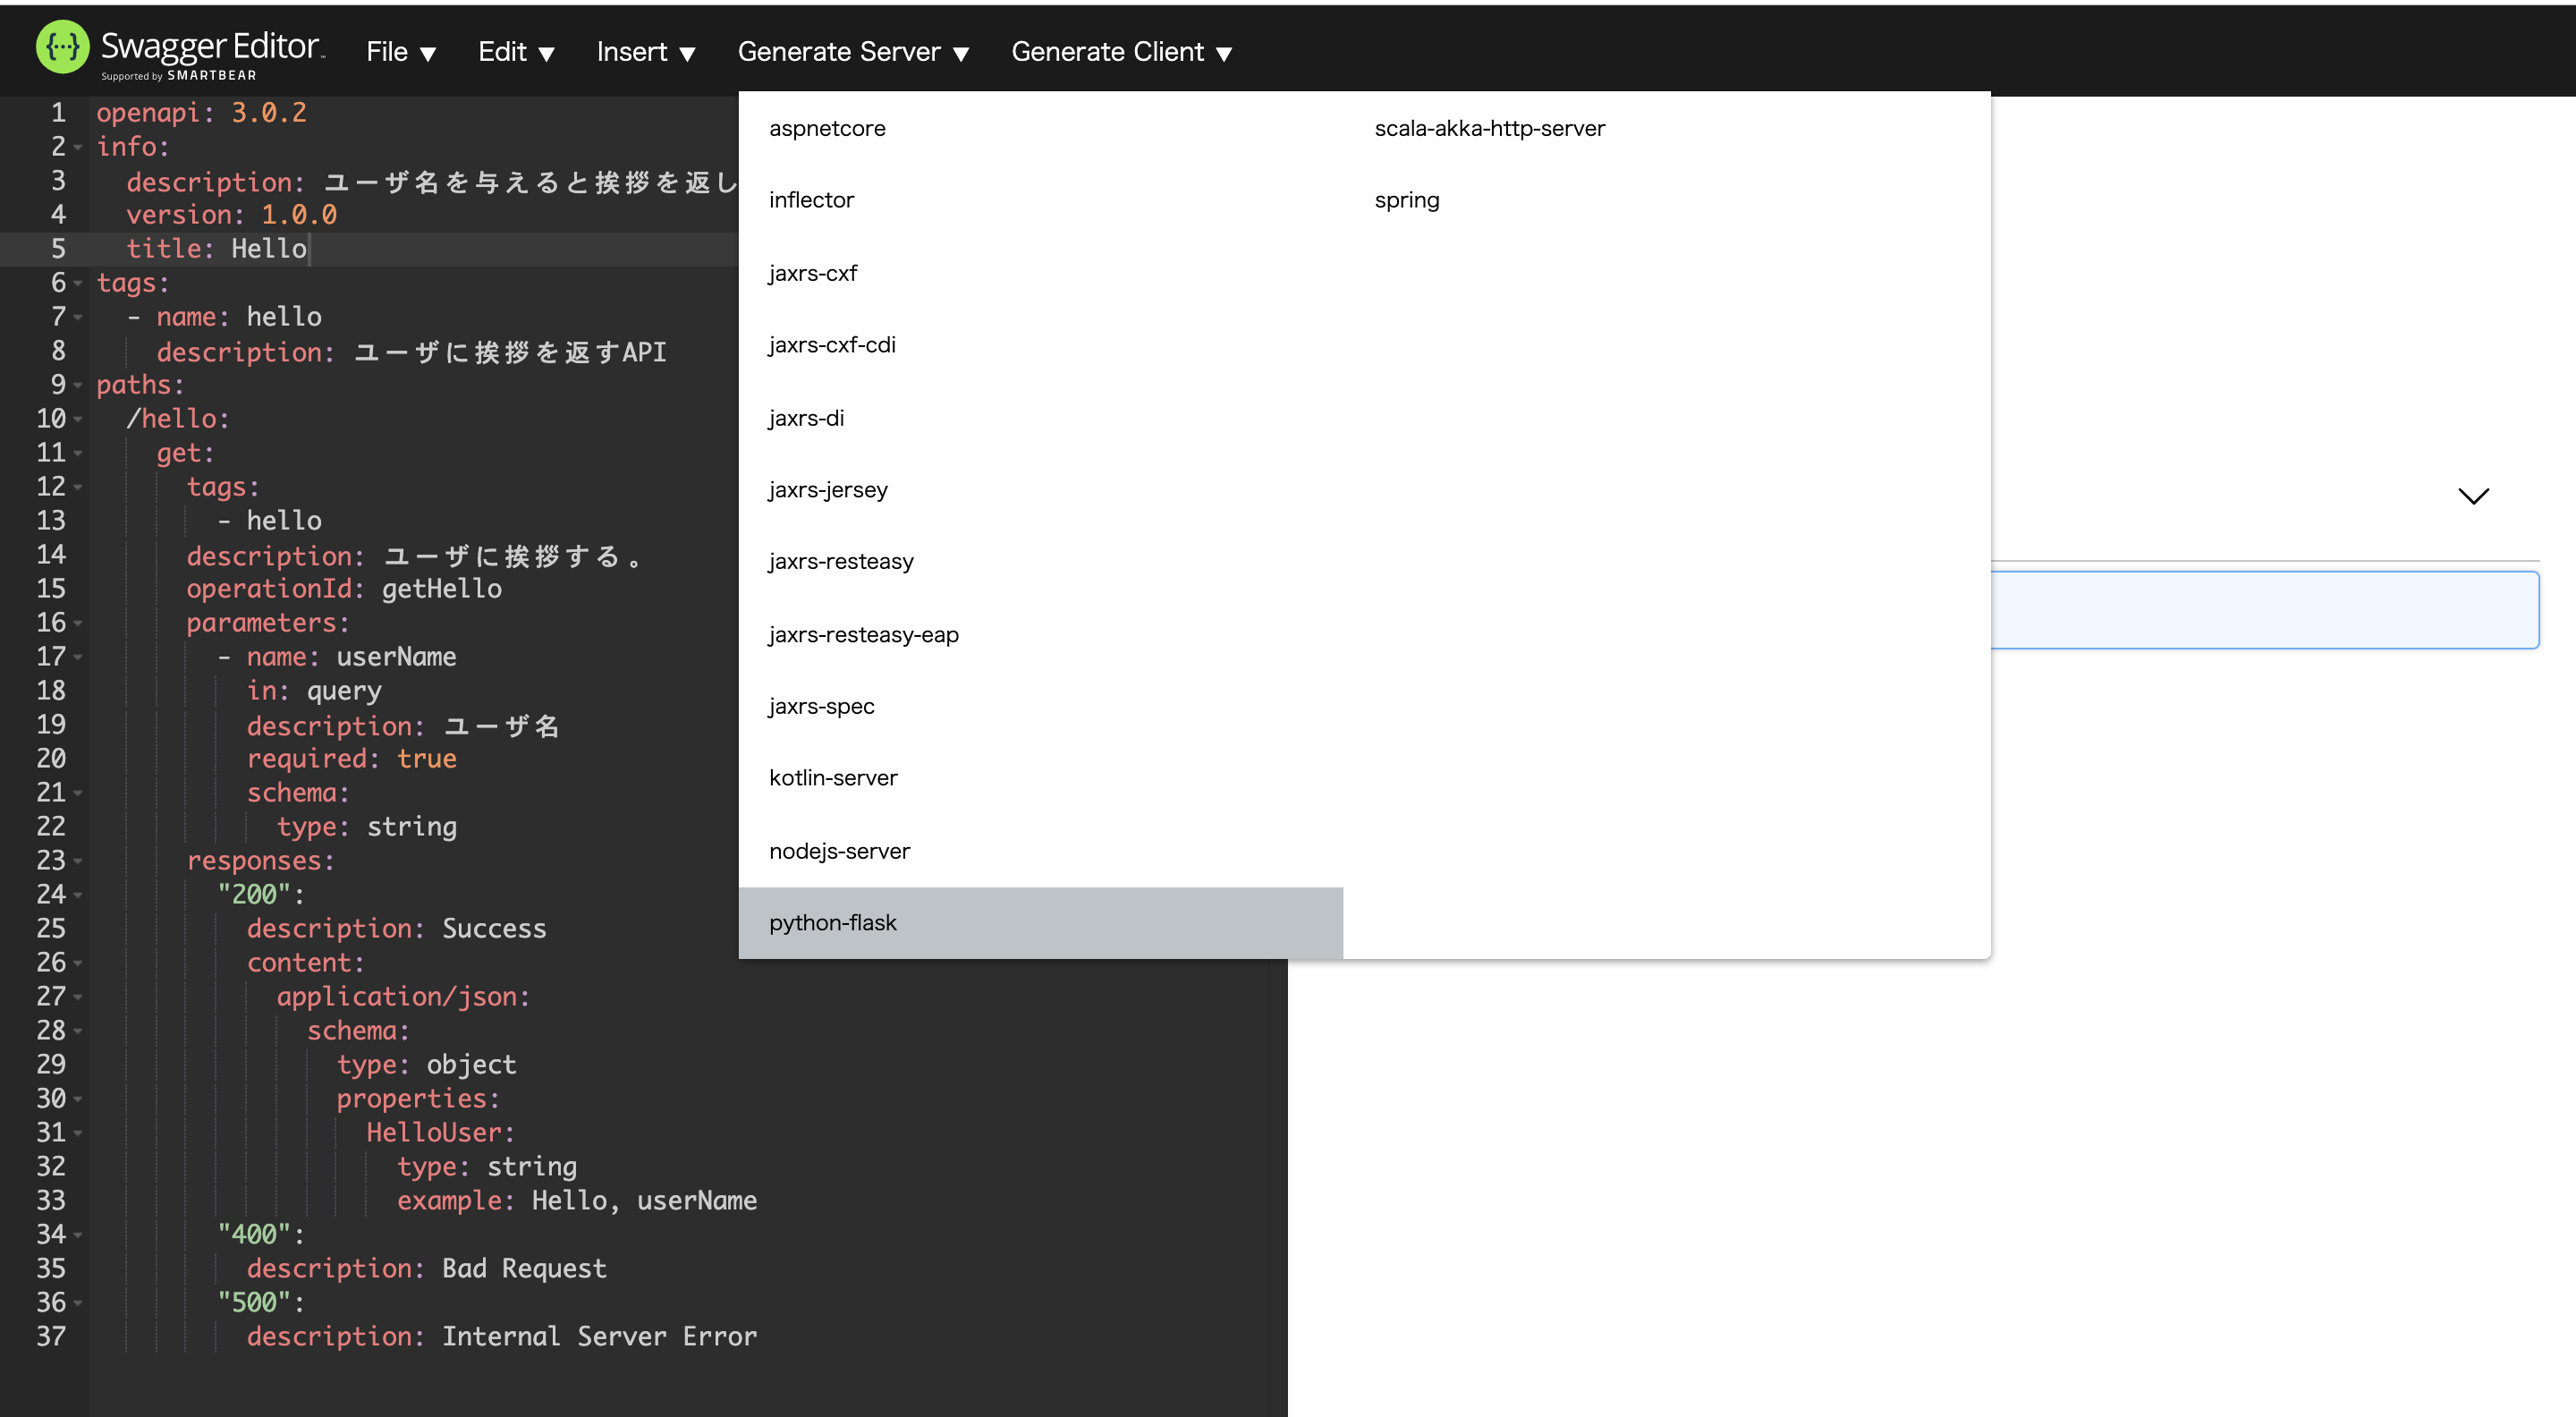
python-flask-server-generatedという名前でコードが生成されます。
ロジックを実装する
ロジックを実装すると言っても、自動生成されたコードを1行変えるだけです。
python-flask-server-generated/swagger_server/controllers/hello_user_controller.py
import connexion
import six

from swagger_server.models.inline_response200 import InlineResponse200  # noqa: E501
from swagger_server import util


def get_hello_user(user_name):  # noqa: E501
    """get_hello_user

    ユーザに挨拶する。 # noqa: E501

    :param user_name: ユーザ名
    :type user_name: str

    :rtype: InlineResponse200
    """
    return 'Hello, ' + user_name  # 変更箇所
APIの動作確認
・Web サーバーを起動する
$ python3 -m swagger_server
・curlでAPIを叩いてみる
$ curl -X GET "http://0.0.0.0:8080/hello?userName=Yusaku"
"Hello,Yusaku"
・ブラウザからAPIを叩いてみる
http://0.0.0.0:8080/hello?userName=Yusaku
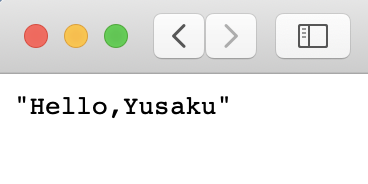
挨拶が返ってきました。
参考
SwaggerでRESTful APIの管理を楽にする
OpenAPI (Swagger) 超入門
Flask を始めよう — Flask Handson 1 documentation