この記事は以前行ったTTFをPNGファイルに変換するやつの続きです。最近読んだ論文「アスキーアート分類手法の比較検討」の中の「文字単位で画像特徴量(HOG)を抽出し...」をやってみてるやつです。
TTFの全グリフをPNGにしてみる
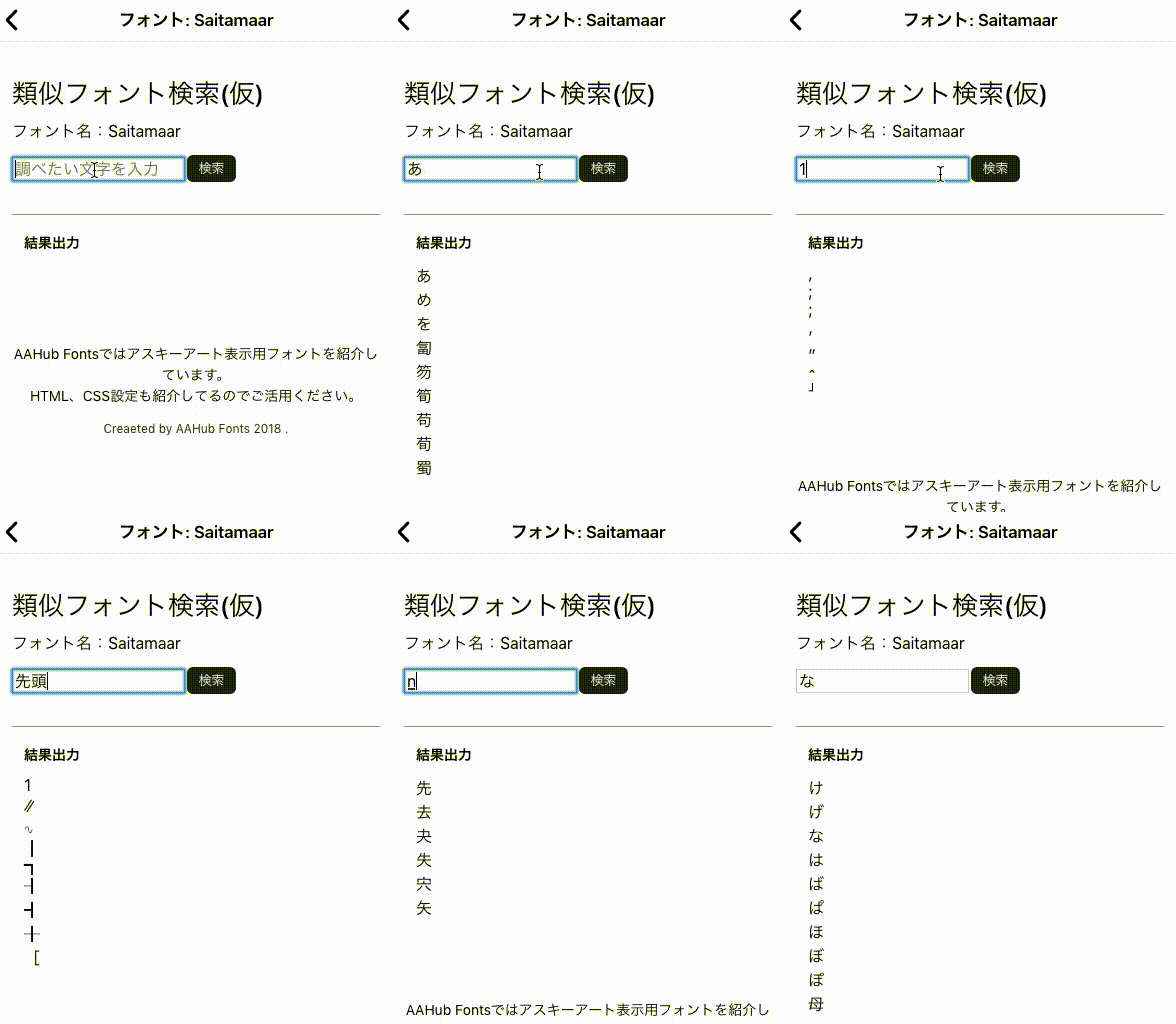
前回変換したPNGファイルから画像特徴量(HOG)を抽出してKMeansで分類してみる記事です。ちなみに完成品は以下のページで動いているのでどんなものかきになる人は確認してみてください。
類似文字検索 AAHub Fonts

具体的手順は以下のようになります。
- PNG画像からalphaチャンネルを削除する
- PNG画像からHOG特徴量を抽出する
- HOG特徴量をKMeansで分類する
興味ある方は引き続き読み進めてみてください。ソースコードだけ見てみたいって方は以下のリポジトリをのぞいてみてください。
https://github.com/AAHub/TTF2PNG
1. PNG画像からalpha値を削除する
HOGを抽出する前に前回変換したPNGからAlphaチャンネルを削除します。このチャンネルがあるとHOG抽出でうまく抽出できませんでした。
以下がalphaチャンネルを削除する関数です。
def remove_transparency(im, bg_colour=(255, 255, 255)):
    if im.mode in ('RGBA', 'LA') or (im.mode == 'P' and 'transparency' in im.info):
        alpha = im.convert('RGBA').split()[-1]
        bg = Image.new("RGBA", im.size, bg_colour + (255,))
        bg.paste(im, mask=alpha)
        return bg
    else:
        return im
上記関数を使って、output_pngフォルダの全PNGファイルからAlphaチャンネルを削除します。
# Png Resize
import os
import glob
from PIL import Image

path = "output_png"
output_path = "output_png_rm_alpha/"

files = os.listdir(path)
files_file = [f for f in files if os.path.isfile(os.path.join(path, f))]
for fname in files_file:
    bname, ext =  os.path.splitext(fname)
    if ext != ".png":
        continue
    img = Image.open("./" + path + "/" + bname + ext)
    img_bg = remove_transparency(img)
    img_bg.save("./" + output_path + bname + ext)
これで、透過画像じゃないpngファイルになりました。下準備はOKです。
2. PNG画像からHOG特徴量を抽出する
次はいよいよPNG画像からHOGを抽出します。まずは必要なライブラリを読み込みます。
%matplotlib inline
import matplotlib.pyplot as plt
import numpy as np
from skimage.feature import hog
from skimage import data, exposure
import cv2
import os
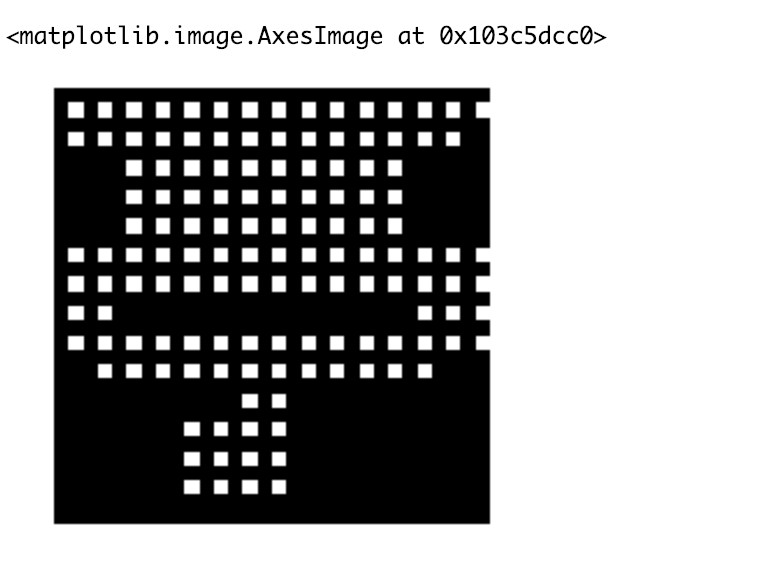
全ファイルを変換する前に試しにうまく動くか確認してみます。「亭」の時から画像特徴量を抽出します。
path = './output_png_rm_alpha/20141.png'
img = cv2.imread(path)
print(img.shape)
size = (30, 30)
img = cv2.resize(img, size)

fd, hog_image = hog(img, orientations=8, pixels_per_cell=(2, 2),
                    cells_per_block=(1, 1), visualize=True, multichannel=True)
hog_image_rescaled = exposure.rescale_intensity(hog_image, in_range=(0, 10))
hog_image_rescaled.flatten()

plt.axis('off')
plt.imshow(hog_image_rescaled, cmap=plt.cm.gray)
# plt.savefig('hog.png')
それでは、全PNGファイルから特徴量の抽出をします。抽出したものは"hog.npy"ファイルとして保存しておきます。
result = []
output_path = "output_png_rm_alpha/"

files = os.listdir(output_path)
files_file = [f for f in files if os.path.isfile(os.path.join(output_path, f))]
for fname in files_file:
    bname, ext =  os.path.splitext(fname)
    if ext != ".png":
        continue
    path = './' +  output_path + fname
    img = cv2.imread(path)
    size = (30, 30)
    img = cv2.resize(img, size)

    try:
        fd, hog_image = hog(img, orientations=8, pixels_per_cell=(2, 2),
                            cells_per_block=(1, 1), visualize=True, multichannel=True)
        hog_image_rescaled = exposure.rescale_intensity(hog_image, in_range=(0, 10))
        flat = hog_image_rescaled.flatten()
        result.append(flat)
    except:
        print(path)

np.save('hog.npy', result)
これで、PNGからHOGへの変換は完了です。
3. HOG特徴量をKMeansで分類する
HOG特徴量を抽出できたのでKMeansで分類します。といってもここが一番簡単で、PythonならScikit-learnにあるメソッドを呼び出せば一発OKです。念の為、抽出後の結果を保存しておきます。
from sklearn.cluster import KMeans
import pickle


hog = np.load('hog.npy')
model = KMeans(n_clusters=1000).fit(hog)
pickle.dump(model, open("kmeans.sav", 'wb'))
無事、KMeansの分類が終わったらmatplotlibで結果をプロットしてみます。ここらへんもPythonだとライブラリが豊富で楽ですね。
from sklearn import preprocessing


label_min_max = preprocessing.minmax_scale(model.labels_)

plt.figure()
for i in range(hog.shape[0] - 1):
    plt.scatter(i, label_min_max[i], c="black", linewidths="0.5")

plt.show()
真っ黒に塗りつぶされたグラフができますが、たぶん問題ないでしょう。。。たぶん。。。

最後に、文字コードとKMeansの分類結果のKey-Valueを作ります。これは最初に紹介した類似文字検索に使ってる感じです。
import os


output_path = "output_png"
files = os.listdir(output_path)
files_file = [f for f in files if os.path.isfile(os.path.join(path, f))]
list = {}
idx = 0;
for fname in files_file:
    bname, ext =  os.path.splitext(fname)
    for c in cmap:
        if str(c) == bname:
            list[c] = model.labels_[idx]
            break
    idx = idx + 1
以上、完成です。
まとめ
以上でKMeansで類似文字の検索ができるようになりました。精度は最初に紹介したサイトで動かしてもらえれば試せると思います。まあまあ良い精度がでてるんじゃないでしょうか?
今回は、画像サイズを30x30に変換したりしているのでここらへん、もうちょっとパラメータを調整すればより高い精度がでるかもしれませんね。
次回以降はAAの分類もやっていこうと思います。
それでは。
