はじめに
今回はPuppeteer(パペティア?)について取り上げます。
Puppeteer is a Node.js library which provides a high-level API to control Chrome/Chromium over the DevTools Protocol. Puppeteer runs in headless mode by default, but can be configured to run in full ("headful") Chrome/Chromium.
Puppeteerは、Chrome/Chromiumを制御してくれるNode.jsライブラリで、ヘッドレスでもフッドフルでも利用可能とのこと。
画面操作などの自動操作はもちろん、スクリーンショットの取得やパフォーマンス診断など、E2Eで必要そうな機能は揃っているようです。
記事の環境
下記環境でおこなっております。
- MacOS 12.1
- Node.js 21.1.0
- Google Chrome 120.0.6099.71
下記については本記事で扱わないため、他の方の詳しい記事を参照ください。
- Puppeteerの書き方
- E2Eテスト関連
- PuppeteerとJESTの連携
- 他のツールとの比較検討
Puppeteerの前に
いきなり脱線しますが、Chromeのデベロッパーツールはみなさん使っておりますでしょうか。
何気なくツールの三点リーダーをクリックしたら、「その他のツール」の項目があり、なかなか面白そうなツールがあります。その中の「レコーダー※」という項目がありますので、こちらを触っていきましょう。
※レコーダーの横にフラスコのアイコンがあるので、プレビュー版のようです
レコーダーを使ってみよう
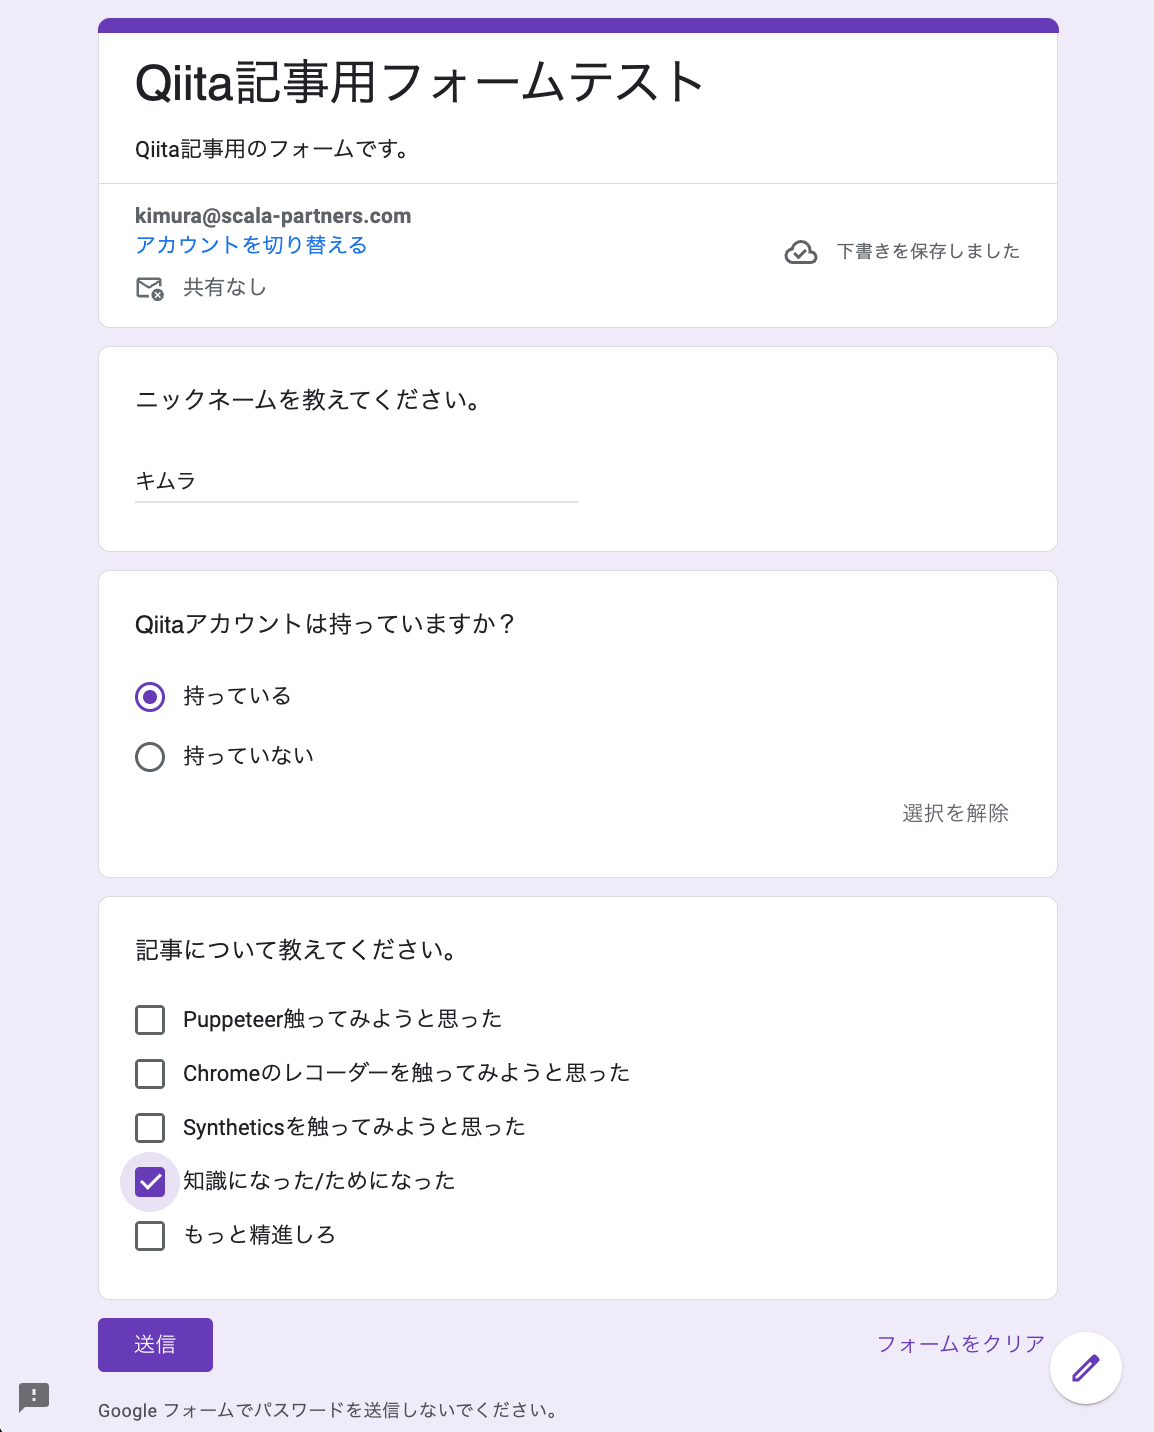
テスト用にGoogleフォームでページを作りましたのでこちらのページで試していきます。
レコーダーの使い方(記録)
WEBページを開いて、「レコーダー」ツールを開きます。
説明が表示されますので、「新しい記録を作成」をクリックします。
「記録名」を入力して、「セレクタの属性」、「記録するセレクタの種類」はデフォルトのまま、「記録を開始」をクリックしていきます。
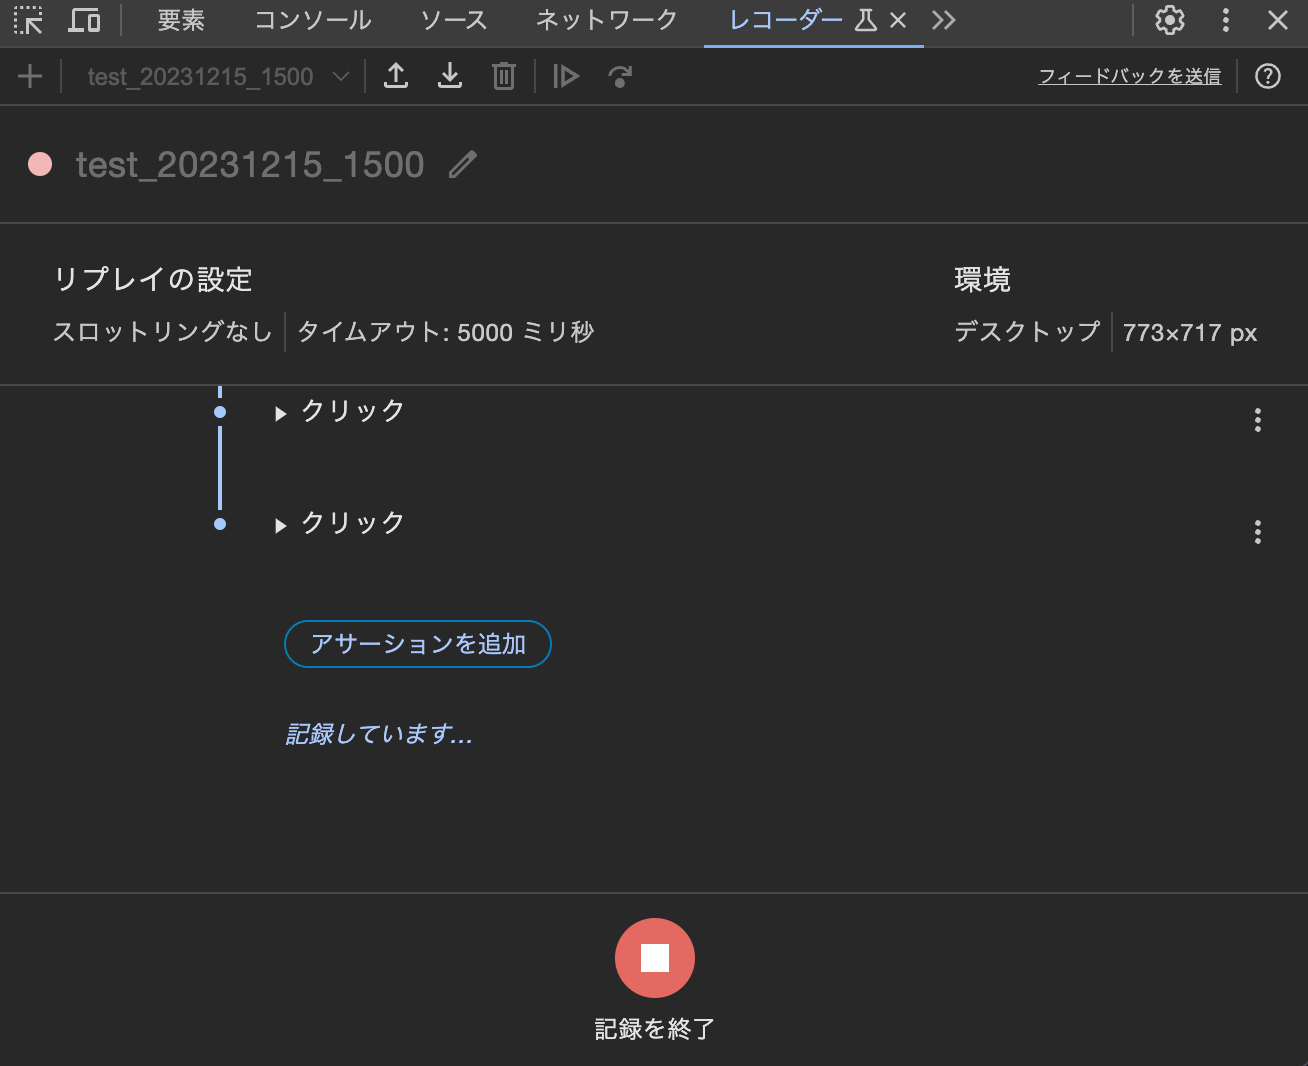
記録を開始した状態で、画面操作をします。
レコーダーツールを見ると記録がされています。操作が終わったら「記録を終了」をクリックしてください。
レコーダーの使い方(再生)
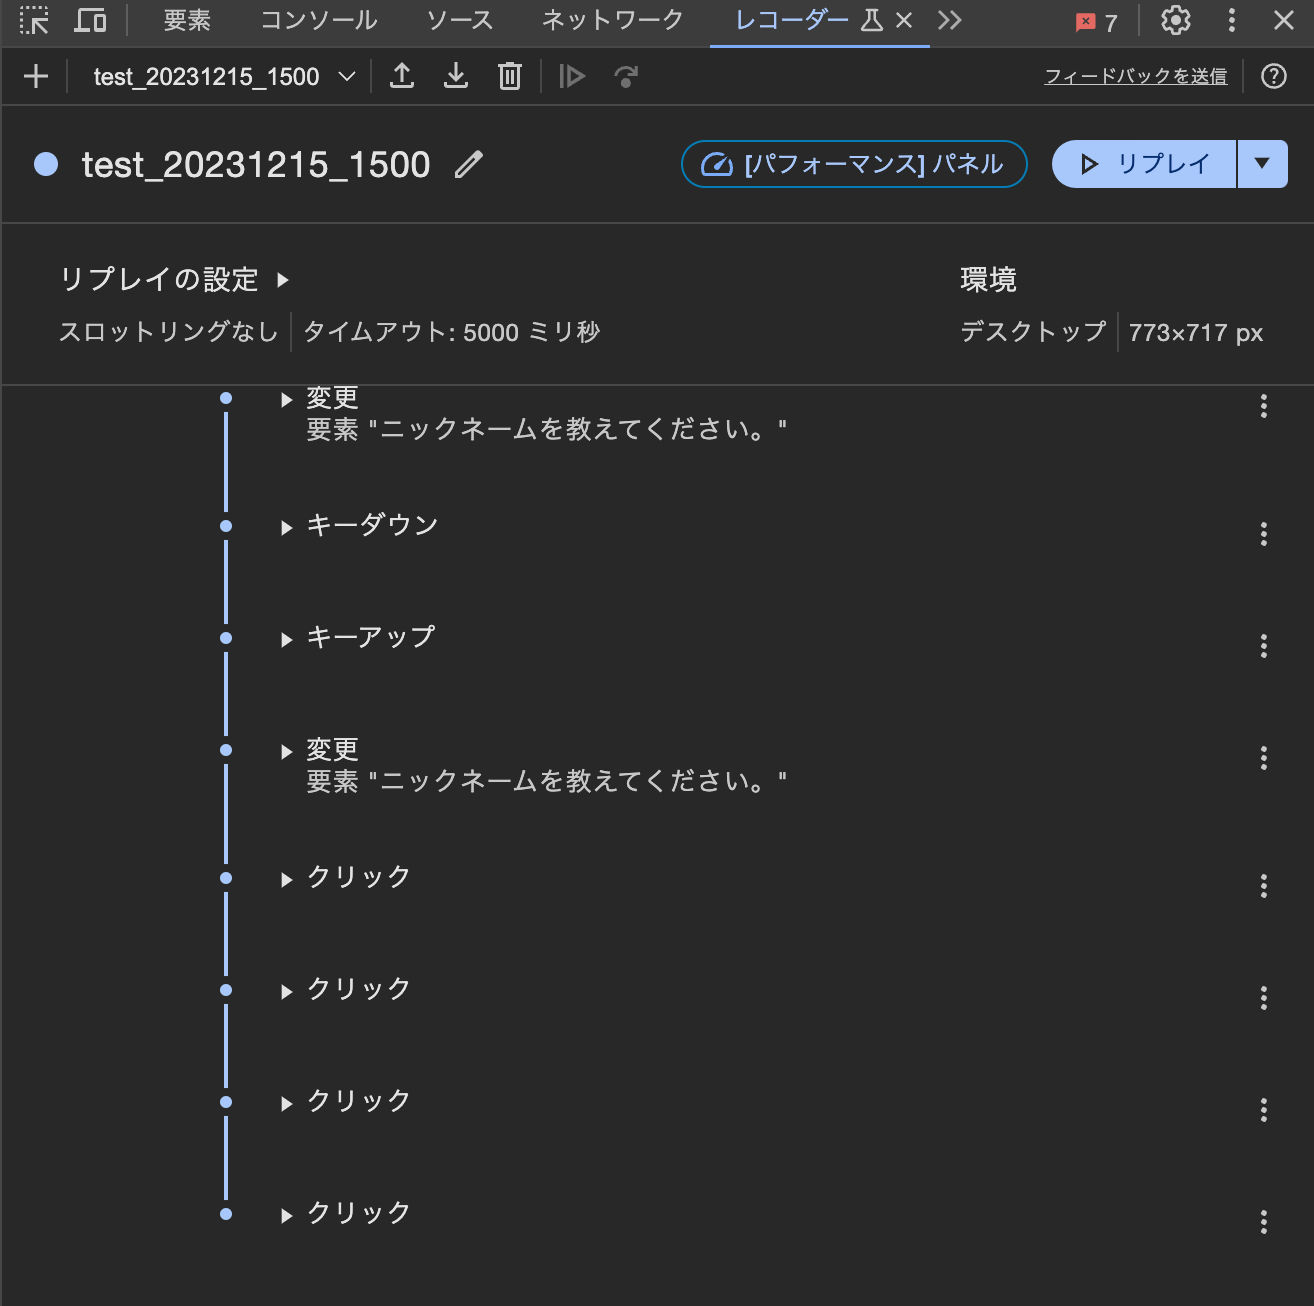
記録後は、リプレイをして同じ操作を行うことが可能です。
リプレイするとエラーが出たりします。一旦、該当ステップの三点リーダーから「ステップを削除」しましょう。
※添付の場合は、次のキーアップもエラーになりますので、こちらも削除します。
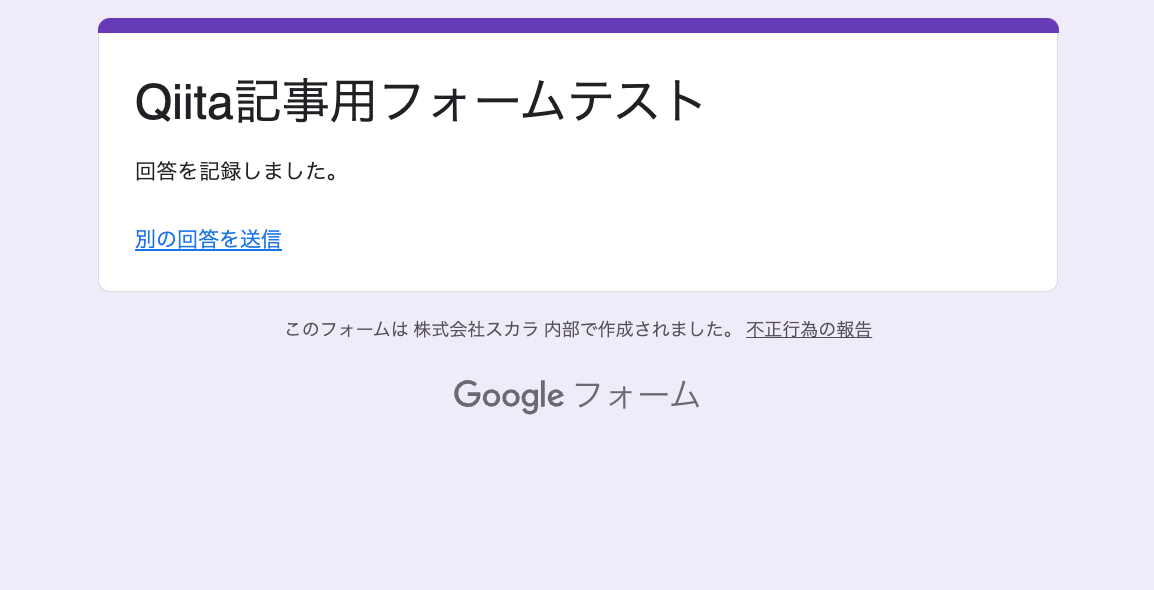
リプレイでフォームの回答ができました!
レコーダーの使い方(エクスポート)
ツール内の上部にある、「下矢印と受け皿のアイコン」(どう書いたら伝わるんだろう?ゴミ箱アイコンの左)を押すと、エクスポートメニューが出てきますので、「Puppeteer(including Lighthouse analysis)」をクリックしましょう。
jsファイルがダウンロードできますので、これを使って本題であるPuppeteerの話に入りたいと思います。
(いつも前置きが長い!!)
レコーダーの使い方(補足)
※まだ続きます。
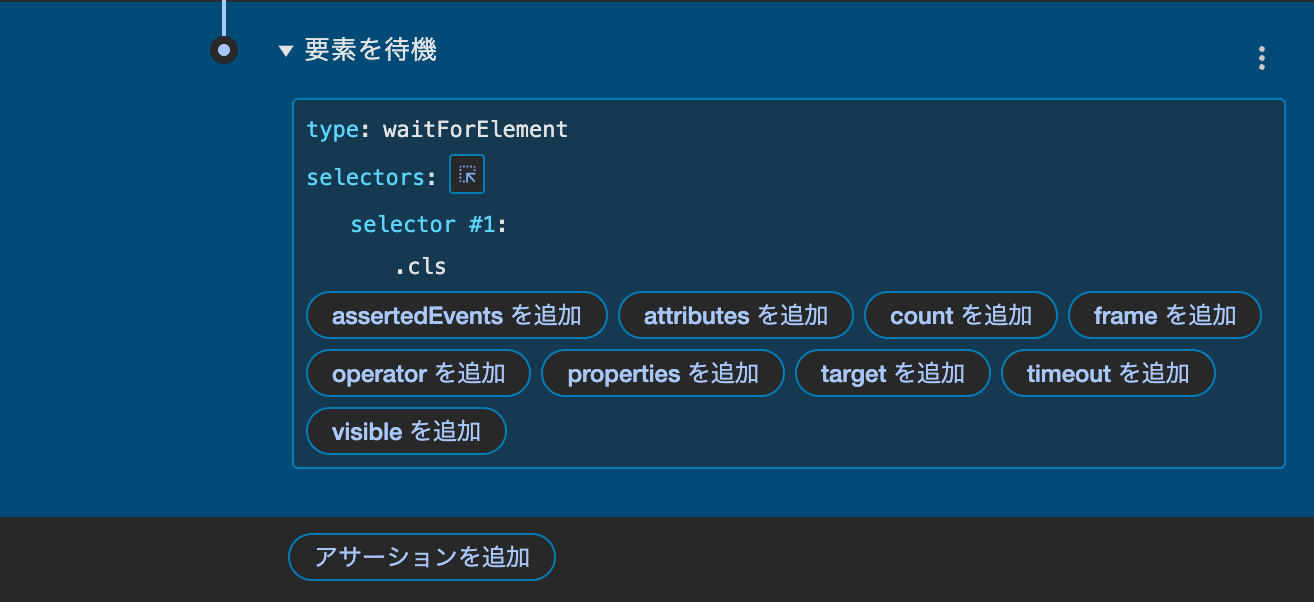
記録している際に「アサーションを追加」や、記録後に「ステップを追加」から、手順の追加や編集も可能です。
selectorsのアイコンから、画面のマウスクリックで要素を選択できたり、その要素に対してイベントを追加できたり、値を変更できたりします。
本題)Puppeteerを触ってみよう
環境準備
作業フォルダを作って、ターミナルで開きます。
Puppeteerの公式サイトにあるコマンドを実行します。今回はyarnを使います。
レコーダーで、Lighthouse付きのものをエクスポートしたのでこちらも入れておきます。
yarn add puppeteer lighthouse
動作確認
レコーダーからエクスポートしたファイル「test_20231215_1500.js」を同じフォルダにおいて実行してみましょう。
% ls -la
total 96
drwxr-xr-x    6 kimura  staff    192 12 15 15:35 .
drwxr-xr-x    8 kimura  staff    256 12 15 15:34 ..
drwxr-xr-x  108 kimura  staff   3456 12 15 15:35 node_modules
-rw-r--r--    1 kimura  staff     55 12 15 15:35 package.json
-rw-------@   1 kimura  staff   6278 12 15 15:16 test_20231215_1500.js
-rw-r--r--    1 kimura  staff  33958 12 15 15:35 yarn.lock

% node test_20231215_1500.js
%
はい、何も起きません。エラーも起きません。
(実際はlighthouseの生成ファイルができています。)
エクスポートされたコードを見てみましょう。
const fs = require('fs');
const puppeteer = require('puppeteer'); // v20.7.4 or later

(async () => {
    const browser = await puppeteer.launch({headless: 'new'});
    const page = await browser.newPage();
    const timeout = 5000;
    page.setDefaultTimeout(timeout);

    const lhApi = await import('lighthouse'); // v10.0.0 or later
    const flags = {
        screenEmulation: {
            disabled: true
        }
    }
    const config = lhApi.desktopConfig;
    const lhFlow = await lhApi.startFlow(page, {name: 'test_20231215_1500', config, flags});
    {
        const targetPage = page;
        await targetPage.setViewport({
            width: 773,
            height: 717
        })
    }
    await lhFlow.startNavigation();
    {
        const targetPage = page;
        const promises = [];
        const startWaitingForEvents = () => {
            promises.push(targetPage.waitForNavigation());
        }
        startWaitingForEvents();
        await targetPage.goto('https://docs.google.com/forms/d/e/1FAIpQLSf38o8dKt1WlLenQUOw0MsPsUQN-bqM_CA1XE5LGMEd2HknzA/viewform');
        await Promise.all(promises);
    }
    await lhFlow.endNavigation();
    await lhFlow.startTimespan();
    {
        const targetPage = page;
        await puppeteer.Locator.race([
            targetPage.locator('::-p-aria(ニックネームを教えてください。[role=\\"textbox\\"])'),
            targetPage.locator('div.o3Dpx > div:nth-of-type(1) input'),
            targetPage.locator('::-p-xpath(//*[@id=\\"mG61Hd\\"]/div[2]/div/div[2]/div[1]/div/div/div[2]/div/div[1]/div/div[1]/input)'),
            targetPage.locator(':scope >>> div.o3Dpx > div:nth-of-type(1) input')
        ])
            .setTimeout(timeout)
            .click({
              offset: {
                x: 78.66666412353516,
                y: 9.80206298828125,
              },
            });
    }
    {
        const targetPage = page;
        await puppeteer.Locator.race([
            targetPage.locator('::-p-aria(ニックネームを教えてください。[role=\\"textbox\\"])'),
            targetPage.locator('div.o3Dpx > div:nth-of-type(1) input'),
            targetPage.locator('::-p-xpath(//*[@id=\\"mG61Hd\\"]/div[2]/div/div[2]/div[1]/div/div/div[2]/div/div[1]/div/div[1]/input)'),
            targetPage.locator(':scope >>> div.o3Dpx > div:nth-of-type(1) input')
        ])
            .setTimeout(timeout)
            .fill('キムラ');
    }
    {
        const targetPage = page;
        await targetPage.keyboard.down('Enter');
    }
    {
        const targetPage = page;
        await targetPage.keyboard.up('Enter');
    }
    {
        const targetPage = page;
        await puppeteer.Locator.race([
            targetPage.locator('::-p-aria(ニックネームを教えてください。[role=\\"textbox\\"])'),
            targetPage.locator('div.o3Dpx > div:nth-of-type(1) input'),
            targetPage.locator('::-p-xpath(//*[@id=\\"mG61Hd\\"]/div[2]/div/div[2]/div[1]/div/div/div[2]/div/div[1]/div/div[1]/input)'),
            targetPage.locator(':scope >>> div.o3Dpx > div:nth-of-type(1) input')
        ])
            .setTimeout(timeout)
            .fill('キムラ');
    }
    {
        const targetPage = page;
        await puppeteer.Locator.race([
            targetPage.locator('div.o3Dpx > div:nth-of-type(2) > div > div'),
            targetPage.locator('::-p-xpath(//*[@id=\\"mG61Hd\\"]/div[2]/div/div[2]/div[2]/div/div)'),
            targetPage.locator(':scope >>> div.o3Dpx > div:nth-of-type(2) > div > div'),
            targetPage.locator('::-p-text(Qiitaアカウントは持っていますか?持っている持っていない選択を解除)')
        ])
            .setTimeout(timeout)
            .click({
              offset: {
                x: 82.33332824707031,
                y: 61.135406494140625,
              },
            });
    }
    {
        const targetPage = page;
        await puppeteer.Locator.race([
            targetPage.locator('span > div > div:nth-of-type(1) span'),
            targetPage.locator('::-p-xpath(//*[@id=\\"mG61Hd\\"]/div[2]/div/div[2]/div[2]/div/div/div[2]/div[1]/div/span/div/div[1]/label/div/div[2]/div/span)'),
            targetPage.locator(':scope >>> span > div > div:nth-of-type(1) span'),
            targetPage.locator('::-p-text(持っている)')
        ])
            .setTimeout(timeout)
            .click({
              offset: {
                x: 32.666664123535156,
                y: 13.46875,
              },
            });
    }
    {
        const targetPage = page;
        await puppeteer.Locator.race([
            targetPage.locator('div.o3Dpx div:nth-of-type(4) span'),
            targetPage.locator('::-p-xpath(//*[@id=\\"mG61Hd\\"]/div[2]/div/div[2]/div[3]/div/div/div[2]/div[1]/div[4]/label/div/div[2]/div/span)'),
            targetPage.locator(':scope >>> div.o3Dpx div:nth-of-type(4) span'),
            targetPage.locator('::-p-text(知識になった/ためになった)')
        ])
            .setTimeout(timeout)
            .click({
              offset: {
                x: 58.666664123535156,
                y: 16.46875,
              },
            });
    }
    await lhFlow.endTimespan();
    await lhFlow.startNavigation();
    {
        const targetPage = page;
        const promises = [];
        const startWaitingForEvents = () => {
            promises.push(targetPage.waitForNavigation());
        }
        await puppeteer.Locator.race([
            targetPage.locator('div.lRwqcd > div > span'),
            targetPage.locator('::-p-xpath(//*[@id=\\"mG61Hd\\"]/div[2]/div/div[3]/div[1]/div[1]/div/span)'),
            targetPage.locator(':scope >>> div.lRwqcd > div > span')
        ])
            .setTimeout(timeout)
            .on('action', () => startWaitingForEvents())
            .click({
              offset: {
                x: 54.33332824707031,
                y: 12.80206298828125,
              },
            });
        await Promise.all(promises);
    }
    await lhFlow.endNavigation();
    const lhFlowReport = await lhFlow.generateReport();
    fs.writeFileSync(__dirname + '/flow.report.html', lhFlowReport)

    await browser.close();

})().catch(err => {
    console.error(err);
    process.exit(1);
});
レコーダーからのエクスポートだと、デフォルトがヘッドレスで起動する設定になっていますので、下記を変更します。
// [変更前]
//    const browser = await puppeteer.launch({headless: 'new'});
//[変更前]
    const browser = await puppeteer.launch({headless: false});
再度実行します。
% node test_20231215_1500.js
%
Chromeが起動し、レコーダーで記録した同じ操作を実行し、Chromeが終了しました。(ヘッドフルでテストしている様子が見れました!)
サイトの分析・診断
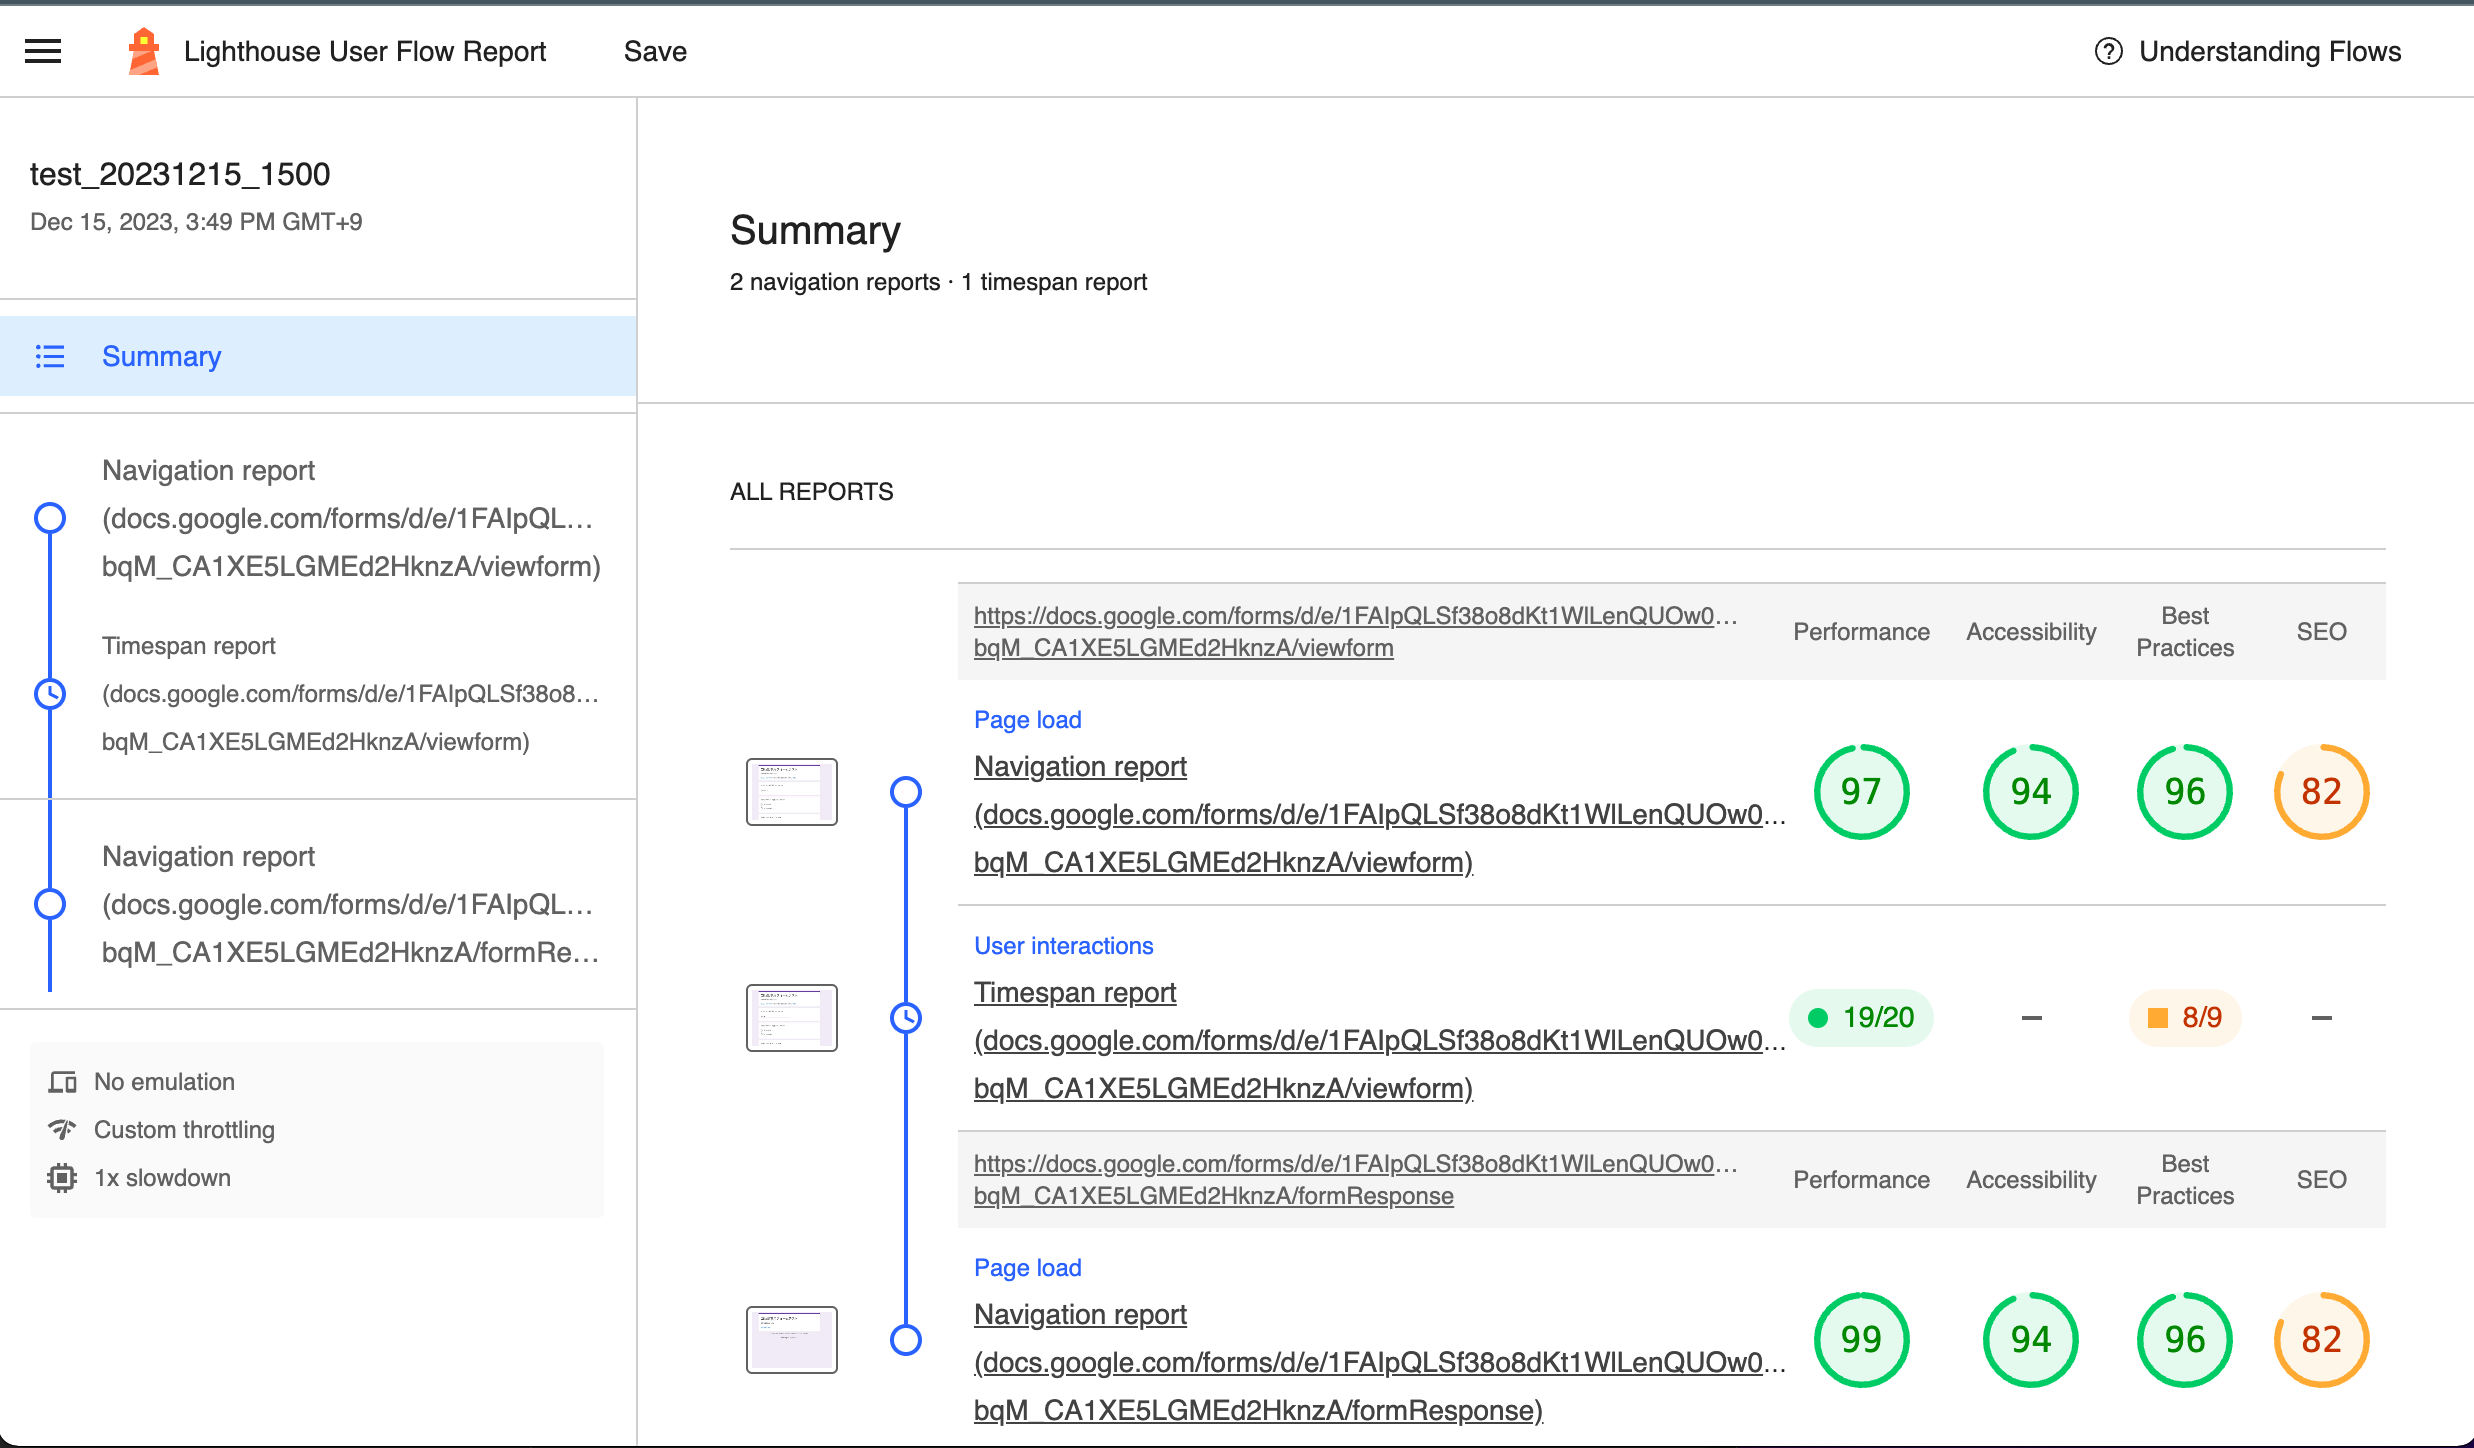
実行後に、実は「flow.report.html」というファイルが生成されています。
こちらをブラウザで開いてみてください。
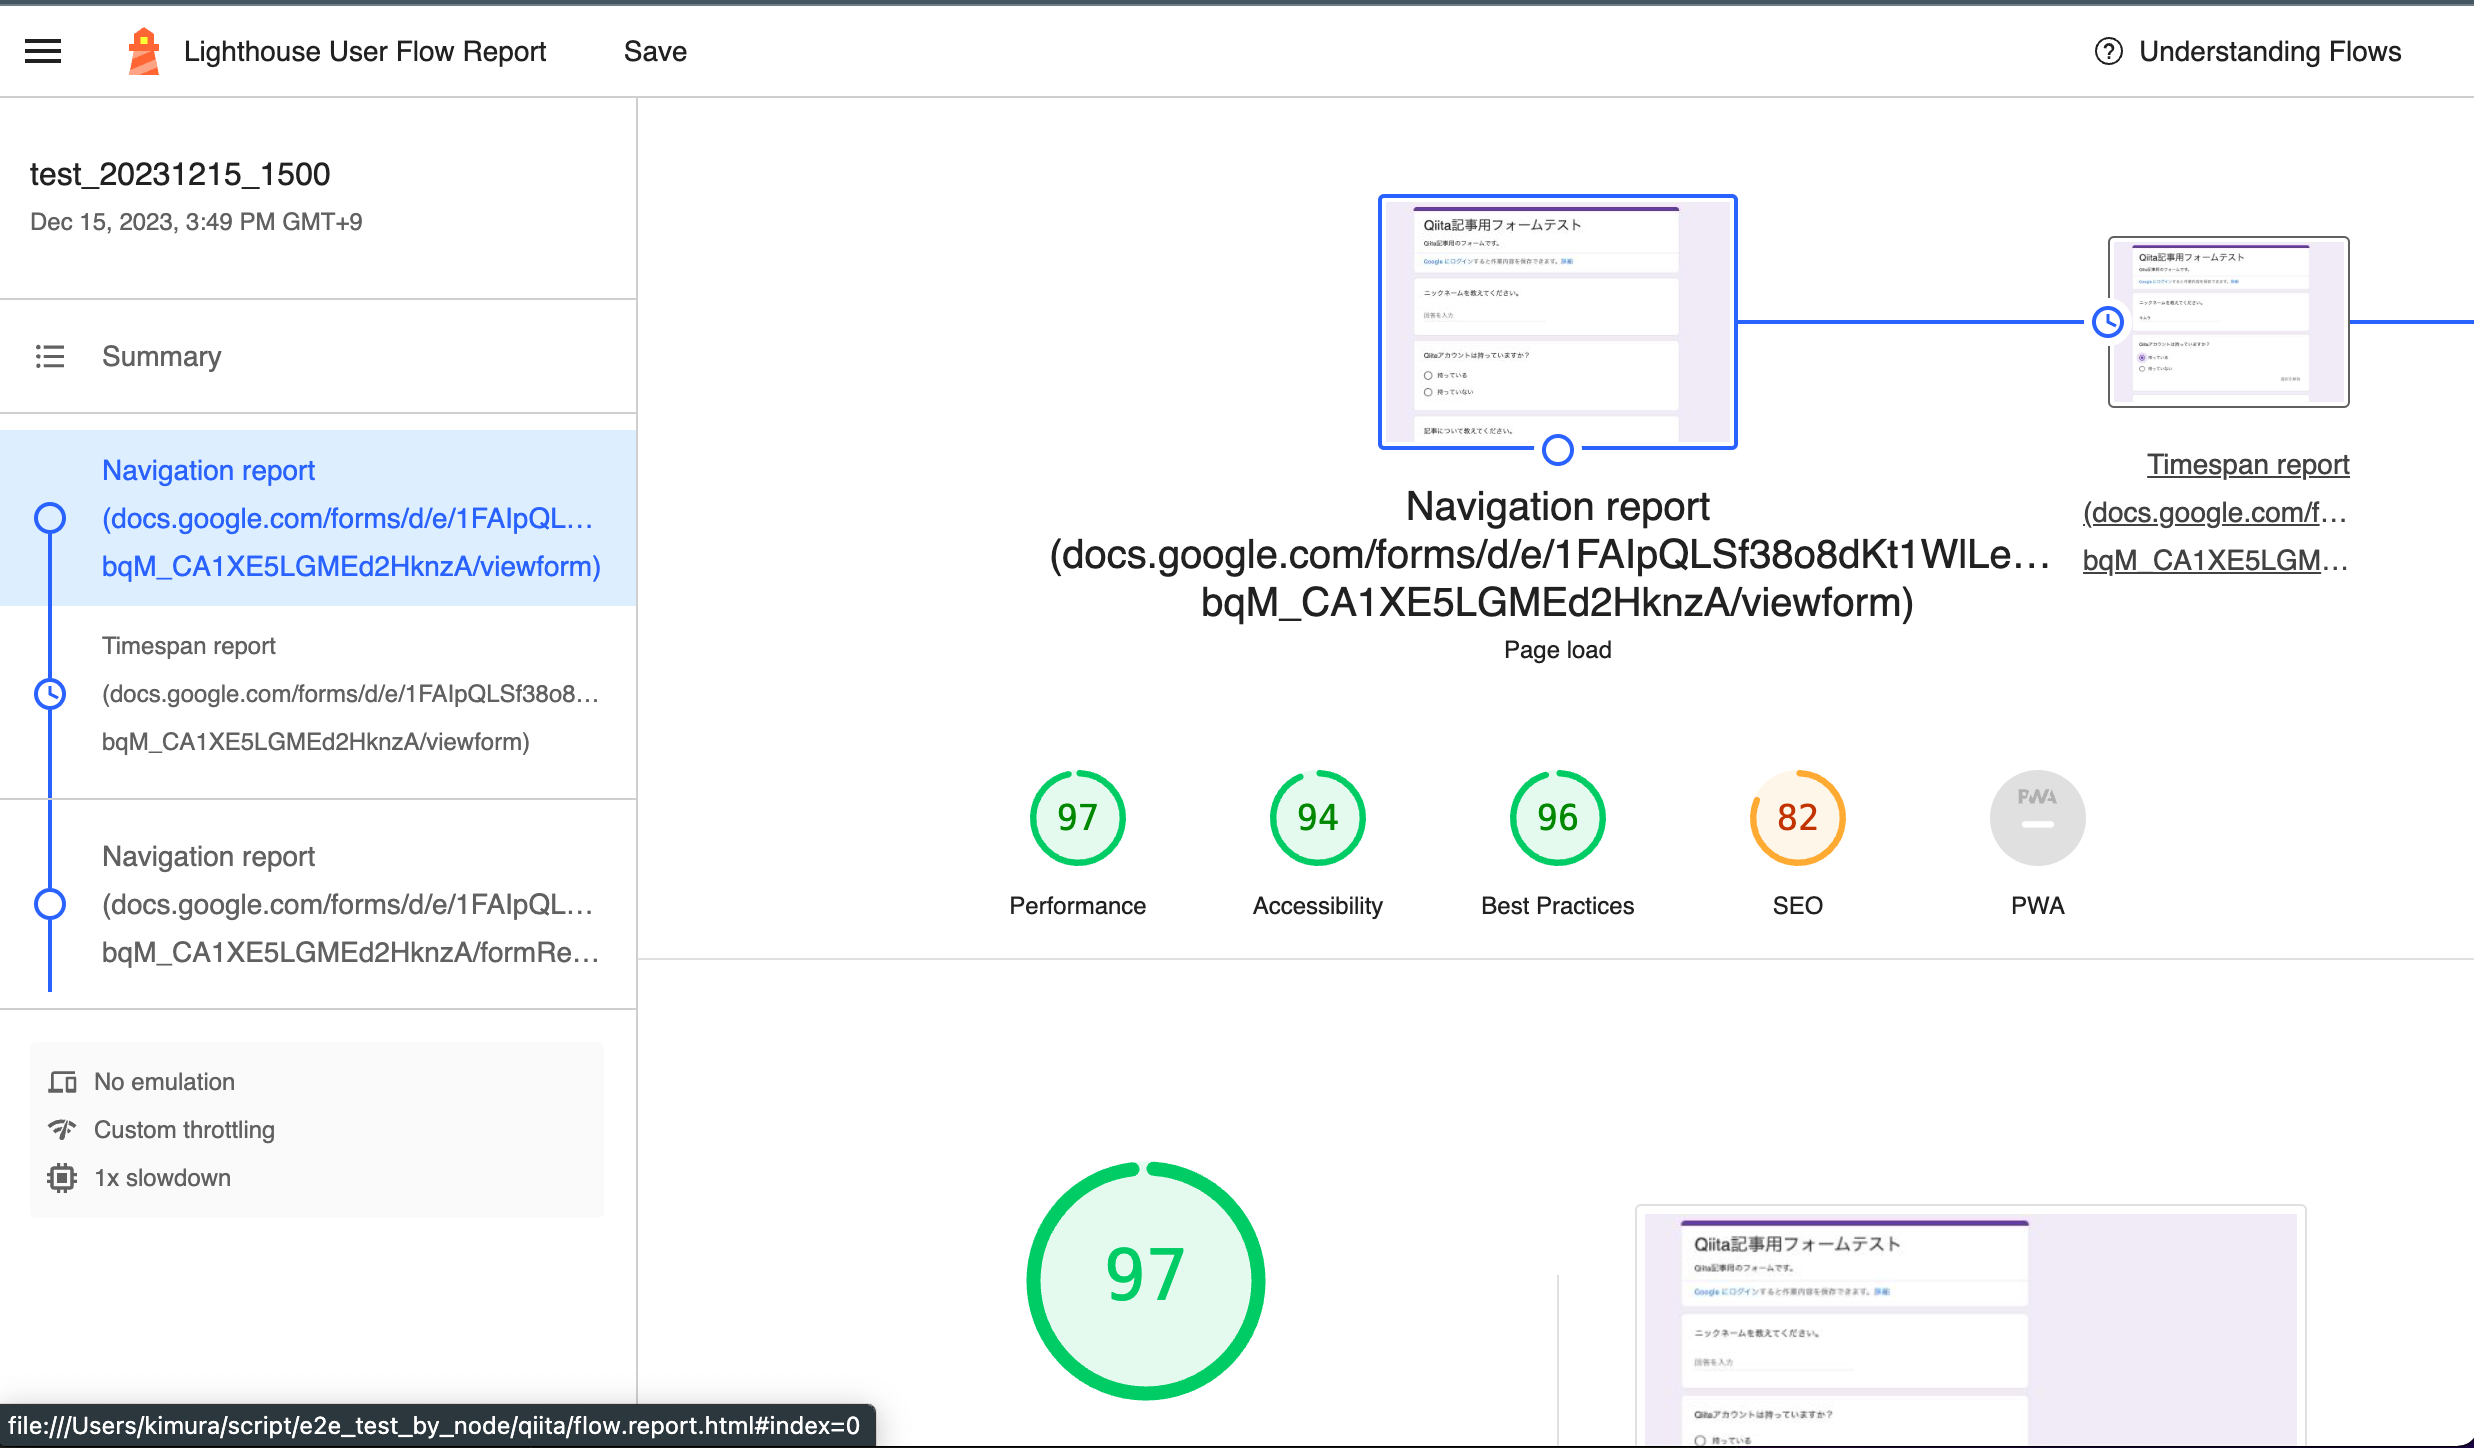
テストした対象ページについての分析・診断レポートが確認できます。
Performance、Accessibility、Best Practices、SEO、PWAの5つの項目で診断した結果が表示されておりますので、ページの品質向上やSEO改善に役立てられると思います。
E2Eテストとしての利用
ここまでpuppeteerの簡単に使うための部分を説明してきましたが、E2Eテストで使うには、jsを書いて検証コードを書いたり、JESTと連携する方法が良いそうです。
今回の記事では対象外とさせていただきます。
おまけ
別で、AWSのCloudwatch Synthetics(E2Eの監視サービス)を触る機会があり、SyntheticsがPuppeteerのRuntimeをサポートしているということで、そこまで活用するような可能性を探りたかったのですが、残念ながらPuppeteerのバージョンの不一致で、簡単な活用(貼り付けてすぐ動かす)はできませんでした。
- Chrome 「レコーダー」ツールからエクスポートされるjsファイル
- v20.7.4 or later
- SyntheticsのRuntime
- Puppeteer-core 19.7.0
でも、Syntheticsの活用も紹介したいと思いますので簡単に触れておきます。
AWS Syntheticsで遊んでみる
AWSマネコンのCloudwatchのページにSyntheticsがあります。
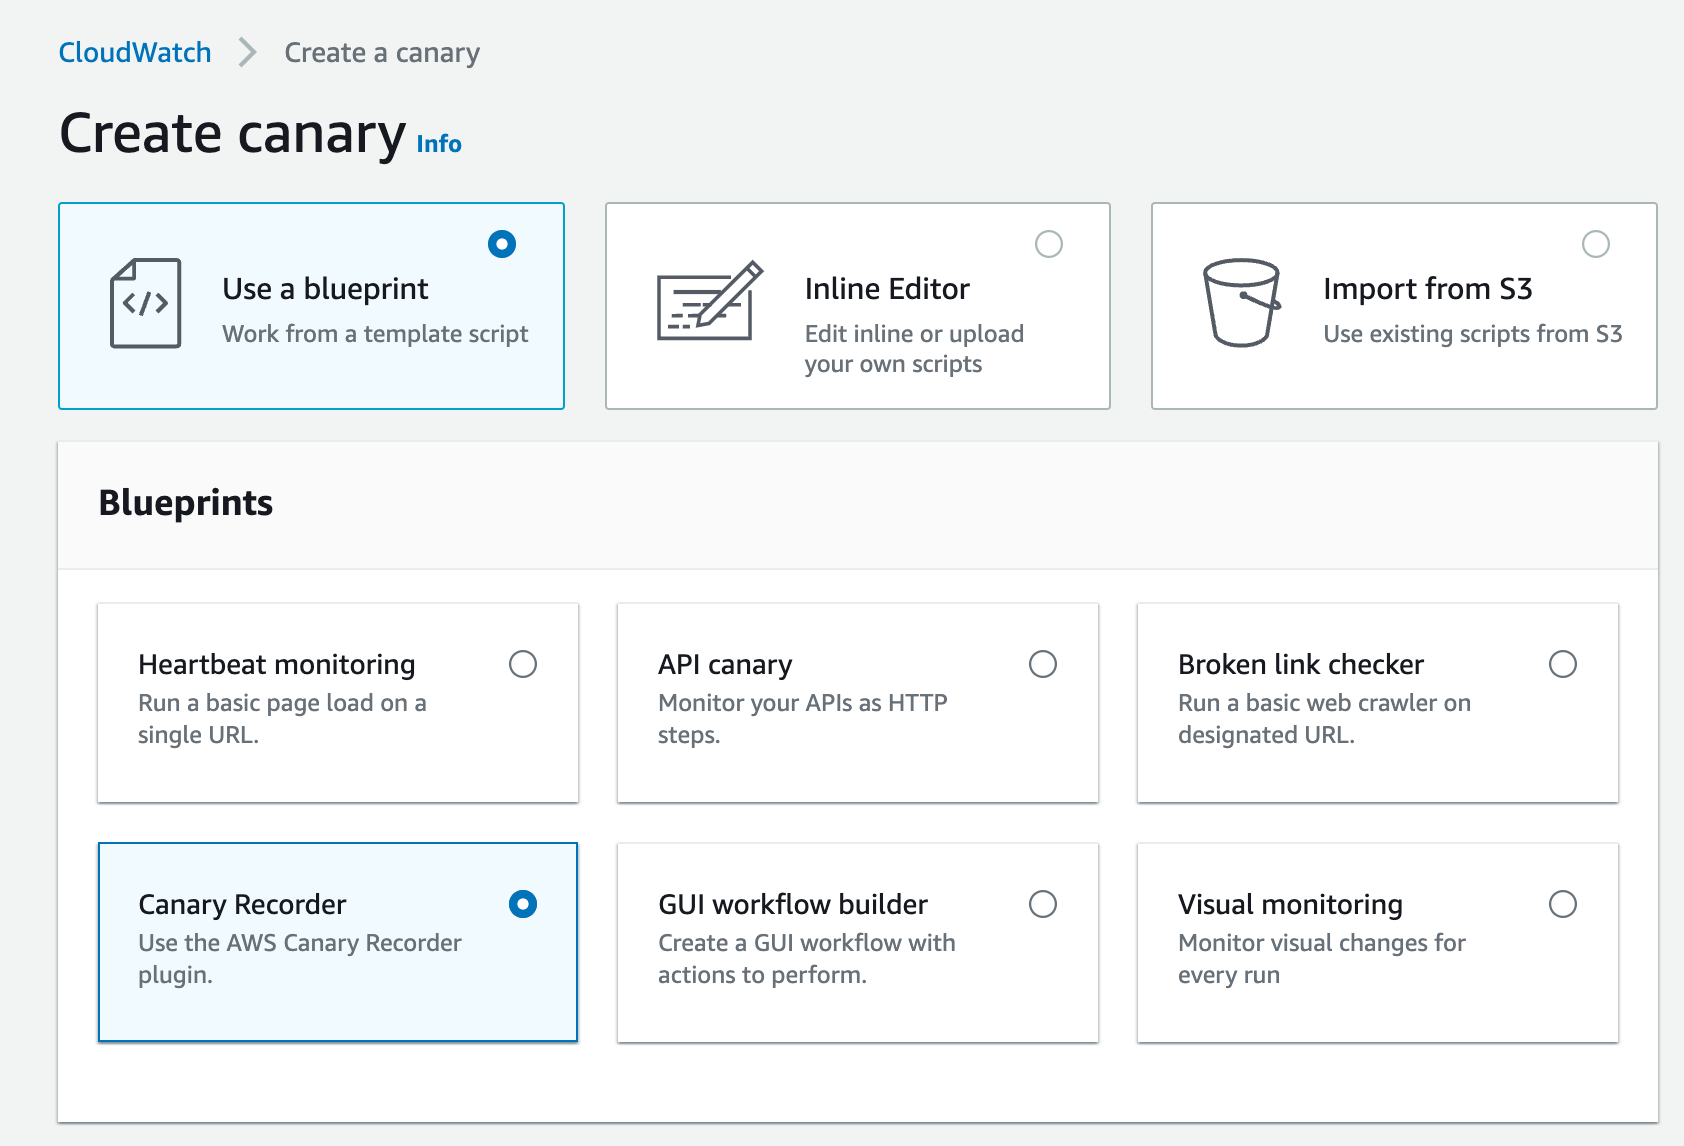
「Create canary」から設定していきましょう。
簡単に使ってみるのであれば、blueprintを活用して、画面操作での設定もできますので、そちらを紹介します。
Chromeの拡張機能が必要なので、インストールしてください。
URLを入れて、「Open URL in new tab」をクリックします。
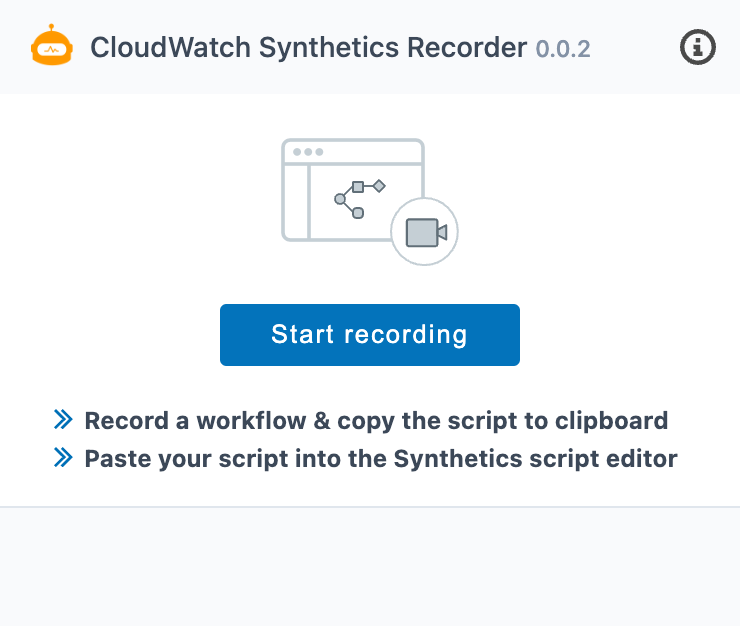
対象ページで、拡張機能を起動して、「Start recording」をクリックして操作を記録します。
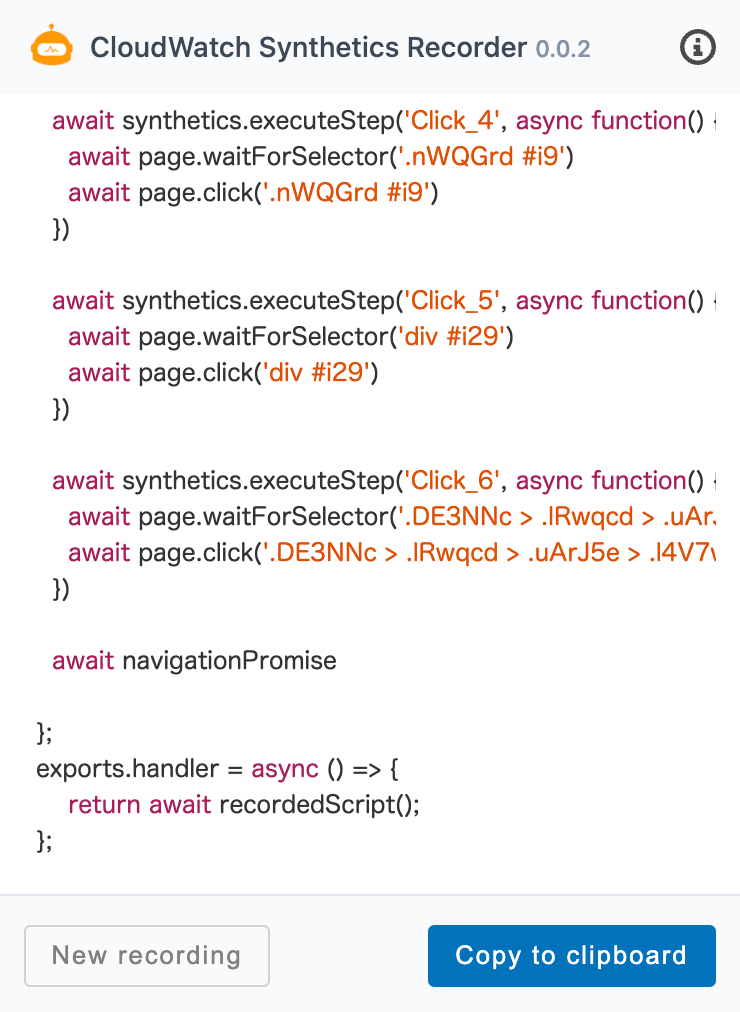
操作完了したら、「End recording」をクリックすると、コードが表示されます。
「Copy to clipboard」をクリックしてコードをコピーします。
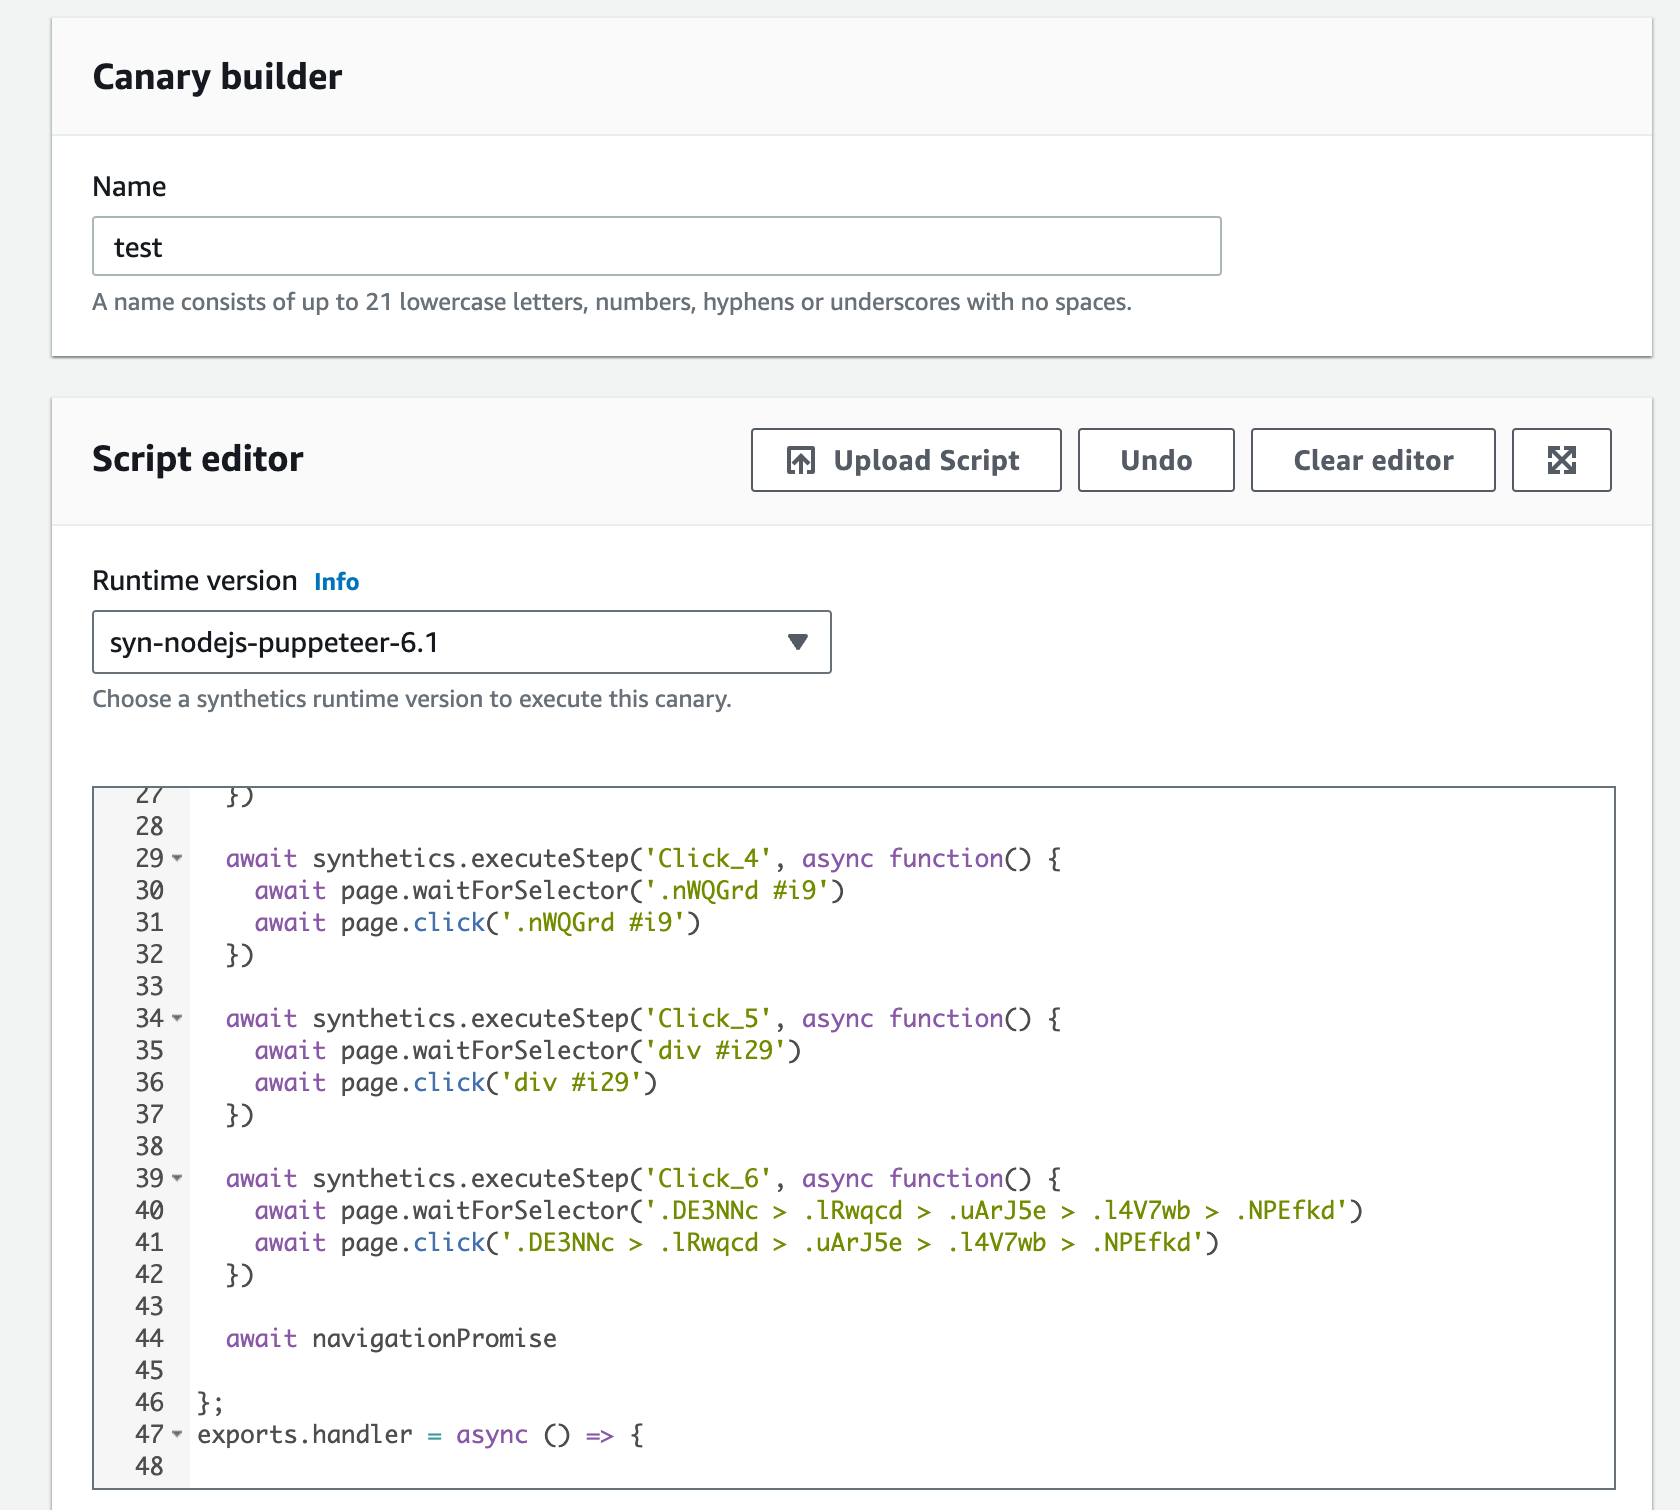
Syntheticsに戻って、Canary builderの「Name」に任意の名前、Script editorのエディタにコピーしたコードを貼り付けます。
その他の設定は適宜、設定してください。
Scheduleのところだけ、テスト利用であれば、「Run once」にしておくと1回だけしか動かないので安心です。
設定が終わったら、ページ下部の「Create canary」をクリックしてください。
canary作成後、チェックが走り、ダッシュボードに結果が表示されます。
詳細に入ってみると、画面で記録した操作がStepとしてチェックされていることがわかります。
Syntheticsの詳しい使い方に関しては、ぜひ色々調べてみてください。
まとめ
Chromeの「レコーダー」ツールで、画面操作しながらテストケースを作成して、手元のPuppeteerで実行し、分析まで行うということをやってみました。
他のE2Eツールでもっと良いものもあると思いますが、サクッと触ってみたり、検証データ作成する、WEBサイトの品質向上で、簡単に使ってみるのはアリかもしれません。
※ビジネスシーンで信頼できるかは自己判断にてお願いいたします。
また、画面操作で記録して監視できるSyntheticsも紹介させていただきました。
どちらも、画面操作でテストケースが作れるというところが便利であり、エンジニアでなくても活用できる点が特徴かなと思います。
ぜひ、触ったことないよーという方がいれば、簡単なので、触ってみるキッカケになれば幸いです。


