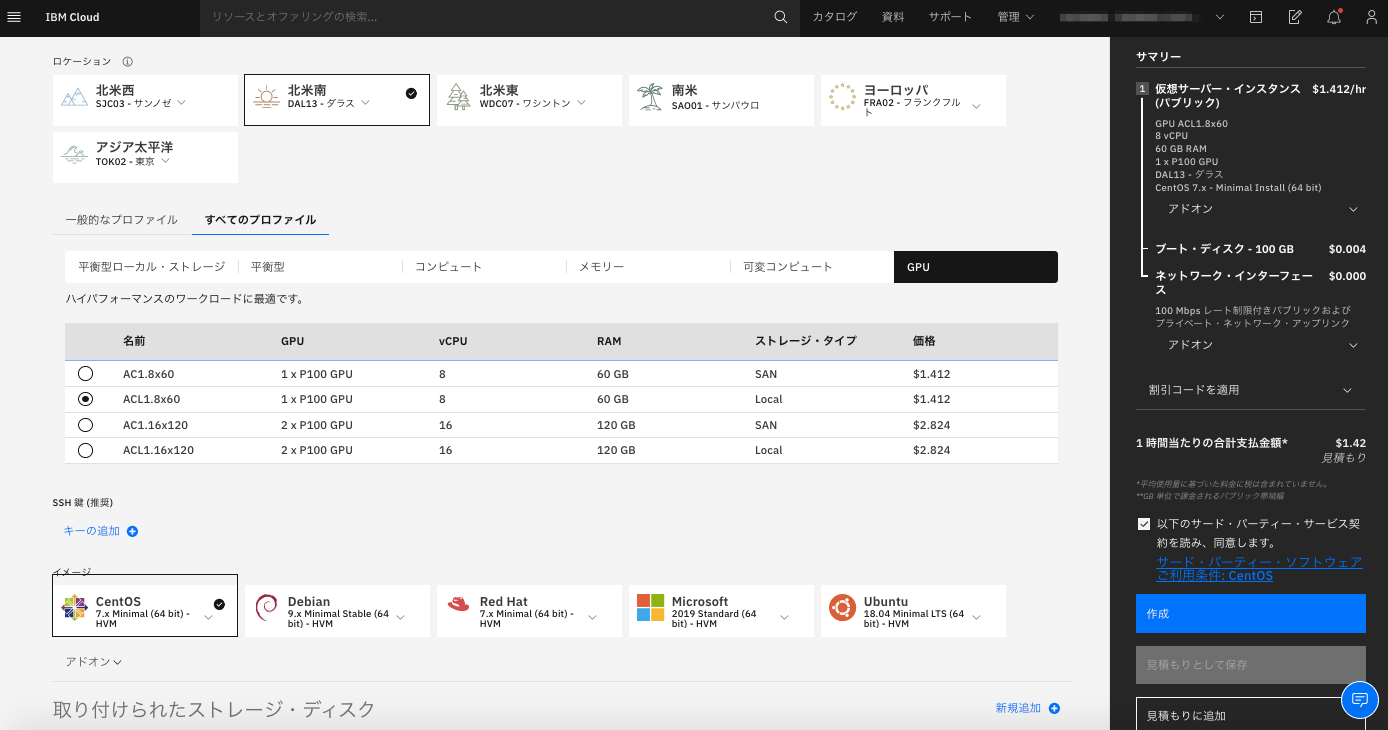
Dockerコンテナからホスト上のGPUを使用するためにNVIDIA Container Toolkitの導入手順を記載します。今回GPUのサーバーとしてはIBM Cloudの仮想サーバーを使用します。OSはCentOS 7.7、GPUはP100 1個のサーバーになります。

1. NVIDIAドライバーのインストール
以下リンク先から適切なドライバーをダウンロードしてインストールします。
https://www.nvidia.co.jp/Download/index.aspx?lang=jp
$ sudo yum install gcc -y
$ sudo yum install kernel-devel -y
$ wget http://jp.download.nvidia.com/tesla/450.51.05/NVIDIA-Linux-x86_64-450.51.05.run
$ sudo sh NVIDIA-Linux-x86_64-450.51.05.run  --kernel-source-path=/usr/src/kernels/3.10.0-1127.13.1.el7.x86_64
インストールが成功すると nvidia-smi コマンドで GPU の情報が表示されます。
$ nvidia-smi
Mon Jul 13 03:14:11 2020
+-----------------------------------------------------------------------------+
| NVIDIA-SMI 450.51.05    Driver Version: 450.51.05    CUDA Version: 11.0     |
|-------------------------------+----------------------+----------------------+
| GPU  Name        Persistence-M| Bus-Id        Disp.A | Volatile Uncorr. ECC |
| Fan  Temp  Perf  Pwr:Usage/Cap|         Memory-Usage | GPU-Util  Compute M. |
|                               |                      |               MIG M. |
|===============================+======================+======================|
|   0  Tesla P100-PCIE...  Off  | 00000000:00:07.0 Off |                    0 |
| N/A   32C    P0    29W / 250W |      0MiB / 16280MiB |      0%      Default |
|                               |                      |                  N/A |
+-------------------------------+----------------------+----------------------+

+-----------------------------------------------------------------------------+
| Processes:                                                                  |
|  GPU   GI   CI        PID   Type   Process name                  GPU Memory |
|        ID   ID                                                   Usage      |
|=============================================================================|
|  No running processes found                                                 |
+-----------------------------------------------------------------------------+
2. Dockerのインストール
公式ガイドに記載のとおり、Dockerをインストールします。
古いバージョンがインストールされていたらアンインストール
$ sudo yum remove docker \
                  docker-client \
                  docker-client-latest \
                  docker-common \
                  docker-latest \
                  docker-latest-logrotate \
                  docker-logrotate \
                  docker-engine
リポジトリのセットアップ
$ sudo yum install -y yum-utils

$ sudo yum-config-manager \
    --add-repo \
    https://download.docker.com/linux/centos/docker-ce.repo
Dockerのインストール
$ sudo yum install docker-ce docker-ce-cli containerd.io
一般ユーザーに権限を付与しておく
sudo usermod -aG docker $USER
3. NVIDIA Container Toolkitのインストール
Quickstartに記載のとおりインストール
$ distribution=$(. /etc/os-release;echo $ID$VERSION_ID)
$ curl -s -L https://nvidia.github.io/nvidia-docker/$distribution/nvidia-docker.repo | sudo tee /etc/yum.repos.d/nvidia-docker.repo

$ sudo yum install -y nvidia-container-toolkit
$ sudo systemctl restart docker
以下のように docker コマンドで nvidia-smi の結果が返ってきたら成功。
$ docker run --gpus all nvidia/cuda:10.0-base nvidia-smi
Unable to find image 'nvidia/cuda:10.0-base' locally
10.0-base: Pulling from nvidia/cuda
7ddbc47eeb70: Pull complete
c1bbdc448b72: Pull complete
8c3b70e39044: Pull complete
45d437916d57: Pull complete
d8f1569ddae6: Pull complete
de5a2c57c41d: Pull complete
ea6f04a00543: Pull complete
Digest: sha256:e6e1001f286d084f8a3aea991afbcfe92cd389ad1f4883491d43631f152f175e
Status: Downloaded newer image for nvidia/cuda:10.0-base
Mon Jul 13 08:31:01 2020
+-----------------------------------------------------------------------------+
| NVIDIA-SMI 450.51.05    Driver Version: 450.51.05    CUDA Version: 11.0     |
|-------------------------------+----------------------+----------------------+
| GPU  Name        Persistence-M| Bus-Id        Disp.A | Volatile Uncorr. ECC |
| Fan  Temp  Perf  Pwr:Usage/Cap|         Memory-Usage | GPU-Util  Compute M. |
|                               |                      |               MIG M. |
|===============================+======================+======================|
|   0  Tesla P100-PCIE...  Off  | 00000000:00:07.0 Off |                    0 |
| N/A   34C    P0    29W / 250W |      0MiB / 16280MiB |      0%      Default |
|                               |                      |                  N/A |
+-------------------------------+----------------------+----------------------+

+-----------------------------------------------------------------------------+
| Processes:                                                                  |
|  GPU   GI   CI        PID   Type   Process name                  GPU Memory |
|        ID   ID                                                   Usage      |
|=============================================================================|
|  No running processes found                                                 |
+-----------------------------------------------------------------------------+
テスト
こちらからTensorFlowのコンテナを起動します。--gpusオプションを使用するとコンテナからGPUが使用可能となります。
$ docker run -it --gpus all -p 8888:8888 tensorflow/tensorflow:latest-gpu-jupyter
以下のようにJupter Notebookの接続先が表示されるので、ホスト名の部分をサーバーのIPアドレスに置き換えて、ブラウザでアクセスします。
http://10313cb03051:8888/?token=xxxxxxxxxxxxxxxxxxxxxxxxxxxxxxxxxxxxxxxx
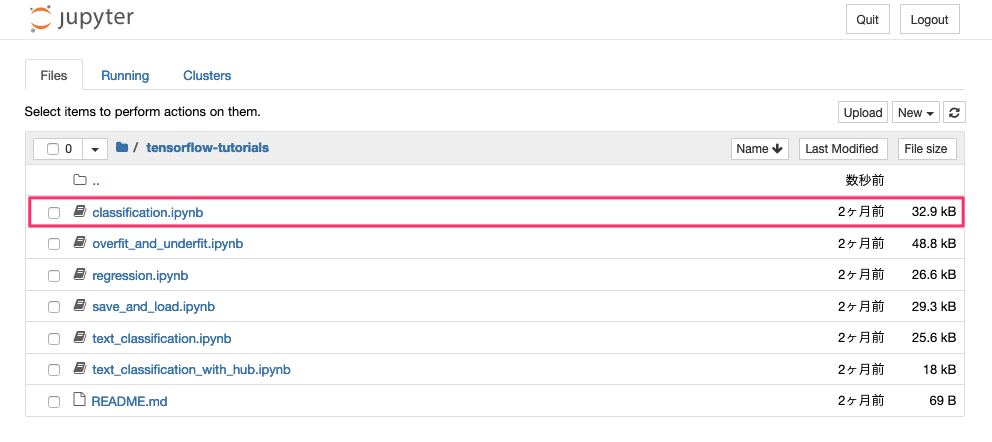
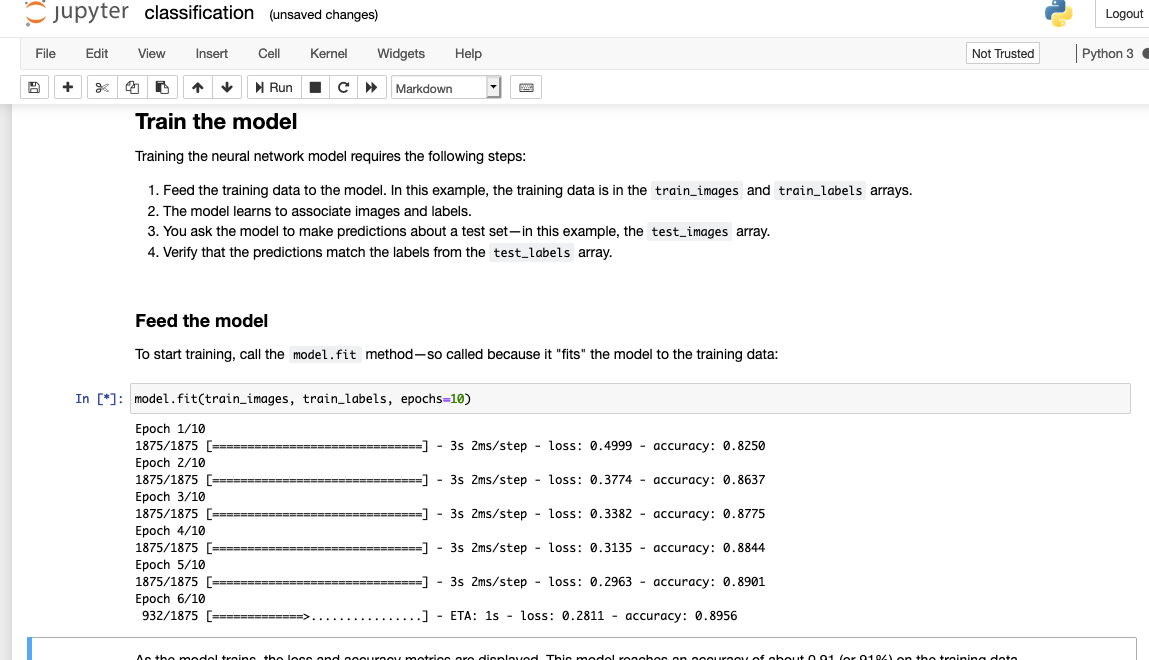
チュートリアルのNotebookが表示されるので実行してみます。

参考
以下のように起動のオプションでDocker設定が可能です。
$ mkdir ~/workspace
$ docker run -it --gpus all -p 8888:8888 -u $(id -u):$(id -g) -v ~/workspace:/tf tensorflow/tensorflow:latest-gpu-jupyter
-v : ホストのディレクトリをコンテナ上にマウント
-u : コンテナの実行ユーザー、グループを変更

