YOLO v5による物体検出モデルを試してみました。以下リンク先から、学習済みモデルによるテスト、自前のデータによる学習を実行可能です。
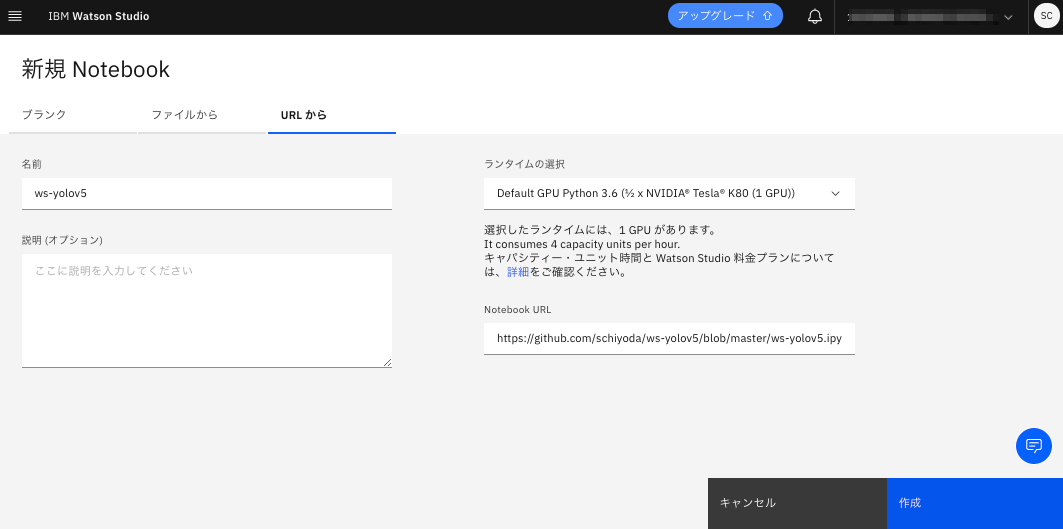
Watson StudioでGPUを指定してNotebookを作成してください。
以下ポイントを解説します。
1. セットアップ
Notebookの中では以下リポジトリーよりYOLO v5のコードをダウンロードしています。
基本的にはここにあるチュートリアルの手順に従っています。
2. 学習済みモデルでテスト
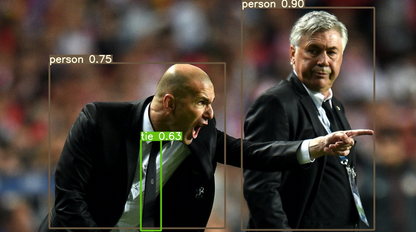
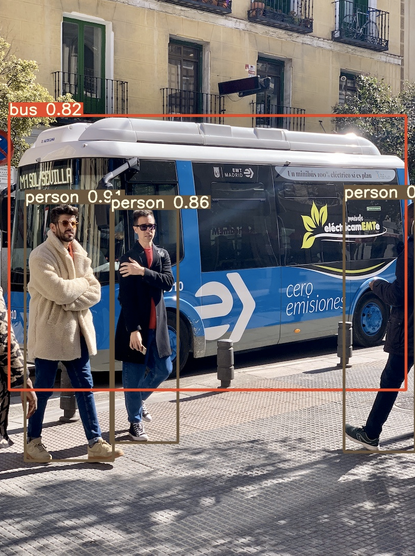
学習済みモデルによるテストはコマンド一つで実行可能です。
実行すると以下のように結果を参照可能です。
3. 自前のデータで学習
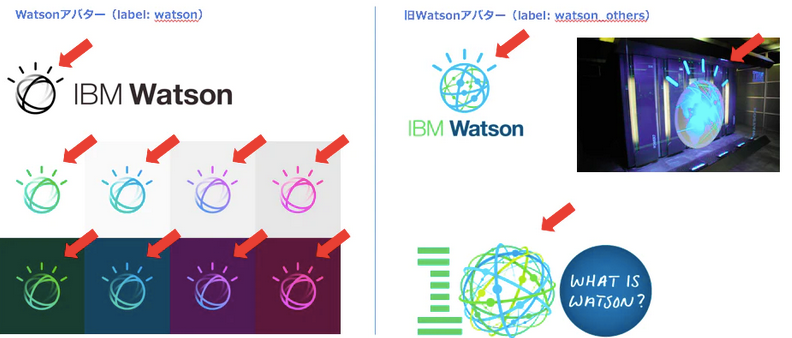
自前のデータで学習する場合は、画像とアノテーションのデータが必要です。今回はこちらで紹介している、Watsonのロゴマーク(現行のロゴ/その他のロゴの2種類)の検出を試します。
アノテーションは各画像毎に対象の物体のクラス(class),中心座標(center_x,center_y)幅(width)および高さ(height)を0.0〜1.0で以下のフォーマットで指定します。(画像の幅および高さが1.0)
class center_x center_y width height
例えば以下のようになります。
画像(img_37.jpg)
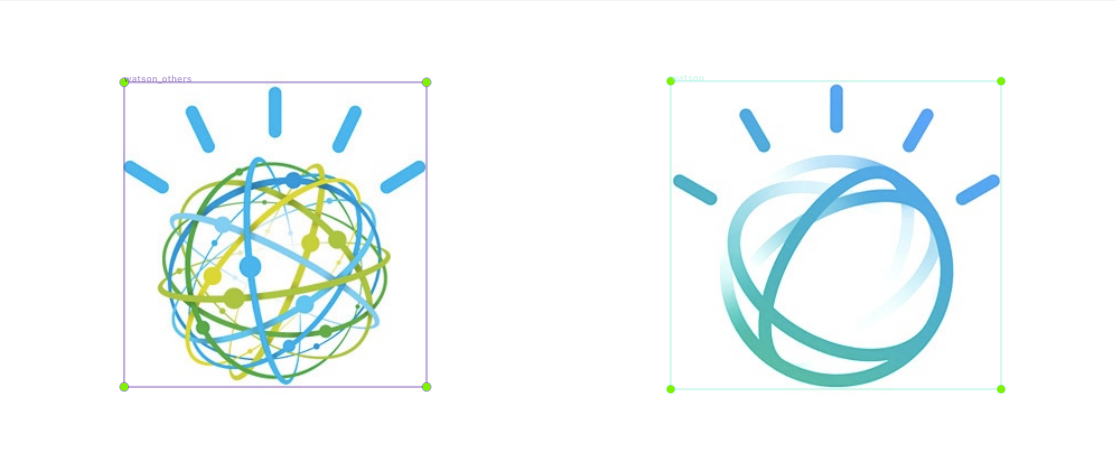
アノテーション
1 0.249 0.5024038461538461 0.27 0.6538461538461539
0 0.7495 0.5036057692307693 0.295 0.6610576923076923
各画像とアノテーションの結果は各々以下のような階層で保存します。
watson_logos
├ images
│  ├ img_00.jpg
│  ├ img_01.jpg
│  ├    :
│
├ labels
│  ├ img_00.txt
│  ├ img_00.txt
│  ├   :
また、学習時の設定ファイルを以下のように作成します。今回はtrainとvalに同じデータを使用しています。
# train and val datasets (image directory or *.txt file with image paths)
train: ./watson_logos/images/
val: ./watson_logos/images/

# number of classes
nc: 2

# class names
names: ["watson","watson_others"]
必要なデータがそろったら、以下のコマンドで学習を開始します。
python train.py --img 512 --batch 2 --epochs 100 --data ./data/watson.yaml --cfg ./models/yolov5s.yaml --weights yolov5s.pt
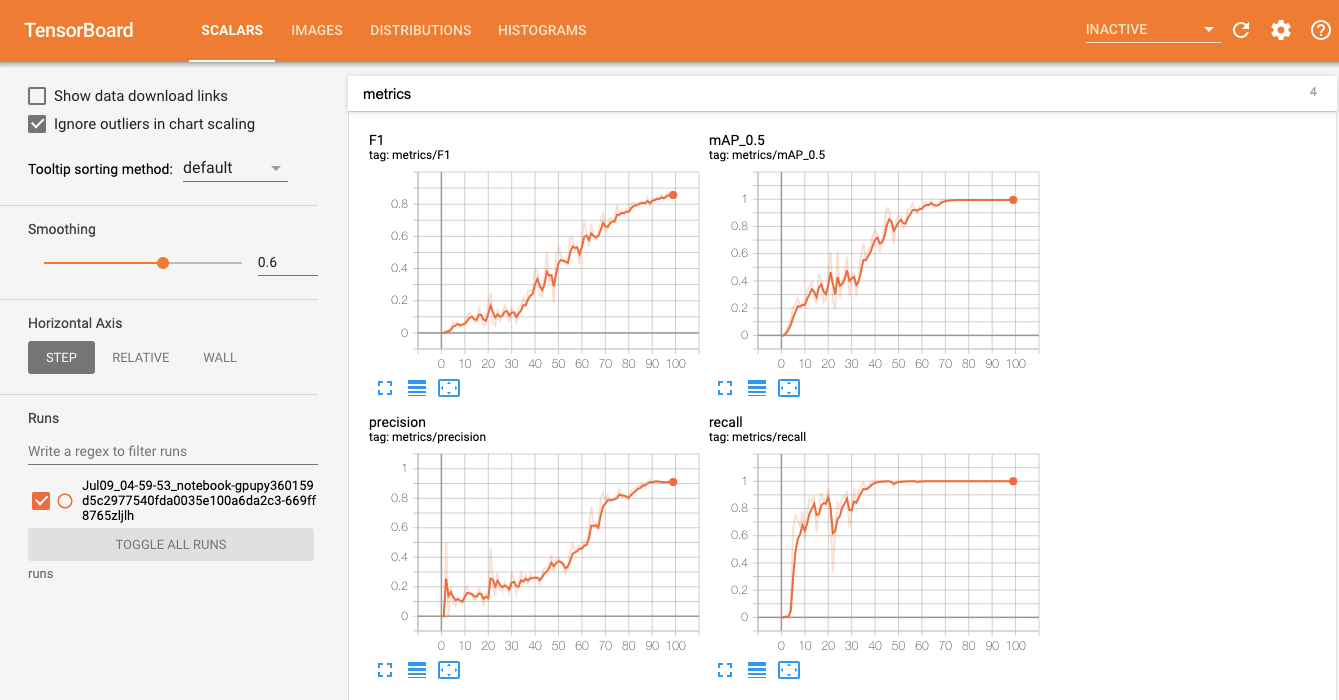
また、TensorBoardの実行はWatson Studioではチュートリアルと同じ方法ではできませんでしたが、別の方法による実装をNotebookに載せています。Notebookでの学習のグラフをリアルタイムに参照できて便利です。
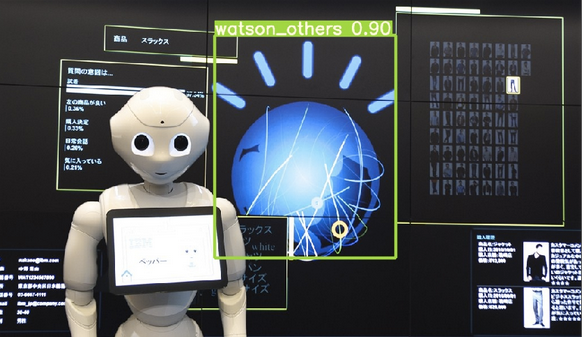
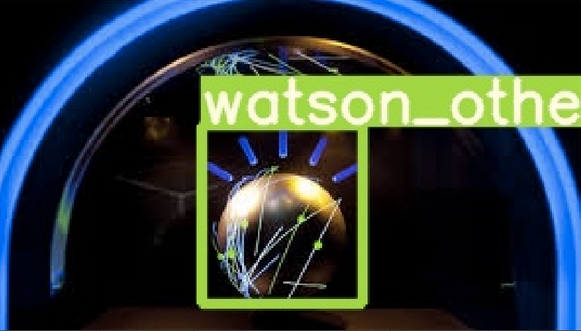
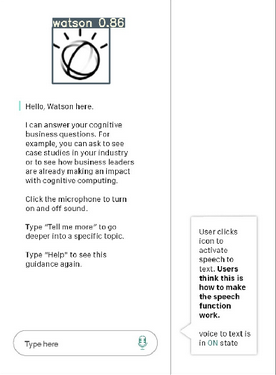
テスト
学習が終わったら、テスト用のデータでテストしてみます。以下のように物体検出できていることが確認できました。