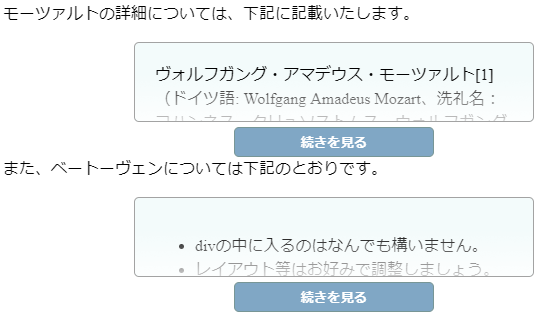
動的画面で何個でも作れる「続きを見る」BOX
idとforを使わないので、追加作業も楽々。
(基本「続きを見る」BOXは1ページに1つだけれども、id気にしなくていいのは楽なのではと思いメモ)
<section class="etc_box">
    <input type="radio">
    <div>
      ここに省略したい文字やHTML等を記入
    </div>
</section>
/*box全体*/
.etc_box{
  position: relative;
  width: 400px;/*中身の幅に合わせたい場合は記述不要*/
  max-width: 100%;
  margin: 0 auto 35px auto;
  display: table;
}
/*文章部分(背景・線)*/
.etc_box>div{
  width: 100%;
  border: 1px solid rgb(163, 163, 163);
  padding: 20px;
  background: rgb(243, 251, 251);
  border-radius: 5px;
  z-index: 0;
  box-sizing: border-box;
}
/*文章部分(背景・線)*/
.etc_box>div{
  height: 80px;
  overflow: hidden;
}
/*白いもや*/
.etc_box>div:after{
    content: "";
    display: block;
    width: calc(100% - 2px);/*両端の枠線にかからないようにしている*/
    height: calc(100% - 1px);/*下の枠線にかからないようにしている(上側はtransparent(透明色)なので線の配慮不要)*/
    position: absolute;
    top: 0;
    left: 0;
    z-index: 1;
    margin-left: 1px;/*左枠線1px分ずらしている*/
    border-radius: 5px;
    background: linear-gradient(transparent 40%,rgba(255, 255, 255, 0.8));
}
/*目に見えないラジオボタン(動作に必要)*/
.etc_box>input[type="radio"]{
  position: absolute;
  width: 200px;
  height: 30px;
  margin:0 auto;
  z-index: 1;
  bottom: -35px;
  left: 50%;
  transform: translateX(-50%);
}
/*ラジオボタン表面*/
.etc_box>input[type="radio"]:before{
  content: "続きを見る";
  display: block;
  width: 200px;
  height: 30px;
  line-height: 30px;
  position: absolute;
  top:0;
  left: 0;
  cursor: pointer;
  border: 1px solid rgb(120, 150, 150);
  text-align: center;
  border-radius: 5px;
  background: rgb(128, 167, 197);
  color: white;
  font-weight: bold;
  box-sizing: border-box;
}
/*ボタンはクリックした後に非表示*/
.etc_box>input[type="radio"]:checked,
.etc_box>input[type="radio"]:checked~div:after{
  display: none;
}
/*非表示部分の高さ制限を解除*/
.etc_box>input[type="radio"]:checked~div{
  height: auto;
  position: relative;
  margin-bottom: 0;
}
以上
