0. はじめに
Ansibleで作成したCSRをもとに自己証明書を作成、Apacheの設定を行いHTTPS通信を試みる。
ご参考Ansible初心者 CSRの作成
1. 自己証明書を作成
openssl_certificateモジュールを利用して自己証明書を作成。
- name: Generate OpenSSL certificate
  openssl_certificate:
    path: "{{ tmp_dir }}/{{ cert_name }}.crt"
    privatekey_path: "{{ tmp_dir }}/{{ private_key_name }}.key"
    csr_path: "{{ tmp_dir }}/{{ csr_common_name }}.csr"
    owner: "{{ cert_owner }}"
    group: "{{ cert_group }}"
    mode: '0600'
    provider: selfsigned
変数を設定するvasファイルは以下のように設定。
cert_name: "test"
cert_owner: "apache"
cert_group: "apache"
実行結果は以下。
-rw-------. 1 apache apache 1257 9月 24 22:57 test.crt
2. Apacheの設定
Apacheインストール
Apacheのインストールを実施
httpd -version
Server version: Apache/2.4.37 (centos)
Server built:   Sep 15 2020 15:41:16
SSLモジュールのインストール
SSLモジュールのインストールを実施
httpd -M |grep ssl
 ssl_module (shared)
秘密鍵、証明書の配置
Ansibleで秘密鍵、証明書配置用のディレクトリを作成する。
- name: Create dir
  file:
    state: directory
    path: "{{ item }}"
  loop:
      - "/etc/httpd/conf/ssl.key"
      - "/etc/httpd/conf/ssl.crt"
作成したディレクトリ配下に秘密鍵、証明書を配置する。
ssl.confを修正
ssl.confを修正。
vi /etc/httpd/conf.d/ssl.conf
秘密鍵、証明書のパスを設定する
SSLCertificateFile /etc/httpd/conf/ssl.crt/test.crt
SSLCertificateKeyFile /etc/httpd/conf/ssl.key/test.key
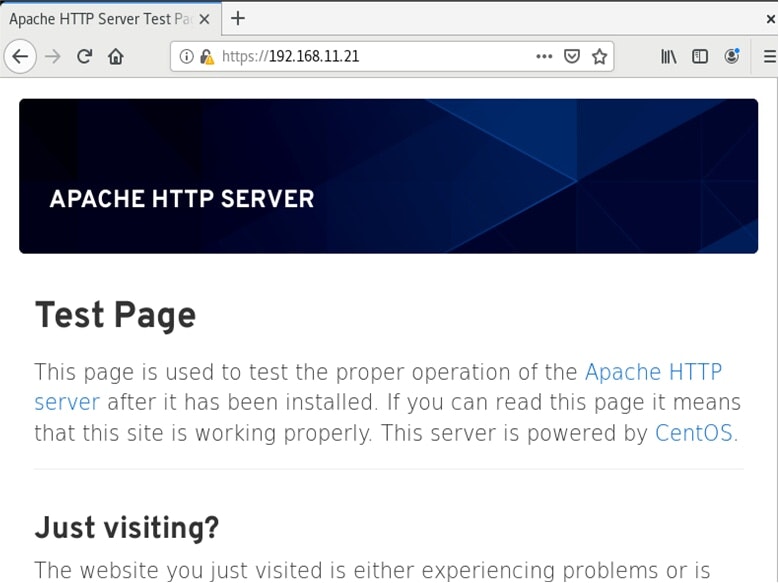
3. 実行結果
HTTPSでの通信を実施したところ、以下のブラウザが表示された。
証明書も上記で作成したものと同一であることを確認。