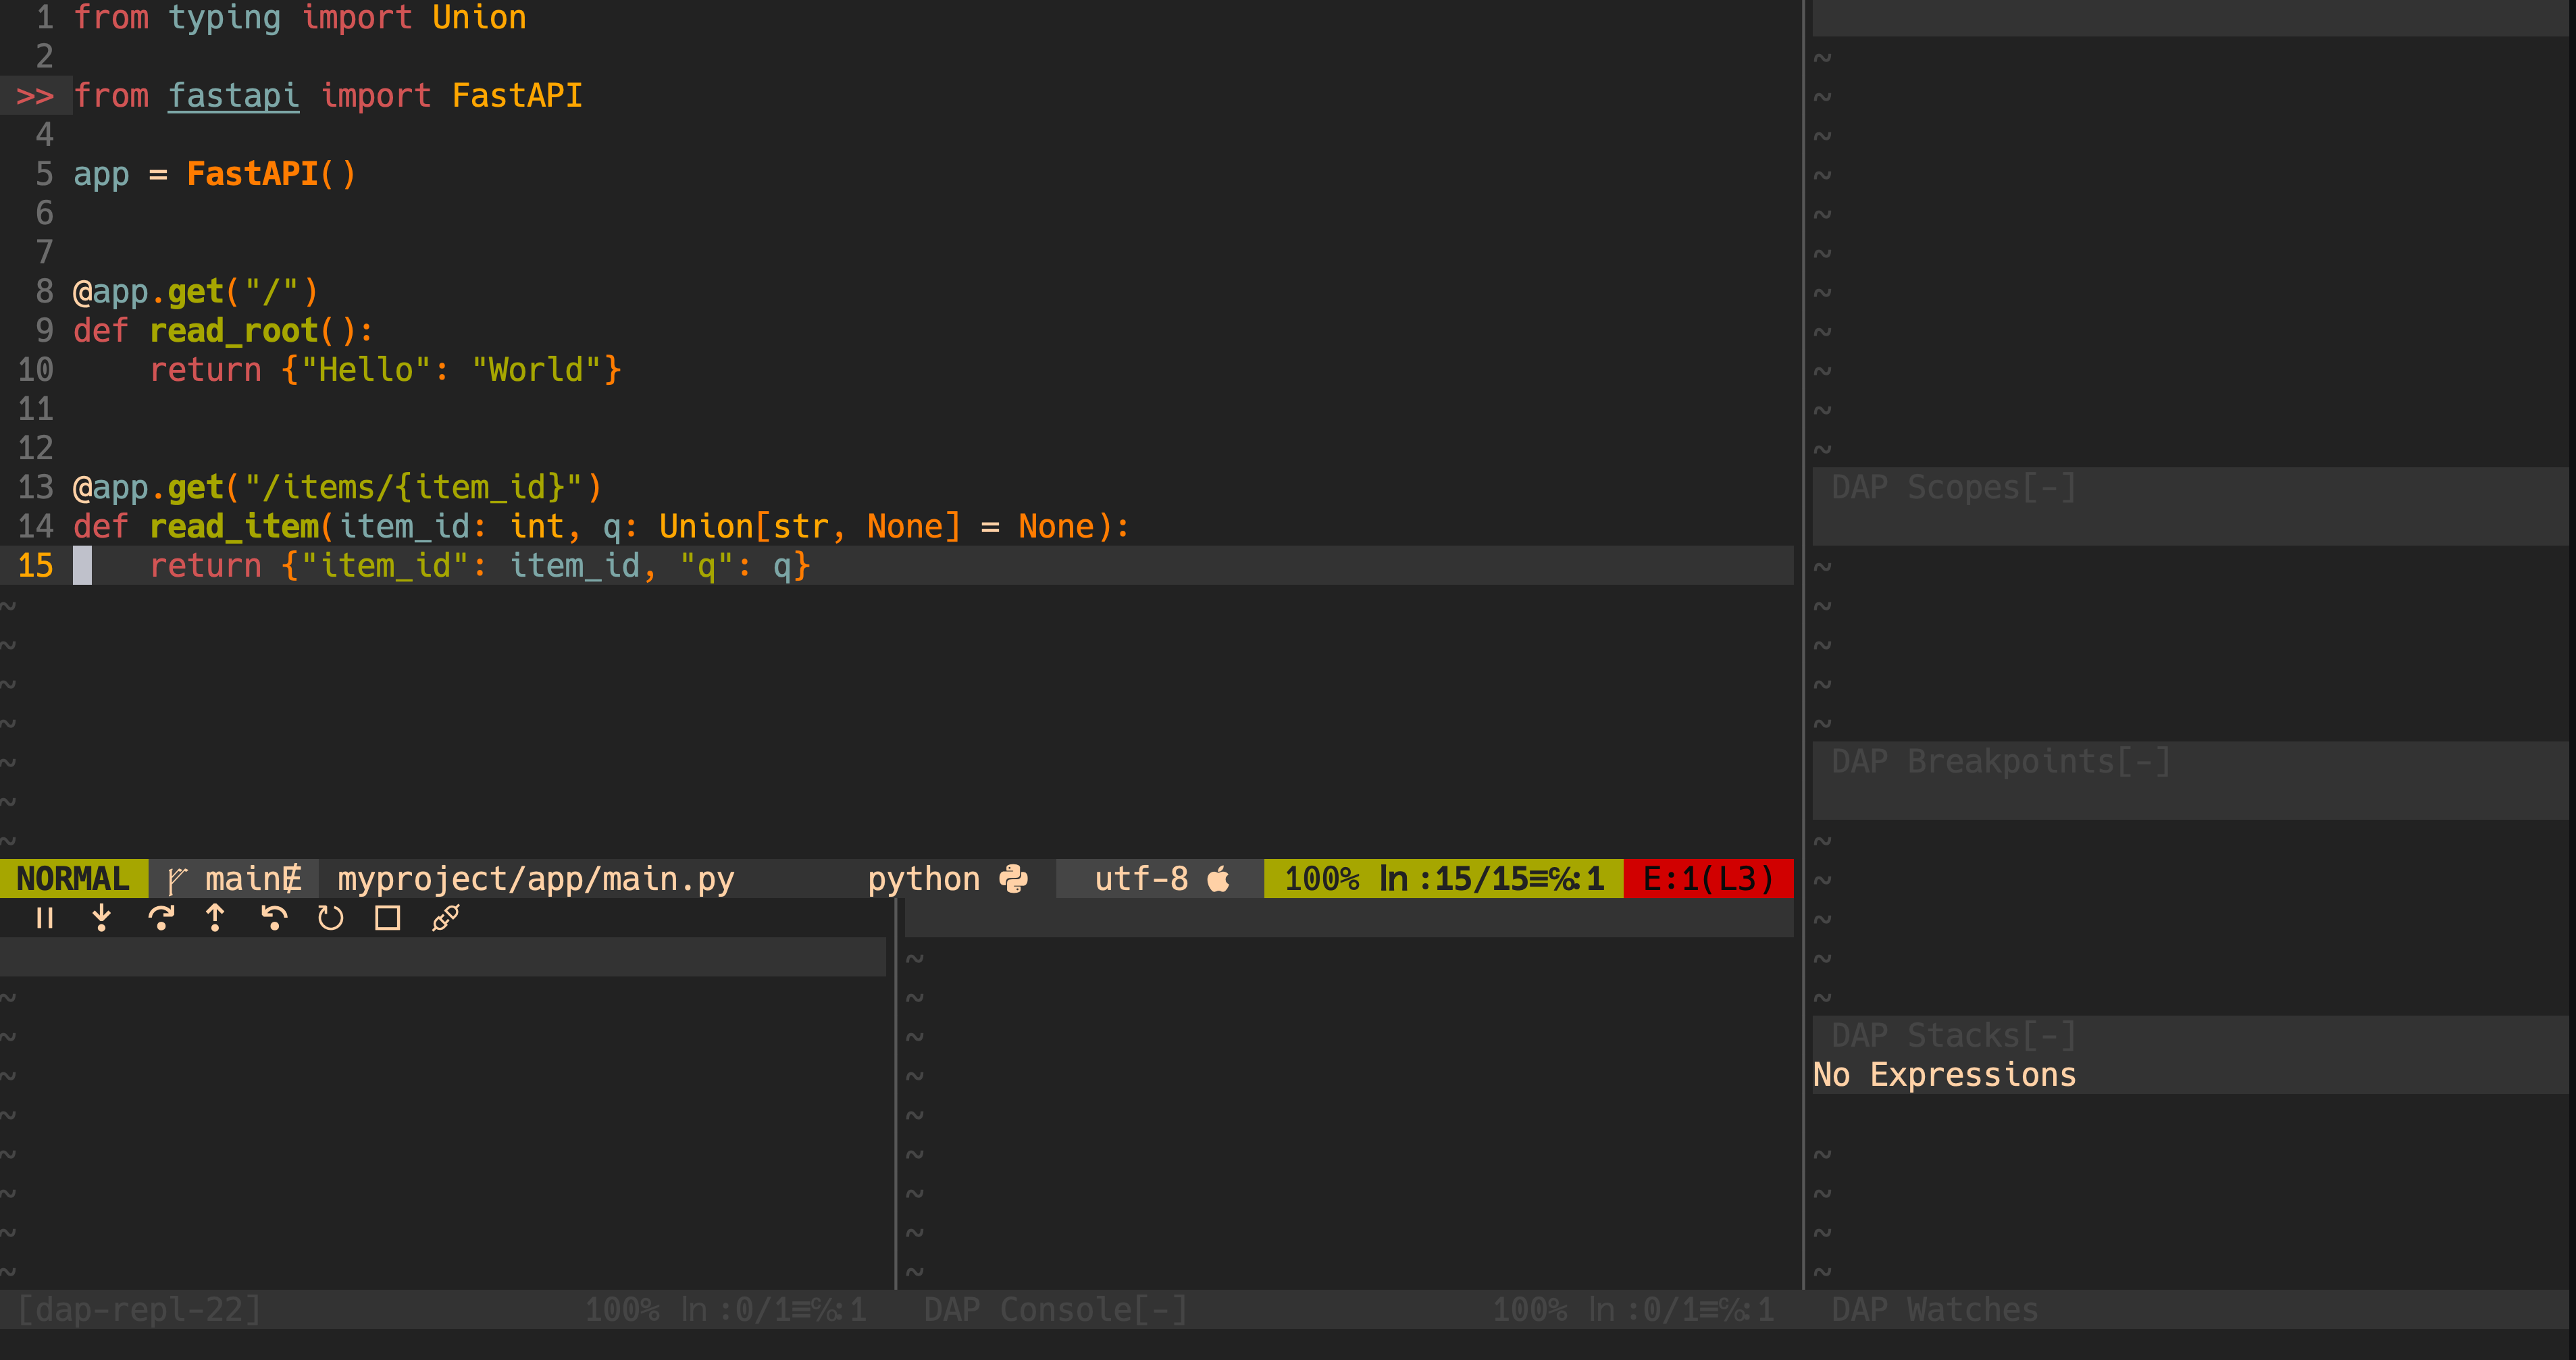
コンテナで動作するPythonアプリケーションをNeovimのnvim-dapでデバッグする設定です。
VSCodeの記事が多い中、Neovimでの設定例が少ないため、シェアしておきます。
実行環境
- Neovim: v0.9.5
プラグインの設定
さっそくですがdein.vimの設定がこちらです。
他のプラグインマネージャを使用している場合は適当に読み替えてください。
細かな設定内容については説明を省略しますので、各プラグインのREADMEや :help を参照してください。
[[plugins]]
repo = 'mfussenegger/nvim-dap'

[[plugins]]
repo = 'nvim-neotest/nvim-nio'

[[plugins]]
repo = 'rcarriga/nvim-dap-ui'
depends = ['nvim-dap', 'nvim-nio']
hook_source = '''
lua <<EOF
-- レイアウトの設定(任意)
require('dapui').setup({
  layouts = {
    {
      elements = {
        { id = "watches", size = 0.20 },
        { id = "stacks", size = 0.20 },
        { id = "breakpoints", size = 0.20 },
        { id = "scopes", size = 0.40 }
      },
      position = "right",
      size = 40
    },
    {
      elements = {
        { id = "console", size = 0.5 },
        { id = "repl", size = 0.5 }
      },
      position = "bottom",
      size = 10
    }
  },
})
-- 自動でウィンドウを開閉
local dap, dapui = require("dap"), require("dapui")
dap.listeners.before.attach.dapui_config = function()
  dapui.open()
end
dap.listeners.before.launch.dapui_config = function()
  dapui.open()
end
dap.listeners.before.event_terminated.dapui_config = function()
  dapui.close()
end
dap.listeners.before.event_exited.dapui_config = function()
  dapui.close()
end
EOF
'''

[[plugins]]
repo = 'nvim-treesitter/nvim-treesitter'
hook_post_update = 'TSUpdate'

[[plugins]]
repo = 'theHamsta/nvim-dap-virtual-text'
depends = ['nvim-dap', 'nvim-treesitter']
hook_source = '''
lua <<EOF
require('nvim-dap-virtual-text').setup()
EOF
'''

[[plugins]]
repo = 'mfussenegger/nvim-dap-python'
depends = ['nvim-dap']
hook_add = '''
lua <<EOF
require('dap-python').setup('python')
-- コンテナ上のPythonをデバッグする設定
table.insert(require('dap').configurations.python, {
  type = 'python',
  request = 'attach',
  name = 'Remote Python Debugger',
  port = 5678,
  host = "127.0.0.1",
  mode = "remote",
  cwd = vim.fn.getcwd(),
  -- ローカルとコンテナのパスをマッピング
  pathMappings = {
    {
      localRoot = function() -- ローカルのPythonコードを格納するディレクトリ
        return vim.fn.input("Local directory > ", vim.fn.getcwd(), "file")
      end,
      remoteRoot = function() -- コンテナ内のPythonコードを格納するディレクトリ
        return vim.fn.input("Container directory > ", "/code/app", "file")
      end,
    },
  },
})

-- :help dap-mappings の例に従ってキーマッピングを設定
vim.keymap.set('n', '<F5>', function() require('dap').continue() end)
vim.keymap.set('n', '<F10>', function() require('dap').step_over() end)
vim.keymap.set('n', '<F11>', function() require('dap').step_into() end)
vim.keymap.set('n', '<F12>', function() require('dap').step_out() end)
vim.keymap.set('n', '<Leader>b', function() require('dap').toggle_breakpoint() end)
vim.keymap.set('n', '<Leader>B', function() require('dap').set_breakpoint() end)
vim.keymap.set('n', '<Leader>lp', function() require('dap').set_breakpoint(nil, nil, vim.fn.input('Log point message: ')) end)
vim.keymap.set('n', '<Leader>dr', function() require('dap').repl.open() end)
vim.keymap.set('n', '<Leader>dl', function() require('dap').run_last() end)
vim.keymap.set({'n', 'v'}, '<Leader>dh', function()
  require('dap.ui.widgets').hover()
end)
vim.keymap.set({'n', 'v'}, '<Leader>dp', function()
  require('dap.ui.widgets').preview()
end)
vim.keymap.set('n', '<Leader>df', function()
  local widgets = require('dap.ui.widgets')
  widgets.centered_float(widgets.frames)
end)
vim.keymap.set('n', '<Leader>ds', function()
  local widgets = require('dap.ui.widgets')
  widgets.centered_float(widgets.scopes)
end)
EOF
'''
使い方
コンテナの準備
デバッグ対象のコンテナにdebugpyを仕込みます。
ここではFastAPIのドキュメントに従って作成したコンテナを例に説明します。
.
├── app
│   ├── __init__.py
│   └── main.py
├── Dockerfile
└── requirements.txt
デバッグ対象のコードが app/main.py です。
from typing import Union

from fastapi import FastAPI

app = FastAPI()


@app.get("/")
def read_root():
    return {"Hello": "World"}


@app.get("/items/{item_id}")
def read_item(item_id: int, q: Union[str, None] = None):
    return {"item_id": item_id, "q": q}
依存関係を管理する requirements.txt に debugpy を追加します。
fastapi[standard]>=0.113.0,<0.114.0
pydantic>=2.7.0,<3.0.0
+debugpy
アプリケーションを debugpy を介して起動するように Dockerfile を修正します。
FROM python:3.9

WORKDIR /code

COPY ./requirements.txt /code/requirements.txt
RUN pip install --no-cache-dir --upgrade -r /code/requirements.txt
COPY ./app /code/app

-CMD ["fastapi", "run", "app/main.py", "--port", "80"]
+CMD ["python", "-m", "debugpy", "--listen", "0.0.0.0:5678", "-m", "fastapi", "run", "app/main.py", "--port", "80"]
コンテナを起動します。
debugpy に接続するため、5678 番ポートを開放しておきます。
$ docker build -t myimage .
-$ docker run -d --name mycontainer -p 80:80 myimage
+$ docker run -d --name mycontainer -p 80:80 -p 5678:5678 myimage
デバッグの開始
Neovim で app/main.py を開いて、F5でデバッグを開始します。
設定の選択肢が表示されるので、設定ファイルで追加した Remote Python Debugger を選択します。
Configuration:
1: Launch file
2: Launch file with arguments
3: Attach remote
4: Run doctests in file
5: Remote Python Debugger
Type number and <Enter> or click with the mouse (q or empty cancels): 5
ローカルにおける /app へのパスを入力します。
初期値 vim.fn.getcwd() は必要に応じて変更してください。
Local directory > /path/to/app
次に、コンテナ内の /app へのパスを入力します。
上記の例では /code/app です。
Container directory > /code/app
これでUIが開きます。
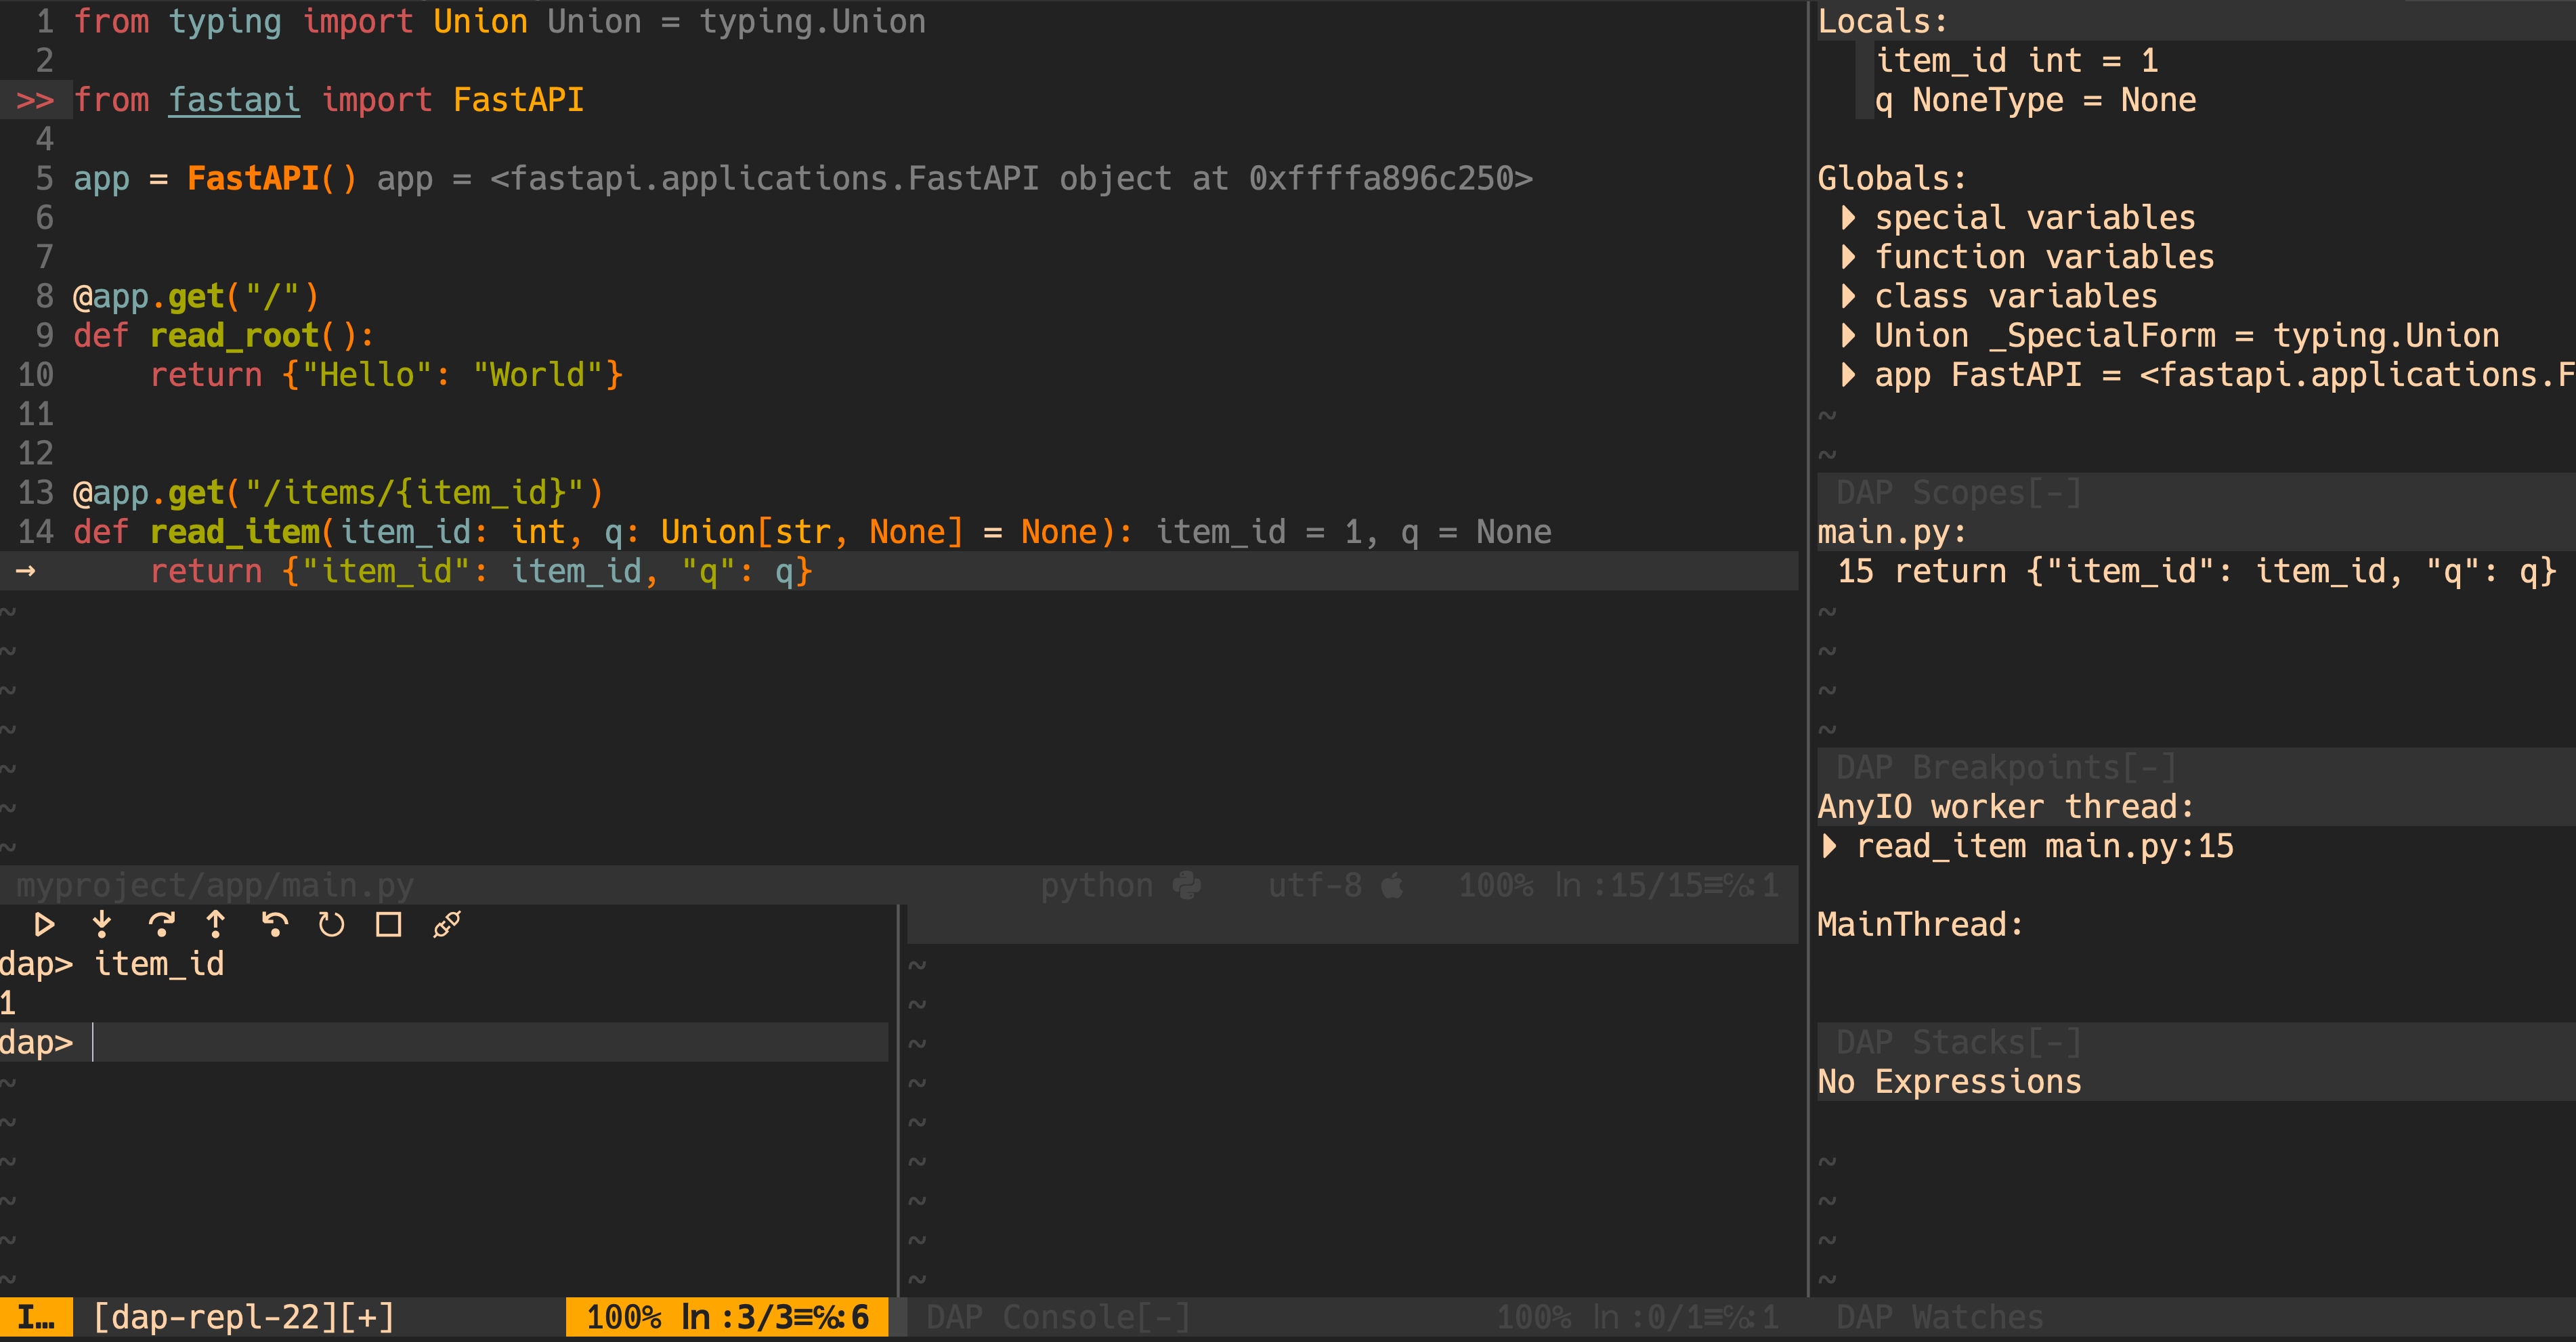
例として read_item() に <leader>b でブレークポイントを設定します。
対応するエンドポイント /items/{item_id} にリクエストを送信します。
$ curl http://localhost/items/1
ブレークポイントで処理が停止しました。これで快適にデバッグを行うことができます。


