Background
cv.matchTemplate() を使おうかとなった時、
cv::matchTemplate(search_img, tmp_img, result_img, cv::TM_CCOEFF_NORMED);
cv::Point max_pt;
double maxVal;
cv::minMaxLoc(result_img, NULL, &maxVal, NULL, &max_pt);
このように、最大値(場合によっては最小値)を求めるのでひとつしか検出することができません。
Pythonではnumpyの力を使って np.where() で認識率を行列(cv::Mat)ごと判別をしているのですが、C++では良さげな関数メソッドが無さそうです。(複数物体のテンプレートマッチングを参照)
C++を使った複数の検出方法では、「OpenCV のテンプレートマッチを使って駒を検出」をよく見かけるのですが、
cv::Mat result_img;
// 50 個検出する
for ( int i=0; i<50; i++ ) {
    // テンプレートマッチング
    cv::matchTemplate(search_img, tmp_img, result_img, CV_TM_CCOEFF_NORMED);
    // 最大のスコアの場所を探す
    cv::Rect roi_rect(0, 0, tmp_img.cols, tmp_img.rows);
    cv::Point max_pt;
    double maxVal;
    cv::minMaxLoc(result_img, NULL, &maxVal, NULL, &max_pt);
    // 一定スコア以下の場合は処理終了
    if ( maxVal < 0.5 ) break;
        roi_rect.x = max_pt.x;
        roi_rect.y = max_pt.y;
        std::cout << "(" << max_pt.x << ", " << max_pt.y << "), score=" << maxVal << std::endl;
        // 探索結果の場所に矩形を描画
        cv::rectangle(search_img0, roi_rect, cv::Scalar(0,255,255), 3);
        cv::rectangle(search_img, roi_rect, cv::Scalar(0,0,255), CV_FILLED);
}
なぜか、for文回すだけで駒を検出してます。
どうなっているかマジ謎です。
てことで、ここではC++を使ってもう少しチューニングが効く方法を書いていこうと思います。
DataSet
読み込む画像
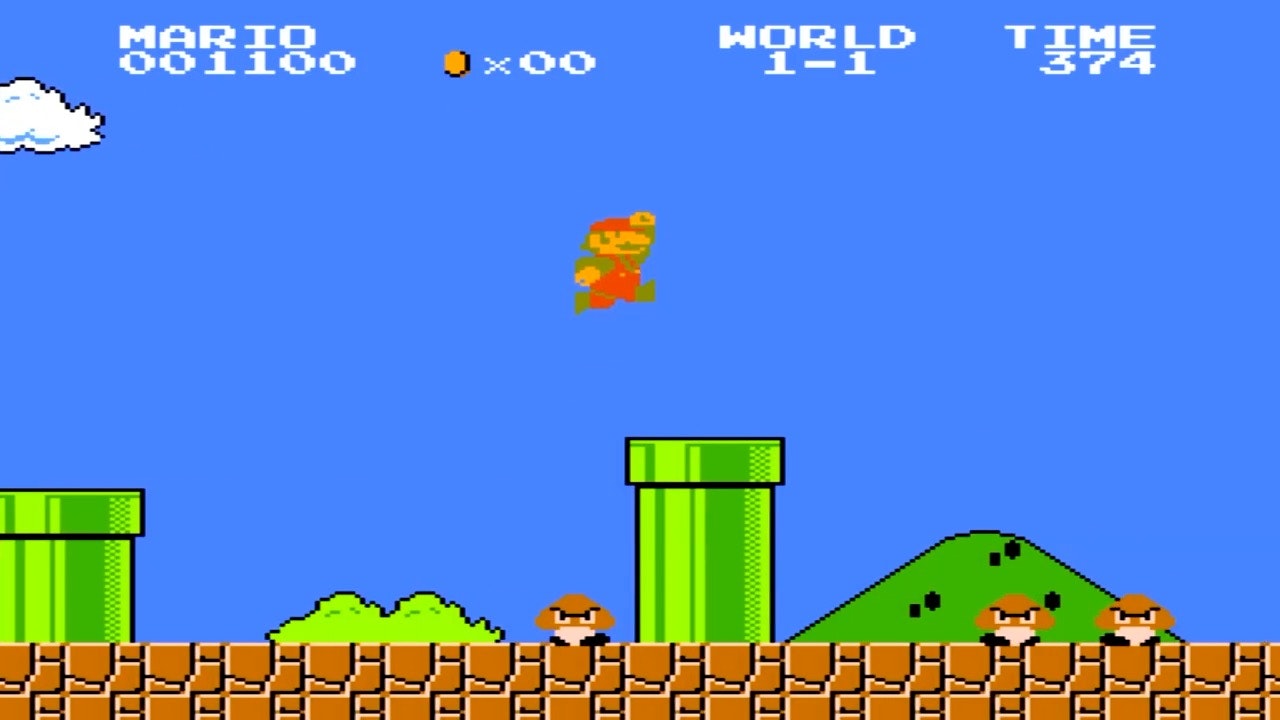
Super Mario Bros (NES) Level 1-1のワンシーンを使っています。
テンプレート画像


ターゲットはクリボーです。背景色を透明にしてます。
Method
cv::matchTemplate(src, tmp, output, cv::TM_CCOEFF);
のoutput(処理結果)は元画像を左上から右下までテンプレート画像を走査し、各ピクセルの認識率が格納されていて、 幅と高さともに元画像の幅 - テンプレート画像の幅 + 1、元画像の高さ - テンプレート画像の高さ + 1のサイズになっています。
cv::sort``cv::sortIdxで認識率をソートすればいいのですが精度の良い結果が、なぜか出ません![]()
なので、C++標準ライブラリのstd::sortを使ってソートをかけてみます。ただし、2次元のままでは無理なので output.reshape(1, 1) で1次元にし、 さらにcv::Matからstd::vectorに変換します。
std::sort(index.begin(), index.end(), [&](int a, int b) {return one_row_vec[a] > one_row_vec[b];});
で ソートインデックスの配列を取得します。
あとは回数分取得すれば完了。
または one_row_vec[index[i]] で認識率の取得ができるのでしきい値設定することもできます。
indexから(x,y)と1次元から2次元に再変換する方法ですが、 幅(cols)を割った余剰をx、割った値をyにすればOK。
Development
# include <iostream>
# include <vector>
# include <numeric>      // std::iota
# include <algorithm>    // std::sort, std::stable_sort

# include <opencv2/core.hpp>
# include <opencv2/core/utility.hpp>
# include <opencv2/imgproc.hpp>
# include <opencv2/videoio.hpp>
# include <opencv2/highgui.hpp>


cv::Mat templateMatch(cv::Mat src, cv::Mat tmp){

    const int __TARGET_NUM__ = 30;
    cv::Mat output, dst;
    dst = src.clone();
    //テンプレートマッチング
    cv::matchTemplate(src, tmp, output, cv::TM_CCOEFF);
    //0~1の値に標準化
    cv::normalize(output, output, 0, 1, cv::NORM_MINMAX, -1, cv::Mat() );
    //2次元から1次元へ変換
    cv::Mat one_row = output.reshape(1, 1);

    std::vector<float> one_row_vec;
    std::vector<float> one_row_index;

    //cv::Mat -> std::vector に変換
    one_row_vec.assign(one_row.begin<float>(), one_row.end<float>());
    std::vector<int> index(one_row_vec.size());

    //ソートインデックス配列用に整数列を作成する(0,1,2,3,4,5......)
    std::iota(index.begin(), index.end(), 0);

    //ソートをかける
    std::sort(index.begin(), index.end(), [&](int a, int b) {return one_row_vec[a] > one_row_vec[b];});

    for(int i = 0; i < __TARGET_NUM__; i++){
        std::cout << index[i] << ":" << one_row_vec[index[i]] << std::endl;
        // 1次元から2次元に変換
        int x = index[i] % output.cols;
        int y = index[i] / output.cols;
        std::cout << "(" << x << "," << y << ")" << std::endl;
        std::cout << "-----------------" << std::endl;
        cv::Rect roi_rect = cv::Rect(x, y, tmp.cols, tmp.rows);
        cv::rectangle(dst, roi_rect, cv::Scalar(0,0,255), 3);
    }

    return dst;
}

int main(int argc, const char* argv[]){

    cv::Mat src = cv::imread("sample.jpg");
    //テンプレート画像
    cv::Mat kuribo_left = cv::imread("./kuribo-left.png");
    cv::Mat kuribo_right = cv::imread("./kuribo-right.png");

    cv::Mat dst = templateMatch(src, kuribo_right);
    dst = templateMatch(dst, kuribo_right);

    cv::imwrite("output.png", dst);
    return 0;
}
Consequence

クリボーだけ検出してます。
ですが、別の画像を使って検出をかけると、、、

形状が似ているのか、雲の部分に検出がかかります。
検出精度を上げたい場合はROIして、ヒストグラムか背景差分を使ってテンプレート画像を比較すればいいかもしれないです。
あとは、DNNでクリボーにアノテーションさせた画像を学習させて検出させることとかでしょうか。
PostScript
ゲーム動画の著作権ですが、実況配信は2018年にOKになったみたいです。
ネットワークサービスにおける
任天堂の著作物の利用に関するガイドライン
ですが、画像処理や機械学習・AIのデータセットとして使えるかどうかはまだ言及されてないので、使っていいかちょっと迷う。
OpenCV - 公式でも例題として使っているから、大丈夫か![]()