フリーランスエンジニアのよねざわ(@satosiyonezawa)です。
Node-REDでGoogleカレンダー連携をしている情報があまりなかったので
今回は enebular を使って
Googleカレンダーの予定時間になったら
enebularのフロー(処理)を開始するということをやってみます。
準備
- enebularの導入はこちら
- Introduction(公式)
- ↑から無料でアカウントを作ってHelloWorldの実行まですぐにできます
- 連携したいカレンダーのGoogleアカウントにログインしてください
Googleノードをインストール
Googleカレンダーと連携できるノードをインストールします
-
node-red-node-googleノード をインストール
- 右上の adminタブ をクリック
- node-red-node-google と入力
- Installボタン をクリック

- ノードがインストールされました

- カレンダー(input)ノードをドラッグアンドドロップで設置します。

-
ノードをダブルクリックして連携したいGoogleカレンダーの認証情報の入力画面を開きます
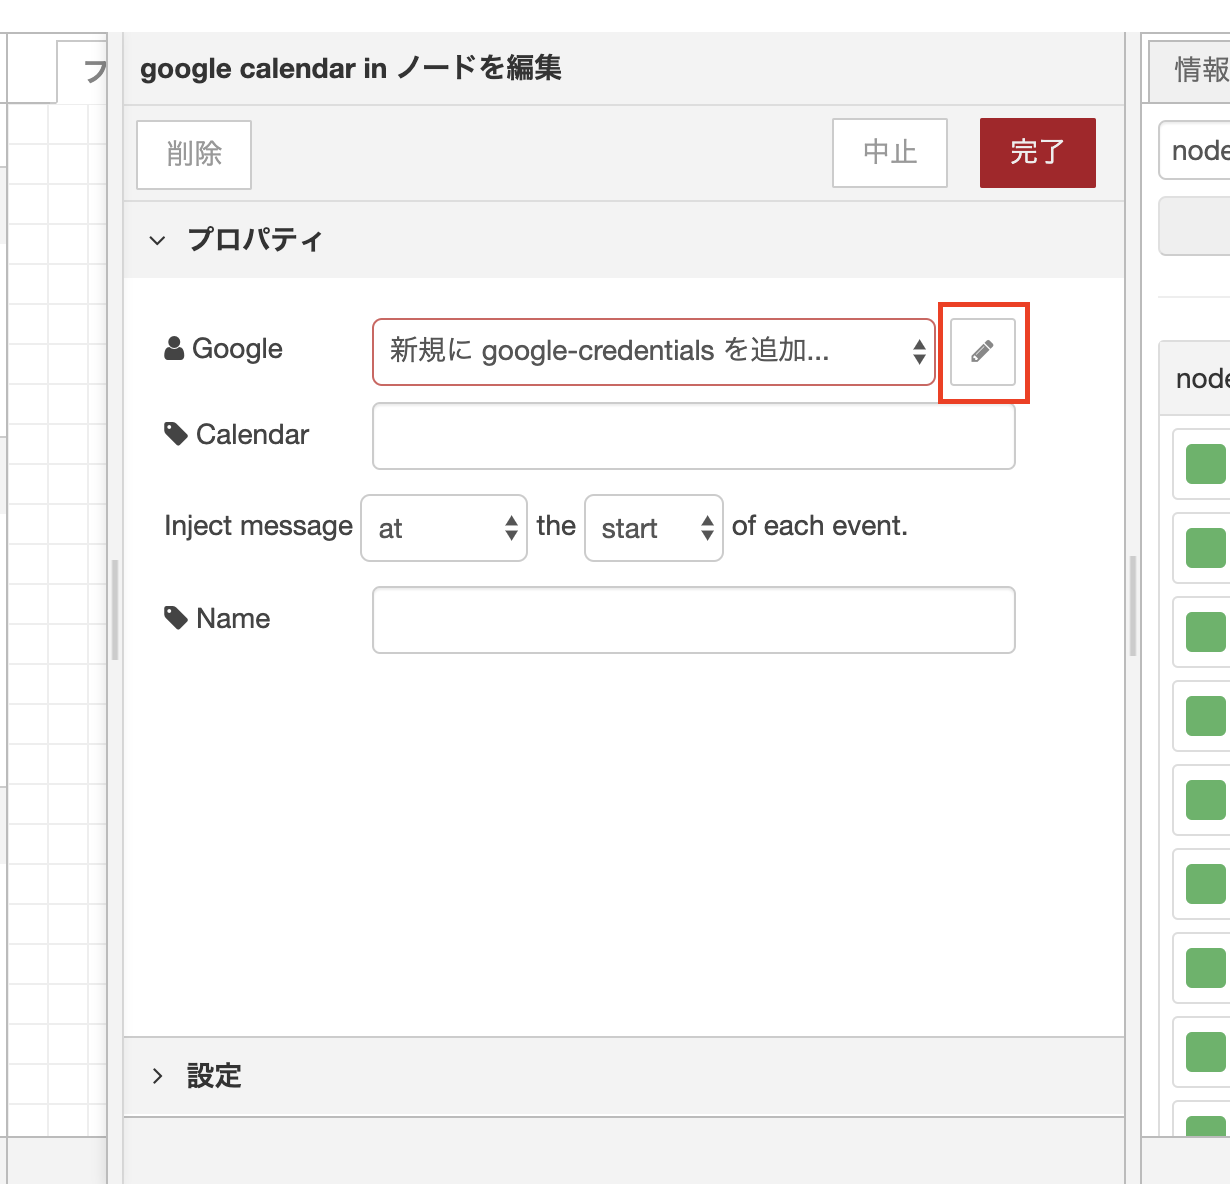
-
以下の3つの項目が出てきました。次の章で詳しく解説します。
- リダイレクトURI
- クライアントID
- シークレットキー

GCPのプロジェクトを作成
enebularとGoogleカレンダーを連携するために
Google側でリダイレクトURIの設定と
クライアントIDとシークレットキーの発行が必要になります。
- Googleの開発者コンソールにアクセスしましょう
- はじめてGCPを使うアカウントは以下の画面が出てくると思うのでチェックをして 同意して続行 を押します
- 本記事ではAPIの有効化をして認証情報を作成するだけなのでGCPの料金は発生しません。決済情報の入力も必要ありません。

- プロジェクトを作成します。上の 組織なし をクリック

- プロジェクトを作成 をクリック

- プロジェクト名に任意の名前を入力
- 任意の場所を指定
- 作成ボタンをクリック

Google+とGoogleカレンダーのAPIを有効にする
- ダッシュボードの APIとサービスを有効化 をクリック

- [google plus]で検索

- Google+ API をクリック

- 有効にする ボタンをクリック

- 同様にGoogleカレンダーのAPIを有効にします


認証情報を作成
- GoogleAPIsのダッシュボードから 認証情報 をクリック
- 認証情報を作成 をクリック
- OAuthクライアントID をクリック

- enebularからGoogleと連携するときに開く同意画面について設定します
 - **アプリケーション名** に任意の名前を入力

-
承認済みドメイン にURIのドメインを入力→Enter→保存ボタンをクリック
- カレンダーノードをダブルクリックしたときに表示される赤文字のドメイン
- 入力例:ev2-prod-node-red-XXXXXXXX-XXX.herokuapp.com


- 認証情報を設定します
- アプリケーションの種類
- ウェブアプリケーション
- 名前
- 任意の名前
- 承認済みの JavaScript生成元
- 空欄
- 承認済みのリダイレクト URI
- ノード側の赤文字のURIをコピペ(https://からcallbackまで全て)
- 作成ボタンを押す
- アプリケーションの種類

- 出現したクライアントIDとクライアントシークレットをノード側の認証情報にコピペ
 - ノードの **Authenticate with Googleボタン** をクリック

このアプリは確認されていません という画面が出てきますが以下を実行します。
- 詳細ボタン
- ev2-prod-node-red-XXXXXX-XXX.herokuapp.com(安全ではないページ)に移動
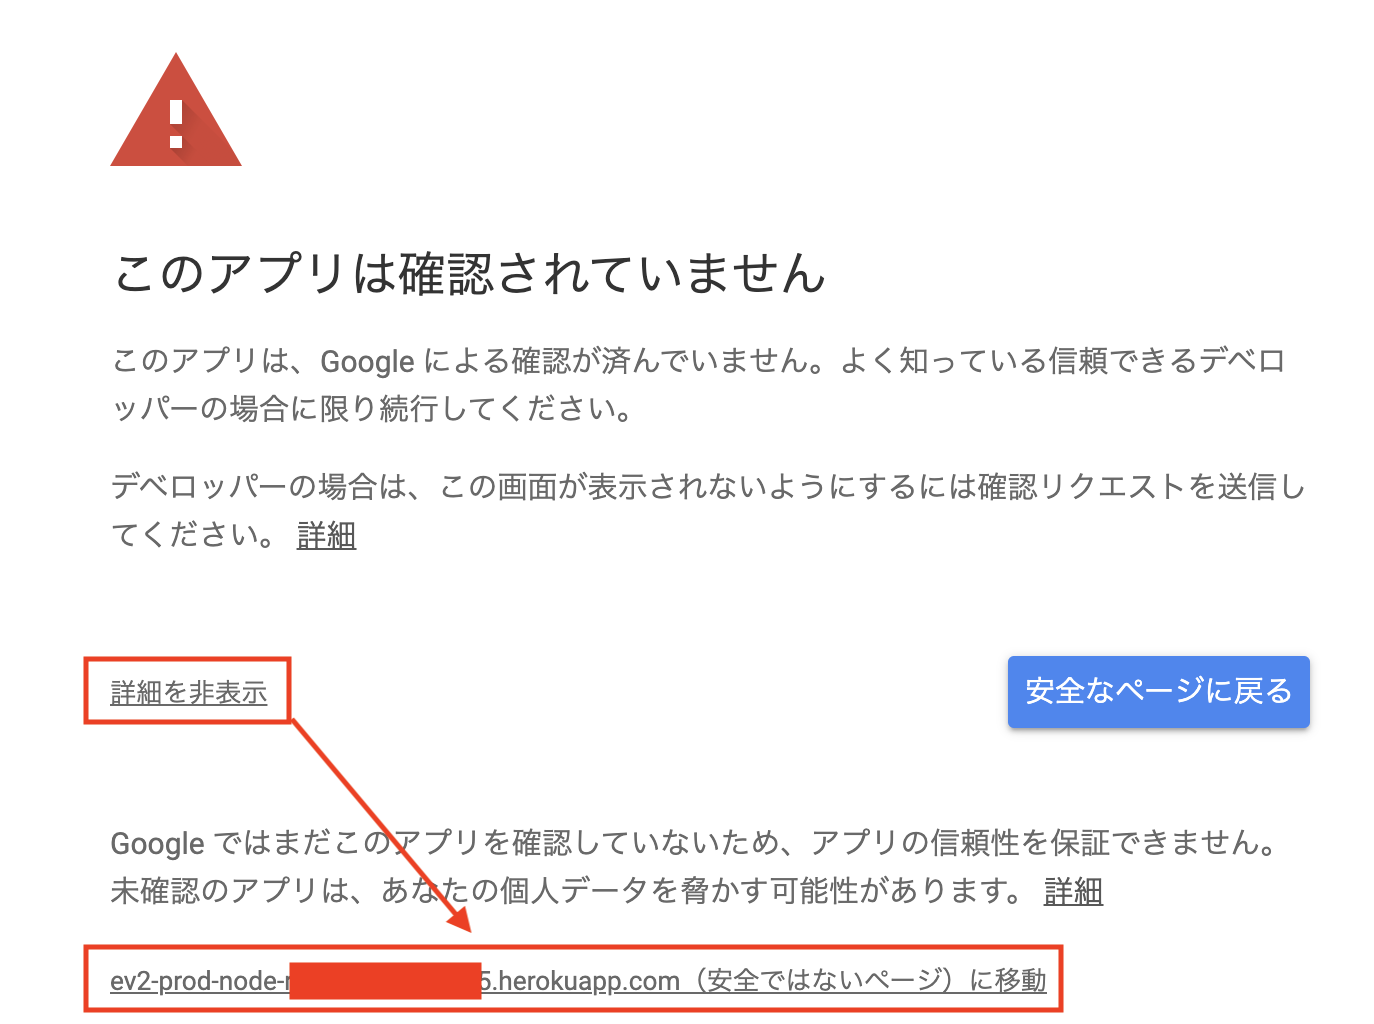
- 許可→チェック→許可
Authorised - you can close this window and return to Node-RED と表示されれば連携成功
2020年1月2日追記
現在はここで失敗してしまいます。記事公開時は上記メッセージが出ていたのですが、連携できないとの指摘があり再現しました。
エラーメッセージ「auth worked but profile fetching failed」
GoogleAPI側の問題だと思いますが解決した方は教えていただければ幸いです。
↑2020年9月16日現在、問題無しとの報告いただきました!


- ノード側に戻って追加ボタンをクリック
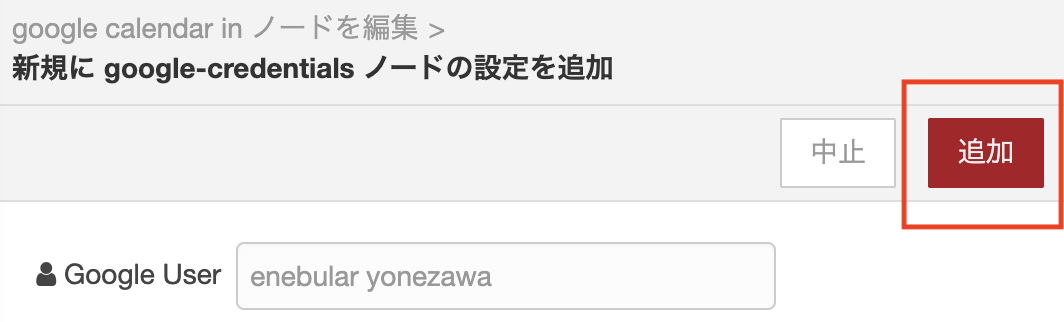
- 画像の設定例ではカレンダーのイベントが始まった時にフローが開始します

- debugノードを設置してカレンダーノードとつないでデプロイボタンをクリック

カレンダーを作成して連携確認
- 予定を作成します

- 予定の開始時間が来たらフローが開始します

- カレンダーの情報も取得しています。詳しくはノードの公式ページを参照
まとめ
enebularとGoogleカレンダー連携をさせることができました。
enebular側の作業はわずかでGoogle側の設定がほとんどでしたね。
- カレンダーの情報も取得できるのでカレンダードリブンのシステム連携ができそう
- カレンダーAPIの他にもGoogle+APIの許可が必要(ノードの仕様のため?)
- OAuth認証は認証画面を挟んでいる分、設定がちょっとめんどう