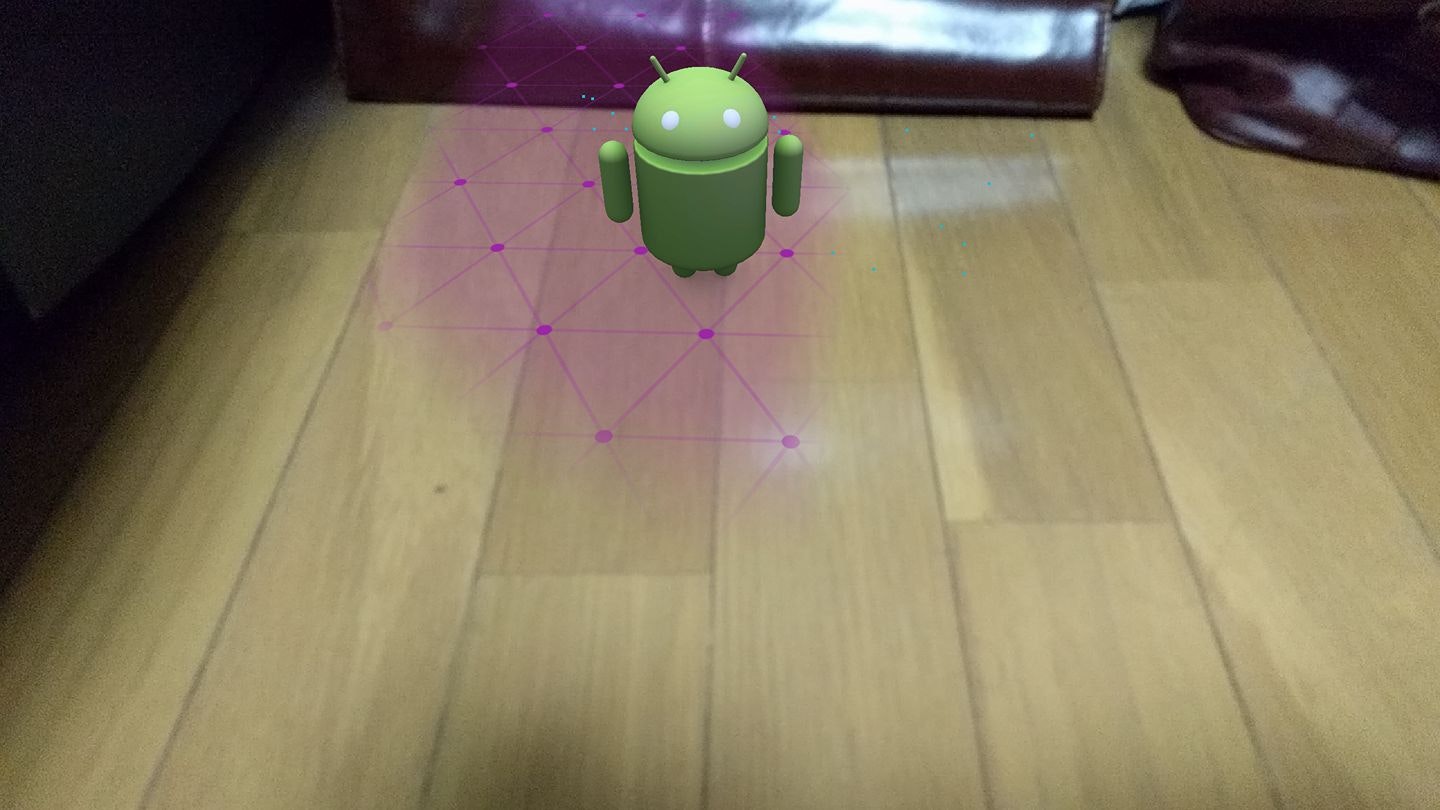
8/30にGoogleがARCoreという、Tango以外でも使えるAR用SDKを公開した。
現在はpreview版で、PixelかPixel XLかGalaxy S8でしか使えない。
それ以外の端末で実行しようとしても、
「This device does not support ARCore.」
と出て、アプリが終了してしまう。
ただ、Pixelは日本で手に入らないし、Tango対応のZenFone ARとかPhab 2ならまだしも、何故かS8縛りとか、Daydream対応で何かあったんじゃないのって色々思うところがあるので、どうしても別の端末で動かしたくて、やってみて、とりあえず動いたので、その方法を記載する。
環境
今回ARCoreを動かした端末はNexus6PでAndroid7.1.2。(よくよく考えると、これも手に入らないね。)
開発環境は、Windows10 x64 Pro、Unity2017.2.0b9。
環境構築
公式サイトの手順の通り。
https://developers.google.com/ar/develop/unity/getting-started
Android SDK
AndroidSDKでAPI24以降でビルドできるようにしておく。
もしインストールしていないなら、AndroidStudioを入れて、SDK ManagerでAPI24以降の Build Tools等を入れておく。
Unity
Unity2017.2.0b9以降をインストールする。
インストール時に「Android Build Support」を含める(チェックを入れる)ようにする。
なお、Unityはインストール先のフォルダ名を変えておくと、複数バージョンを共存させることができる。
もし既にUnityをインストールしているなら、今回使用するのはベータ版なので、共存させるようにインストールしておくと後々面倒ごとがなくなると思う。
(特にUnity2017では色々あるみたい。って僕も引っかかったことあるから...)
ARCore SDK for Unity
パッケージファイルを直接ダウンロードするか、Githubから取ってくる。
ARCore Service
端末にARCore Serviceをインストールする。
プロジェクト
新規プロジェクト作成
Unityを起動し、新規プロジェクトを3Dで作成する。
今回は公式サイト通り、HelloARというプロジェクト名にした。
インポート
メニューから、Aseets > Import Package > Custom Package を選択し、
ダウンロードしておいた、arcore-unity-sdk-preview.unitypackageを選択してインポートする。
シーンの読み込み
Projectビューから、Aseets > GoogleARCore > HelloARExample > Scenes を選択し、HelloARシーンをダブルクリックして読み込む。
ビルド
メニューから、File > Build Settings を選択する。Build Settingsダイアログが表示される。
PlatformリストからAndroidを選択し、下部のSwitch Platformボタンを押下して、切り替える。
Add Open Scenesボタンを押下する。
HelloARシーンがリストに追加される。
Player Settingsボタンを押下する。
Inspectorビューから、
- Other Settings > Multithreaded Rendering のチェックをはずす。
- Other Settings > Package Name の内容を変更する。とりあえず公式サイトの例のようにcom.example.helloARにした。
- Other Settings > Minimum API Level をAndroid 7.0以降にする。
- Other Settings > Target API Level をAndroid 7.0以降にする。
- XR Settings > Tango Supported のチェックを入れる。
Build Settingsダイアログに戻り、端末をPCにつなぎ(開発者モード、USBデバッグは有効にしておくこと)、Build And Runボタンを押下すればインストールされ、起動直後に「This device does not support ARCore.」と出て、残念な気持ちになる。
ARCoreのソースをいじる
「This device does not support ARCore.」と出力しているのは、HelloARController.csの_QuitOnConnectionErrorsメソッドのようだった。
private void _QuitOnConnectionErrors()
{
    // Do not update if ARCore is not tracking.
    if (Session.ConnectionState == SessionConnectionState.DeviceNotSupported)
    {
        _ShowAndroidToastMessage("This device does not support ARCore.");
        Application.Quit();
    }
    ...
}
Session.ConnectionState が SessionConnectionState.DeviceNotSupported になると上記エラーを出力するので、SessionConnectionState.DeviceNotSupportedを設定しないようにする。
SessionConnectionState.DeviceNotSupportedを設定しているのは、SessionComponent.csのConnectメソッドのisSupportedを見ている個所のようだった。
このif文をまるごとコメントアウトして保存する。
public AsyncTask<SessionConnectionState> Connect(SessionConfig sessionConfig)
{
    ...

    bool isSupported;
    ApiServiceErrorStatus status = TangoClientApi.TangoService_IsSupported(out isSupported);
    if (status.IsTangoFailure())
    {
        ARDebug.LogError("There was an error accessing the ARCore API.");
        SessionManager.ConnectionState = SessionConnectionState.ConnectToServiceFailed;
        return new AsyncTask<SessionConnectionState>(SessionManager.ConnectionState);
    }
    //if (!isSupported)
    //{
    //    ARDebug.LogError("Device does not support ARCore.");
    //    SessionManager.ConnectionState = SessionConnectionState.DeviceNotSupported;
    //    return new AsyncTask<SessionConnectionState>(SessionManager.ConnectionState);
    //}

    ...
}
Build Settingsダイアログを表示し、Build And Runボタンを押下して端末にインストールすると、今度はエラーなくアプリが起動するはず。
Nexus6Pが悪いのか、preview版だからかなのかはわからないが、あまり精度がよくなかった。
とりあえず動いたので満足。
