AR Advent Calendar 2019 17日目の記事です。
はじめに
ARKit3からPeople Occlusionが使用可能になりました。
それを使用して人体だけにエフェクトを掛けようとして躓いたので対応方法を残しておきます。
12chip以降搭載のiPhoneでのみ動作します。
内容としてはほぼこちらのものです。
How to add a CIFilter to MTLTexture Using ARMatteGenerator?
まずはサンプルを動かす
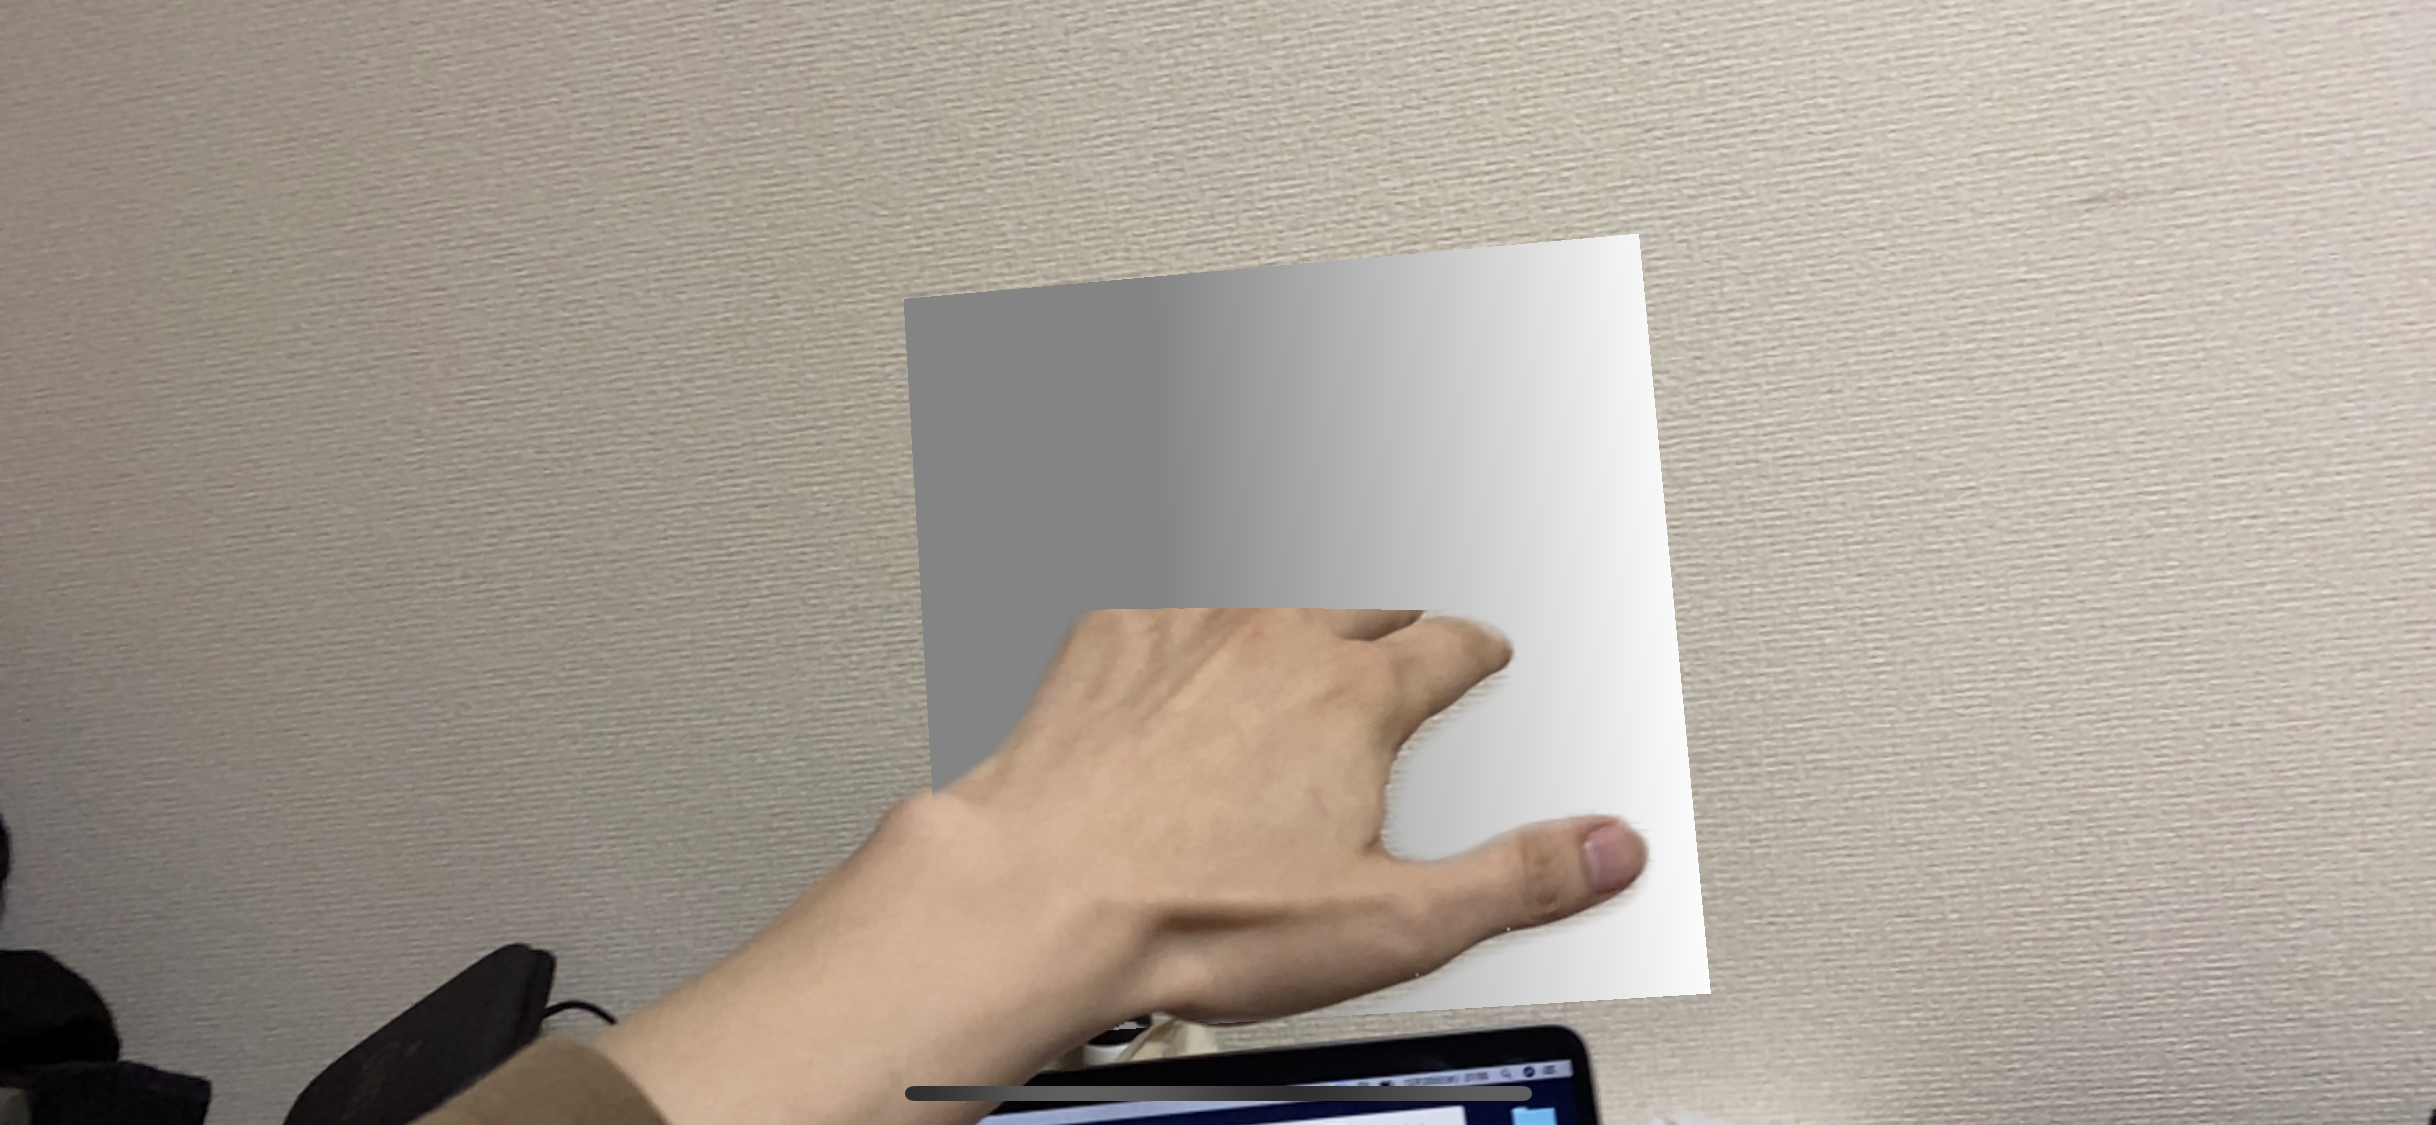
Apple提供サンプルコード Effecting People Occlusion in Custom Renderers をダウンロードし実行。
起動後、画面をタップするとPlaneが表示されます。
手を動かすことで奥行きと人体部分のマスク効果がわかります。
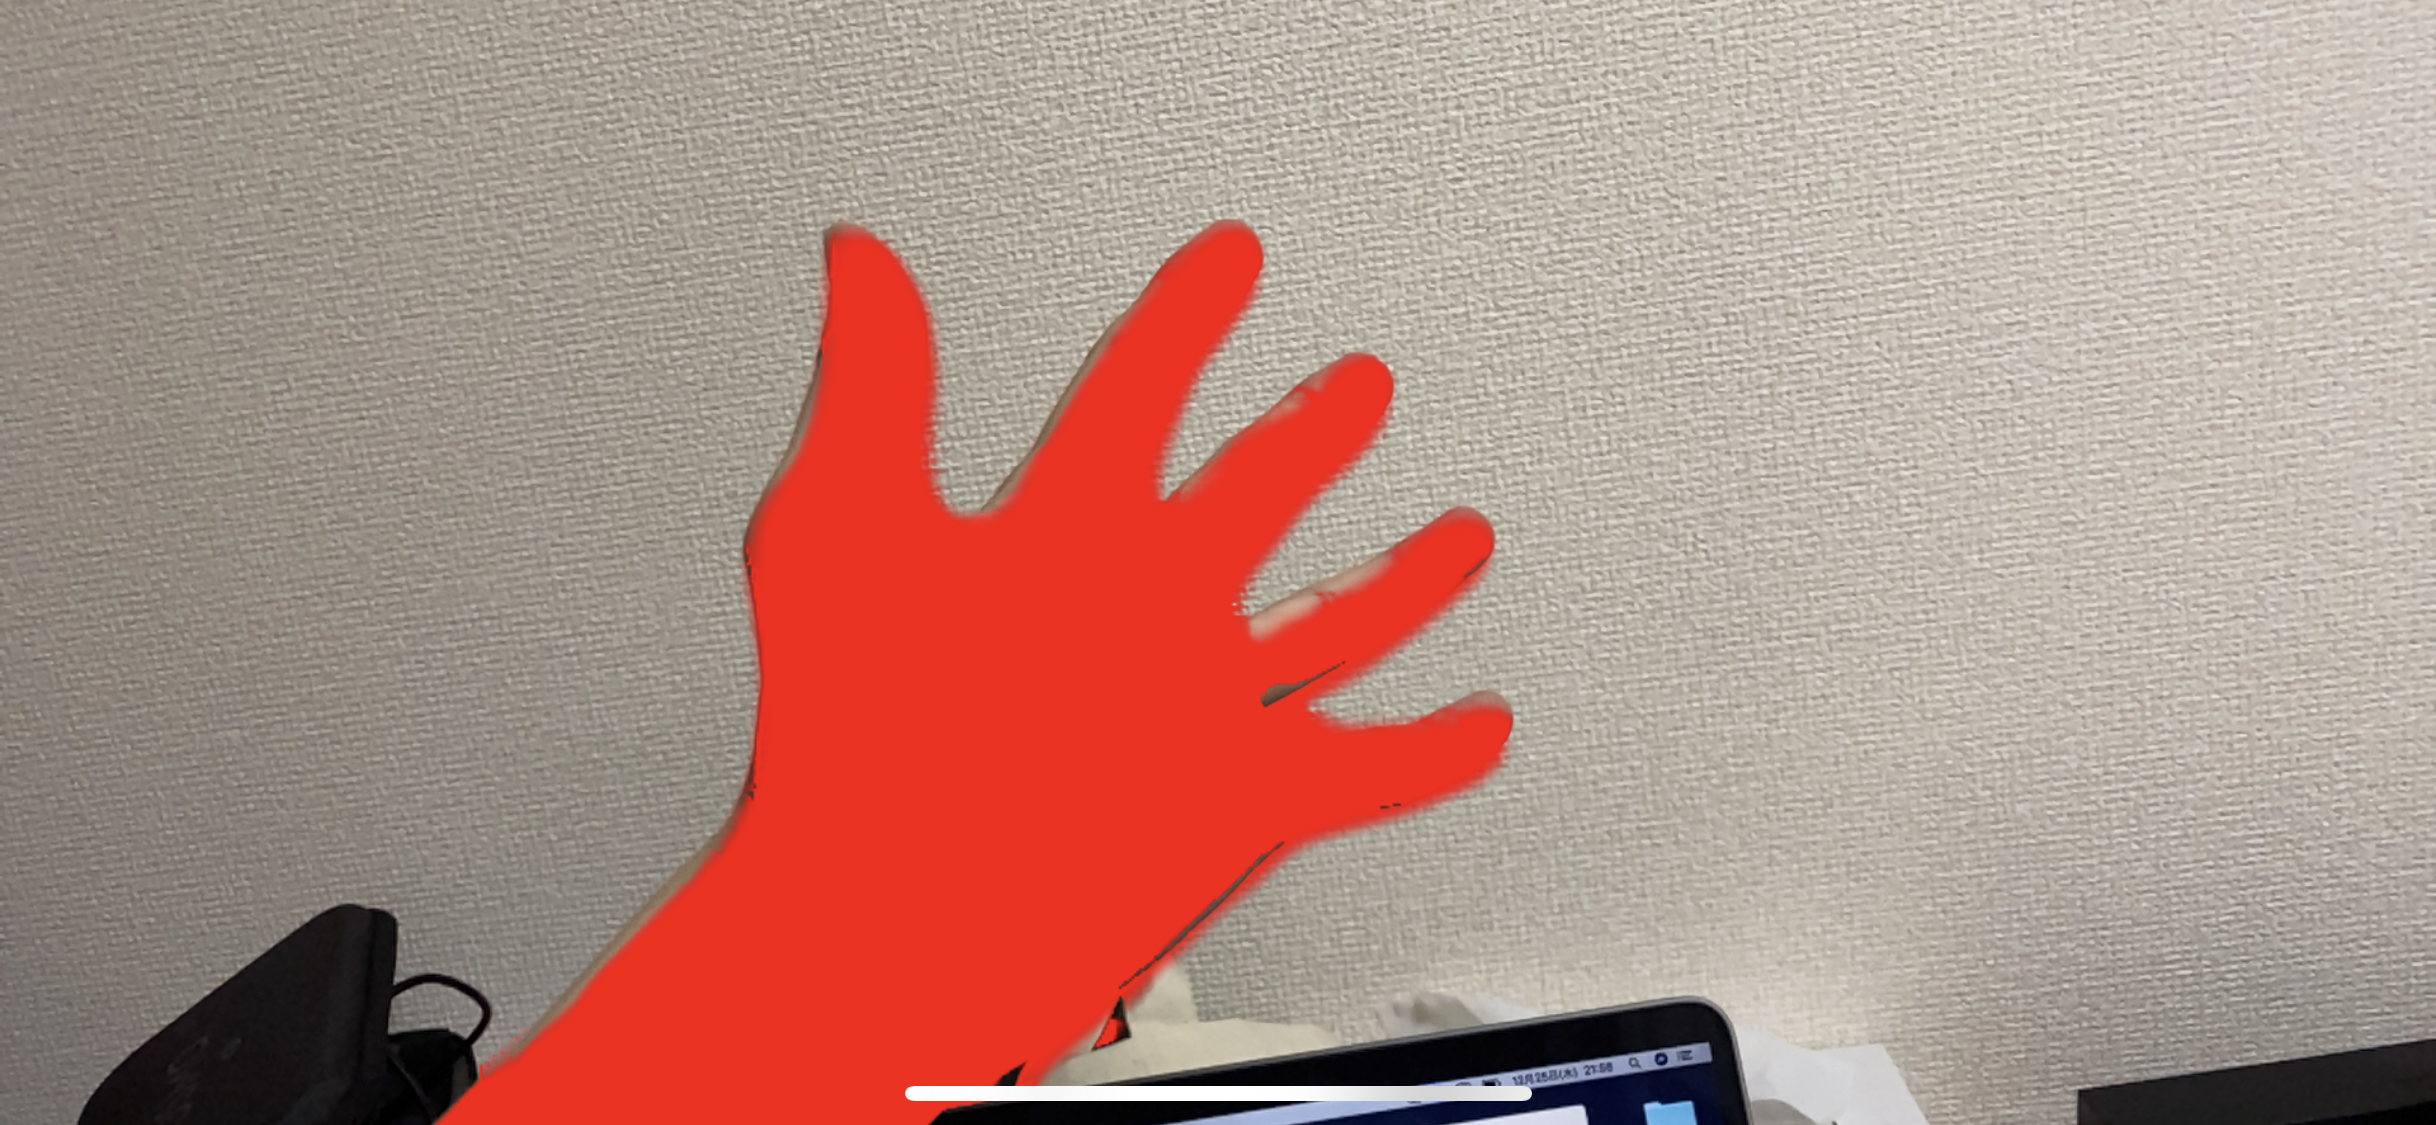
人体のみ赤くする
さて人体のみに効果をかけていきます。
Shader.metalのcompositeImageFragmentShaderを変更します。
// Composite the image fragment function.
fragment half4 compositeImageFragmentShader(CompositeColorInOut in [[ stage_in ]],
                                    texture2d<float, access::sample> capturedImageTextureY [[ texture(0) ]],
                                    texture2d<float, access::sample> capturedImageTextureCbCr [[ texture(1) ]],
                                    texture2d<float, access::sample> sceneColorTexture [[ texture(2) ]],
                                    depth2d<float, access::sample> sceneDepthTexture [[ texture(3) ]],
                                    texture2d<float, access::sample> alphaTexture [[ texture(4) ]],
                                    texture2d<float, access::sample> dilatedDepthTexture [[ texture(5) ]],
                                    constant SharedUniforms &uniforms [[ buffer(kBufferIndexSharedUniforms) ]])
{
    constexpr sampler s(address::clamp_to_edge, filter::linear);

    float2 cameraTexCoord = in.texCoordCamera;
    float2 sceneTexCoord = in.texCoordScene;

    // Sample Y and CbCr textures to get the YCbCr color at the given texture coordinate.
    float4 rgb = ycbcrToRGBTransform(capturedImageTextureY.sample(s, cameraTexCoord), capturedImageTextureCbCr.sample(s, cameraTexCoord));

    // Perform composition with the matting.
    half4 sceneColor = half4(sceneColorTexture.sample(s, sceneTexCoord));
    float sceneDepth = sceneDepthTexture.sample(s, sceneTexCoord);

    half4 cameraColor = half4(rgb);
    half alpha = half(alphaTexture.sample(s, cameraTexCoord).r);

    half showOccluder = 1.0;

    if (uniforms.useDepth) {
        float dilatedLinearDepth = half(dilatedDepthTexture.sample(s, cameraTexCoord).r);

        // Project linear depth with the projection matrix.
        float dilatedDepth = clamp((uniforms.projectionMatrix[2][2] * -dilatedLinearDepth + uniforms.projectionMatrix[3][2]) / (uniforms.projectionMatrix[2][3] * -dilatedLinearDepth + uniforms.projectionMatrix[3][3]), 0.0, 1.0);

        showOccluder = (half)step(dilatedDepth, sceneDepth); // forwardZ case
    }

    // 赤で置き換え
    // half4 occluderResult = mix(sceneColor, cameraColor, alpha); // 元の記述
    half4 occluderResult = mix(sceneColor, half4(float4(1.0, 0.0, 0.0, 1.0)), alpha);

    half4 mattingResult = mix(sceneColor, occluderResult, showOccluder);
    return mattingResult;
}
変更箇所は以下のみです。
    // 赤で置き換え
    half4 occluderResult = mix(sceneColor, half4(float4(1.0, 0.0, 0.0, 1.0)), alpha);
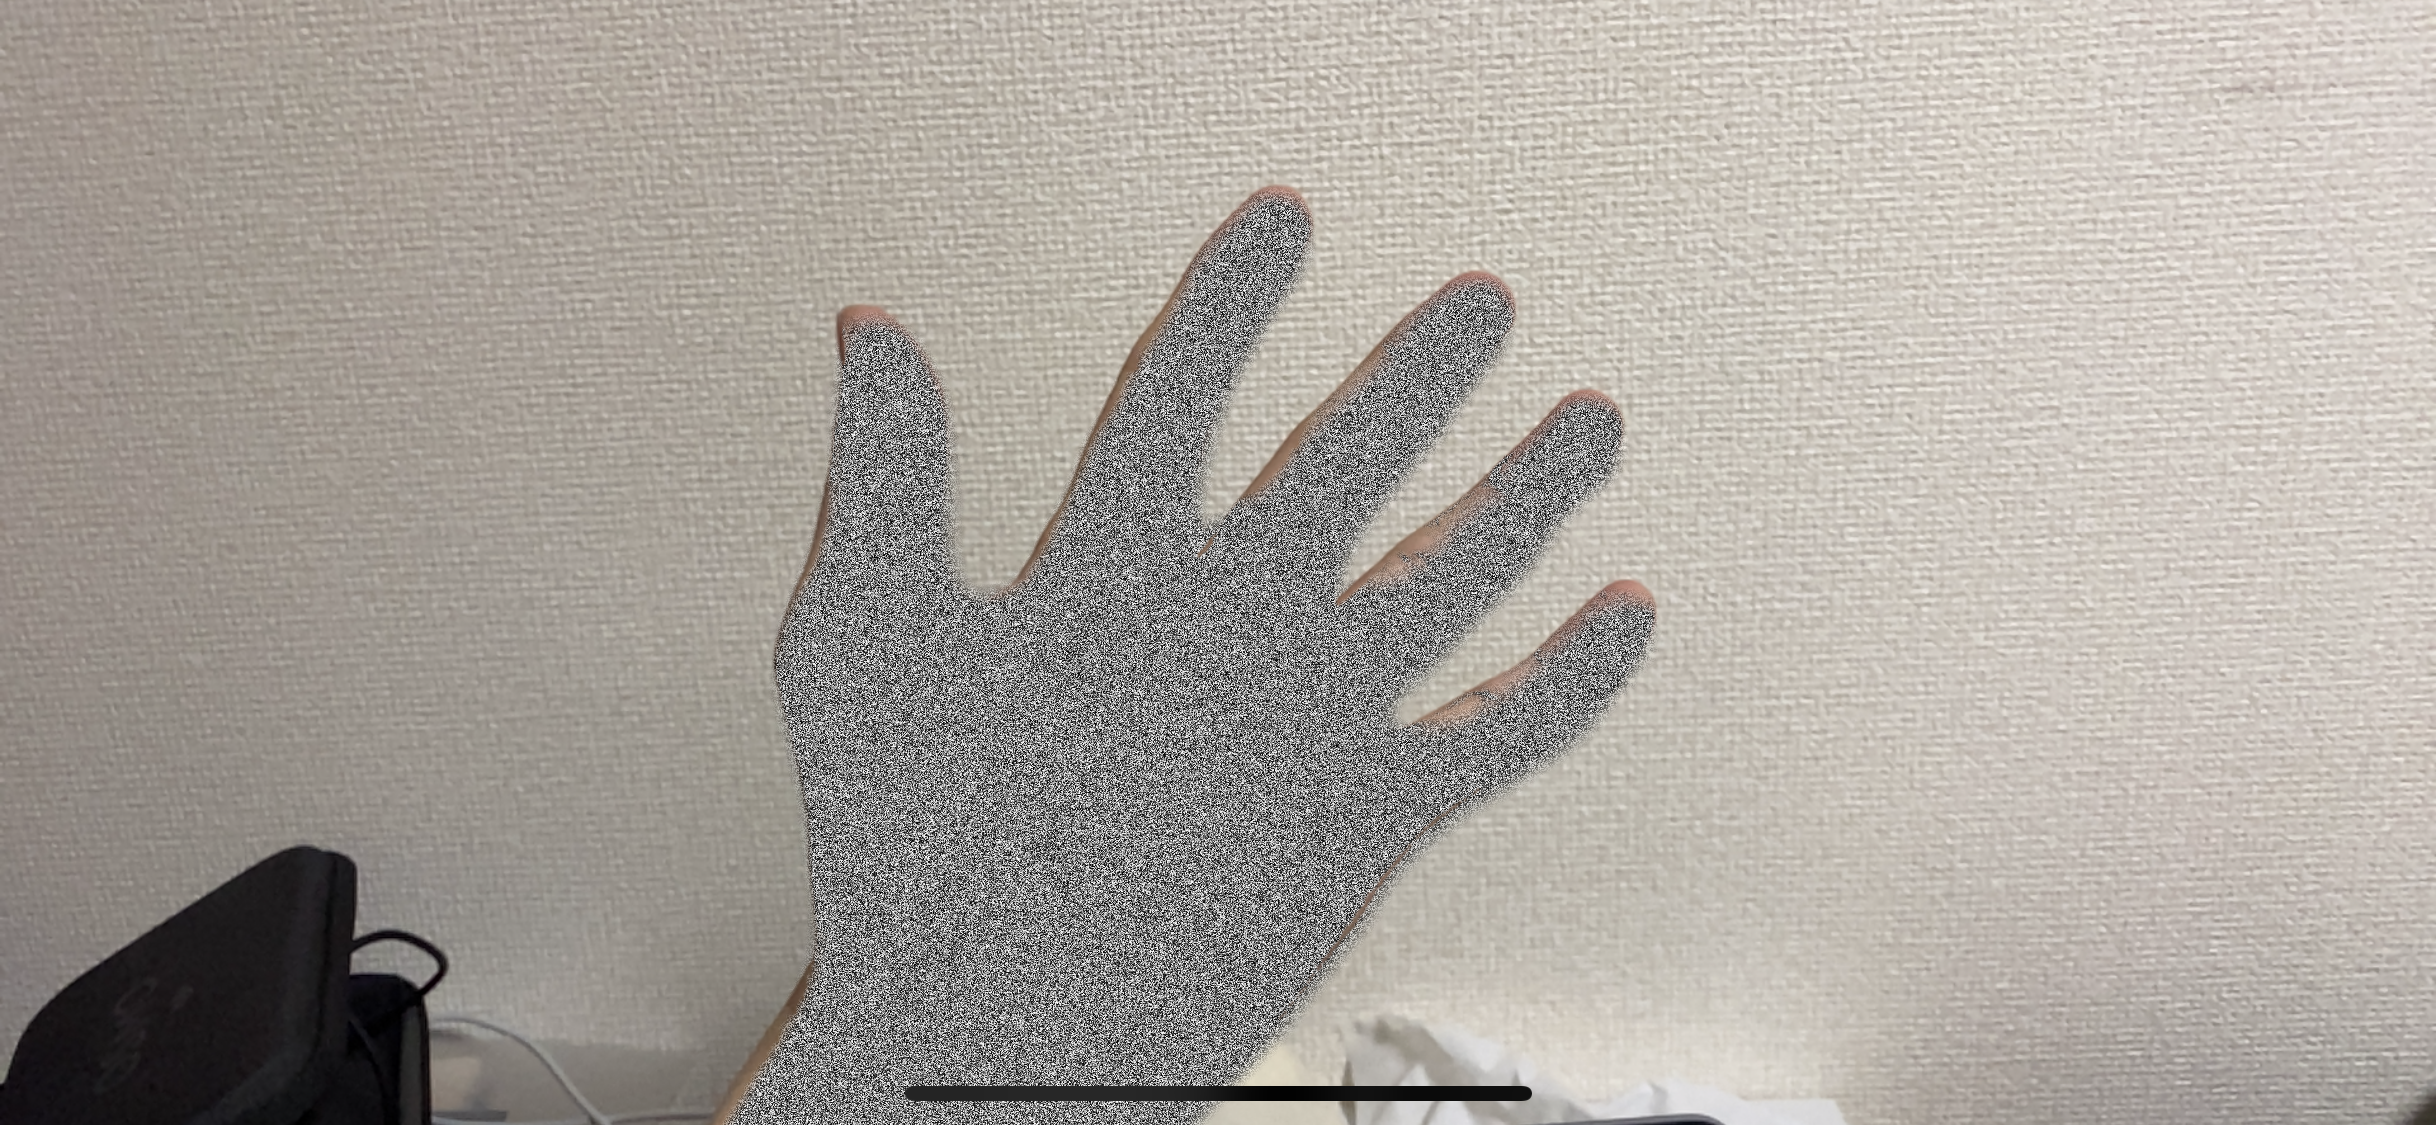
別のエフェクトをかける
float random(float offset, float2 tex_coord, float time) {
    float2 non_repeating = float2(12.9898 * time, 78.233 * time);
    float sum = dot(tex_coord, non_repeating);
    float sine = sin(sum);
    float huge_number = sine * 43758.5453 * offset;
    float fraction = fract(huge_number);
    return fraction;
}
taken from https://github.com/twostraws/ShaderKit
    float randFloat = random(1.0, cameraTexCoord, rgb[0]);
    half4 occluderResult = mix(sceneColor, half4(float4(randFloat, randFloat, randFloat, 1.0)), alpha);
さいごに
この方法の利点はMetalで高速に動かしていることと、Shaderでの表現力ですね。
他のShaderも試していきたいと思います。