Overview
Next.js, TypeScript, Tailwind CSS, Vercelを使ってアプリケーション構築を行います。
Next.js初心者でもこの技術スタックでアプリケーションのデプロイまでできます。
Init
create-next-app
npx create-next-app --example with-tailwindcss with-tailwindcss-app
これで以下のTailwind CSS Exampleから作成できます。
- https://nextjs.org/docs/advanced-features/customizing-postcss-config
- https://github.com/vercel/next.js/tree/canary/examples/with-tailwindcss
Node12
現状、VercelはNode.js14には対応していないので、12にします。
ref. https://vercel.com/docs/runtimes
"engines": {
  "node": "12.x"
},
vercel.json
vercel.json でregionsを指定します。
{
  "regions": ["hnd1"]
}
ref. https://vercel.com/docs/edge-network/regions
AWS ap-northeast-1 東京リージョンです。
AWSがメインで使われているようです。
next.config.js
next.config.jsを追加し、serverlessにしておきます。
module.exports = {
  target: 'serverless',
}
TypeScriptを追加
modify package.json
yarn add --dev typescript @types/react @types/node
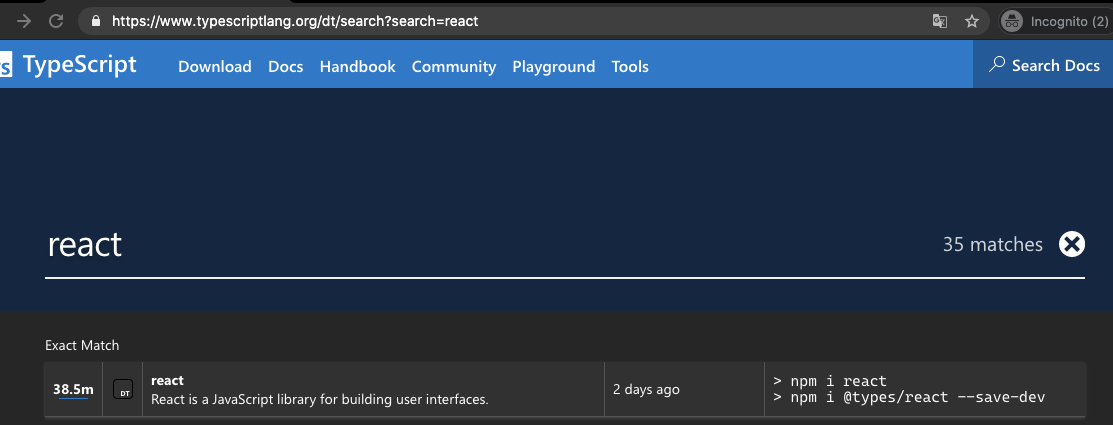
このときの@typeのpackageは以下で検索するとわかります。
https://www.typescriptlang.org/dt/search
tsconfig.jsonなどの必要なファイルも作成されていきます。
最終的には現状の最新バージョンに書き換えて以下のようなpackage.jsonにしています。
{
  "name": "next-tailwindcss",
  "version": "0.1.0",
  "engines": {
    "node": "12.x"
  },
  "scripts": {
    "dev": "next",
    "build": "next build",
    "start": "next start",
    "lint:style": "stylelint **/*.css --ignore-path .gitignore"
  },
  "dependencies": {
    "next": "10.0.3",
    "react": "^17.0.1",
    "react-dom": "^17.0.1"
  },
  "devDependencies": {
    "@types/node": "^14.14.10",
    "@types/react": "^17.0.0",
    "postcss": "8.1.14",
    "stylelint": "^13.8.0",
    "stylelint-config-prettier": "^8.0.2",
    "stylelint-config-standard": "^20.0.0",
    "tailwindcss": "^2.0.1",
    "typescript": "^4.1.2"
  },
  "license": "MIT"
}
yarn dev
yarn
yarn dev
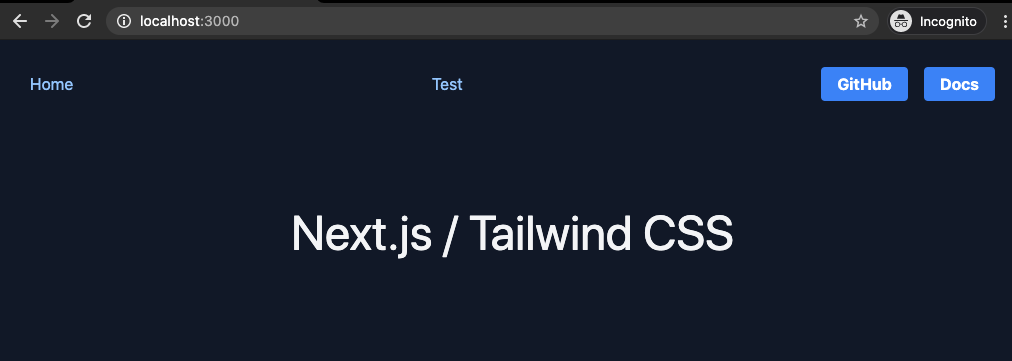
開発環境を立ち上げます。
http://localhost:3000/
ページを追加
pages以下にファイルを追加します。
import Nav from '../components/nav'

export default function TestPage () {
  return (
  <div>
    <Nav />
    <div>
      <h1 className="mt-4 text-3xl text-center text-purple-600">
        Hello
      </h1>
    </div>
  </div>
  )
}
tailwind cssを使うことで、最低限のcssの秩序を手に入れることができます。
サイトにアクセスして、⌘Kでクラス名を検索したらわかります。
https://tailwindcss.com/
nav.js へリンクを追記しておきます。
import Link from 'next/link'

const links = [
  { href: 'https://github.com/vercel/next.js', label: 'GitHub' },
  { href: 'https://nextjs.org/docs', label: 'Docs' },
]

export default function Nav() {
  return (
    <nav>
      <ul className="flex items-center justify-between p-8">
        <li>
          <Link href="/">
            <a className="text-blue-500 no-underline text-accent-1 dark:text-blue-300">
              Home
            </a>
          </Link>
        </li>
        <li>
          <Link href="/test">
            <a className="text-blue-500 no-underline text-accent-1 dark:text-blue-300">
              Test
            </a>
          </Link>
        </li>
        <ul className="flex items-center justify-between space-x-4">
          {links.map(({ href, label }) => (
            <li key={`${href}${label}`}>
              <a href={href} className="no-underline btn-blue">
                {label}
              </a>
            </li>
          ))}
        </ul>
      </ul>
    </nav>
  )
}
Deploy
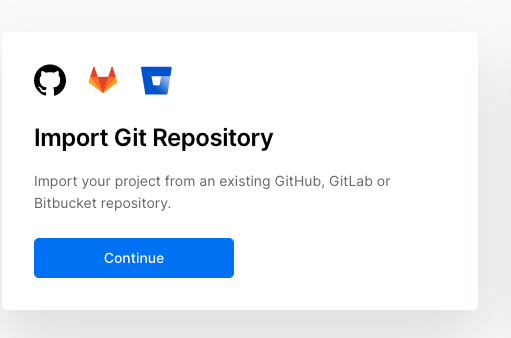
コードをpushし、Vercelへログインし、Import Projectを行います。
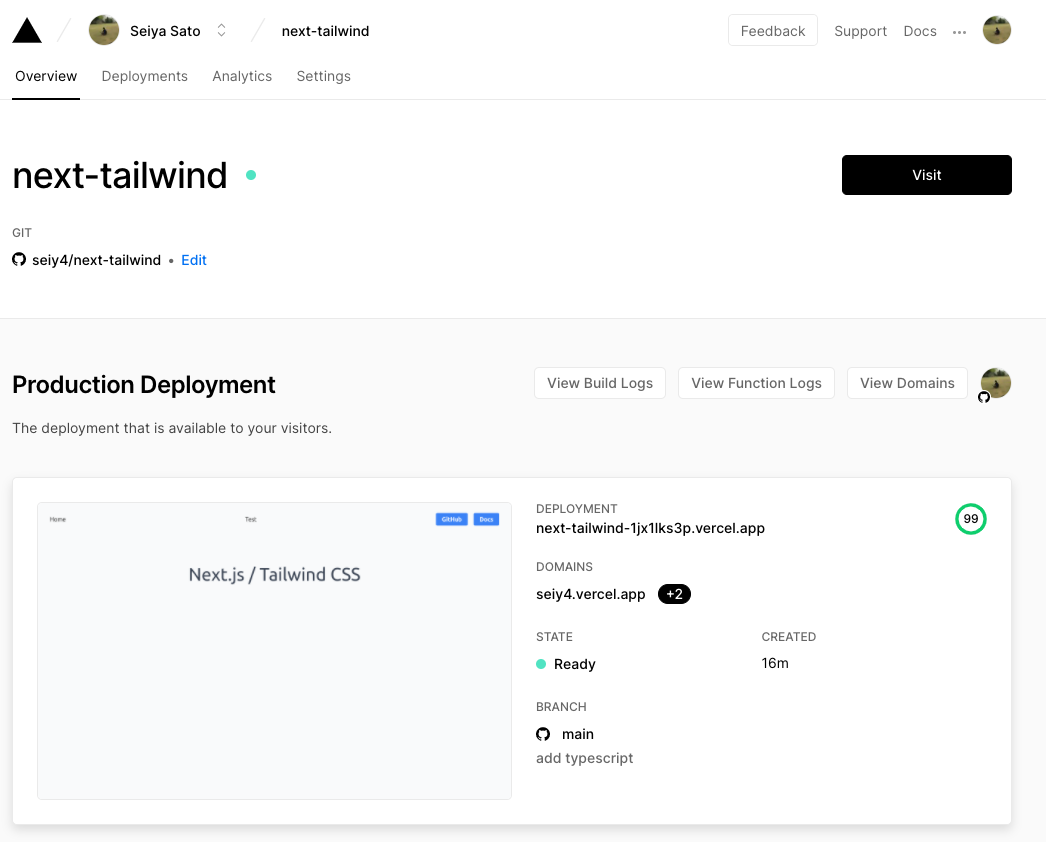
あとはなにも考えなくてOKです。
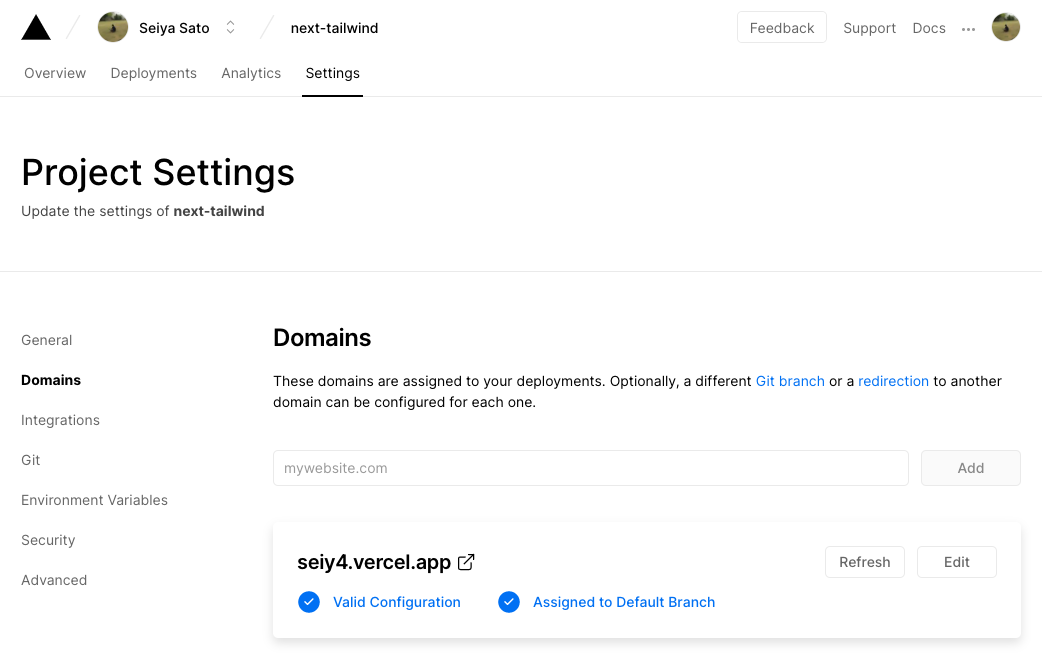
ドメインの編集も簡単です。
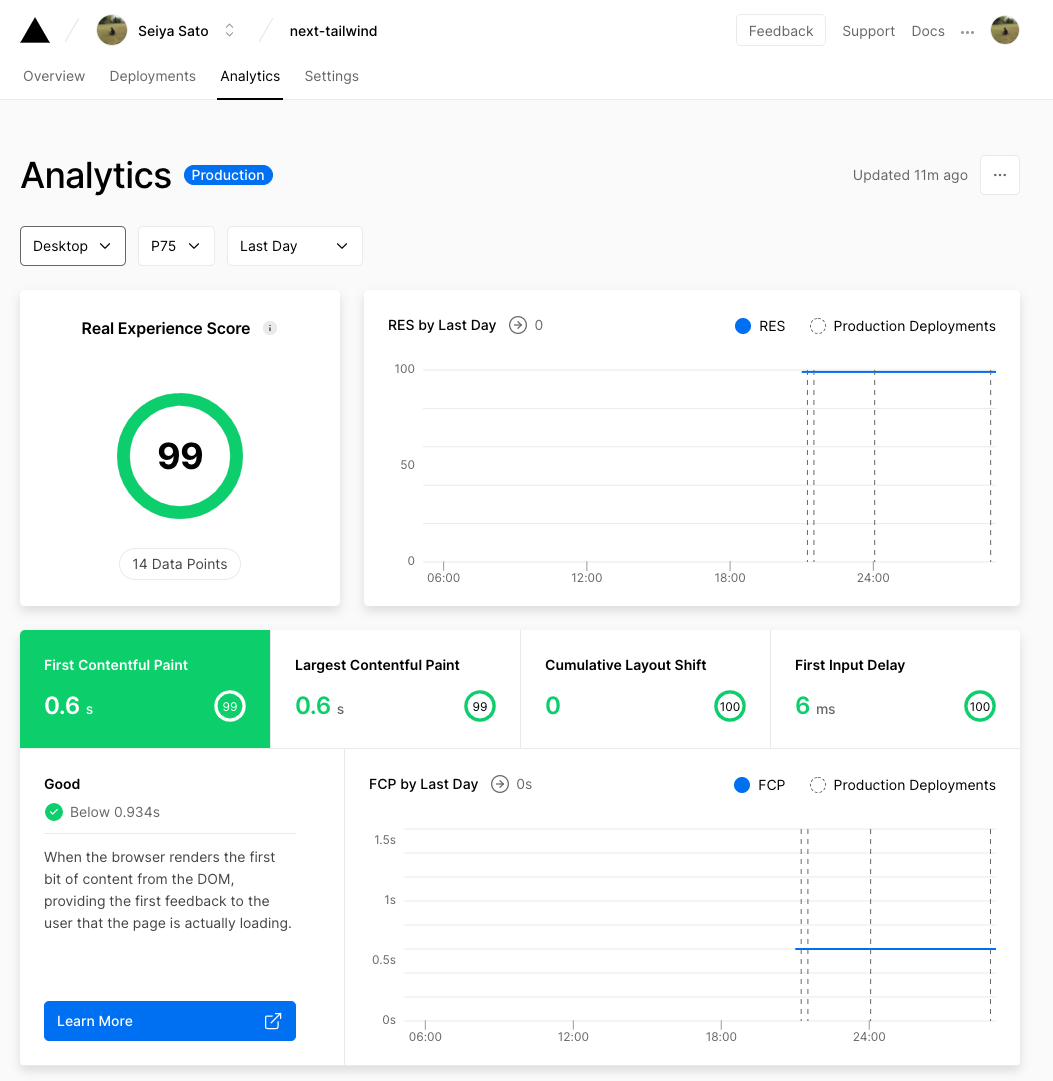
Lighthouseと連携してくれます。
https://nextjs.org/analytics
感想
VercelのUIはミニマルでわかりやすく、Next.js以外のホスティングも簡単にできそうです。
普段はNuxt.js(Vue)を使っていますが、Next.jsからインスパイアされていることも伝わってきました。
持っている機能については、キャッチアップしきれていないので、引き続き1つ1つ試して、Next.jsの力を活用していきたいです。
今後どうなるかわかりませんが、現状で新規の小さなアプリケーションを作るならこの技術スタックでやっていきたいと思っています。
