RubyMotion で開発したコードを静的ファイルにコンパイルして Objective-C のプロジェクトで使用できるのは RubyMotion でスタティックライブラリを作成し、 Xcode プロジェクトで利用する でご存知の方も多いと思います。
また、CocoaPods を使ったり app.vendor_project を使うことで Objective-C で書かれたオブジェクトを RubyMotion 内で使用することが出来ることもご存知かと思います。
ということは、既存の Objective-C で開発されたアプリケーションの特定の機能、例えば Storyboard 上で Tab Controller を使ってつくられた、アプリケーションのとある 1 タブの中身をそのまま丸ごと RubyMotion で使用するなんてこともできるのでしょうか?
こんな変態なことも実はできるのです。やってみます。
1. プロジェクトの作成と合成
合成と言うと、ソシャゲっぽくて素敵ですね。
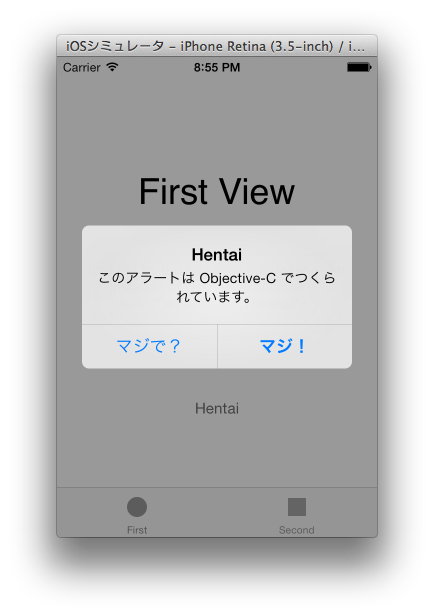
Objective-C 製のアプリは以下を用意しました。
Storyboard を使った、2タブの単純なアプリです。Storyboard 上の View Controller には Storyboard ID を振ってあります。
そのうち、左のタブの FirstViewController を使用してみましょう。RubyMotion で新しいプロジェクトをつくり、Xcode のプロジェクトを vendor/ 内にコピーします。
$ motion create HentaiMotion
$ cd HentaiMotion
$ mkdir vendor
$ cp -r /path/to/HentaiProject vendor/
こんな感じの構成になっているはずです。
$ tree -L 3
.
├── Gemfile
├── Gemfile.lock
├── Rakefile
├── app
│   └── app_delegate.rb
├── build
├── resources
│   └── Default-568h@2x.png
├── spec
│   └── main_spec.rb
└── vendor
    └── HentaiProject
        ├── HentaiProject
        ├── HentaiProject.xcodeproj
        └── HentaiProjectTests
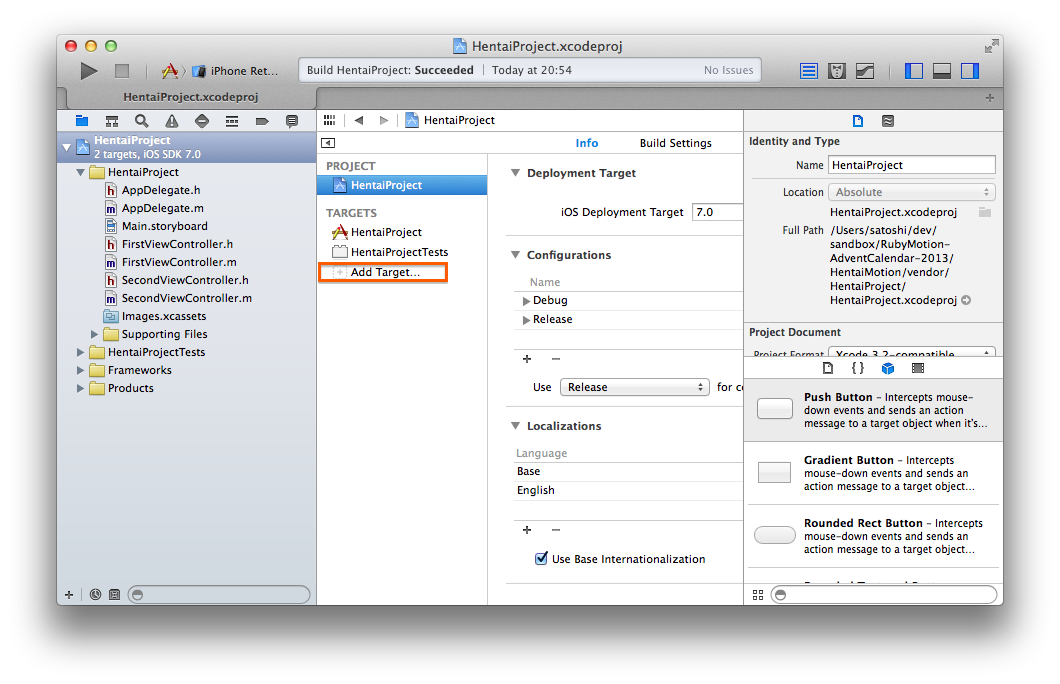
次に Xcode で vendor 内にコピーした HentaiProject.xcodeproj を開き以下のように操作します。
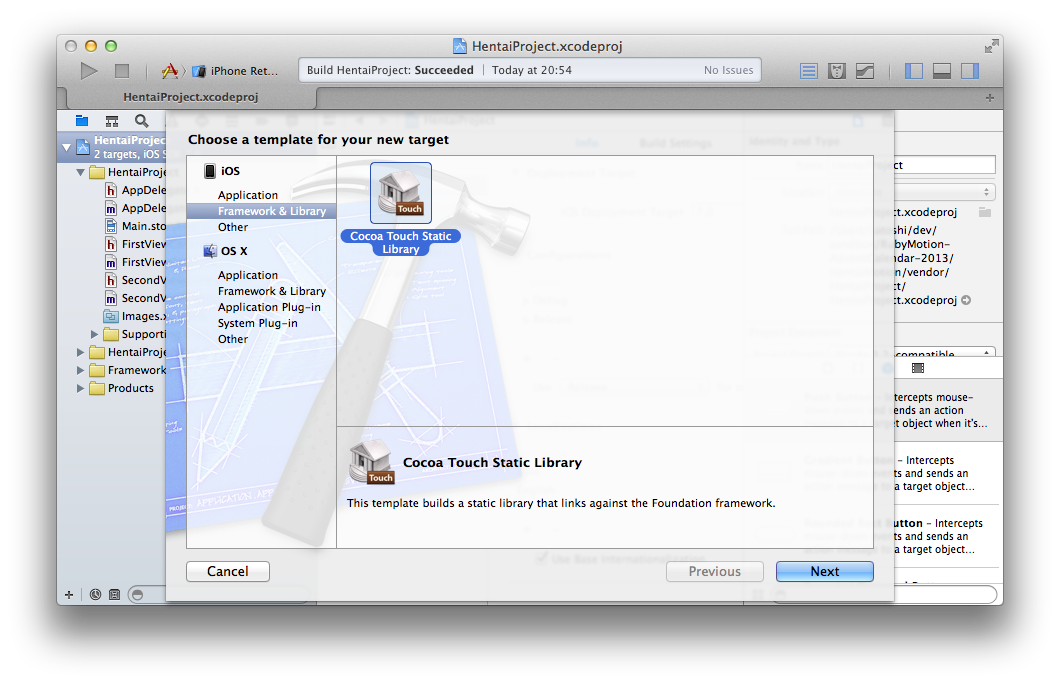
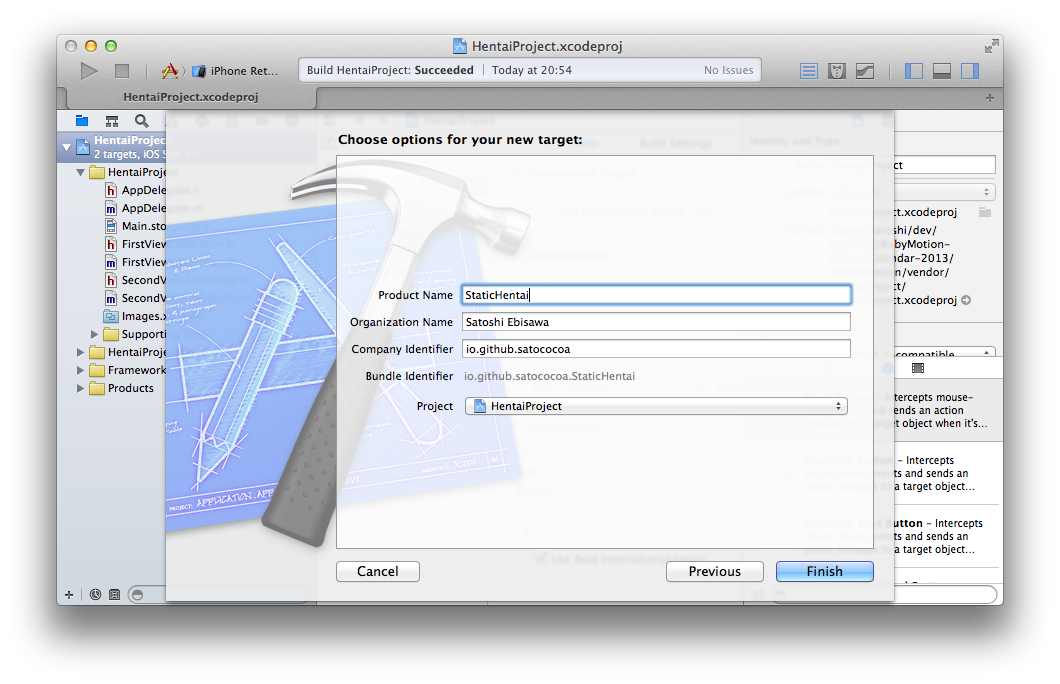
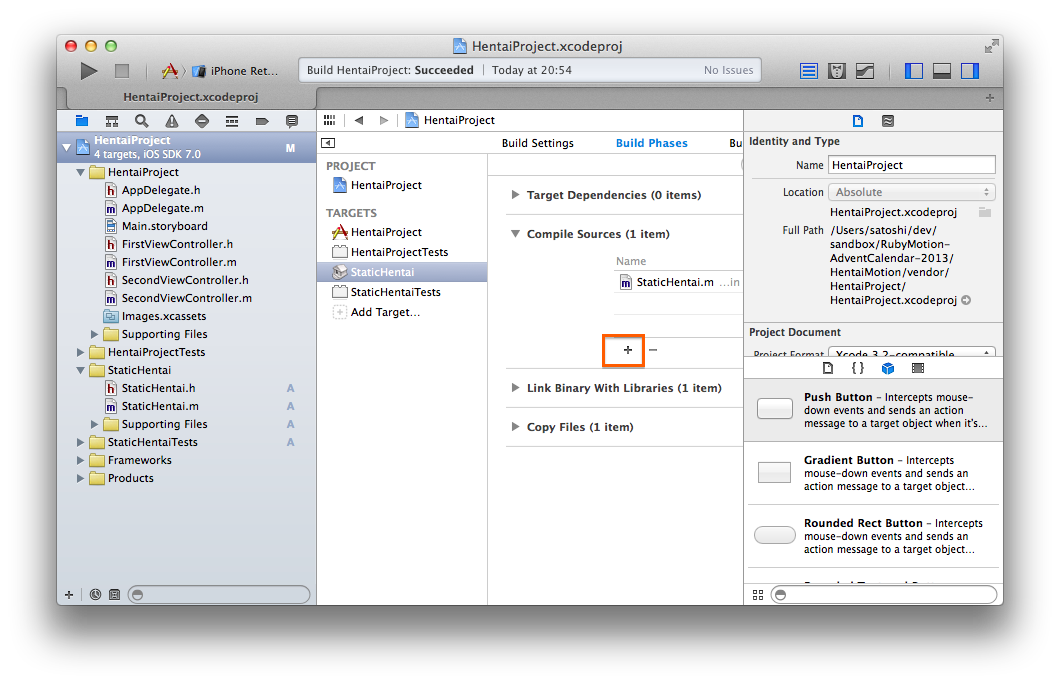
2. 合体用に静的ライブラリとしてコンパイルするように新しいターゲットをつくります。
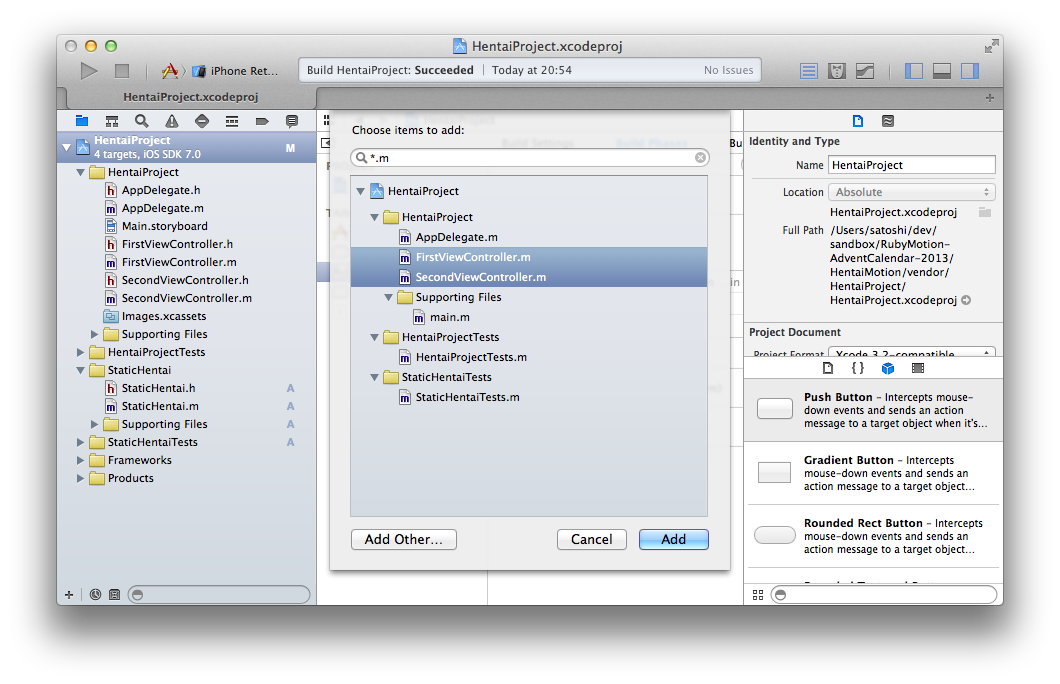
3. 元の HentaiProject ターゲットに含まれる FirstViewController.m, SecondViewController.m をビルド対象に含めます。
(今回は SecondViewController.m は不要ですが、一応入れました。要は合体先のプロジェクトで使われる全クラスの実装ファイルをここに含めれば OK です。)
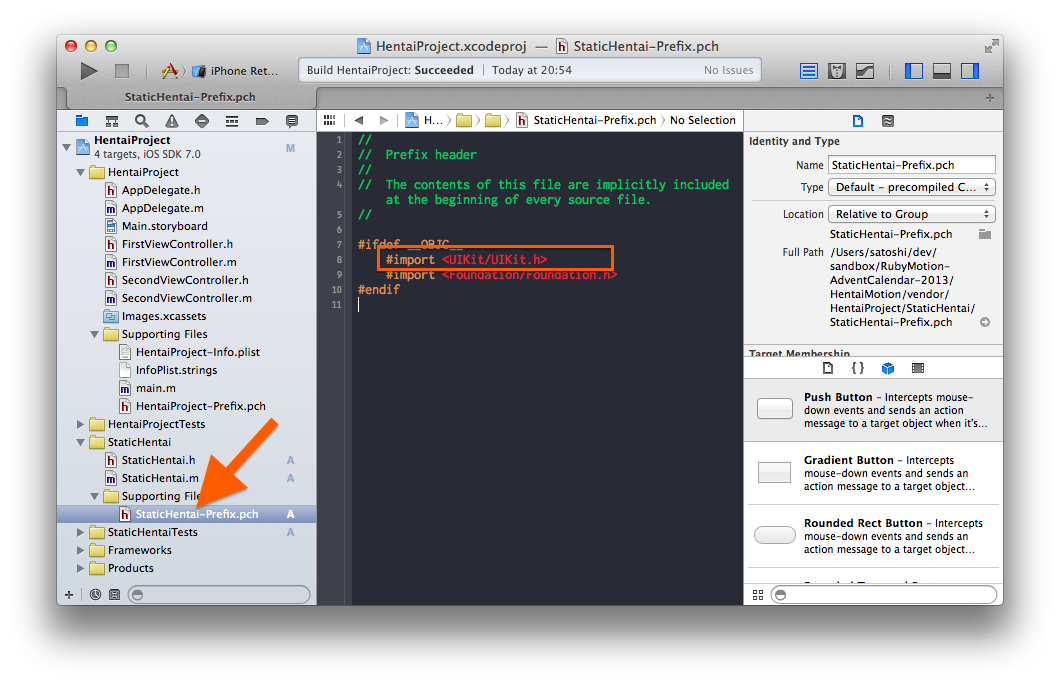
4. StaticHentai-Prefix.pch で UIKit を import します。
5. Storyboard を RubyMotion のプロジェクトの resources/ ディレクトリにコピーします。
$ cp vendor/HentaiProject/HentaiProject/Base.lproj/Main.storyboard resources
画像等を使う場合、同様にそれらもコピーしてください。
6. RubyMotion 側から利用する
Rakefile に以下を追加
  # 中略
  app.vendor_project('vendor/HentaiProject', :xcode,
    :target => 'StaticHentai',
    :xcodeproj => 'HentaiProject.xcodeproj')
  # 後略
app/app_delegate.rb から FirstViewController を呼び出します。
class AppDelegate
  def application(application, didFinishLaunchingWithOptions:launchOptions)
    @window = UIWindow.alloc.initWithFrame(UIScreen.mainScreen.bounds)
    storyboard = UIStoryboard.storyboardWithName('Main', bundle: nil)
    @window.rootViewController = storyboard.instantiateViewControllerWithIdentifier('FirstViewController') # ここで指定しているのはクラス名ではなくて、Storyboard 上で割り振った Storyboard ID です。
    @window.makeKeyAndVisible
    true
  end
end
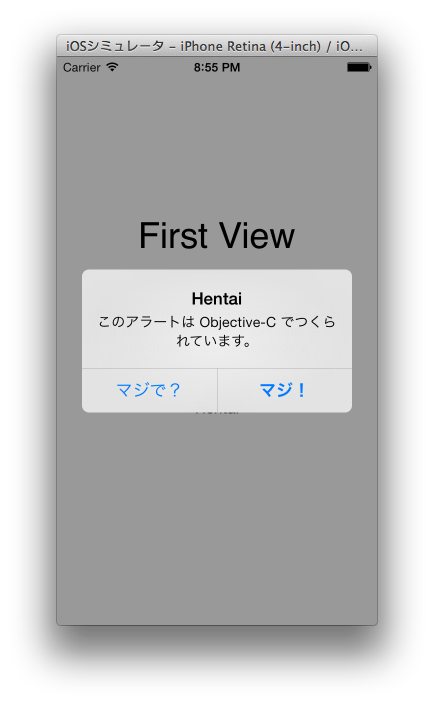
7. ほのぼの rake
ほら、で Qiita でしょ?
以下のリポジトリに今回のコードを置いておきます。参考にはならないと思いますが。。。
