下記の記事で、編集不可にしたフィールド値を変更する Python プログラムを作成しましたが、今回はそのプログラムにユーザーインターフェース(Python Flask、OpenAPI(Swagger))を追加したバージョンです。
flasgger 用のコメントを自分で書くことは難しく、ChatGPT を活用しました。
pip install flask flasgger
100_update_records.py
from flask import Flask, jsonify, request
from flasgger import Swagger
import base64
import urllib.request
import json
import os
import sys
from pathlib import Path

app = Flask(__name__)
app.json.ensure_ascii = False
swagger = Swagger(app)


kintone_api_key = os.environ.get("KINTONE_API_KEY")
if not kintone_api_key:
    print("Error: KINTONE_API_KEY must be set in environment variables")
    sys.exit(1)


@app.route("/")
def index():
    return " Python の Web サーバーです!"


@app.route('/update_records', methods=['PUT'])
def update_records():
    """
    複数のレコードを更新する
    ---
    tags:
      - Record Management
    description: アプリケーションIDと更新対象レコードを指定して、kintone にレコード更新をリクエストします。
    parameters:
      - in: body
        name: body
        required: true
        schema:
          type: object
          required:
            - app
            - records
          properties:
            app:
              type: integer
              description: アプリID
              example: 123
            records:
              type: array
              description: 更新するレコードの情報
              items:
                type: object
                properties:
                  id:
                    type: integer
                    description: レコードID
                    example: 12
                  record:
                    type: object
                    description: レコード(フィールドコードとフィールドの値)を指定したオブジェクト
                    example:
                      印刷:
                        value: "確認"
                      出荷:
                        value: [ ]
                      住所:
                        value: "東京都千代田区麹町"
              example:
                - id: 5
                  record:
                    印刷:
                      value: "確認"
                    出荷:
                      value: [ ]
                    住所:
                      value: "東京都千代田区麹町"
                - id: 6
                  record:
                    印刷:
                      value: "確認"
                    出荷:
                      value: [ ]
                    住所:
                      value: "東京都千代田区麹町"
    responses:
      200:
        description: 正常に更新された場合
        schema:
          type: object
          properties:
            records:
              type: array
              description: 更新したレコードのIDとリビジョン番号のオブジェクトの配列
              items:
                type: object
                properties:
                  id:
                    type: integer
                    description: 更新したレコードのレコードID
                    example: 12
                  revision:
                    type: integer
                    description: 更新したレコードのリビジョン番号
                    example: 45
              example:
                - id: "5"
                  revision: "11"
                - id: "6"
                  revision: "11"
      500:
        description: サーバーエラー
        schema:
          type: object
          properties:
            error_code:
              type: integer
              example: 5000
            error_msg:
              type: string
              example: "Internal Server Error"
    """
    try:
        data = request.get_json()
        app_id = data.get("app", 1001)
        records = data.get("records", {})

        uri = "https://sample.cybozu.com/k/v1/records.json"

        binary_bytes = base64.b64decode(kintone_api_key)
        binary_string = binary_bytes.decode('latin1')

        headers = {
            "X-Cybozu-API-Token": binary_string,
            "Content-Type": "application/json",
        }

        body = {
            "app": app_id,
            "records": records
        }

        req = urllib.request.Request(
                    url=uri,
                    data=json.dumps(body).encode(),
                    headers=headers,
                    method="PUT",
                    )

        response = urllib.request.urlopen(req)
        res_dict = json.load(response)

        return jsonify(res_dict)

    except Exception as e:
        return jsonify({"error_code": 5000, "error_msg": str(e)}), 500

if __name__ == "__main__":
    app.run(debug=True, port=5000)
実行
# アプリIDに対する Kintone の API Key を設定します
export KINTONE_API_KEY="..."
python 100_update_records.py
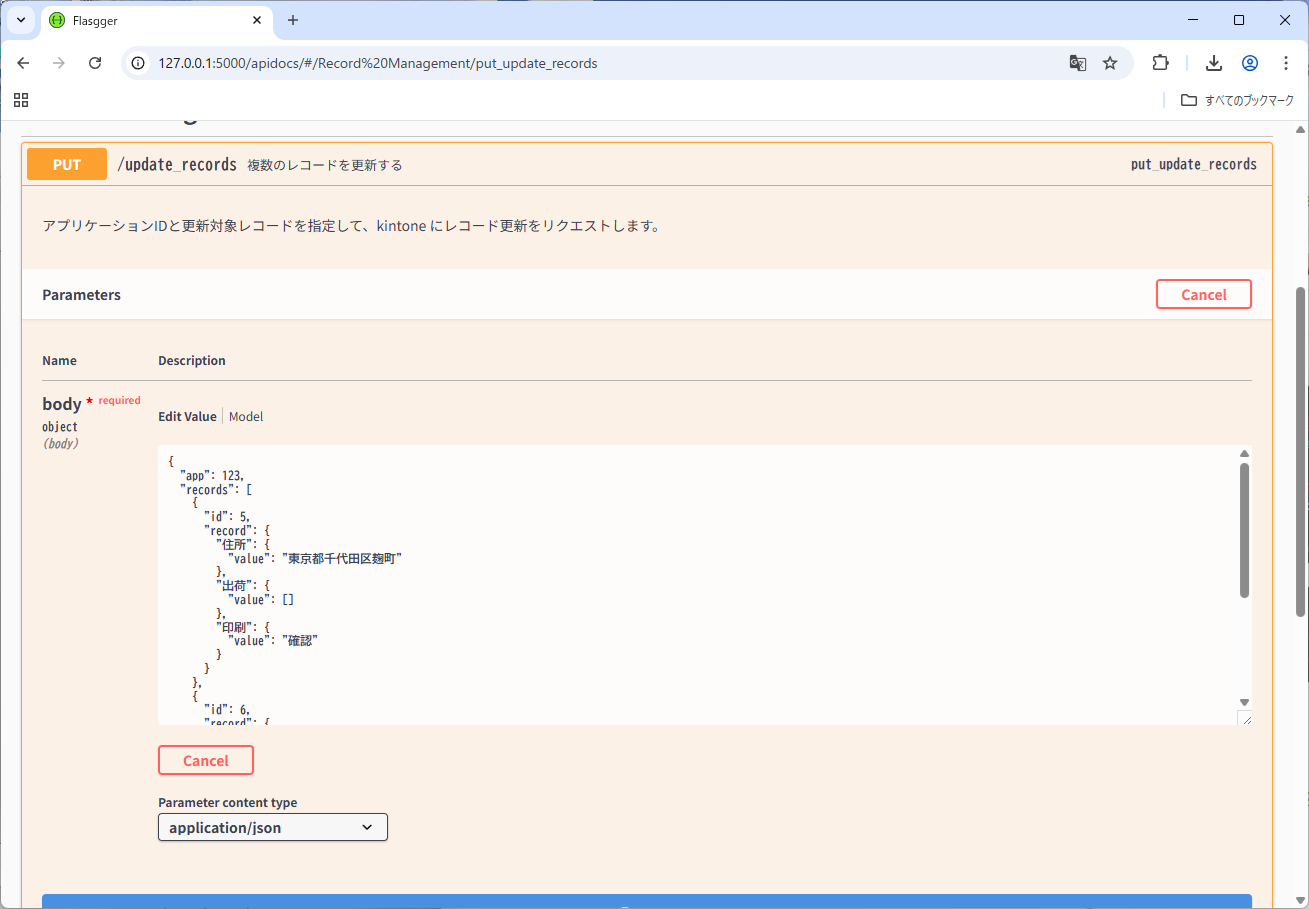
画面
http://127.0.0.1:5000/apidocs/

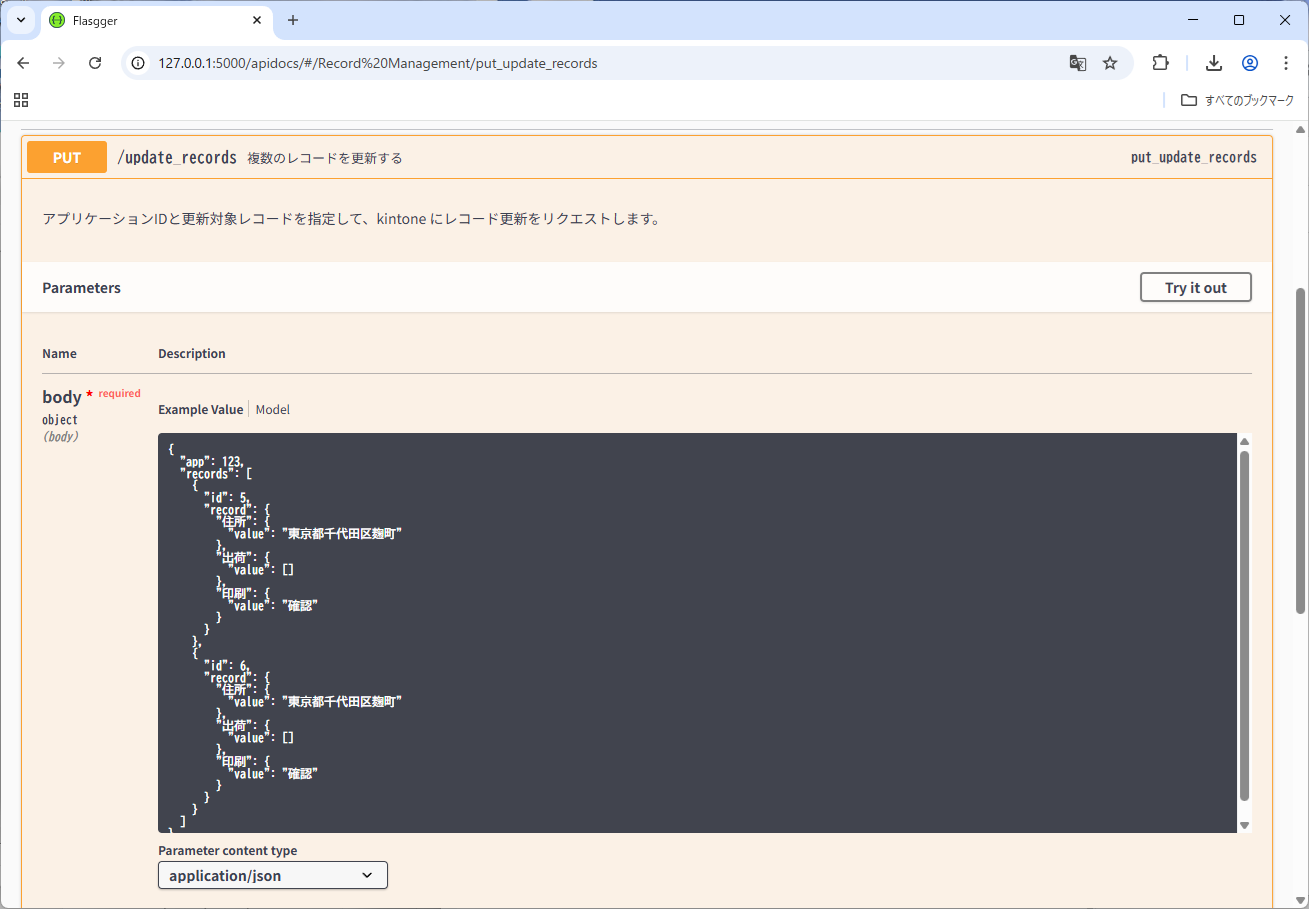
「Try it out」ボタンを押下します。送信パラメータが編集可能になるので、アプリID(app)、レコードID(id)、フィールドコード、値(value)を指定して、「Execute」ボタンを押下します。
他の事例ですが、結果は次のようになります。

ユーザー名/パスワード版
101_update_records.py
from flask import Flask, jsonify, request
from flasgger import Swagger
import base64
import urllib.request
import json
import os
import sys
from pathlib import Path

app = Flask(__name__)
app.json.ensure_ascii = False
swagger = Swagger(app)


kintone_username = os.environ.get("KINTONE_USERNAME")
if not kintone_username:
    print("Error: KINTONE_USERNAME must be set in environment variables")
    sys.exit(1)

kintone_password = os.environ.get("KINTONE_PASSWORD")
if not kintone_password:
    print("Error: KINTONE_PASSWORD must be set in environment variables")
    sys.exit(1)


@app.route("/")
def index():
    return " Python の Web サーバーです!"


@app.route('/update_records', methods=['PUT'])
def update_records():
    """
    複数のレコードを更新する
    ---
    tags:
      - Record Management
    description: アプリケーションIDと更新対象レコードを指定して、kintone にレコード更新をリクエストします。
    parameters:
      - in: body
        name: body
        required: true
        schema:
          type: object
          required:
            - app
            - records
          properties:
            app:
              type: integer
              description: アプリID
              example: 123
            records:
              type: array
              description: 更新するレコードの情報
              items:
                type: object
                properties:
                  id:
                    type: integer
                    description: レコードID
                    example: 12
                  record:
                    type: object
                    description: レコード(フィールドコードとフィールドの値)を指定したオブジェクト
                    example:
                      印刷:
                        value: "確認"
                      出荷:
                        value: [ ]
                      住所:
                        value: "東京都千代田区麹町"
              example:
                - id: 5
                  record:
                    印刷:
                      value: "確認"
                    出荷:
                      value: [ ]
                    住所:
                      value: "東京都千代田区麹町"
                - id: 6
                  record:
                    印刷:
                      value: "確認"
                    出荷:
                      value: [ ]
                    住所:
                      value: "東京都千代田区麹町"
    responses:
      200:
        description: 正常に更新された場合
        schema:
          type: object
          properties:
            records:
              type: array
              description: 更新したレコードのIDとリビジョン番号のオブジェクトの配列
              items:
                type: object
                properties:
                  id:
                    type: integer
                    description: 更新したレコードのレコードID
                    example: 12
                  revision:
                    type: integer
                    description: 更新したレコードのリビジョン番号
                    example: 45
              example:
                - id: "5"
                  revision: "11"
                - id: "6"
                  revision: "11"
      500:
        description: サーバーエラー
        schema:
          type: object
          properties:
            error_code:
              type: integer
              example: 5000
            error_msg:
              type: string
              example: "Internal Server Error"
    """
    try:
        data = request.get_json()
        app_id = data.get("app", 1001)
        records = data.get("records", {})

        uri = "https://sample.cybozu.com/k/v1/records.json"

        username_password = f"{kintone_username}:{kintone_password}"
        auth_header = base64.b64encode(username_password.encode())

        headers = {
            "Host": "sample.cybozu.com:443",
            "X-Cybozu-Authorization": auth_header,
            "Content-Type": "application/json",
        }

        body = {
            "app": app_id,
            "records": records
        }

        req = urllib.request.Request(
                    url=uri,
                    data=json.dumps(body).encode(),
                    headers=headers,
                    method="PUT",
                    )

        response = urllib.request.urlopen(req)
        res_dict = json.load(response)

        return jsonify(res_dict)

    except Exception as e:
        return jsonify({"error_code": 5000, "error_msg": str(e)}), 500

if __name__ == "__main__":
    app.run(debug=True, port=5000)
実行
# Kintone のユーザー名とパスワードを設定します
export KINTONE_USERNAME="..."
export KINTONE_PASSWORDE="..."
python 101_update_records.py
画面表示
http://127.0.0.1:5000/apidocs/
参考ページ
以下のウェブページも見つけましたが、難しい