このページを参考にカメラアングルを変えてみる。
Three.jsにはカメラの動きを自動的に制御する OrbitControls クラスが存在します。
次の用途で役立つ機能です。
- 周回軌道を描くように、カメラを配置する
- ポインター操作でカメラの配置やアングルを変更する
この「ポインター操作でカメラの配置やアングルを変更する」をやりたい。
サンプルを確認してみる。
サンプルの再生ページ
https://ics-creative.github.io/tutorial-three/samples/camera_orbitcontrols_basic.html
サンプルのソース
https://github.com/ics-creative/tutorial-three/blob/main/samples/camera_orbitcontrols_basic.html
サンプルの再生ページでは、
マウスのポインターで、グリグリ箱を動かせる。

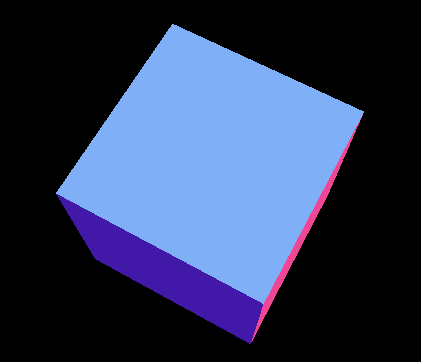

CodePen で書いた
See the Pen three.js 入門 2_1 by sasuke (@vhmbdiog-the-flexboxer) on CodePen.
マウスでグリグリ触っていると、どうも、カメラアングルが変わっているというよりも、マウスで箱を動かしている感じがしてしまう。
複数の箱を置いてみる
次は、沢山箱を置いたらどうなるのか、やってみた。
元のコードは、箱一個だけでしたが、何個も箱を置くようにしてみました。
箱追加の部分を以下のようにしました。
      // 形状とマテリアルからメッシュを作成します
      const geometry = new THREE.BoxGeometry(200, 200, 200);
      const material = new THREE.MeshNormalMaterial();
      const mesh = new THREE.Mesh(geometry, material);
      scene.add(mesh);

      const box2 = new THREE.Mesh(geometry, material);
      //場所を変える
      box2.position.x = 400;
      box2.position.z = 400;
      scene.add(box2);

      const box3 = new THREE.Mesh(geometry, material);
      box3.position.z = -1000;
      scene.add(box3);

      const box4 = new THREE.Mesh(geometry, material);
      box4.position.z = 400;
      scene.add(box4);

      const box5 = new THREE.Mesh(geometry, material);
      box5.position.x = -400;
      scene.add(box5);

      const box6 = new THREE.Mesh(geometry, material);
      box6.position.x = -400;
      box6.position.z = 400;
      scene.add(box6);

      const box7 = new THREE.Mesh(geometry, material);
      box7.position.x = 400;
      box7.position.z = -1000;
      scene.add(box7);
画面表示は、こうなりました。

動かすとこうなる。

下から見ると、こんな感じ。
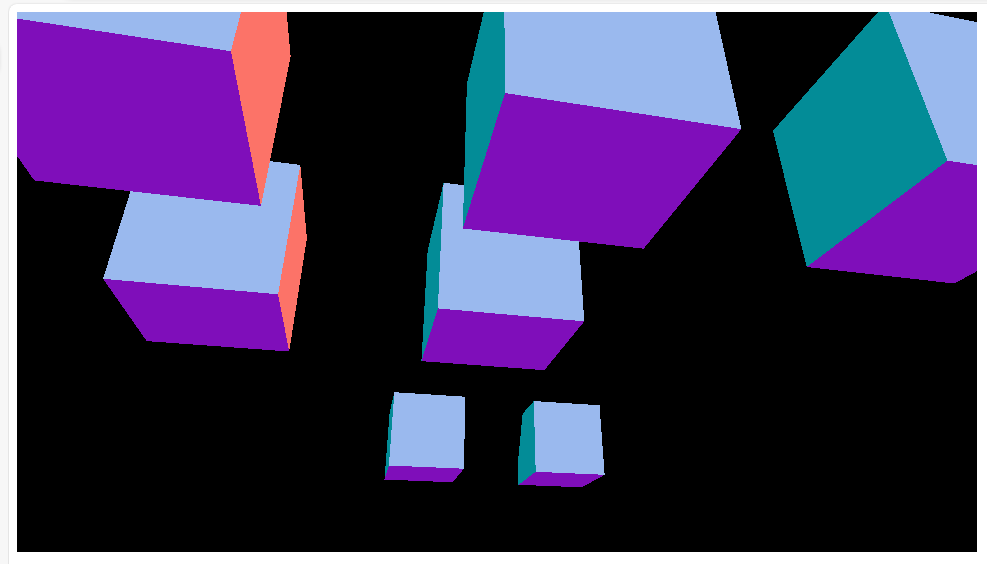
箱が一個の時は、カメラアングルが変わっているというよりも、箱自体をくるくる回転させてる感がありましたが、
箱を複数にすると、カメラアングルが変わってる感が出た気がします。
CodePen で書いた
See the Pen three.js 入門 2_2 by sasuke (@vhmbdiog-the-flexboxer) on CodePen.
ソース全体はこんな感じ。
<html>
  <head>
    <meta charset="utf-8" />
    <script type="importmap">
      {
        "imports": {
          "three": "https://cdn.jsdelivr.net/npm/three@0.164.1/build/three.module.js",
          "three/addons/": "https://cdn.jsdelivr.net/npm/three@0.164.1/examples/jsm/"
        }
      }
    </script>
    <script type="module">
      import * as THREE from "three";
      import { OrbitControls } from "three/addons/controls/OrbitControls.js";

      // サイズを指定
      const width = 960;
      const height = 540;

      // レンダラーを作成
      const canvasElement = document.querySelector("#myCanvas");
      const renderer = new THREE.WebGLRenderer({
        canvas: canvasElement,
      });
      renderer.setSize(width, height);

      // シーンを作成
      const scene = new THREE.Scene();

      // カメラを作成
      const camera = new THREE.PerspectiveCamera(45, width / height);
      // カメラの初期座標を設定
      camera.position.set(0, 0, 1000);

      // カメラコントローラーを作成
      const controls = new OrbitControls(camera, canvasElement);

      // 形状とマテリアルからメッシュを作成します
      const geometry = new THREE.BoxGeometry(200, 200, 200);
      const material = new THREE.MeshNormalMaterial();
      const mesh = new THREE.Mesh(geometry, material);
      scene.add(mesh);

      const box2 = new THREE.Mesh(geometry, material);
      //場所を変える
      box2.position.x = 400;
      box2.position.z = 400;
      scene.add(box2);

      const box3 = new THREE.Mesh(geometry, material);
      box3.position.z = -1000;
      scene.add(box3);

      const box4 = new THREE.Mesh(geometry, material);
      box4.position.z = 400;
      scene.add(box4);

      const box5 = new THREE.Mesh(geometry, material);
      box5.position.x = -400;
      scene.add(box5);

      const box6 = new THREE.Mesh(geometry, material);
      box6.position.x = -400;
      box6.position.z = 400;
      scene.add(box6);

      const box7 = new THREE.Mesh(geometry, material);
      box7.position.x = 400;
      box7.position.z = -1000;
      scene.add(box7);

      tick();

      // 毎フレーム時に実行されるループイベントです
      function tick() {
        // レンダリング
        renderer.render(scene, camera);
        requestAnimationFrame(tick);
      }
    </script>
  </head>
  <body>
    <canvas id="myCanvas"></canvas>
  </body>
</html>