はじめに
これは プログラミング経験者 で Android初心者向け のButtonを使った基本的な実装についての記事です。
コードはGithubにまとめています。
開発環境
MacOS High Sierra 10.13.5
Android Studio 3.1.3
やること
今回は、Androidの機能にあるButtonの使い方について、基本的なところから応用までを解説します。
Android Studioのインストール
公式ページに動画でインストール手順が動画で公開されているので、まだインストールが終わっていない場合は参照してください。
Android Studioの説明
Android Studioでアプリを作るときは、大きく分けて2つのことをします。
1つ目は、Layoutを作るところです。
Layoutはアプリを作るときには必ず必要になってくる要素ですが、みなさんはどのようにして作っているかご存知でしょうか?
AndroidアプリでLayoutを作るときは、Layout Editorという機能を使ってボタン等を配置していきます。
基本的なアプリで使うようなボタンやテキストを入力するような部品はWebフロントと同じようにすでにあります。
しかし、Webフロントとの決定的な違いは、ドラッグアンドドロップで部品を配置していくところです。
もちろん、細かいパラメータを入力したり、自作の部品を配置する際はコードで書くことも可能です。
配置した部品にはidを付与し、ロジックを書くときのプログラムと紐づけることができます。これもWebフロントと似ていますね。
次に、プログラムを書く部分です。
アプリはLayoutを作って完成ではなく、ロジックを書かなければ動きません。
Layoutを操作するためのプログラム、サーバと通信するためのプログラム、Layoutとサーバから取って来たデータを紐づけるプログラム、、、など様々なプログラムが必要になります。
アプリの基本は上記2つをおさえることが大事になって来ます。
プロジェクトを作ってみよう
Androidアプリを作るには、プロジェクトを作らなければいけません。
プロジェクトは、プログラムやLayout、その他必要なものの集合体のようなものです。
ではまずAndroid Studioを起動しましょう。
起動するとこのような画面が出て来ます。
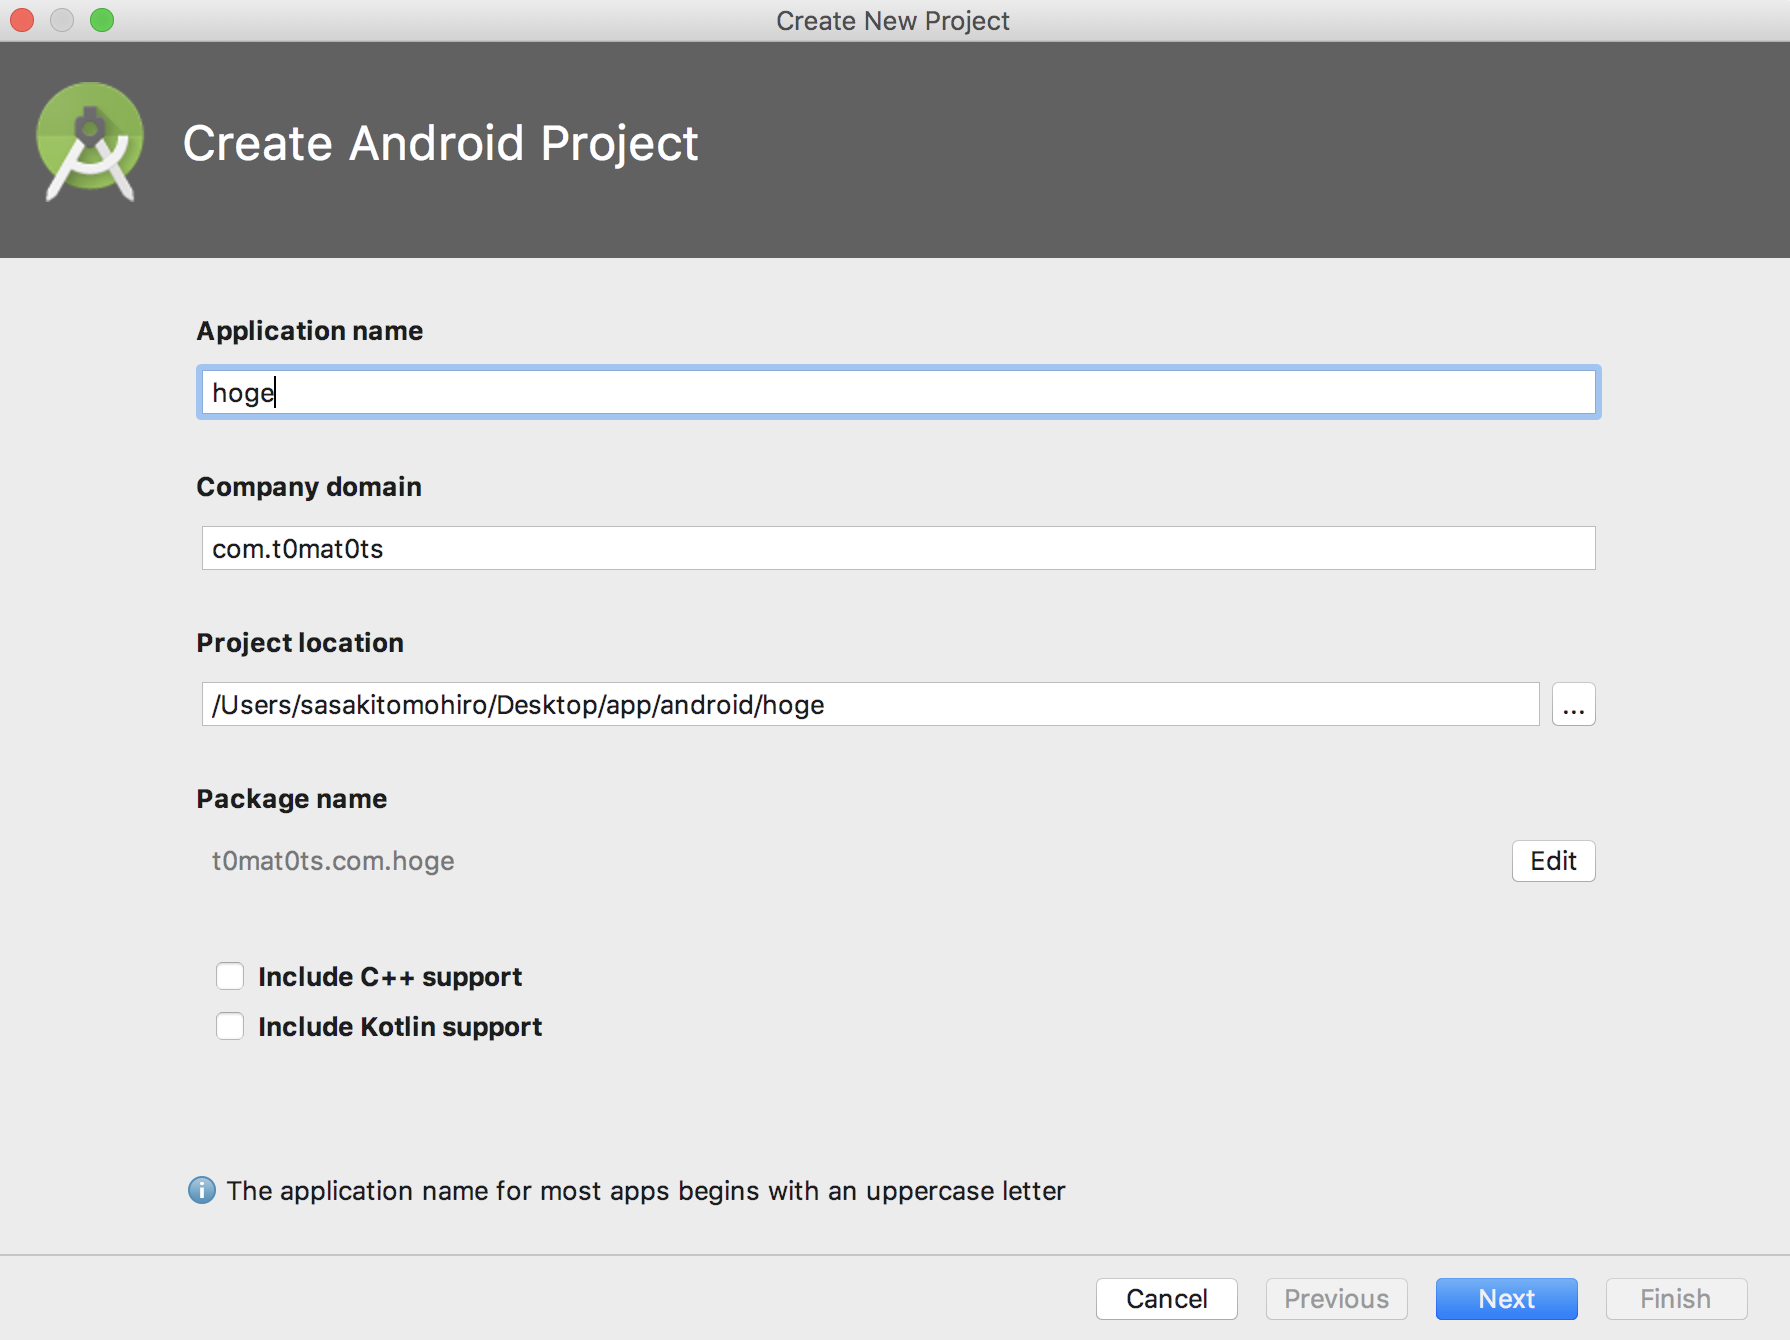
Application name には自分がつけたい名前をつけます。
Company domain は、ストアなどに公開しなければ適当で大丈夫です。
Project location はプロジェクトをどこに保存したいかを指定します。
あとは何もいじらずにNextボタンを押します。
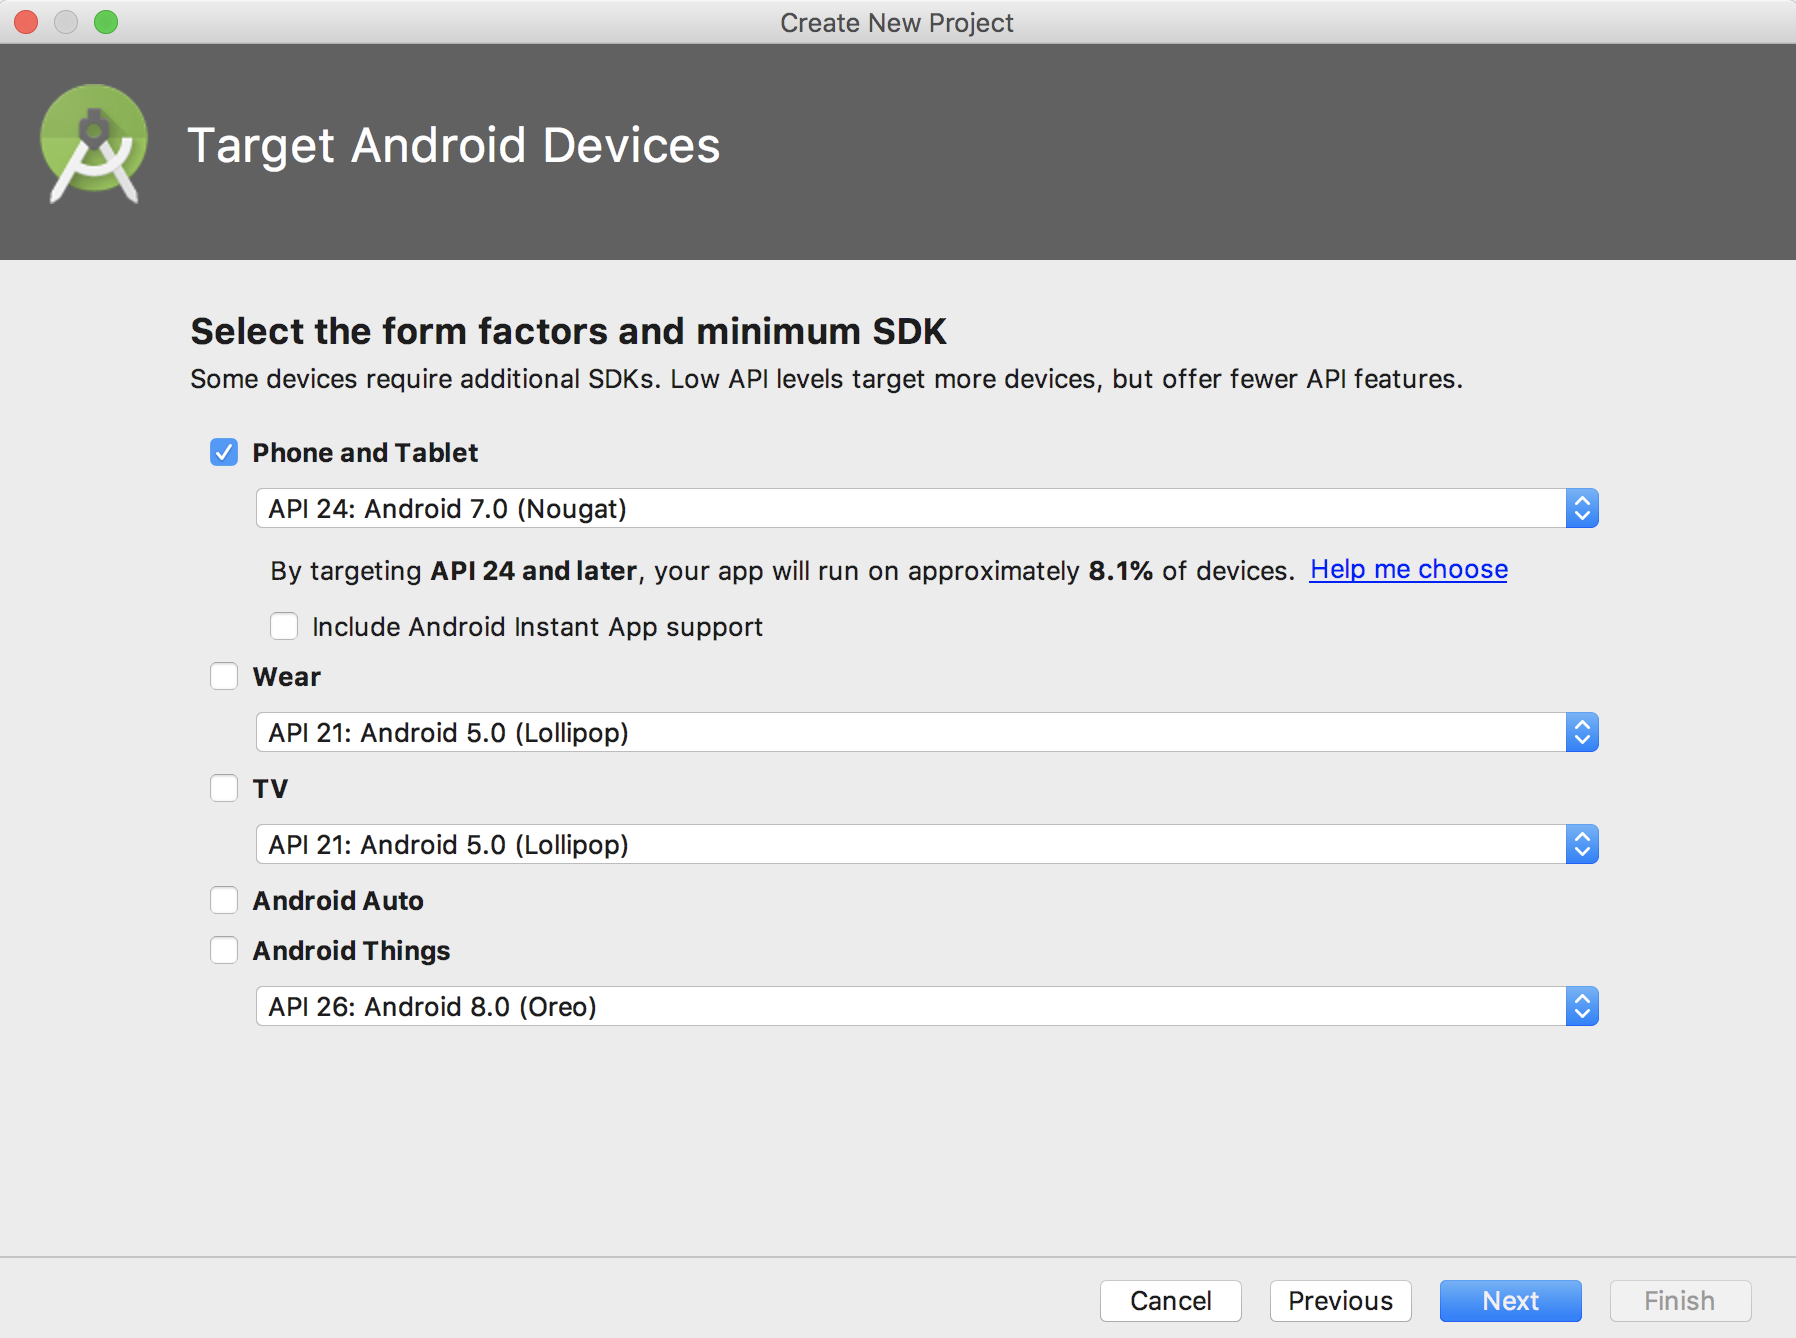
ここは、SDKを指定します。自分の使っているAndroidのバージョンを選べば問題ないです。
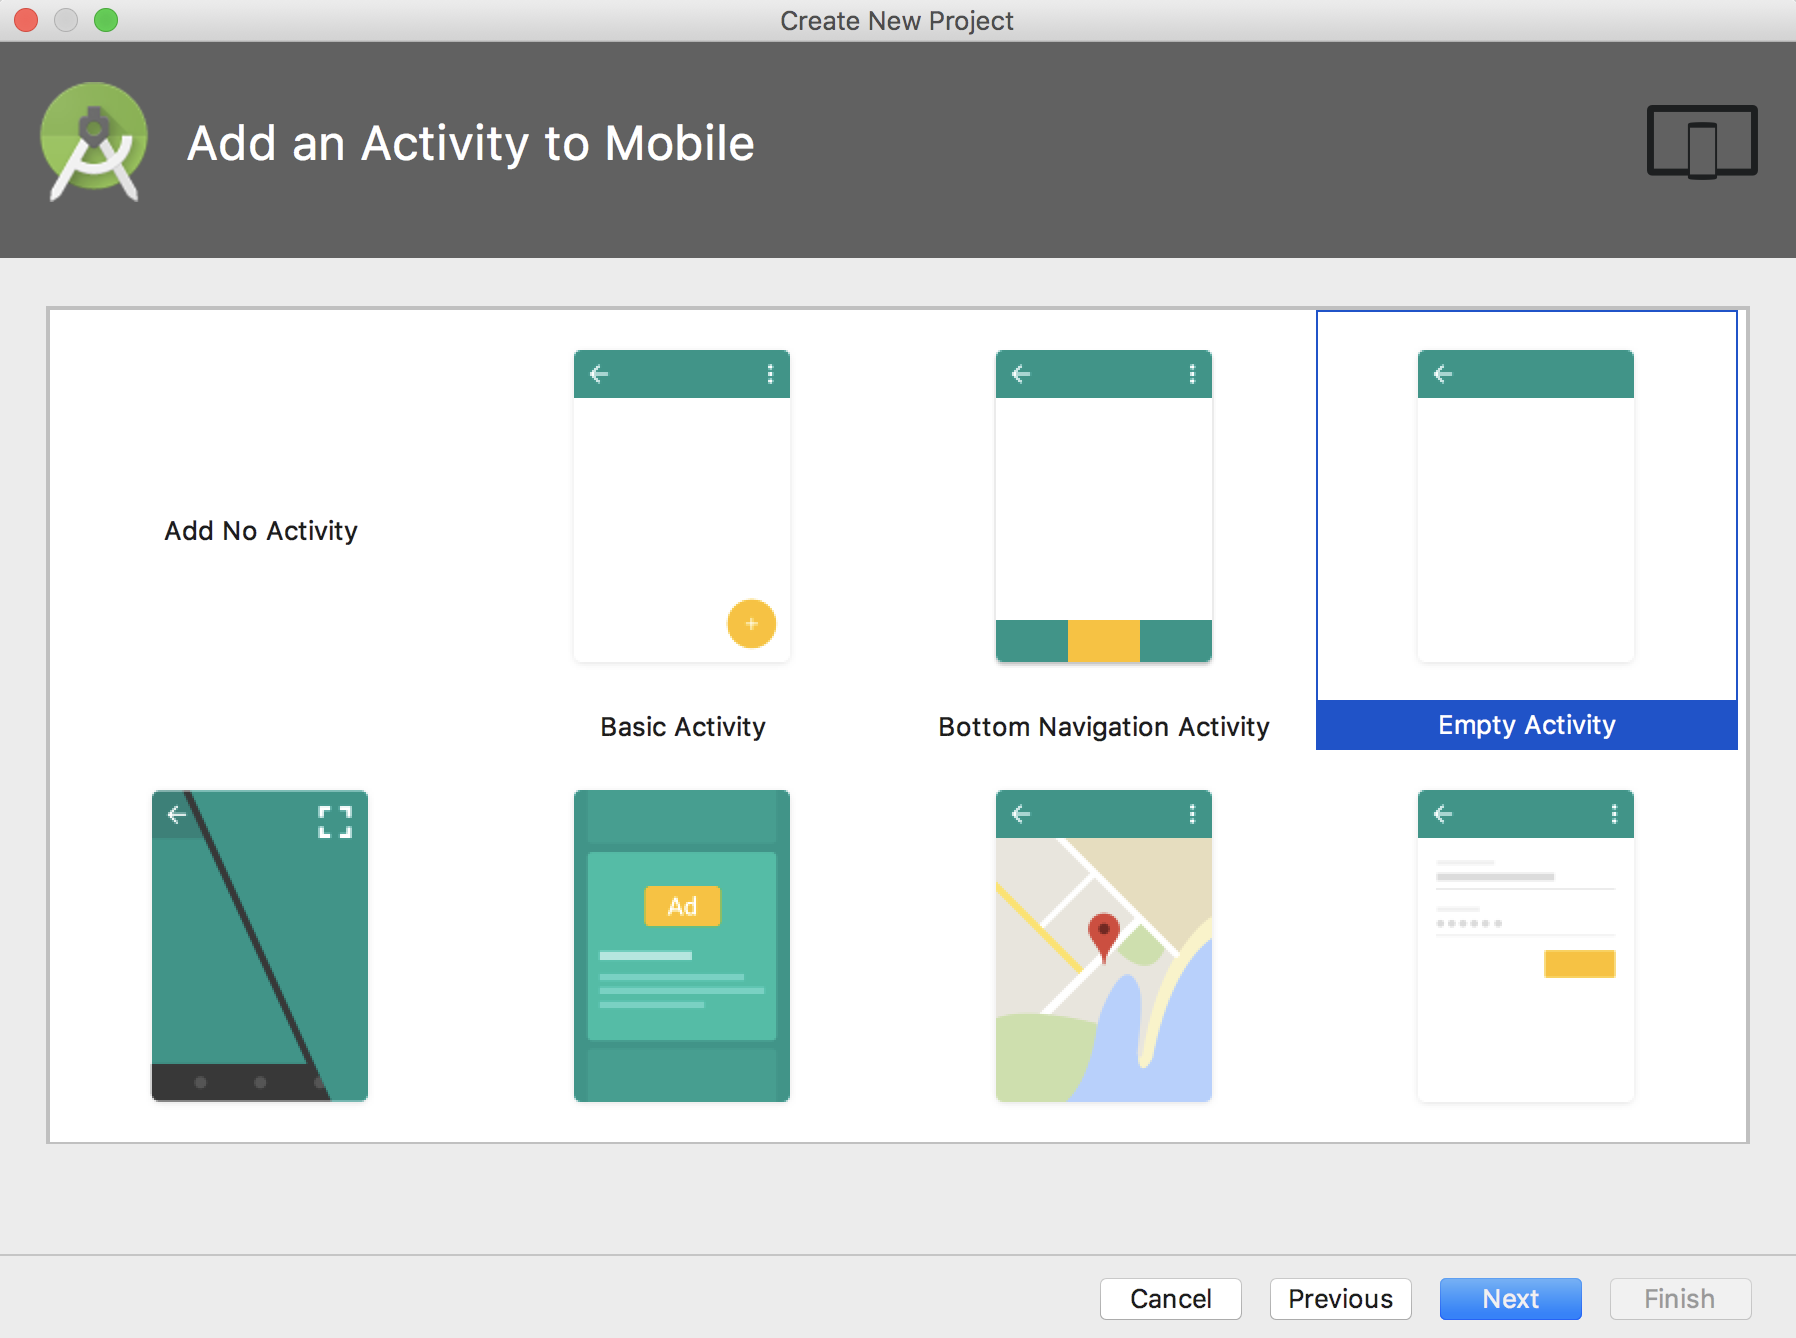
ここでは、AndroidのLayoutを選ぶことができ、Floating Action ButtonやBottom Navigationがすでに配置されているものなどがありますが、今回は何も配置されていないEmpty Activityを選択します。
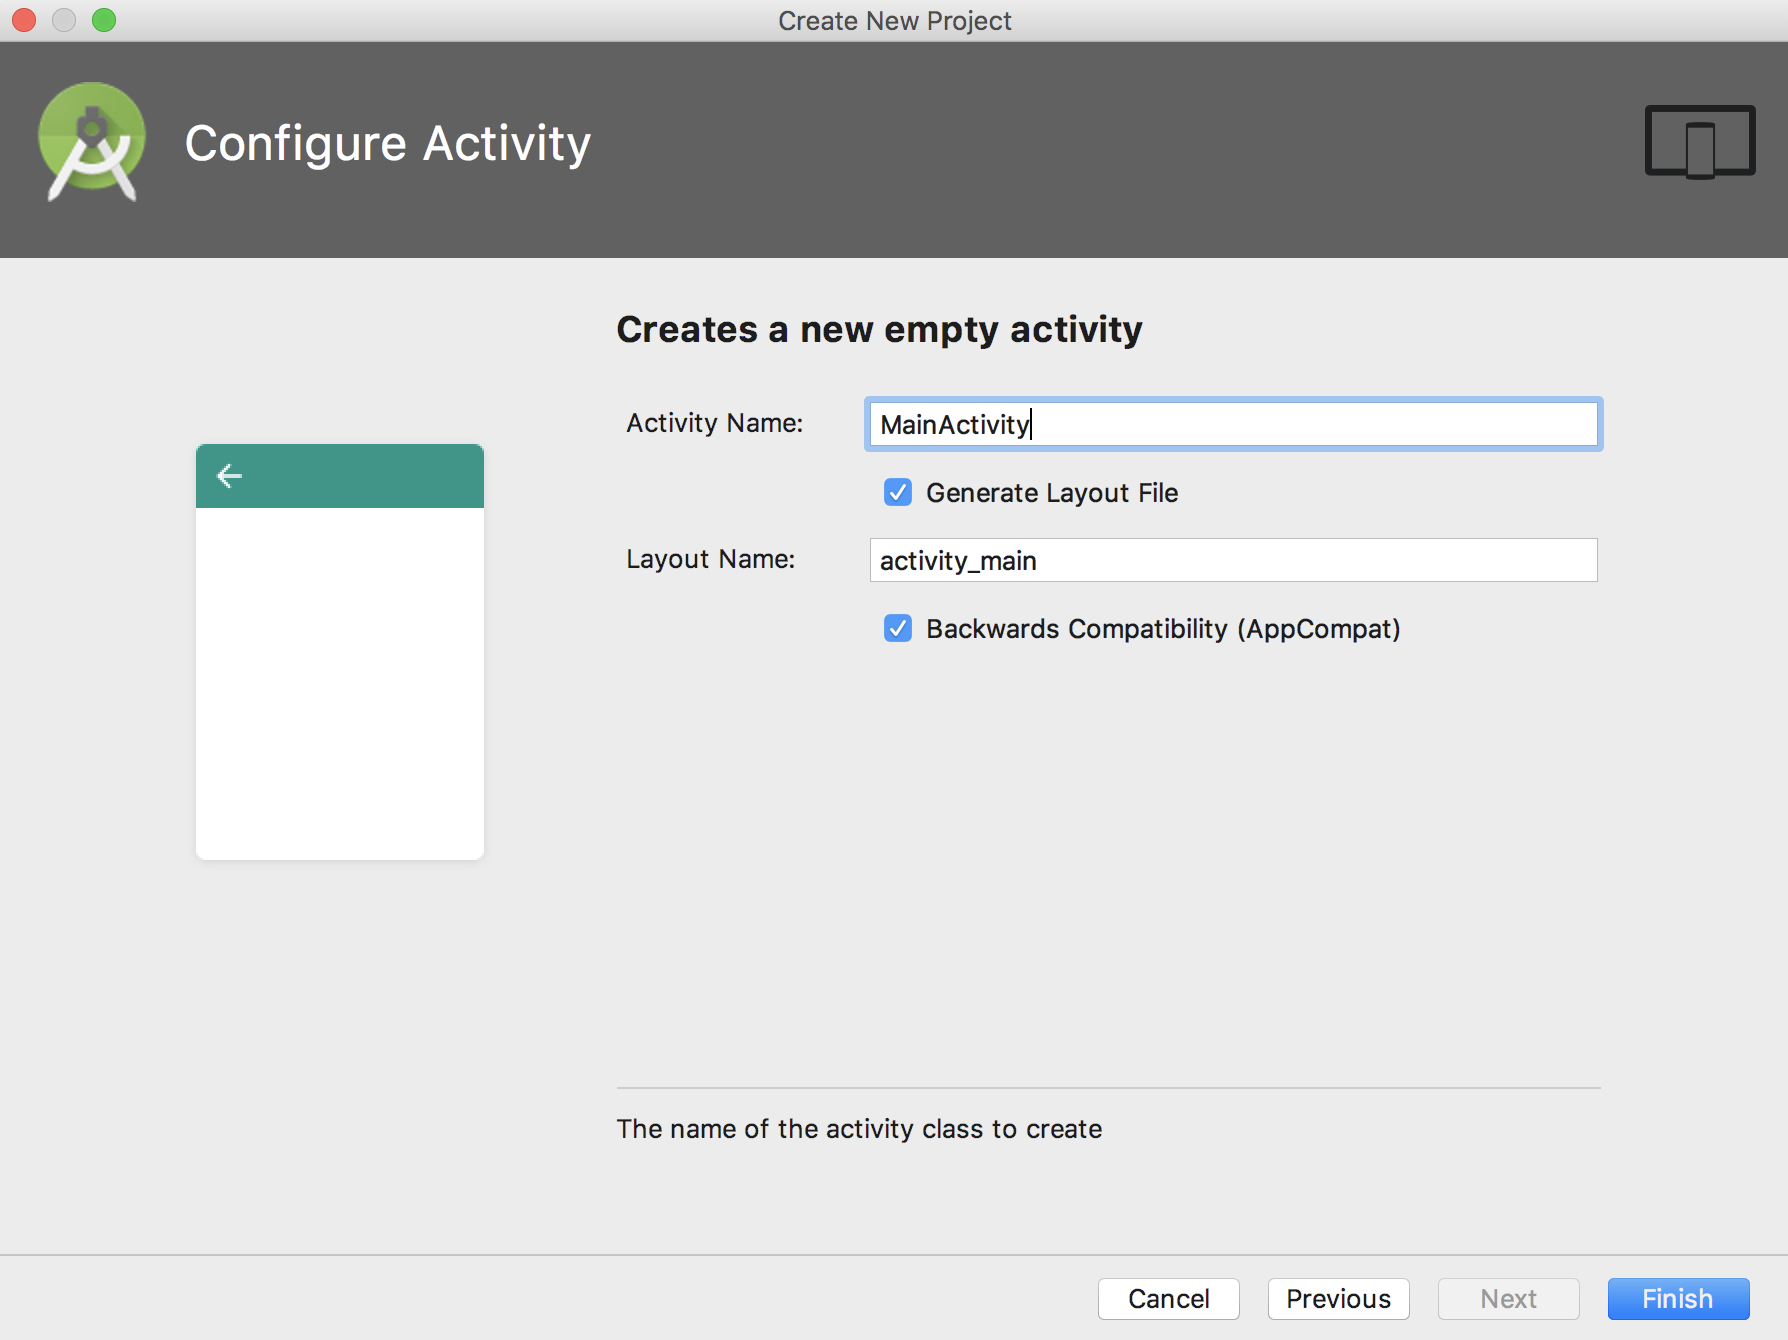
最後に、Activityの名前、Layoutファイルの名前を入力するところです。ここに入力するのは何でも問題ありませんが、基本的にactivity Nameがキャメルケースで、Layout Nameはスネークケースで書きます。
Finishボタンを押したらプロジェクトが生成されます。
Layoutを作ってみよう
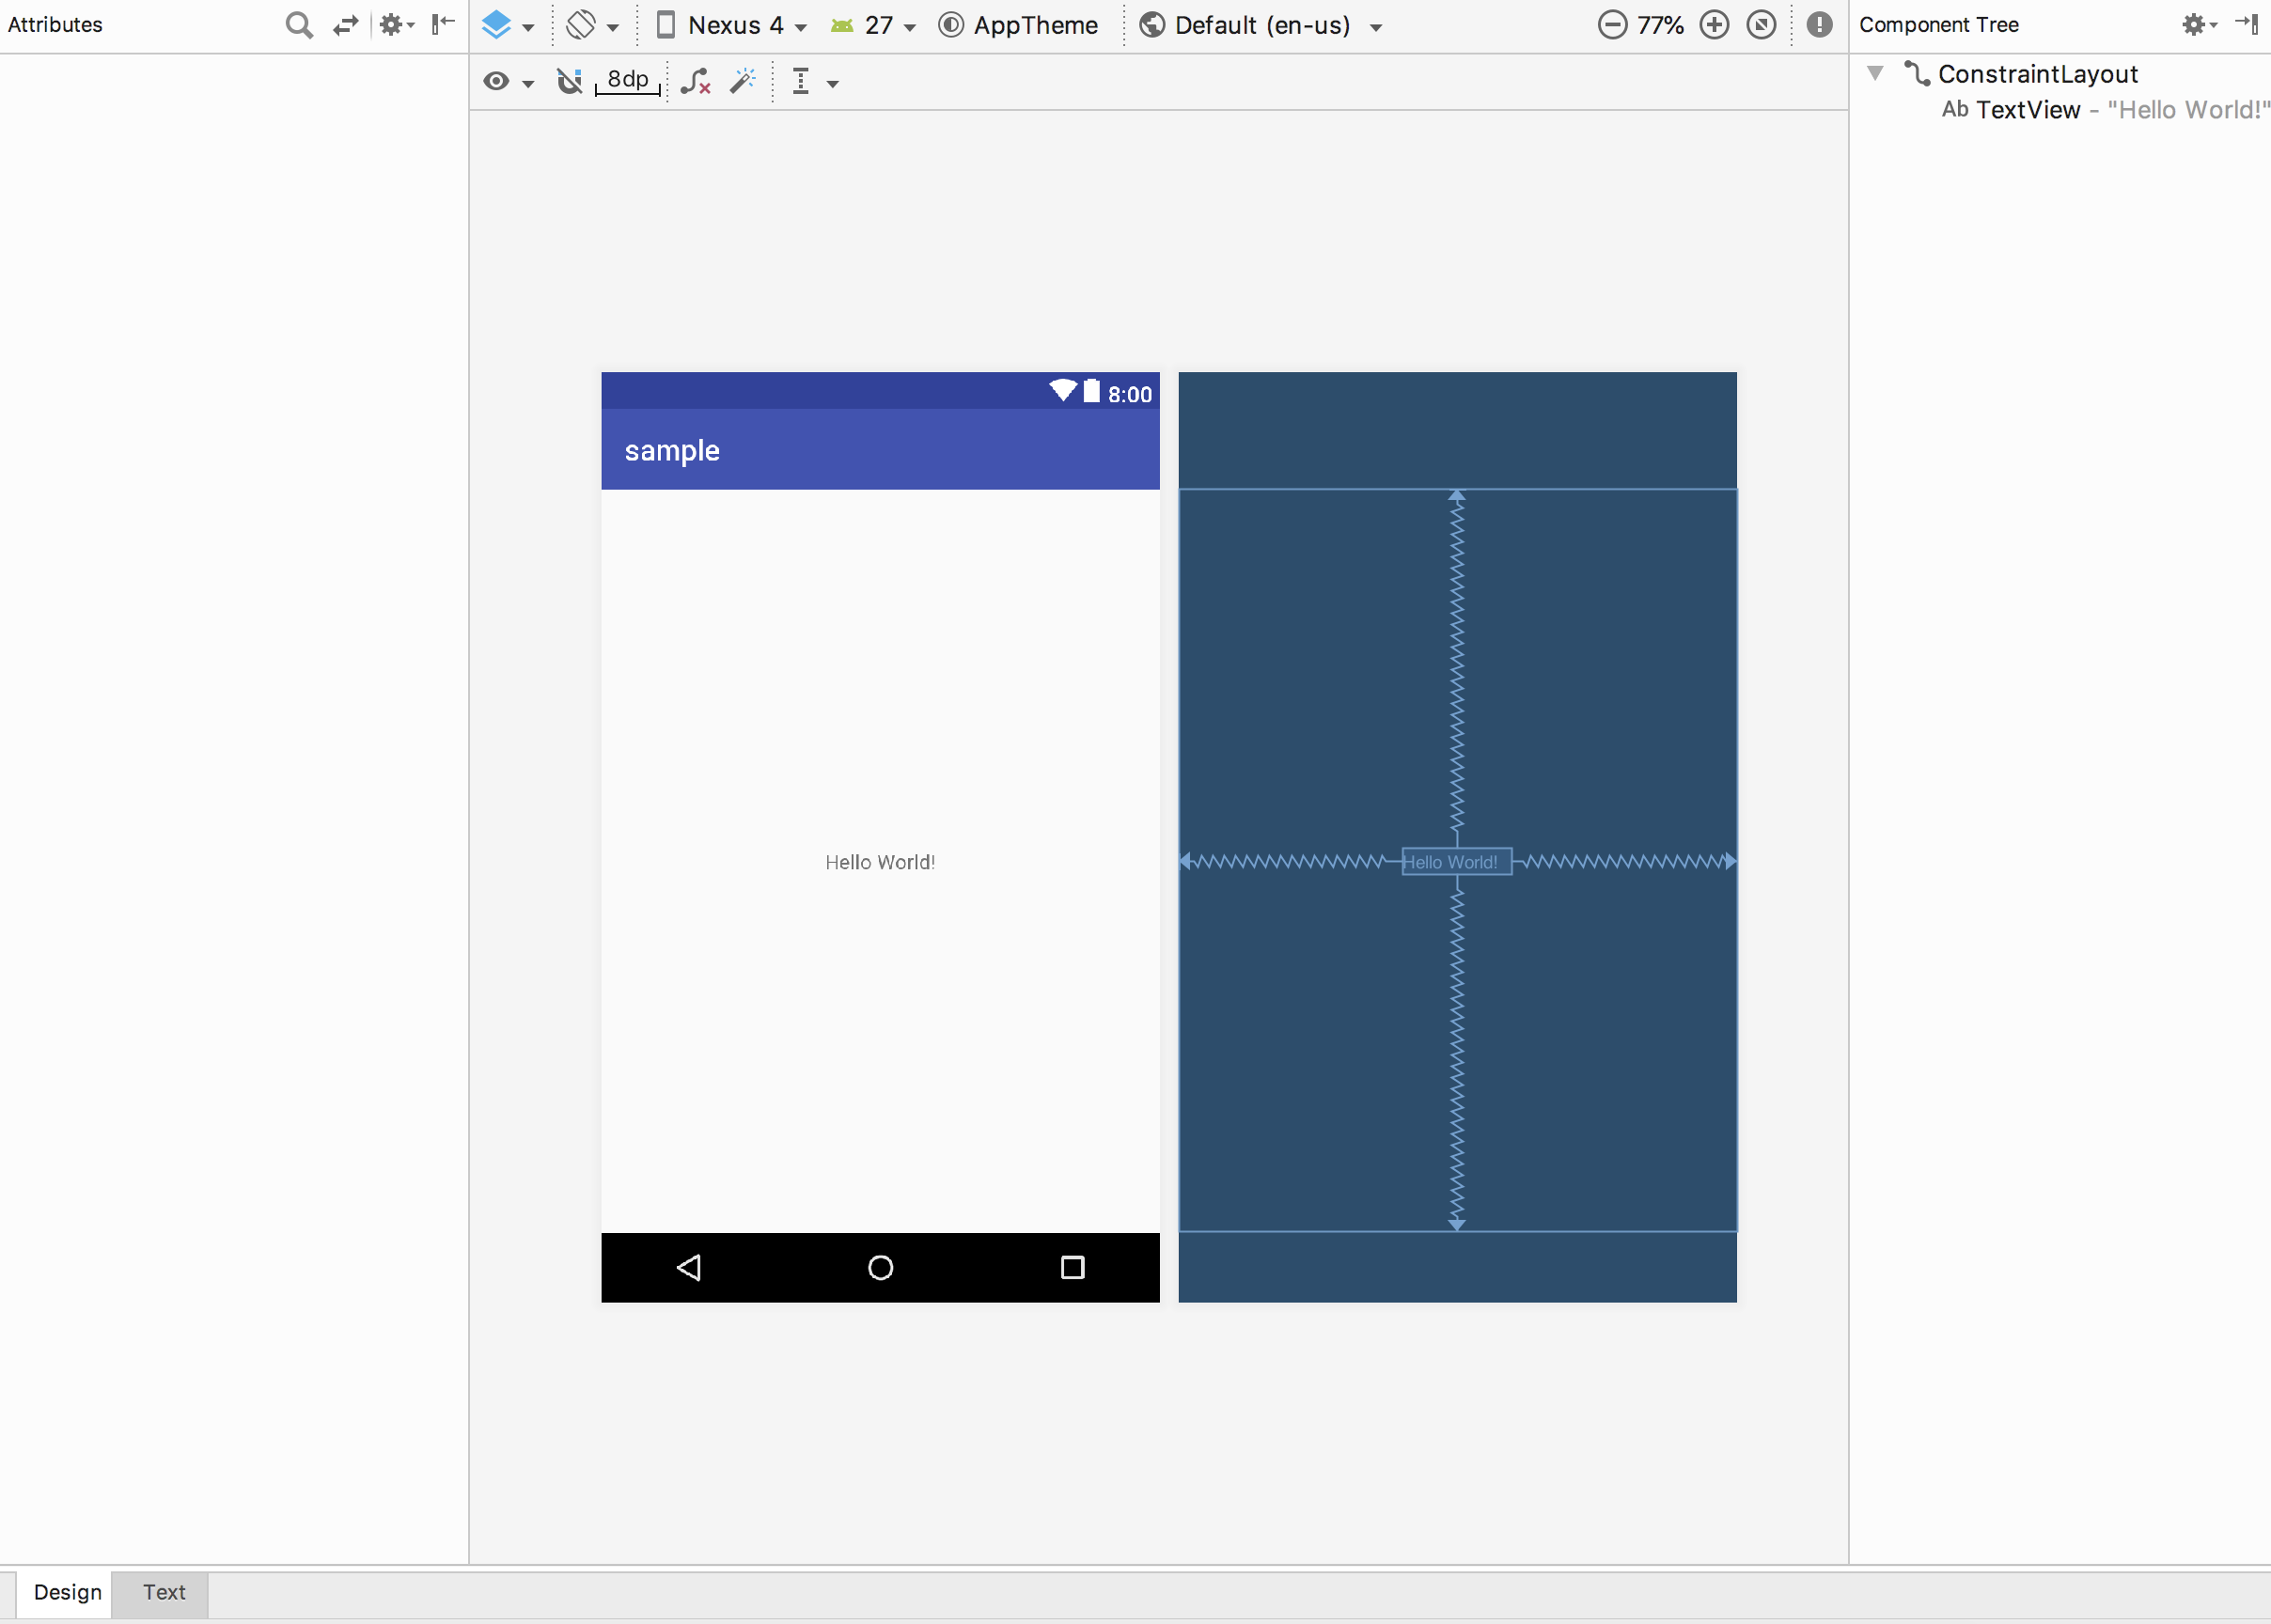
では、まずLayout画面でButtonを追加しましょう。

こんな感じで、ドラッグ&ドロップでレイアウトを追加することができます。
この他にも、HTMLのように、コードでレイアウトを追加することもできます。
Layoutとプログラムを紐づけてみよう

↑にあるようにレイアウトに設定されているButtonのidを使ってプログラムと紐づけます。
これはHTMLでもあると思いますが、ボタンをクリックした時の処理を書くときに必要になります。
public class MainActivity extends AppCompatActivity {

    @Override
    protected void onCreate(Bundle savedInstanceState) {
        super.onCreate(savedInstanceState);
        setContentView(R.layout.activity_main);
        // 追加
        Button button = (Button) findViewById(R.id.button);
    }
}
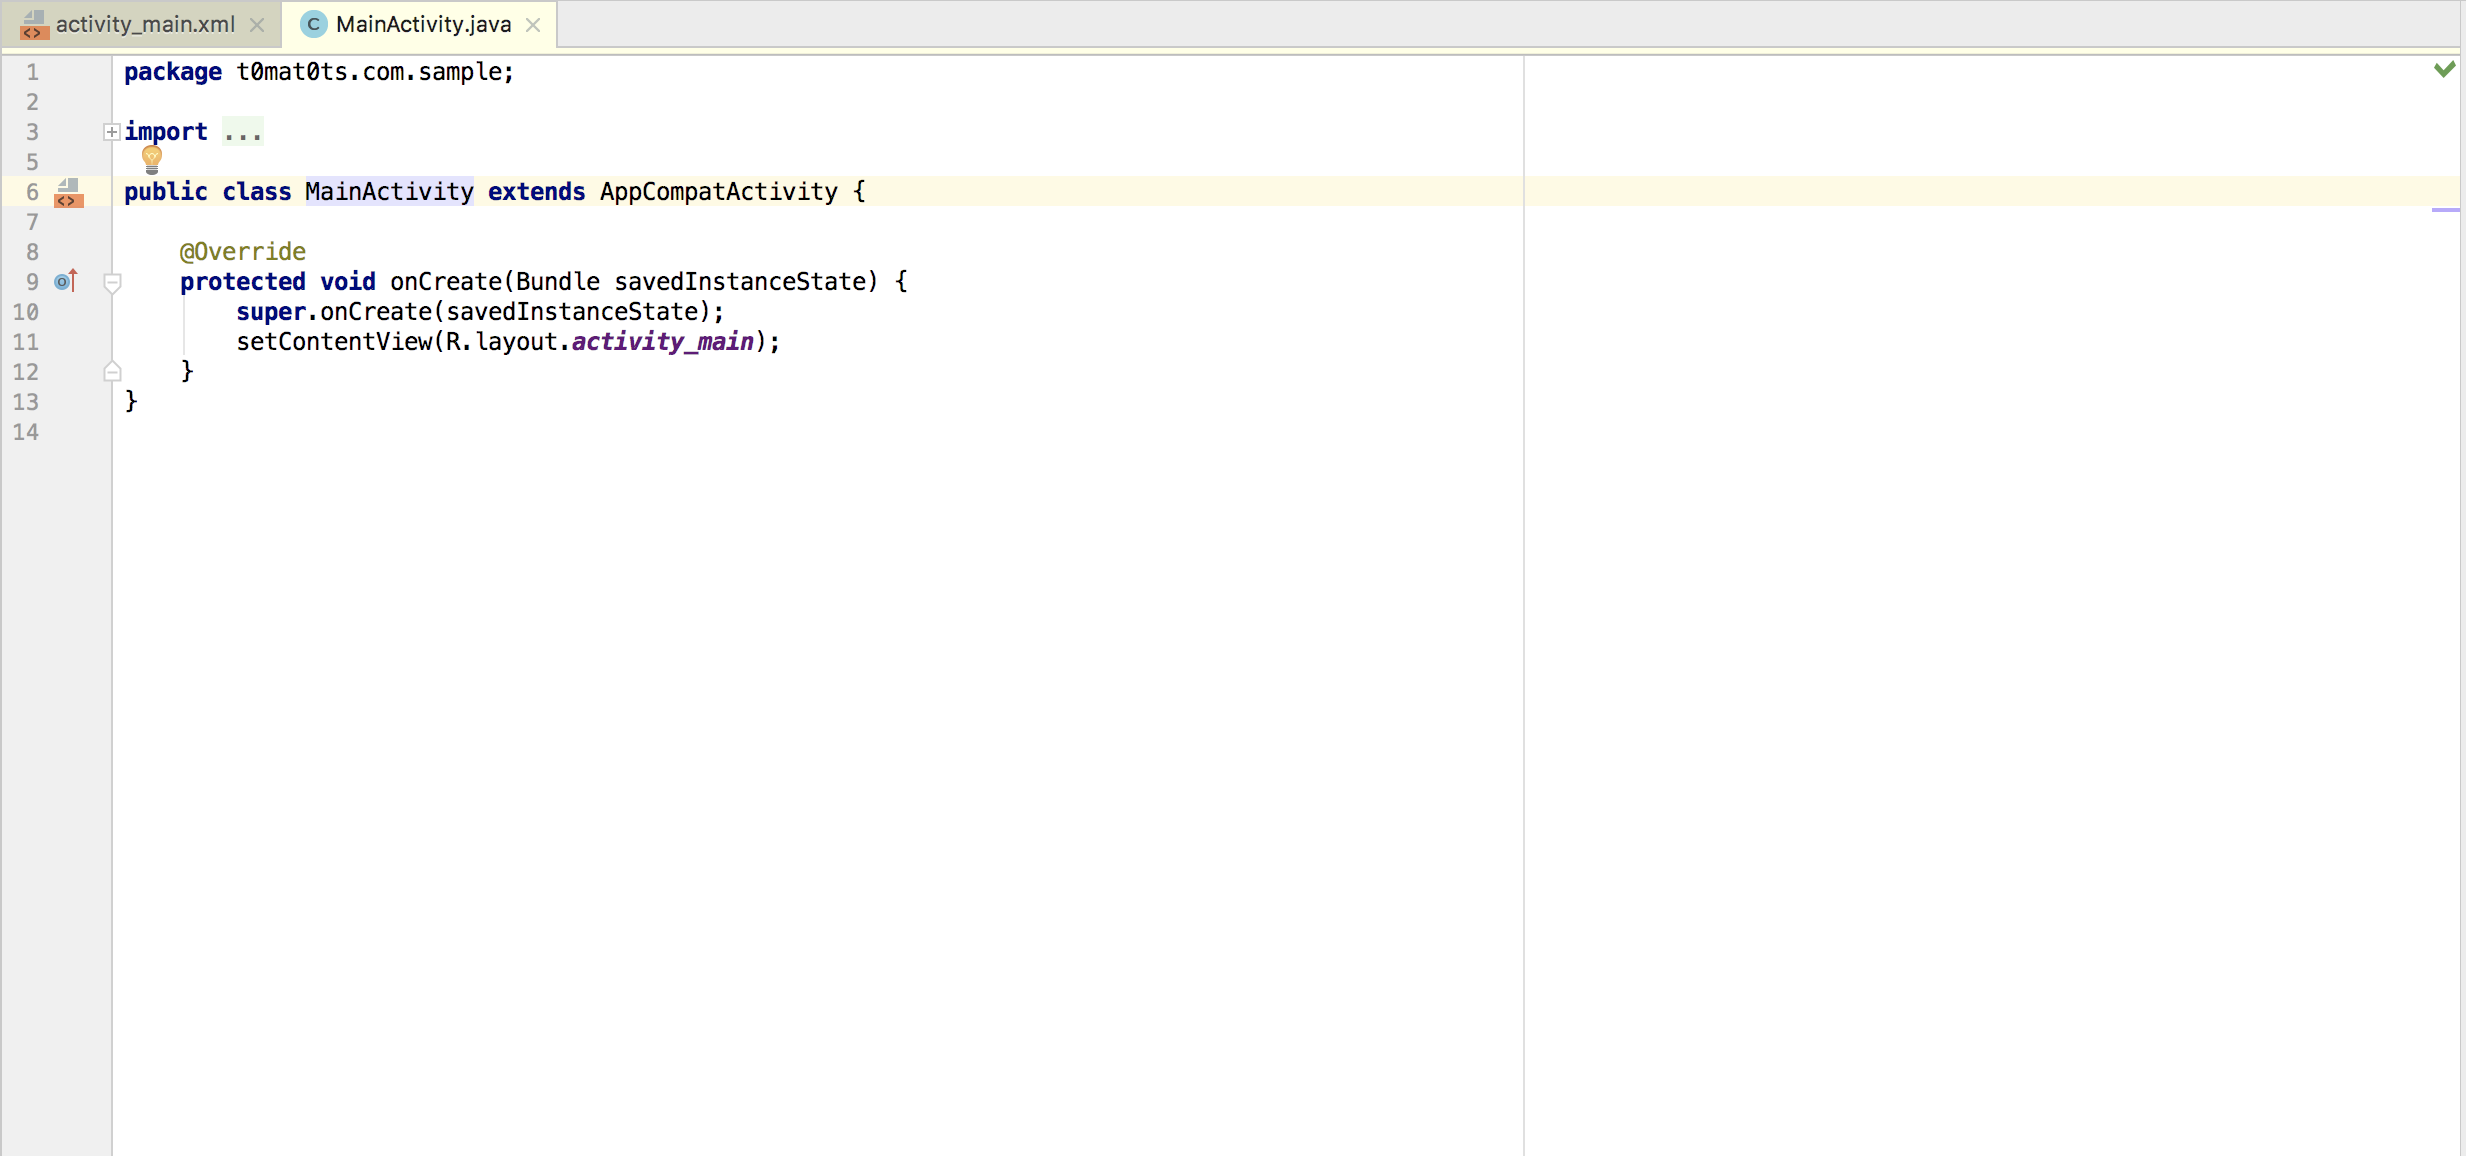
今回はButtonのidがbuttonのため R.id.button とコードで指定します。
これでレイアウトとプログラムが紐づけられました。
ButtonにOnClickListenerをセットしてみよう
さて、Buttonとプログラムは紐づけられましたが、これでは押してもまだ何も起きません。
そのため、Buttonをクリックした時のプログラムを解説します。
public class MainActivity extends AppCompatActivity {

    @Override
    protected void onCreate(Bundle savedInstanceState) {
        super.onCreate(savedInstanceState);
        setContentView(R.layout.activity_main);

        Button button = (Button) findViewById(R.id.button);
        button.setOnClickListener();
    }
}
ButtonにはsetOnClickListenerというメソッドがあります。これの引数にListenerを渡すとボタンを操作できるようになります。
それでは、Listenerを実装してみましょう。
public class MainActivity extends AppCompatActivity {

    @Override
    protected void onCreate(Bundle savedInstanceState) {
        super.onCreate(savedInstanceState);
        setContentView(R.layout.activity_main);

        Button button = (Button) findViewById(R.id.button);
        button.setOnClickListener(new View.OnClickListener() {
            @Override
            public void onClick(View view) {
               // ここにボタンを押した時の処理を書く
               Log.d("test", "test");
            }
        });
    }
}
このようにしてボタンをクリックした時のリスナーを追加することができます。
Buttonクラスの親クラスであるViewクラスにはOnClickListenerというinterfaceがあるため、これを実装してやることにより、ボタンを押した時の処理を書くことができます。
また、上記の書き方以外にも実装方法があります。
まず、自クラスにView.OnClickListenerをimplementsする方法です。
public class MainActivity extends AppCompatActivity implements View.OnClickListener {

    @Override
    protected void onCreate(Bundle savedInstanceState) {
        super.onCreate(savedInstanceState);
        setContentView(R.layout.activity_main);

        Button button = (Button) findViewById(R.id.button);
        button.setOnClickListener(this);
    }

    @Override
    public void onClick(View view) {
        if (view.getId() == R.id.button) {
            // ここにボタンを押した時の処理を書く
            Log.d("test", "test");
        }
    }
}
このふたつの違いは自クラス自体が、View.OnClickListenerをimplementsするか、setOnClickListenerにそのままOnClickListenerを実装するかの違いです。
DataBindingを使って実装してみよう
次にDataBindingについてです。
DataBindingは、ロジックとビューを分けてプログラムを書くことができます。
導入方法は、appのbuild.gradleに、
android {
    // 省略
    dataBinding {
        enabled = true
    }
}
と記述します。
次にレイアウトを、
<?xml version="1.0" encoding="utf-8"?>
<layout xmlns:app="http://schemas.android.com/apk/res-auto"
    xmlns:tools="http://schemas.android.com/tools"
    xmlns:android="http://schemas.android.com/apk/res/android">
    <data>
        <variable name="data" type="activityname"/>
    </data>
    <android.support.constraint.ConstraintLayout
        android:orientation="vertical"
        android:layout_width="match_parent"
        android:layout_height="match_parent">

        <Button
            android:id="@+id/button"
            android:layout_width="wrap_content"
            android:layout_height="wrap_content"
            android:text="Button" />

    </android.support.constraint.ConstraintLayout>
</layout>
このように編集します。
dataの中にあるtypeには、bindingしたいActivityのパスを入力します。
ボタンを使った応用1
ボタンを押したら画像の表示・非表示を切り替えることのできるように実装してみよう。
画像を表示するにはImageViewというものを使います。
ImageViewはsetVisibilityメソッドで表示・非表示を切り替えることができます。
これをボタンを押したときの処理部分に入れます。
ではプログラムを見ていきましょう。
    @Override
    protected void onCreate(Bundle savedInstanceState) {
        super.onCreate(savedInstanceState);
        setContentView(R.layout.activity_main);

        final ImageView imageView = (ImageView) findViewById(R.id.imageView);

        Button button = (Button) findViewById(R.id.button);
        button.setOnClickListener(new View.OnClickListener() {
            @Override
            public void onClick(View view) {
                if (imageView.isShown()) {
                    imageView.setVisibility(View.INVISIBLE);
                } else {
                    imageView.setVisibility(View.VISIBLE);
                }
            }
        });
    }
<?xml version="1.0" encoding="utf-8"?>
<android.support.constraint.ConstraintLayout xmlns:android="http://schemas.android.com/apk/res/android"
    xmlns:app="http://schemas.android.com/apk/res-auto"
    xmlns:tools="http://schemas.android.com/tools"
    android:layout_width="match_parent"
    android:layout_height="match_parent"
    tools:context=".MainActivity">

    <Button
        android:id="@+id/button"
        android:layout_width="wrap_content"
        android:layout_height="wrap_content"
        android:text="Button"
        tools:layout_editor_absoluteX="107dp"
        tools:layout_editor_absoluteY="115dp" />

    <ImageView
        android:id="@+id/imageView"
        android:layout_width="wrap_content"
        android:layout_height="wrap_content"
        app:srcCompat="@mipmap/ic_launcher"
        tools:layout_editor_absoluteX="176dp"
        tools:layout_editor_absoluteY="319dp" />

</android.support.constraint.ConstraintLayout>
ボタンを使った応用2
ボタンを押したら別の画面に遷移できるように実装してみよう。
別画面に遷移するには、Intentというものを使います。
このIntentをボタンを押した時の処理部分に書きます。
では早速実装していきましょう。
まず、Activityファイル(SubActivity)、Layoutファイル(activity_sub)をそれぞれ作成します。
<manifest xmlns:android="http://schemas.android.com/apk/res/android"
        省略...
        <activity
            android:name=".SubActivity"
            android:label="@string/app_name"/>
    </application>

</manifest>
<?xml version="1.0" encoding="utf-8"?>
<android.support.constraint.ConstraintLayout xmlns:android="http://schemas.android.com/apk/res/android"
    xmlns:app="http://schemas.android.com/apk/res-auto"
    xmlns:tools="http://schemas.android.com/tools"
    android:layout_width="match_parent"
    android:layout_height="match_parent"
    tools:context=".MainActivity">

    <Button
        android:id="@+id/button"
        android:layout_width="wrap_content"
        android:layout_height="wrap_content"
        android:layout_marginBottom="152dp"
        android:layout_marginEnd="8dp"
        android:layout_marginStart="8dp"
        android:text="Button"
        app:layout_constraintBottom_toBottomOf="parent"
        app:layout_constraintEnd_toEndOf="parent"
        app:layout_constraintStart_toStartOf="parent" />

    <TextView
        android:id="@+id/textView"
        android:layout_width="wrap_content"
        android:layout_height="wrap_content"
        android:layout_marginBottom="8dp"
        android:layout_marginEnd="8dp"
        android:layout_marginStart="8dp"
        android:layout_marginTop="8dp"
        android:text="MainActivity"
        app:layout_constraintBottom_toTopOf="@+id/button"
        app:layout_constraintEnd_toEndOf="parent"
        app:layout_constraintStart_toStartOf="parent"
        app:layout_constraintTop_toTopOf="parent" />

</android.support.constraint.ConstraintLayout>
<?xml version="1.0" encoding="utf-8"?>
<android.support.constraint.ConstraintLayout xmlns:android="http://schemas.android.com/apk/res/android"
    xmlns:app="http://schemas.android.com/apk/res-auto"
    xmlns:tools="http://schemas.android.com/tools"
    android:layout_width="match_parent"
    android:layout_height="match_parent"
    tools:context=".SubActivity">

    <Button
        android:id="@+id/button"
        android:layout_width="wrap_content"
        android:layout_height="wrap_content"
        android:layout_marginBottom="152dp"
        android:layout_marginEnd="8dp"
        android:layout_marginStart="8dp"
        android:text="Button"
        app:layout_constraintBottom_toBottomOf="parent"
        app:layout_constraintEnd_toEndOf="parent"
        app:layout_constraintStart_toStartOf="parent" />

    <TextView
        android:id="@+id/textView"
        android:layout_width="wrap_content"
        android:layout_height="wrap_content"
        android:layout_marginBottom="8dp"
        android:layout_marginEnd="8dp"
        android:layout_marginStart="8dp"
        android:layout_marginTop="8dp"
        android:text="SubActivity"
        app:layout_constraintBottom_toTopOf="@+id/button"
        app:layout_constraintEnd_toEndOf="parent"
        app:layout_constraintStart_toStartOf="parent"
        app:layout_constraintTop_toTopOf="parent" />

</android.support.constraint.ConstraintLayout>
    @Override
    protected void onCreate(Bundle savedInstanceState) {
        super.onCreate(savedInstanceState);
        setContentView(R.layout.activity_main);

        Button button = (Button) findViewById(R.id.button);
        button.setOnClickListener(new View.OnClickListener() {
            @Override
            public void onClick(View view) {
               Intent intent = new Intent(MainActivity.this, SubActivity.class);
               startActivity(intent);
               finish();
            }
        });
    }
    @Override
    protected void onCreate(Bundle savedInstanceState) {
        super.onCreate(savedInstanceState);
        setContentView(R.layout.activity_sub);

        Button button = (Button) findViewById(R.id.button);
        button.setOnClickListener(new View.OnClickListener() {
            @Override
            public void onClick(View view) {
                Intent intent = new Intent(SubActivity.this, MainActivity.class);
                startActivity(intent);
                finish();
            }
        });
    }