JupyterのC++カーネルであるclingを追加すれば、JupyterのノートブックでC++11の勉強ができると思いインストールしました。
環境
- Mac OS Yosemite 10.10.5
- gcc 5.2.0
- g++ 5.2.0
brewによるgccのインストール
gccが古かったのでbrewで入れなおしました。
gccのバージョンは5.2.0です。
brew update
brew install gcc

g++ --version
g++ (Homebrew gcc 5.2.0) 5.2.0
Copyright (C) 2015 Free Software Foundation, Inc.
This is free software; see the source for copying conditions.  There is NO
warranty; not even for MERCHANTABILITY or FITNESS FOR A PARTICULAR PURPOSE.

gcc --version
gcc (Homebrew gcc 5.2.0) 5.2.0
Copyright (C) 2015 Free Software Foundation, Inc.
This is free software; see the source for copying conditions.  There is NO
warranty; not even for MERCHANTABILITY or FITNESS FOR A PARTICULAR PURPOSE.
clingインストール
C++のインタプリタであるclingをインストールします。
clingはROOTというデータ解析フレームワークにおいて使用するためにCERNで開発されたインタプリタです。LLVMとclangをベースにしているようです。
インストール方法はこちら。
以下のclone.shを利用すればインストール出来るとあったので実行したのですが上手く行きませんでした。
wget https://raw.githubusercontent.com/karies/cling-all-in-one/master/clone.sh
chmod +x clone.sh
./clone.sh
しょうがないので自分でいれていきます。
まずはソースをクローンします。
git clone http://root.cern.ch/git/llvm.git src
cd src
git checkout cling-patches
cd tools
git clone http://root.cern.ch/git/cling.git
git clone http://root.cern.ch/git/clang.git
cd clang
git checkout cling-patches
続いてsrcと同じ階層にbuildディレクトリを作成し、インストールを行います。
私の環境ではCC・CXXでCコンパイラとC++コンパイラを指定しないと上手くいきませんでした。
インストールが完了したらPATHを設定しましょう。
cd ../../../
mkdir build
cd build
CC=gcc CXX=g++ ../src/configure --enable-optimized --prefix=/path/to/instal/dir
make
make install
export PATH=/path/to/instal/dir:$PATH
clingを実行して以下のように表示されたら正しくインストールされています。
$ cling

****************** CLING ******************
* Type C++ code and press enter to run it *
*             Type .q to exit             *
*******************************************
[cling]$
Jupyter kernelインストール
最後にJupyter用のclingカーネルをインストールします。
git clone https://github.com/minrk/clingkernel
cd clingkernel
sudo python setup.py install
jupyter kernelspec install --user cling
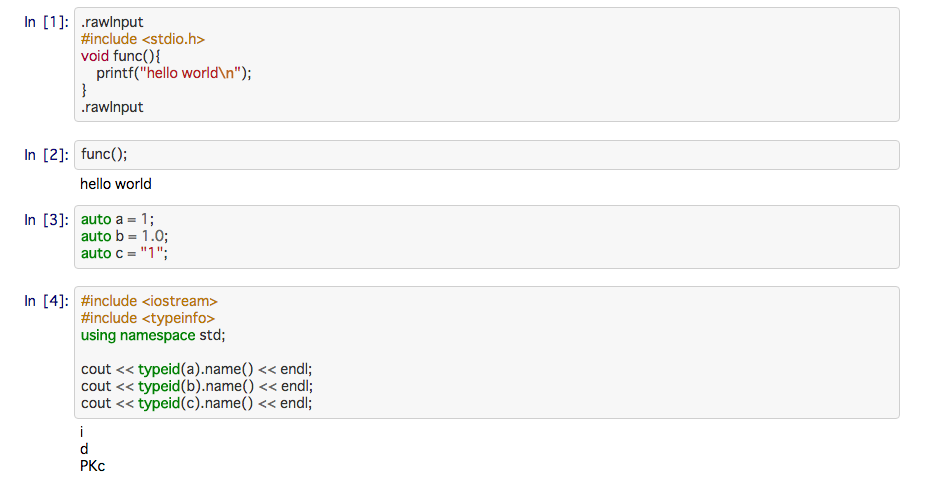
以下に使用した例を示しました。
