laravel環境構築
(1)Homebrewのインストール
1.こちらのリンクをコマンドラインでうつ。
2.バージョンを確認。
$ brew -v

Homebrew 2.2.5
(2)composerのインストール
composerとは、PHPで使用するライブラリやパッケージを管理するツールのこと。
1.composeインストール
$ brew install composer
2.バージョンを確認
$ composer -v
   ______
  / ____/___  ____ ___  ____  ____  ________  _____
 / /   / __ \/ __ `__ \/ __ \/ __ \/ ___/ _ \/ ___/
/ /___/ /_/ / / / / / / /_/ / /_/ (__  )  __/ /
\____/\____/_/ /_/ /_/ .___/\____/____/\___/_/
                    /_/
Composer version 1.9.3 2020-02-04 12:58:49
(3)laravelのインストール
1.laravelのインストーラをダウンロード
$ composer global require "laravel/installer"
2.laravelがあるか確認
$ cd ~/.composer/vendor/bin
$ ls

laravel
3.laravelコマンドを使えるようにする
$ export PATH="$PATH:/Users/<UserName>/.composer/vendor/bin"
※には自分のmacのユーザー名を入力。
4.バージョンを確認
$ laravel -v

Laravel Installer 2.3.0
(4)laravelのディレクトリ作成
適当な所に作成。
$ cd ~/src/
$ laravel new laravel_sample
※laravel new <ディレクトリ名>とすると必要なパッケージがすべて揃い、laravelの環境が整う。
(5)nginxのインストール
1.brewでインストール
$ brew install nginx
2.バージョン確認
$ nginx -v

nginx version: nginx/1.17.8
(6)php-fpm(php72)をインストール
php-fpmとは、nginxでphpを動かす際に必要なサーバのこと。
$ brew install php72
(7)nginx.confの設定を変更する
$ cd /usr/local/etc/nginx/
$ vi nginx.conf
▼変更前
        #location ~ \.php$ {
        #    root           html;
        #    fastcgi_pass   127.0.0.1:9000;
        #    fastcgi_index  index.php;
        #    fastcgi_param  SCRIPT_FILENAME  /scripts$fastcgi_script_name;
        #    include        fastcgi_params;
        #}
▼変更後
location ~ \.php$ {
            root           /usr/local/var/www;
            fastcgi_pass   127.0.0.1:9000;
            fastcgi_index  index.php;
            fastcgi_param  SCRIPT_FILENAME  /usr/local/var/www$fastcgi_script_name;
            include        fastcgi_params;
        }
nginxとphp-fpmの起動
nginxの起動
$ brew services start nginx

phpの起動
$ brew services start php@7.2
動作確認
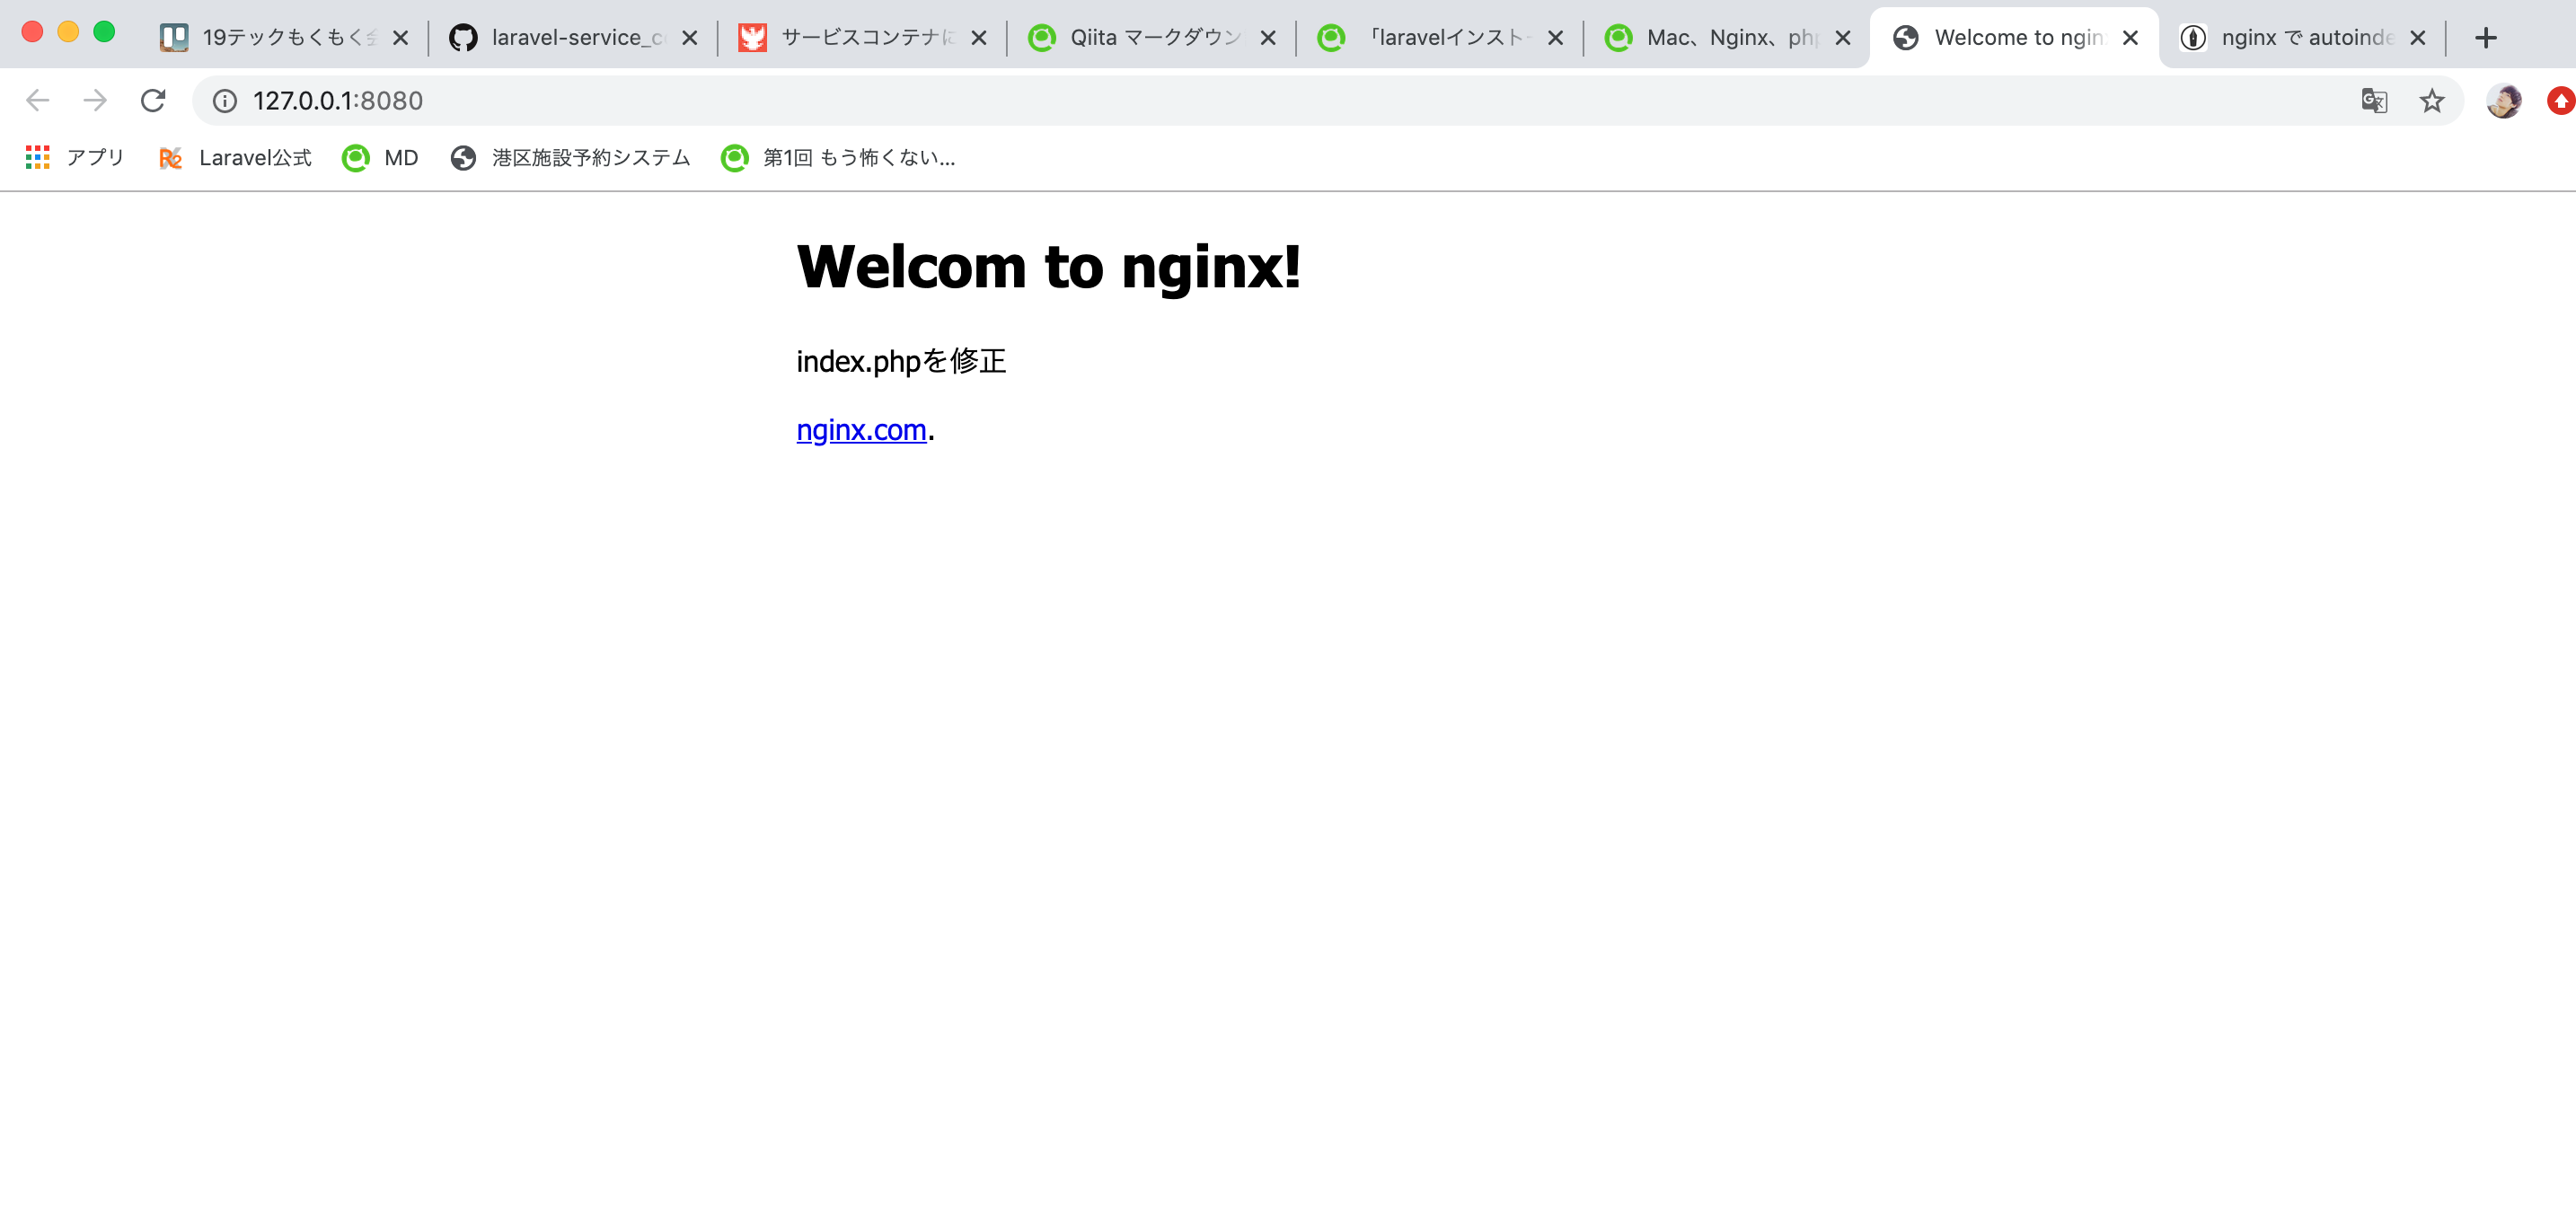
以下のURLにアクセスする
http://127.0.0.1:8080/
ここまででnginxの動作は確認できた!!!
次からはindex.phpを表示させていく。。。。

nginx.configの設定変更
$ cd /usr/local/etc/nginx/
$ vi nginx.conf
変更1
▼変更前
location / {
            root   html;
            index  index.html index.htm;
        }
▼変更後
location / {
            root /usr/local/var/www/;
            index index.php index.html
            try_files $uri $uri/ /index.php;
        }
変更2
▼変更前
location ~ \.php$ {
            root html;
            fastcgi_pass   127.0.0.1:9000;
            fastcgi_index  index.php;
            fastcgi_param SCRIPT_FILENAME $document_root$fastcgi_script_name;
            include        fastcgi_params;
        }
▼変更後
location ~ \.php$ {
            root /usr/local/var/www/xxxx/public;
            fastcgi_pass   127.0.0.1:9000;
            fastcgi_index  index.php;
            fastcgi_param SCRIPT_FILENAME $document_root$fastcgi_script_name;
            include        fastcgi_params;
        }
nginxを再起動
$ brew services restart nginx
動作確認