はじめに
前回の記事:Inkの紹介
前回はInkの基本的な部分を紹介しました。今回はUnity上でのInkの扱い方を紹介したいと思います。
今回は例として、画面上にInkで記述した会話文のテキストと選択肢を表示する簡素なUIを作っていきたいと思います。また、UIに表示させるためのスクリプトも書いていきます。動作環境はUnity 2020.3.36f1、スクリプトはVisual Stdio 2022で書いています。
UIの作成
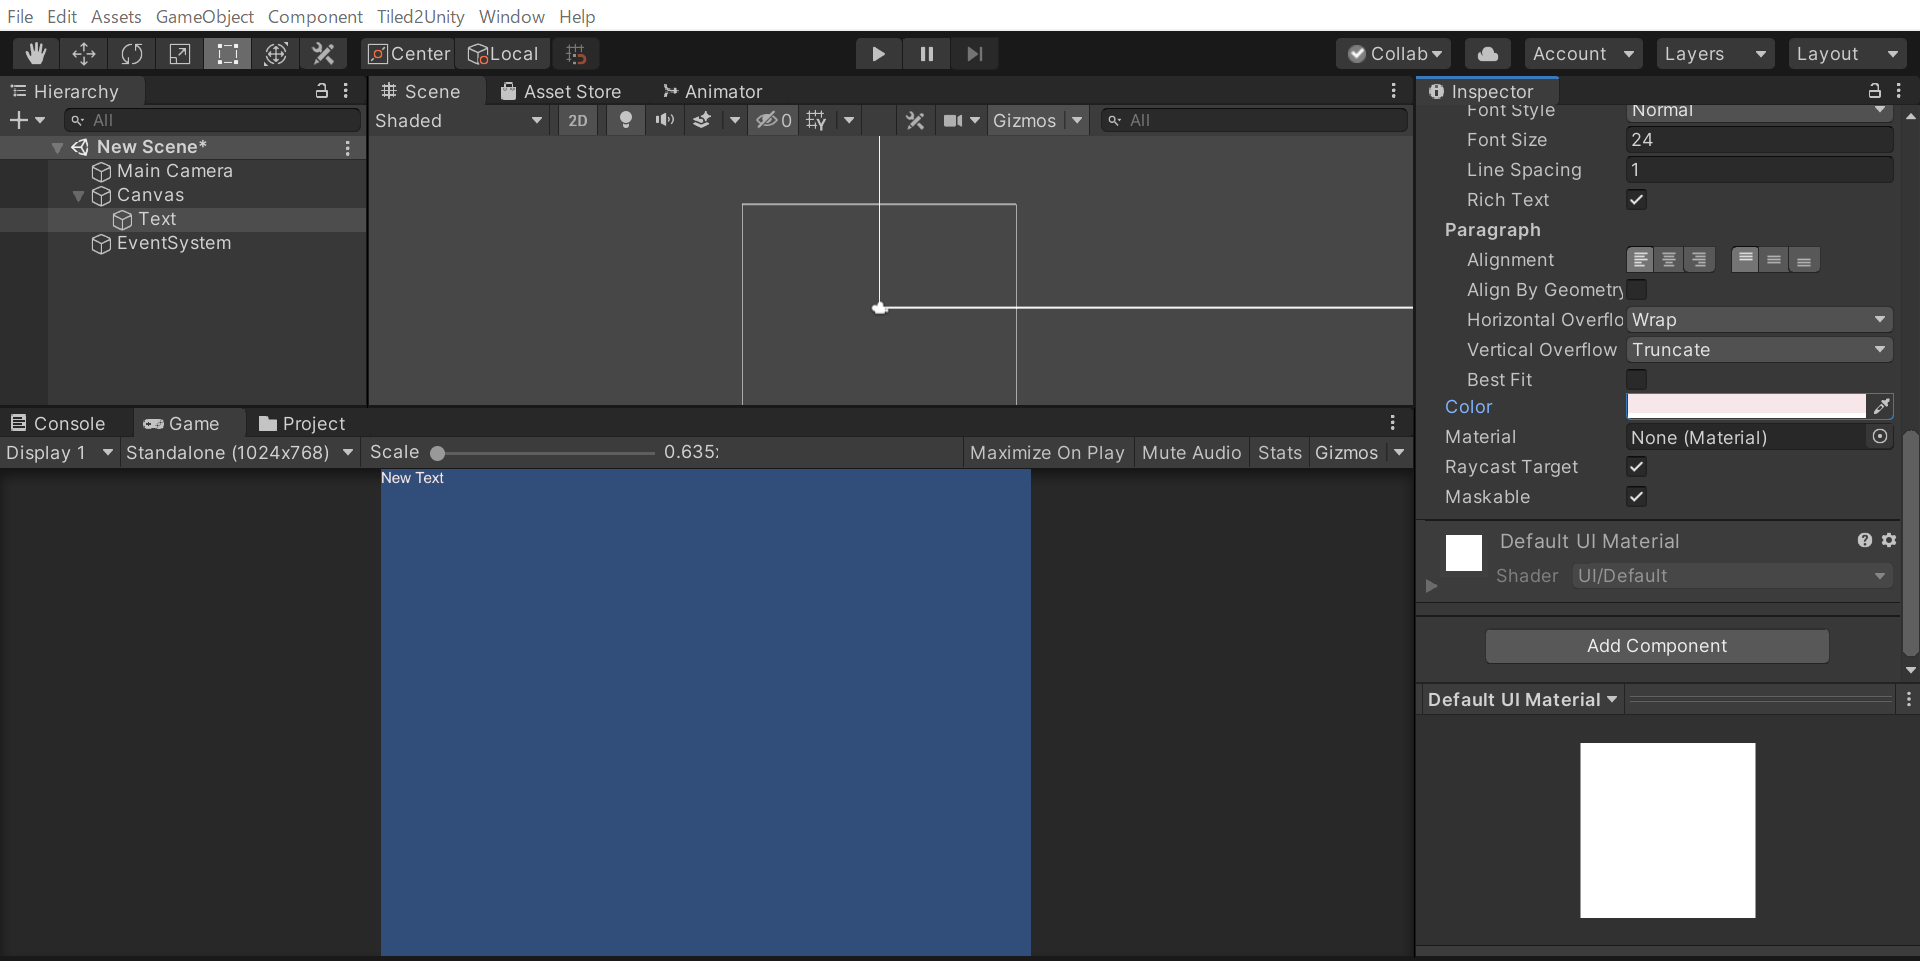
Unity上でヒエラルキーから右クリックでUI->Canvasをクリック。Add ComponentからVertical Layout Groupを追加。さらにCanvas上で右クリックからUI->Textをクリック。
Textの文字が小さいのでFont Sizeを24に、Colorを白にします。
現段階でのUnityの画面はこんな感じです。
その後Textをプレハブ化します。次にCnavas上で右クリックからUI->Buttonをクリック。Font Sizeを24にし、ButtonもTextと同じようにプレハブ化します。プレハブ化しましたらヒエラルキー上のButtonとTextは削除します。
スクリプトの作成
プロジェクトウィンドウで右クリックからCreate->C# Scriptをクリック。Visual Stdioを開きます。最初はキー入力したらテキストが順番に表示されるスクリプトを書きます。書き方としてはこんな感じです。
using Ink.Runtime;
using System.Collections;
using System.Collections.Generic;
using UnityEngine;
using UnityEngine.UI;

public class InkTextSctipts : MonoBehaviour
{
    public TextAsset inkJSON;
    private Story story;
    public Text textPrefab;

    // Start is called before the first frame update
    void Start()
    {
        story = new Story(inkJSON.text);
    }

    // Update is called once per frame
    void Update()
    {
        if (Input.GetKeyDown(KeyCode.Z))
        {
            if (story.canContinue)
            {
                eraseUI();
                Text storyText = Instantiate(textPrefab) as Text; //textのゲームオブジェクトを生成
                storyText.transform.SetParent(this.transform, false); //Canvasの子オブジェクトとして設定
                storyText.text = story.Continue();
            }
        }
    }

    void eraseUI() //Canvasの子オブジェクトを削除する
    {
        for (int i = 0; i < this.transform.childCount; i++)
        {
            Destroy(this.transform.GetChild(i).gameObject);
        }
    }
}
まず一行目でInk Runtimeを追加しています。コード内に記述してある、Ink Runtimeにより使用できるクラスやメゾットなどを一つずつ紹介していきます。
private Story story;
Storyクラスを宣言します。基本的にはこのStoryクラスのメゾットを使うことが多いです。
public TextAsset InkJSON;
コンパイルしたInkのJSONファイルを示します。
story = new Story(inkJSON.text);
JSONファイルのテキストを使用して、Storyクラスのインスタンスを作成します。
storyText.text = story.Continue();
Continue()メゾットはInkで記述したテキストを一行読み込みます。選択肢で扱う*などが付いている場合は読み込まれません。上記のコードではその後、Textオブジェクトのtextに代入することで、読み込んだ文字が表示されます。
story.canContinue
読み込めるテキストがあればtrueを返します。基本的な使い方としてはContinue()メゾットを実行する前に判定を行います。Continue()メゾットは読み込めるテキストがない状態でメゾットを実行するとエラーになるので、エラーになりそうな場合は先にこちらで判定する必要があります。
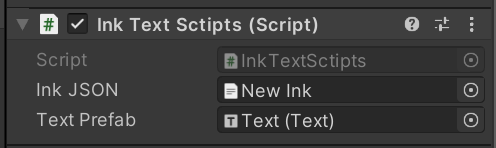
スクリプトを作成しましたらUnityに戻り、ヒエラルキーのCanvasをクリック。スクリプトを追加し、InkのJSONファイルとTextプレハブをアタッチします。
Unityで動かしたゲームビューのGifです。キーボードのZを一定間隔で入力しています。入力ごとに次の行の文字が表示されています。

選択肢の作成
今度は選択肢も表示させたいと思います。また、Tagsの機能を利用して会話の主が誰かを表示したいと思います。スクリプトで書くと下記のようになります。
using Ink.Runtime;
using System.Collections;
using System.Collections.Generic;
using UnityEngine;
using UnityEngine.UI;

public class InkTextSctipts : MonoBehaviour
{
    public TextAsset inkJSON;
    private Story story;
    public Text textPrefab;
    public Button buttonPrefab;

    // Start is called before the first frame update
    void Start()
    {
        story = new Story(inkJSON.text);
    }

    // Update is called once per frame
    void Update()
    {
        if (Input.GetKeyDown(KeyCode.Z))
        {
            if (story.canContinue)
            {
                eraseUI();
                showStoryText();
            }
            else
            {
                foreach (Choice choice in story.currentChoices) //選択肢の数だけボタンを生成する
                {
                    Button choiceButton = Instantiate(buttonPrefab) as Button; //Buttonのゲームオブジェクトを生成
                    choiceButton.transform.SetParent(this.transform, false); //Canvasの子オブジェクトとして設定

                    Text choiceText = choiceButton.GetComponentInChildren<Text>(); //Buttonのtextを取得
                    choiceText.text = choice.text; //選択肢のテキストをボタンテキストに代入

                    choiceButton.onClick.AddListener(delegate {
                        chooseStoryChoice(choice);
                    });
                }
            }
        }
    }

    void chooseStoryChoice(Choice choice) ボタンクリック時に実行
    {
        story.ChooseChoiceIndex(choice.index);
        eraseUI();
        showStoryText();
    }

    void eraseUI()//Canvasの子オブジェクトを削除する
    {
        for (int i = 0; i < this.transform.childCount; i++)
        {
            Destroy(this.transform.GetChild(i).gameObject);
        }
    }

    void showStoryText() //テキストを表示する
    {
        Text storyText = Instantiate(textPrefab) as Text;//textのゲームオブジェクトを生成
        storyText.transform.SetParent(this.transform, false);//Canvasの子オブジェクトとして設定
    string text = story.Continue();
        List<string> tags = story.currentTags;

        if(tags.Count > 0) //Tagsが設定されていた場合
        {
            text = tags[0] + " : " + text; //会話主 : 会話文 として表示
        }

        storyText.text = text;
    }
}
まずはChoiceやTagsのメゾットについて一つずつ解説していきたいと思います。
story.currentChoices
メゾット名からもわかるように現在の選択肢になります。現在読み込んでいる行から次にくる*がある選択肢(連続してる場合はそれらすべて)をListで格納しています。
story.ChooseChoiceIndex(choice.index);
ChooseChoiceIndexメゾットは現在の選択肢から有効なインデックス値を受け取ると、そのインデックスの選択肢へ移行します。
story.currentTags;
Continue()メゾットで読み込んだ行に設定されているTagsを取得します。複数設定できるためこちらもListで格納されています。
スクリプトをCanvasに追加して実行します。
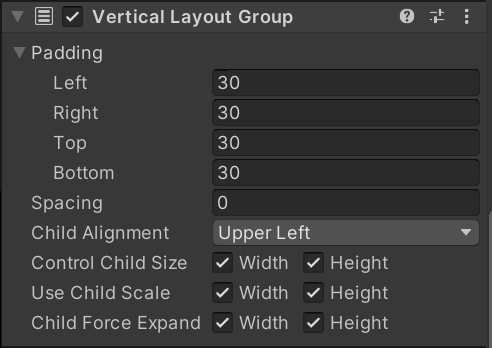
その前に、現在の状態では選択肢などが見づらいのでVertical Layout Groupを下記のように設定します。またプレハブ化したButtonをスクリプトにアタッチします。
動かすと下のGifのようになります。キーボードのZを入力して進めると、選択肢が現れます。選択肢の入力はマウスで行っています。

Inkの中身は下の画像のようになります。

終わりに
テキストベースで書いたストーリーがほぼそのままゲームに反映されていると管理がとても楽になると思います。特に、RPGでクエストを実装してさらに分岐させたい、となるとより一層感じます。
今回紹介したものはInkの機能の一部に過ぎません。他にもInk内で条件式を書いて特定の条件でのみテキストを表示するようにしたり、色々な機能が備わっています。
もしこの記事を見て、Inkに興味を持っていただけたら幸いです。
参照
https://github.com/inkle/ink
https://github.com/videlais/learning-ink-unity