下準備
以下のライブラリを使用する
import cv2
import random
まずはお目当ての画像を2値化しよう.画像のパスをpathとして
# 原本の画像読み込み
img = cv2.imread("path")
# 画像の白黒化
img_gray = cv2.imread("path", 0)
# 画像の2値化
threshold = 160
ret, img_2 = cv2.threshold(img_gray, threshold, 255, cv2.THRESH_BINARY)
ここでしきい値は160としたが各自調整して欲しい.色の分散を参照して自動調整する技術も存在する.
暗号化
ここからnumpyを使う
import numpy as np

height = 440
width = 1080
img_onlyblack = np.zeros((height, width, 1))
画像のサイズは縦440,横1080としたが,これも各自処理したい画像のサイズをそれぞれ2倍すればよい.
まず黒いだけの画像をひとまず生成した(これは使わない).
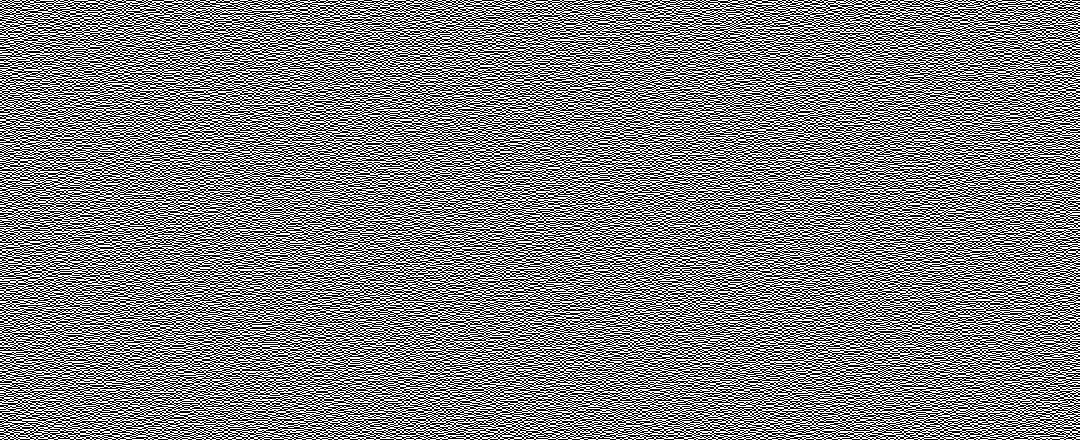
次にシード値とも言える画像を生成しよう.これが一枚目の暗号,つまり二つある鍵のうちの1つめの鍵である.
img_seed = np.zeros((height, width, 1))

for y in range(0,220):
  for x in range(0,540):
    if (random.randint(0,1) == 0):
      img_seed[2*y][2*x] = 255
      img_seed[2*y][2*x + 1] = 255
    else:
      img_seed[2*y + 1][2*x] = 255
      img_seed[2*y + 1][2*x + 1] = 255
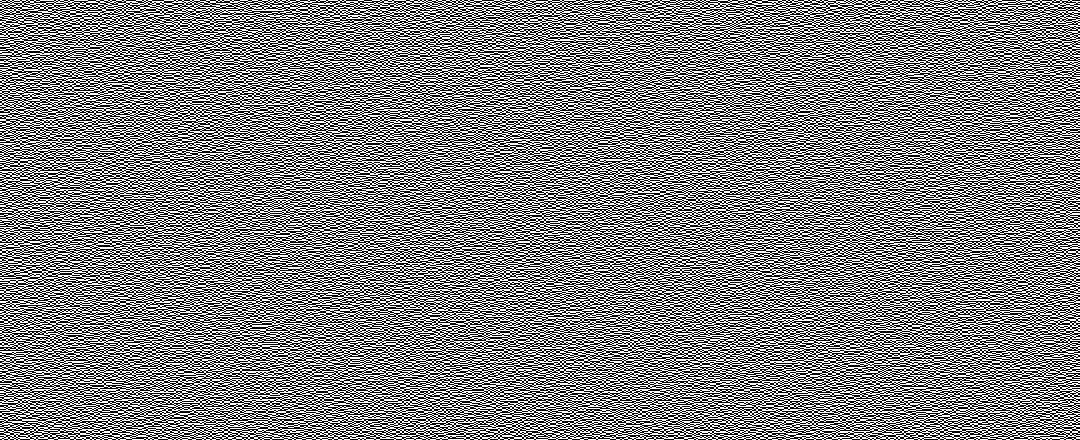
次に2枚目の画像を生成しよう.計算方針は
1.原本の画像の一点を参照
2.その点が黒ならば一枚目の画像の対応する点を反転して出力
3.そうでなければそのまま出力
である
img_crypt = np.zeros((height, width, 1))

for y in range(0,220):
  for x in range(0,540):
    if (img2[y][x] == 0):
      if (img_seed[2*y][2*x] == 0):
        img_crypt[2*y][2*x] = 255
        img_crypt[2*y][2*x + 1] = 255
        img_crypt[2*y + 1][2*x] = 0
        img_crypt[2*y + 1][2*x + 1] = 0
      else:
        img_crypt[2*y][2*x] = 0
        img_crypt[2*y][2*x + 1] = 0
        img_crypt[2*y + 1][2*x] = 255
        img_crypt[2*y + 1][2*x + 1] = 255
    else:
      img_crypt[2*y][2*x] = img_seed[2*y][2*x]
      img_crypt[2*y][2*x + 1] = img_seed[2*y][2*x + 1]
      img_crypt[2*y + 1][2*x] = img_seed[2*y + 1][2*x]
      img_crypt[2*y + 1][2*x + 1] = img_seed[2*y + 1][2*x + 1]
出力結果
この暗号の具体的な使い方を示すためここではあえて版権フリーでない画像を使用した.よって元の画像を掲載することはできない.気になる人は二枚の画像をダウンロードして高速で切り替えてみよう.目の錯覚で元の画像が見えるはずである.または白い部分を透過して重ねてみても良いだろう.
自分で生成した画像がうまくいってるかどうか?どんな感じになったかを確認するには次を実行すると良い
img_lor = np.zeros((height, width, 1))

for y in range(0,440):
  for x in range(0,1080):
    img_lor[y][x] =255

for y in range(0,440):
  for x in range(0,1080):
    if (img_seed[y][x] == 0) or (img_crypt[y][x] == 0):
      img_lor[y][x] = 0

cv2_imshow(img_lor)
まとめ
ここでは画像スクランブル技術をPythonで実装した.この技術によって版権フリーでない画像も掲載できてしまうのである.

