最近、PWAが少しは流行っているので覚書
■Step1:Index.htmlを準備
index.html
<!-- index.html -->
<html>
<head>
    <title>Hello PWA.</title>
    <link rel="manifest" href="./manifest.json">
</head>
<body>
    <h1>Hello World!</h1>
</body>
</html>
■Step2:マニフェスト
PWAにはマニフェスト「manifest.json」が必要なので準備します。
(manifest.jsonはindex.htmlから読み込んでいます)
manifest.json
{
    "short_name": "PWA HELLO",
    "name": "test01のPWA HELLO",
    "start_url": "./?utm_source=homescreen",
    "display": "standalone",
    "icons": [{
          "src": "./icon.png",
          "type": "image/png",
          "sizes": "192x192"
        }],
    "background_color": "#2196F3",
    "orientation": "portrait"
}
■Setp3:アイコン準備
192X192のサイズのアイコンを準備しましょう(icon.png)

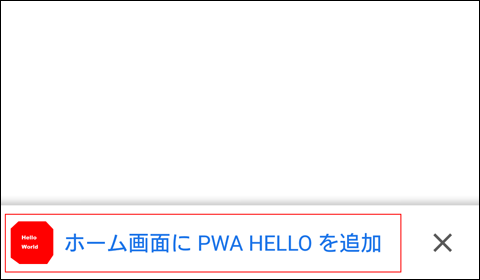
■Step4:実行(Android)
サーバにアップし、HTTPSでURLにアクセスしてください
アクセスすると「ホーム画面にPWA HELLOを追加」がでてきますので、それを選択してください
(まちがって「X」を選択すると追加できなくなります)
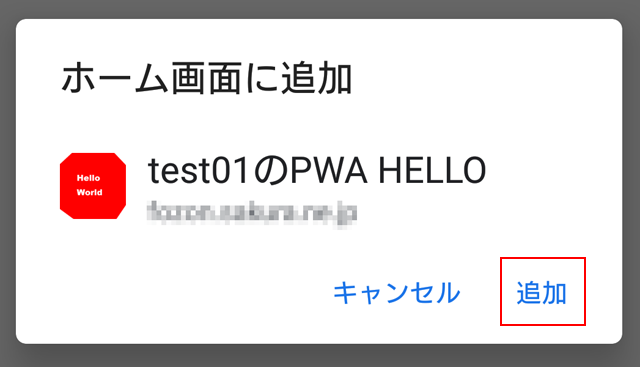
確認のダイアログが現れたら「追加」を
一般のアプリと同じようにアイコンで登録されます。
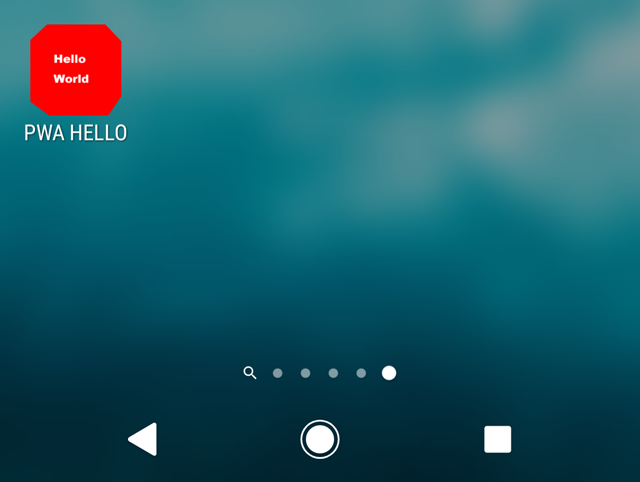
アイコンを実行すると

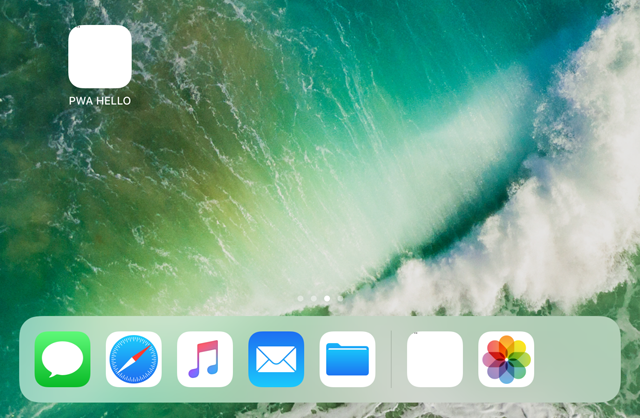
■Step4:実行(iOs)
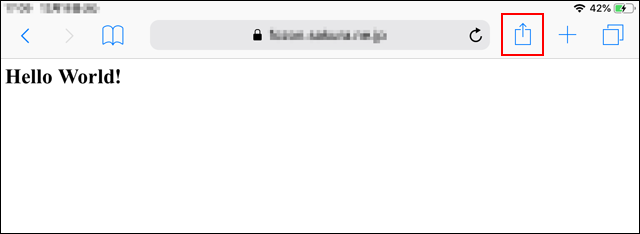
サーバにアップし、HTTPSでURLにアクセスしてください(サファリを使用)
アクセスしたら、右上のボタンを押します。
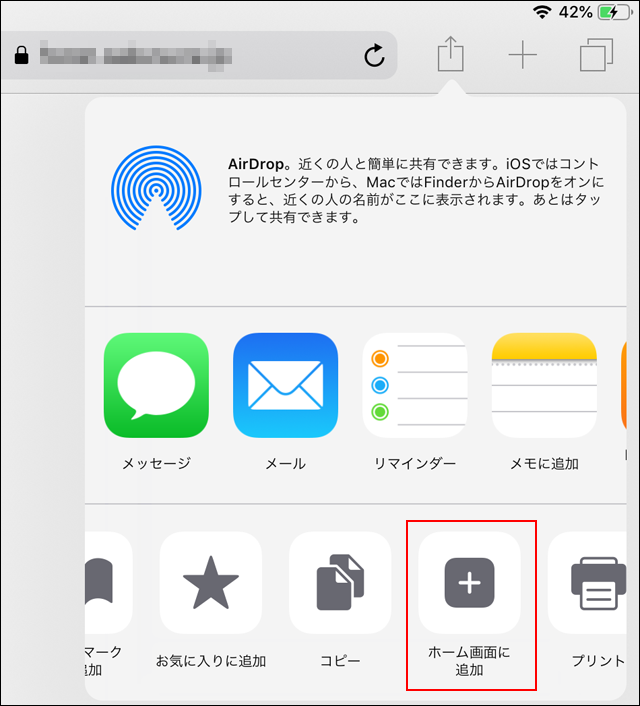
メニューが現れたら、「ホーム画面に追加」を選択
確認ダイアログが現れたら「追加」を選択
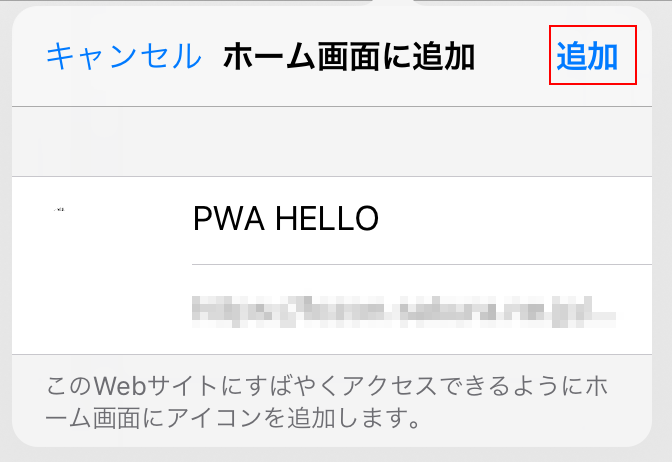
無事登録できたので、このアイコンから実行できます。