はじめに
EKS上のPodからEFSをPersistentVolumeとして使用する方法の1つとしてEFS CSI Driverが選択肢としてあります。
今回はEFSアクセスポイントを使用した際のバックアップとリストアの方法を説明します。
EKSは1.16を使用しています。
前準備
EFS CSI Driver
EFS CSI Driverを以下のコマンドでデプロイします。
$ kubectl apply -k "github.com/kubernetes-sigs/aws-efs-csi-driver/deploy/kubernetes/overlays/stable/ecr/?ref=release-1.0"
次に、PersistentVolumeでEFSを使用するためにStorageClassを定義します。
kind: StorageClass
apiVersion: storage.k8s.io/v1
metadata:
  name: efs-sc
provisioner: efs.csi.aws.com
$ kubectl apply -f efs-sc.yaml
EFS
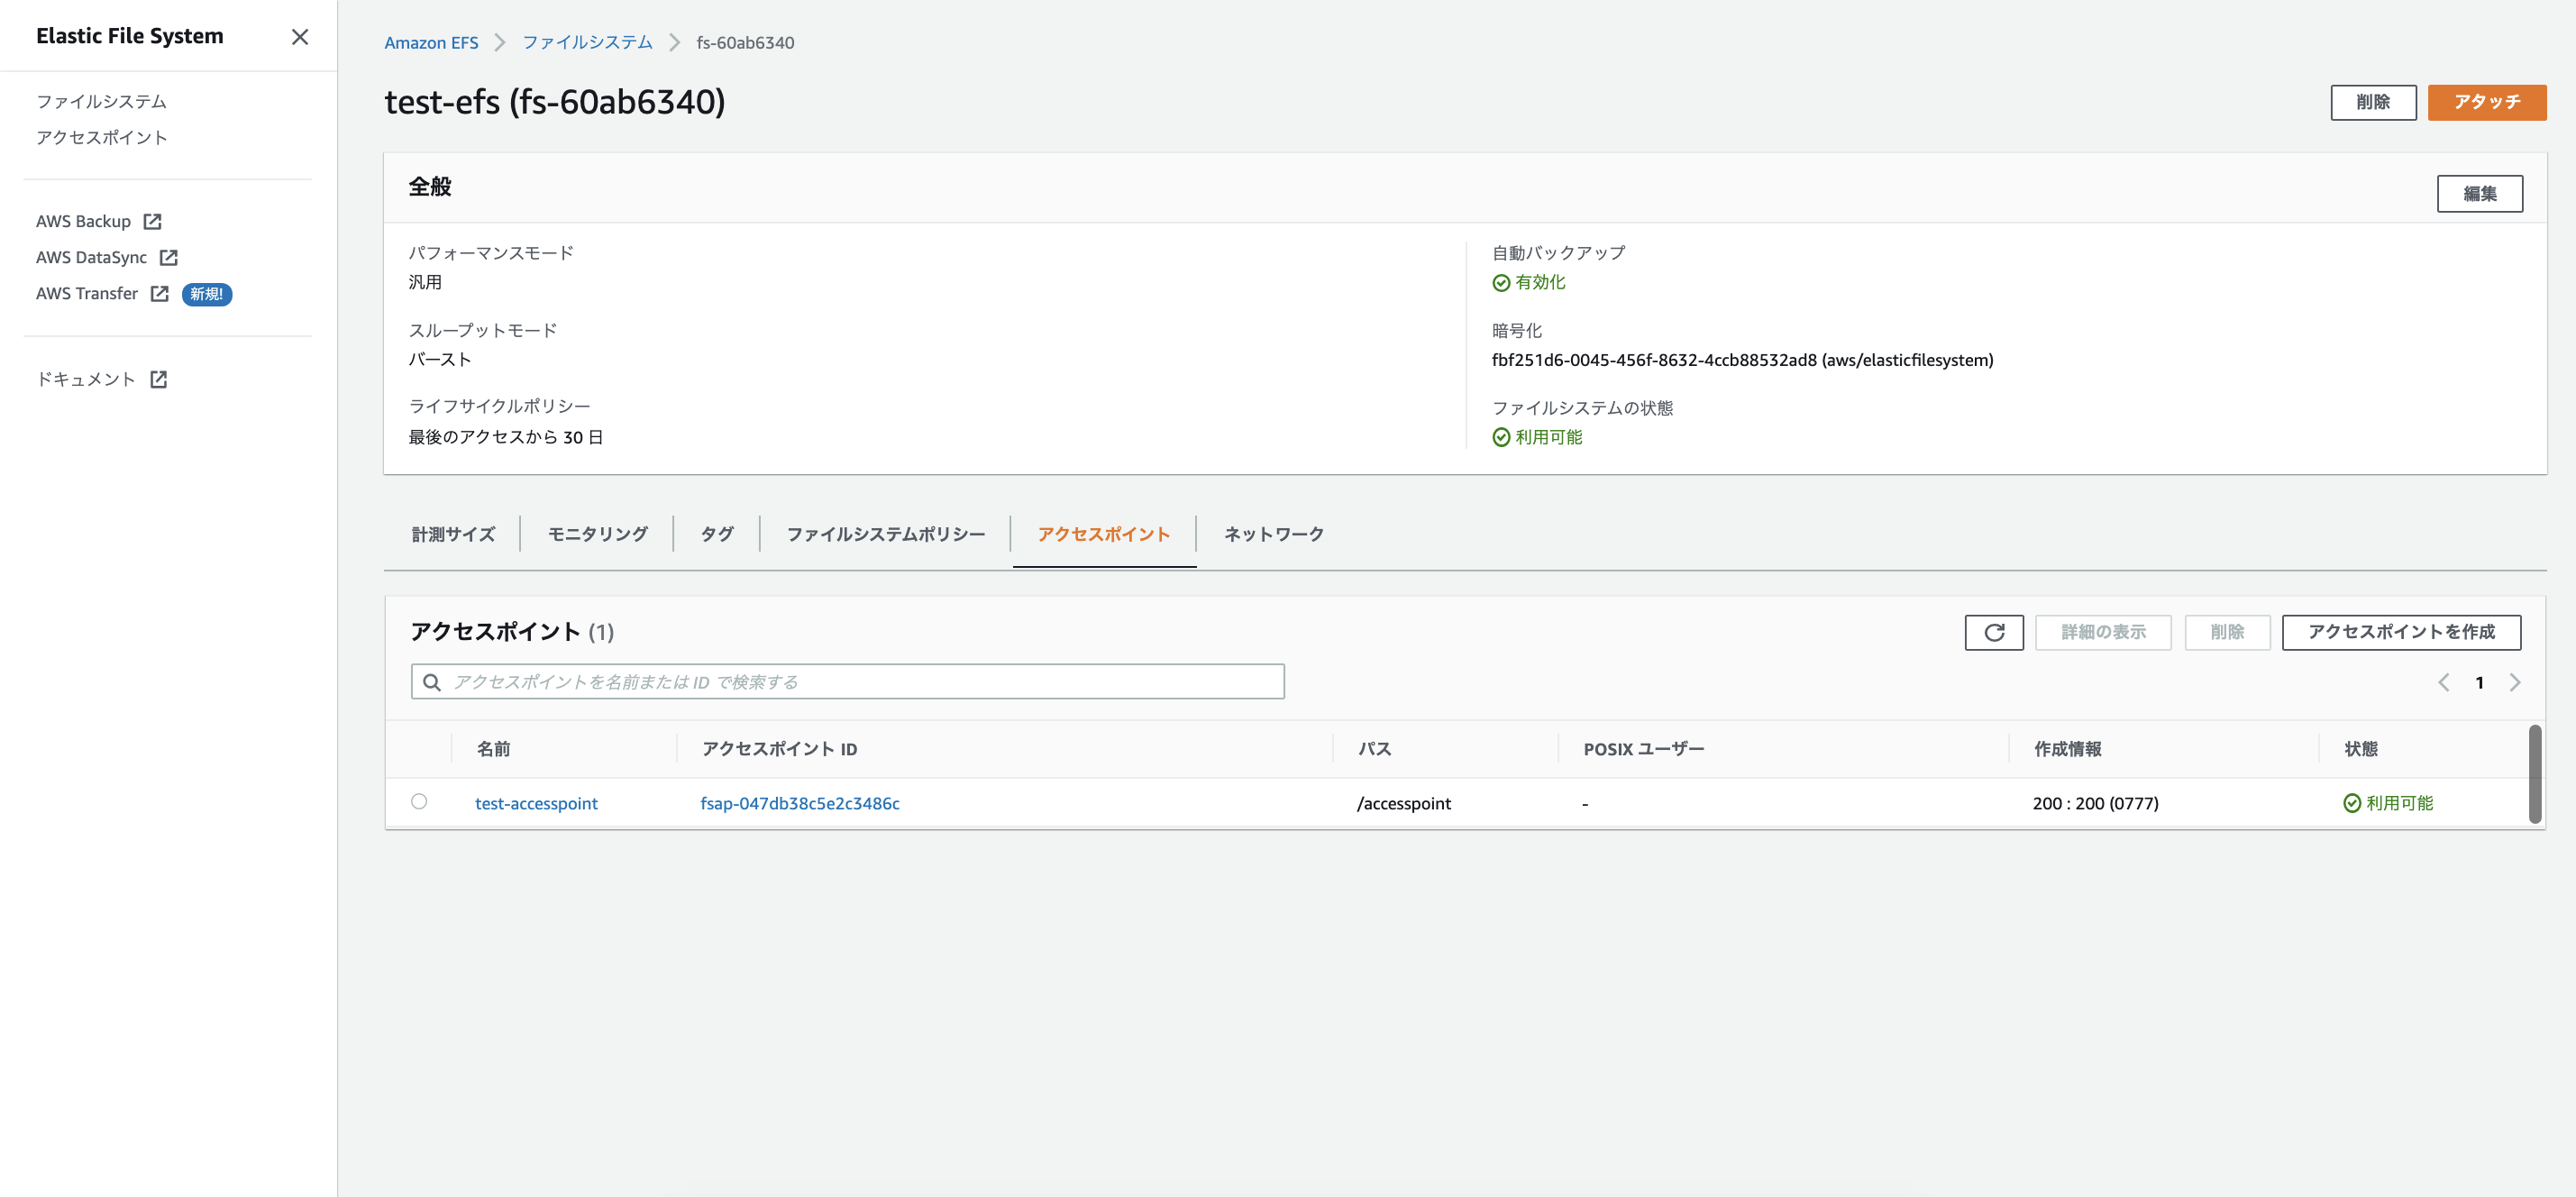
EFSアクセスポイントを以下のようにパス/accesspoint、ルートディレクトリ作成情報を200:200(0777)にします。今回はアプリケーションの実行ユーザを200にするためにこのような設定を入れます。
0:0(0777)で作成して後でinit containerでchownしてもいいですが、データ量が大きいと処理に時間がかかるのでEFS側で設定しておくことをお勧めします。
アプリケーション
今回はデータのバックアップ・リストアを確かめるためなのでCentosのDockerイメージを使用します。
SecurityContextで実行ユーザを200にしています。
apiVersion: v1
kind: PersistentVolume
metadata:
  name: efs-pv
spec:
  capacity:
    storage: 5Gi
  volumeMode: Filesystem
  accessModes:
    - ReadWriteMany
  persistentVolumeReclaimPolicy: Retain
  storageClassName: efs-sc
  csi:
    driver: efs.csi.aws.com
    volumeHandle: fs-60ab6340::fsap-047db38c5e2c3486c
---
apiVersion: v1
kind: PersistentVolumeClaim
metadata:
  name: efs-claim
spec:
  accessModes:
    - ReadWriteMany
  storageClassName: efs-sc
  resources:
    requests:
      storage: 5Gi
---
apiVersion: v1
kind: Pod
metadata:
  name: efs-app
spec:
  containers:
  - name: app
    image: centos
    command: ["/bin/sh"]
    args: ["-c", "while true; do sleep 5; done"]
    volumeMounts:
    - name: efs-volume
      mountPath: /mnt
  securityContext:
    runAsUser: 200
    runAsGroup: 200
    fsGroup: 200
  volumes:
  - name: efs-volume
    persistentVolumeClaim:
      claimName: efs-claim
$ kubectl apply -f efs-app.yaml
ファイルとディレクトリを作成しておきます。
$ kubectl exec -it efs-app /bin/bash
$ mkdir /mnt/test
$ touch /mnt/test.txt
$ ls -l /mnt
total 8
drwxr-xr-x 2 200 200 6144 Feb 20 15:42 test
-rw-r--r-- 1 200 200    0 Feb 20 15:41 test.txt
バックアップ
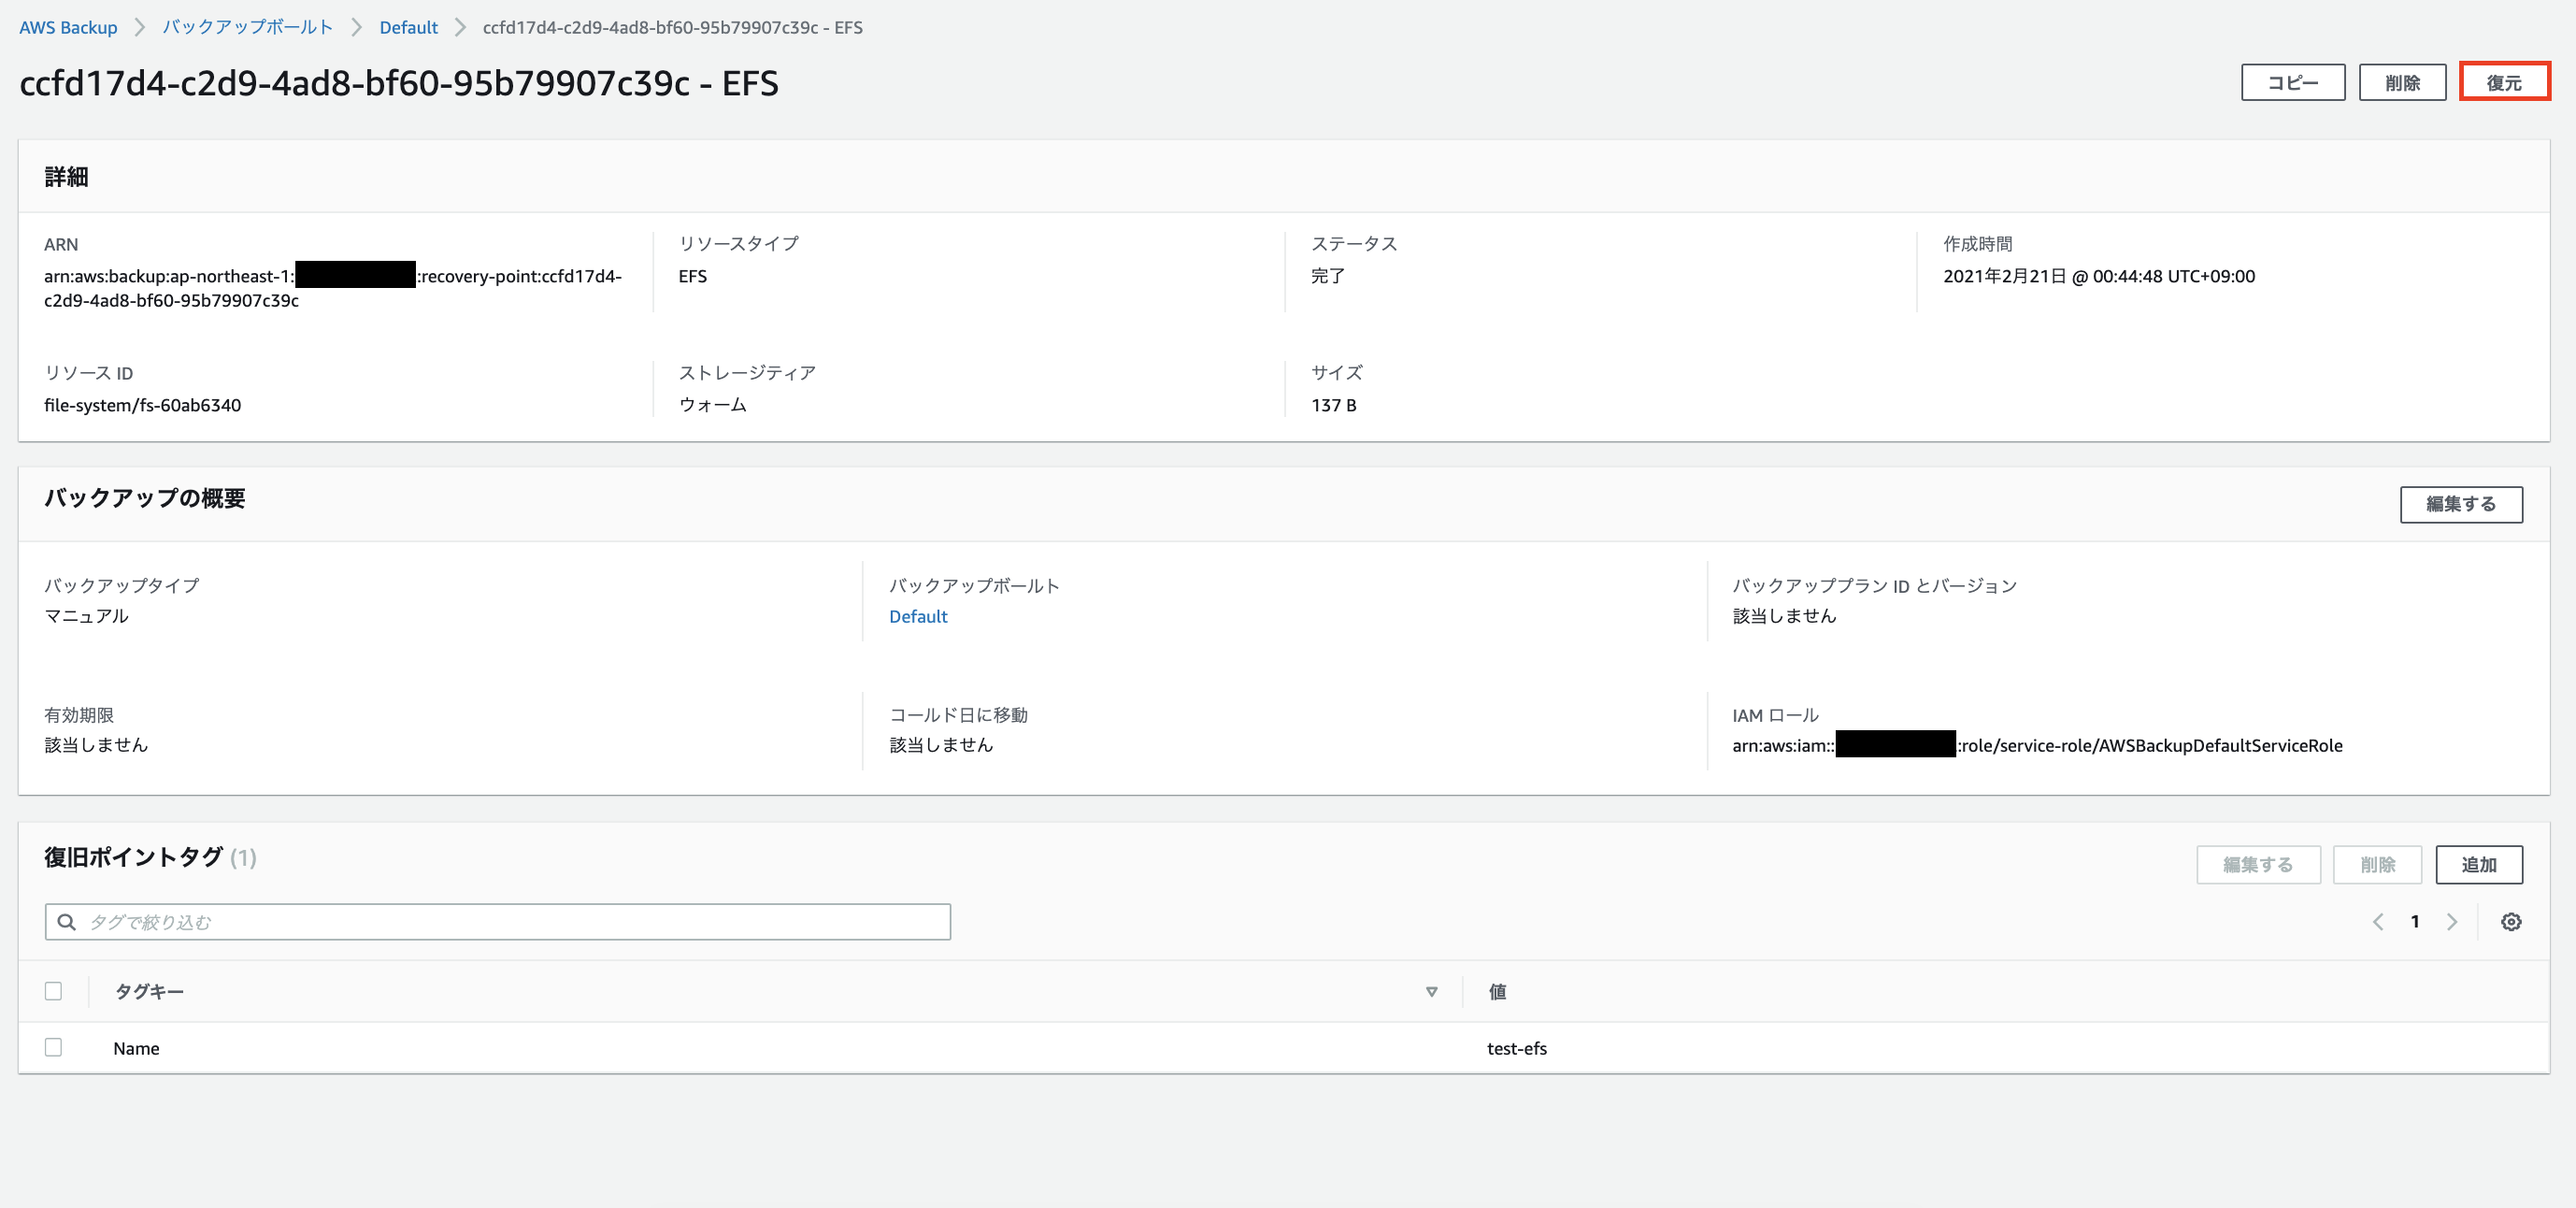
AWS Backupでファイルシステムのバックアップを行います。
今回はオンデマンドバックアップを作成します。
バックアップが完了したらコンテナ内のディレクトリとファイルを削除します。
$ kubectl exec -it efs-app /bin/bash
$ rm -r /mnt/test
$ rm /mnt/test.txt
$ ls -l /mnt
total 0
リストア
AWS Backupでデータの復元をしていきます。
「項目レベルの復元」を選択して復元を実行します。実行までに10分かかります。
復元されたデータはファイルシステムのルートディレクトリ直下に格納されます。
そのためルートディレクトリにアクセス可能なPodを別に立ててリストアを行います。
PersistentVolumeのspec.csi.volumeHandleには今回アクセスポイントを指定していません。
apiVersion: v1
kind: PersistentVolume
metadata:
  name: efs-pv-restore
spec:
  capacity:
    storage: 5Gi
  volumeMode: Filesystem
  accessModes:
    - ReadWriteMany
  persistentVolumeReclaimPolicy: Retain
  storageClassName: efs-sc
  csi:
    driver: efs.csi.aws.com
    volumeHandle: fs-60ab6340
---
apiVersion: v1
kind: PersistentVolumeClaim
metadata:
  name: efs-claim-restore
spec:
  accessModes:
    - ReadWriteMany
  storageClassName: efs-sc
  resources:
    requests:
      storage: 5Gi
---
apiVersion: v1
kind: Pod
metadata:
  name: efs-app-restore
spec:
  containers:
  - name: app
    image: centos
    command: ["/bin/sh"]
    args: ["-c", "while true; do sleep 5; done"]
    volumeMounts:
    - name: efs-volume
      mountPath: /mnt-restore
  securityContext:
    runAsUser: 200
    runAsGroup: 200
  volumes:
  - name: efs-volume
    persistentVolumeClaim:
      claimName: efs-claim-restore
$ kubectl apply -f efs-app-restore.yaml
リストア用コンテナに入りバックアップデータをアプリ用コンテナのマウント先にコピーします。
実行ユーザをアプリケーション同様200にしているために後でchownをする必要がなくなります。データ量が大きいときにchownの処理も入れると時間がかかるので注意しましょう。
$ kubectl exec -it efs-app-restore /bin/bash
$ ls -l /mnt-restore/
total 8
drwxrwxrwx 2  200  200 6144 Feb 20 15:46 accesspoint
drwxr-xr-x 4 root root 6144 Feb 20 15:03 aws-backup-restore_2021-02-20T16-05-41-036Z
$ ls -l /mnt-restore/accesspoint/
total 0
$ ls -l /mnt-restore/aws-backup-restore_2021-02-20T16-05-41-036Z/accesspoint/
total 8
drwxr-xr-x 2 200 200 6144 Feb 20 15:42 test
-rw-r--r-- 1 200 200    0 Feb 20 15:41 test.txt
$ cp -R /mnt-restore/aws-backup-restore_2021-02-20T16-05-41-036Z/accesspoint/* /mnt-restore/accesspoint/
$ ls -l /mnt-restore/accesspoint/
total 8
drwxr-xr-x 2 200 200 6144 Feb 20 16:15 test
-rw-r--r-- 1 200 200    0 Feb 20 16:15 test.txt
アプリコンテナでもリストアされているか確認をします。
$ kubectl exec -it efs-app -- ls -l /mnt
total 8
drwxr-xr-x 2 200 200 6144 Feb 20 16:15 test
-rw-r--r-- 1 200 200    0 Feb 20 16:15 test.txt
まとめ
EKS上のPodからEFSアクセスポイントを使用する際のデータのバックアップとリストアの方法を説明しました。
AWS Backupでは復元データはルートディレクトリ直下に配置されるので、それを考慮してリストアを実行する必要があります。
参考
https://docs.aws.amazon.com/ja_jp/eks/latest/userguide/efs-csi.html
https://github.com/kubernetes-sigs/aws-efs-csi-driver/blob/master/examples/kubernetes/access_points/specs/example.yaml


