はじめに
EKSでIngressを使用するときはALB Ingress ControllerやNGINX Ingress Controllerが必要となります。LBを作成するよう設定するとそれぞれALB、CLBを作成します。CLBはALBより値段が高いのでALBに寄せた方が良いです。ただ、ALB Ingress ControllerはNamespaceの異なるIngressリソースに対応しておらず、デプロイした分ALBが作成されてしまいます。
本記事ではALB Ingress ControllerとNGINX Ingress Controllerを組み合わせて1つのALBで済む方法を紹介します。概観は次のようになります。

環境情報
macOS Mojave 10.14.1
terraform: v0.12.16
helm: v2.14.3
helmfile: v0.87.0
kubectl: v1.13.11-eks-5876d6
ディレクトリ構成は次のようになります。
.
├── terraform
│   ├── providers.tf
│   ├── vpc.tf
│   ├── eks.tf
│   └── iam.tf
└── kubernetes
    ├── helmfile.yaml
    ├── alb-ingress.yaml
    └── app.yaml
AWSリソース
AWSリソースはTerraformでデプロイします。
providers.tfではリージョンを定義します。
provider "aws" {
  version = ">= 1.24.0"
  region  = "ap-northeast-1"
}
vpc.tfではVPCを定義します。
ALB Ingress Controllerのauto discoveryを使用するためにsubnetのタグにkubernetes.io/role/elbを付けておきます。これはpublic subnetの場合なのでprivate subenetを使う場合は異なるので注意してください。
data "aws_availability_zones" "available" {}

module "vpc" {
  source             = "terraform-aws-modules/vpc/aws"
  version            = "2.15.0"
  name               = "test-vpc"
  cidr               = "10.0.0.0/16"
  azs                = "${data.aws_availability_zones.available.names}"
  public_subnets     = ["10.0.1.0/24", "10.0.2.0/24", "10.0.3.0/24"]
  enable_nat_gateway = true
  single_nat_gateway = false
  one_nat_gateway_per_az = false
  tags               = "${merge(local.tags, map("kubernetes.io/cluster/${local.cluster_name}", "shared"))}"
  public_subnet_tags   = {
    "kubernetes.io/role/elb" = ""
  }
}
eks.tfではEKSを定義します。EKS moduleを使用するのでインプットの情報が少なくて済みます。
locals {
  cluster_name = "test-cluster"
  worker_groups = [
    {
      name = "test-worker"
      instance_type = "t3.medium"
      subnets = "${module.vpc.public_subnets}"
      autoscaling_enabled = true
      asg_desired_capacity = "2"
      asg_max_size = "3"
      asg_min_size = "2"
      root_volume_size = "10"
      key_name = "ec2-key"
    }
  ]
  tags = {
    Environment = "test"
  }
}

module "eks" {
  source  = "terraform-aws-modules/eks/aws"
  version = "6.0.2"
  cluster_name = "${local.cluster_name}"
  cluster_version = "1.13"
  subnets = "${module.vpc.public_subnets}"
  tags = "${local.tags}"
  vpc_id = "${module.vpc.vpc_id}"
  worker_groups = "${local.worker_groups}"
  cluster_create_timeout = "30m"
  cluster_delete_timeout = "30m"
}
iam.tfではIAMを定義します。ALB Ingress ControllerにはIngressリソースを元にALBを作成するためのIAM Roleを付与する必要があります。今回はkube2iamを使用せず、IAM Role for Service Accountを使用します。kube2iamはDaemonsetをデプロイしなければならないのでできるだけ避けましょう。
Service Accountはsystem:serviceaccount:kube-system:alb-ingress-controller-aws-alb-ingress-controllerと定義しています。この名前はALB Ingress Controller Helm ChartでデプロイするService Accountと同一の名前になるようにしています。
IAM Policyは公式 IAM Policy jsonをそのまま用いています。
resource "aws_iam_openid_connect_provider" "oidc_provider" {
  url = "${module.eks.cluster_oidc_issuer_url}"
  thumbprint_list = ["9e99a48a9960b14926bb7f3b02e22da2b0ab7280"]
  client_id_list = [
    "sts.amazonaws.com"
  ]
}

data "aws_iam_policy_document" "alb_ingress_controller" {
  statement {
    effect = "Allow"
    actions = [
      "sts:AssumeRoleWithWebIdentity"
    ]
    principals {
      type        = "Federated"
      identifiers = ["${aws_iam_openid_connect_provider.oidc_provider.arn}"]
    }
    condition {
      test     = "StringEquals"
      variable = "${replace(aws_iam_openid_connect_provider.oidc_provider.url, "https://", "")}:sub"
      values = [
        "system:serviceaccount:kube-system:alb-ingress-controller-aws-alb-ingress-controller"
      ]
    }
  }
}

resource "aws_iam_role" "alb_ingress_controller" {
  name               = "alb-ingress-controller"
  assume_role_policy = "${data.aws_iam_policy_document.alb_ingress_controller.json}"
}

resource "aws_iam_role_policy_attachment" "alb_ingress_controller" {
  role       = "${aws_iam_role.alb_ingress_controller.id}"
  policy_arn = "${aws_iam_policy.alb_ingress_controller.arn}"
}

resource "aws_iam_policy" "alb_ingress_controller" {
  name = "alb-ingress-controller"
  policy = <<EOF
{
  "Version": "2012-10-17",
  "Statement": [
    {
      "Effect": "Allow",
      "Action": [
        "acm:DescribeCertificate",
        "acm:ListCertificates",
        "acm:GetCertificate"
      ],
      "Resource": "*"
    },
    {
      "Effect": "Allow",
      "Action": [
        "ec2:AuthorizeSecurityGroupIngress",
        "ec2:CreateSecurityGroup",
        "ec2:CreateTags",
        "ec2:DeleteTags",
        "ec2:DeleteSecurityGroup",
        "ec2:DescribeAccountAttributes",
        "ec2:DescribeAddresses",
        "ec2:DescribeInstances",
        "ec2:DescribeInstanceStatus",
        "ec2:DescribeInternetGateways",
        "ec2:DescribeNetworkInterfaces",
        "ec2:DescribeSecurityGroups",
        "ec2:DescribeSubnets",
        "ec2:DescribeTags",
        "ec2:DescribeVpcs",
        "ec2:ModifyInstanceAttribute",
        "ec2:ModifyNetworkInterfaceAttribute",
        "ec2:RevokeSecurityGroupIngress"
      ],
      "Resource": "*"
    },
    {
      "Effect": "Allow",
      "Action": [
        "elasticloadbalancing:AddListenerCertificates",
        "elasticloadbalancing:AddTags",
        "elasticloadbalancing:CreateListener",
        "elasticloadbalancing:CreateLoadBalancer",
        "elasticloadbalancing:CreateRule",
        "elasticloadbalancing:CreateTargetGroup",
        "elasticloadbalancing:DeleteListener",
        "elasticloadbalancing:DeleteLoadBalancer",
        "elasticloadbalancing:DeleteRule",
        "elasticloadbalancing:DeleteTargetGroup",
        "elasticloadbalancing:DeregisterTargets",
        "elasticloadbalancing:DescribeListenerCertificates",
        "elasticloadbalancing:DescribeListeners",
        "elasticloadbalancing:DescribeLoadBalancers",
        "elasticloadbalancing:DescribeLoadBalancerAttributes",
        "elasticloadbalancing:DescribeRules",
        "elasticloadbalancing:DescribeSSLPolicies",
        "elasticloadbalancing:DescribeTags",
        "elasticloadbalancing:DescribeTargetGroups",
        "elasticloadbalancing:DescribeTargetGroupAttributes",
        "elasticloadbalancing:DescribeTargetHealth",
        "elasticloadbalancing:ModifyListener",
        "elasticloadbalancing:ModifyLoadBalancerAttributes",
        "elasticloadbalancing:ModifyRule",
        "elasticloadbalancing:ModifyTargetGroup",
        "elasticloadbalancing:ModifyTargetGroupAttributes",
        "elasticloadbalancing:RegisterTargets",
        "elasticloadbalancing:RemoveListenerCertificates",
        "elasticloadbalancing:RemoveTags",
        "elasticloadbalancing:SetIpAddressType",
        "elasticloadbalancing:SetSecurityGroups",
        "elasticloadbalancing:SetSubnets",
        "elasticloadbalancing:SetWebACL"
      ],
      "Resource": "*"
    },
    {
      "Effect": "Allow",
      "Action": [
        "iam:CreateServiceLinkedRole",
        "iam:GetServerCertificate",
        "iam:ListServerCertificates"
      ],
      "Resource": "*"
    },
    {
      "Effect": "Allow",
      "Action": [
        "cognito-idp:DescribeUserPoolClient"
      ],
      "Resource": "*"
    },
    {
      "Effect": "Allow",
      "Action": [
        "waf-regional:GetWebACLForResource",
        "waf-regional:GetWebACL",
        "waf-regional:AssociateWebACL",
        "waf-regional:DisassociateWebACL"
      ],
      "Resource": "*"
    },
    {
      "Effect": "Allow",
      "Action": [
        "tag:GetResources",
        "tag:TagResources"
      ],
      "Resource": "*"
    },
    {
      "Effect": "Allow",
      "Action": [
        "waf:GetWebACL"
      ],
      "Resource": "*"
    }
  ]
}
EOF
}
用意したtfファイルと同じディレクトリで下記コマンドを実行すればAWSリソースが作成されます。
$ terraform init
$ terraform apply
Kubernetesリソース
helmfileでALB Ingress ControllerとNGINX Ingress Controllerをデプロイします。
ALB Ingress ControllerのvaluesのserviceAccountAnnotationsの値のXXXXXXXXXXXXには自身のAWSアカウント名を指定してください。
repositories:
  - name: incubator
    url: https://kubernetes-charts-incubator.storage.googleapis.com
  - name: stable
    url: https://kubernetes-charts.storage.googleapis.com

releases:
  # https://github.com/helm/charts/tree/master/incubator/aws-alb-ingress-controller
  - name: alb-ingress-controller
    namespace: kube-system
    chart: incubator/aws-alb-ingress-controller
    version: 0.1.11
    wait: true
    values:
      - clusterName: test-cluster
        autoDiscoverAwsRegion: true
        autoDiscoverAwsVpcID: true
        rbac:
          serviceAccountAnnotations:
            eks.amazonaws.com/role-arn: arn:aws:iam::XXXXXXXXXXXX:role/alb-ingress-controller
  # https://github.com/helm/charts/tree/master/stable/nginx-ingress
  - name: nginx-ingress
    namespace: kube-system
    chart: stable/nginx-ingress
    version: 1.24.3
    wait: true
    values:
      - controller:
          service:
            type: NodePort
あとは下記コマンドを実行してデプロイするだけです。
$ helmfile apply
alb-ingress.yamlはALB Ingress Controllerに読み込ませてALBを作成させるためのものです。任意のリクエストをNGINX Ingress ControllerのServiceにルーティングさせます。
apiVersion: extensions/v1beta1
kind: Ingress
metadata:
  name: alb-ingress
  namespace: kube-system
  annotations:
    kubernetes.io/ingress.class: alb
    alb.ingress.kubernetes.io/scheme: internet-facing
    alb.ingress.kubernetes.io/listen-ports: '[{"HTTP": 80}]'
spec:
  rules:
    - http:
        paths:
          - backend:
              serviceName: nginx-ingress-controller
              servicePort: 80
下記コマンドを実行すればALBが自動で作成されます。
$ kubectl apply -f alb-ingress.yaml
テスト用のnginxを2つのNamespace分作成します。IngressのhostにはALBのDNS名を指定し、rewrite-targetで/app1のパスが/に変換されるようにしています。
---
kind: Namespace
apiVersion: v1
metadata:
  name: app1
---
apiVersion: extensions/v1beta1
kind: Ingress
metadata:
  name: app1-ing
  namespace: app1
  annotations:
    kubernetes.io/ingress.class: nginx
    nginx.ingress.kubernetes.io/rewrite-target: /$2
spec:
  rules:
  - host: d7f12bb1-kubesystem-albing-65d9-811539212.ap-northeast-1.elb.amazonaws.com
    http:
      paths:
      - path: /app1(/|$)(.*)
        backend:
          serviceName: app1-svc
          servicePort: 80
---
apiVersion: v1
kind: Service
metadata:
  name: app1-svc
  namespace: app1
spec:
  type: ClusterIP
  ports:
    - name: http-port
      protocol: TCP
      port: 80
      targetPort: 80
  selector:
    app: app1
---
apiVersion: apps/v1
kind: Deployment
metadata:
  name: app1-deploy
  namespace: app1
spec:
  replicas: 1
  selector:
    matchLabels:
      app: app1
  template:
    metadata:
      labels:
        app: app1
    spec:
      containers:
        - name: nginx-container
          image: nginx:1.13
          ports:
            - containerPort: 80
---
kind: Namespace
apiVersion: v1
metadata:
  name: app2
---
apiVersion: extensions/v1beta1
kind: Ingress
metadata:
  name: app2-ing
  namespace: app2
  annotations:
    kubernetes.io/ingress.class: nginx
    nginx.ingress.kubernetes.io/rewrite-target: /$2
spec:
  rules:
  - host: d7f12bb1-kubesystem-albing-65d9-811539212.ap-northeast-1.elb.amazonaws.com
    http:
      paths:
      - path: /app2(/|$)(.*)
        backend:
          serviceName: app2-svc
          servicePort: 80
---
apiVersion: v1
kind: Service
metadata:
  name: app2-svc
  namespace: app2
spec:
  type: ClusterIP
  ports:
    - name: http-port
      protocol: TCP
      port: 80
      targetPort: 80
  selector:
    app: app2
---
apiVersion: apps/v1
kind: Deployment
metadata:
  name: app2-deploy
  namespace: app2
spec:
  replicas: 1
  selector:
    matchLabels:
      app: app2
  template:
    metadata:
      labels:
        app: app2
    spec:
      containers:
        - name: nginx-container
          image: nginx:1.13
          ports:
            - containerPort: 80
あとはデプロイするだけでNGINX Ingress Controllerにルーティング設定が反映されます。
$ kubectl apply -f app.yaml
結果
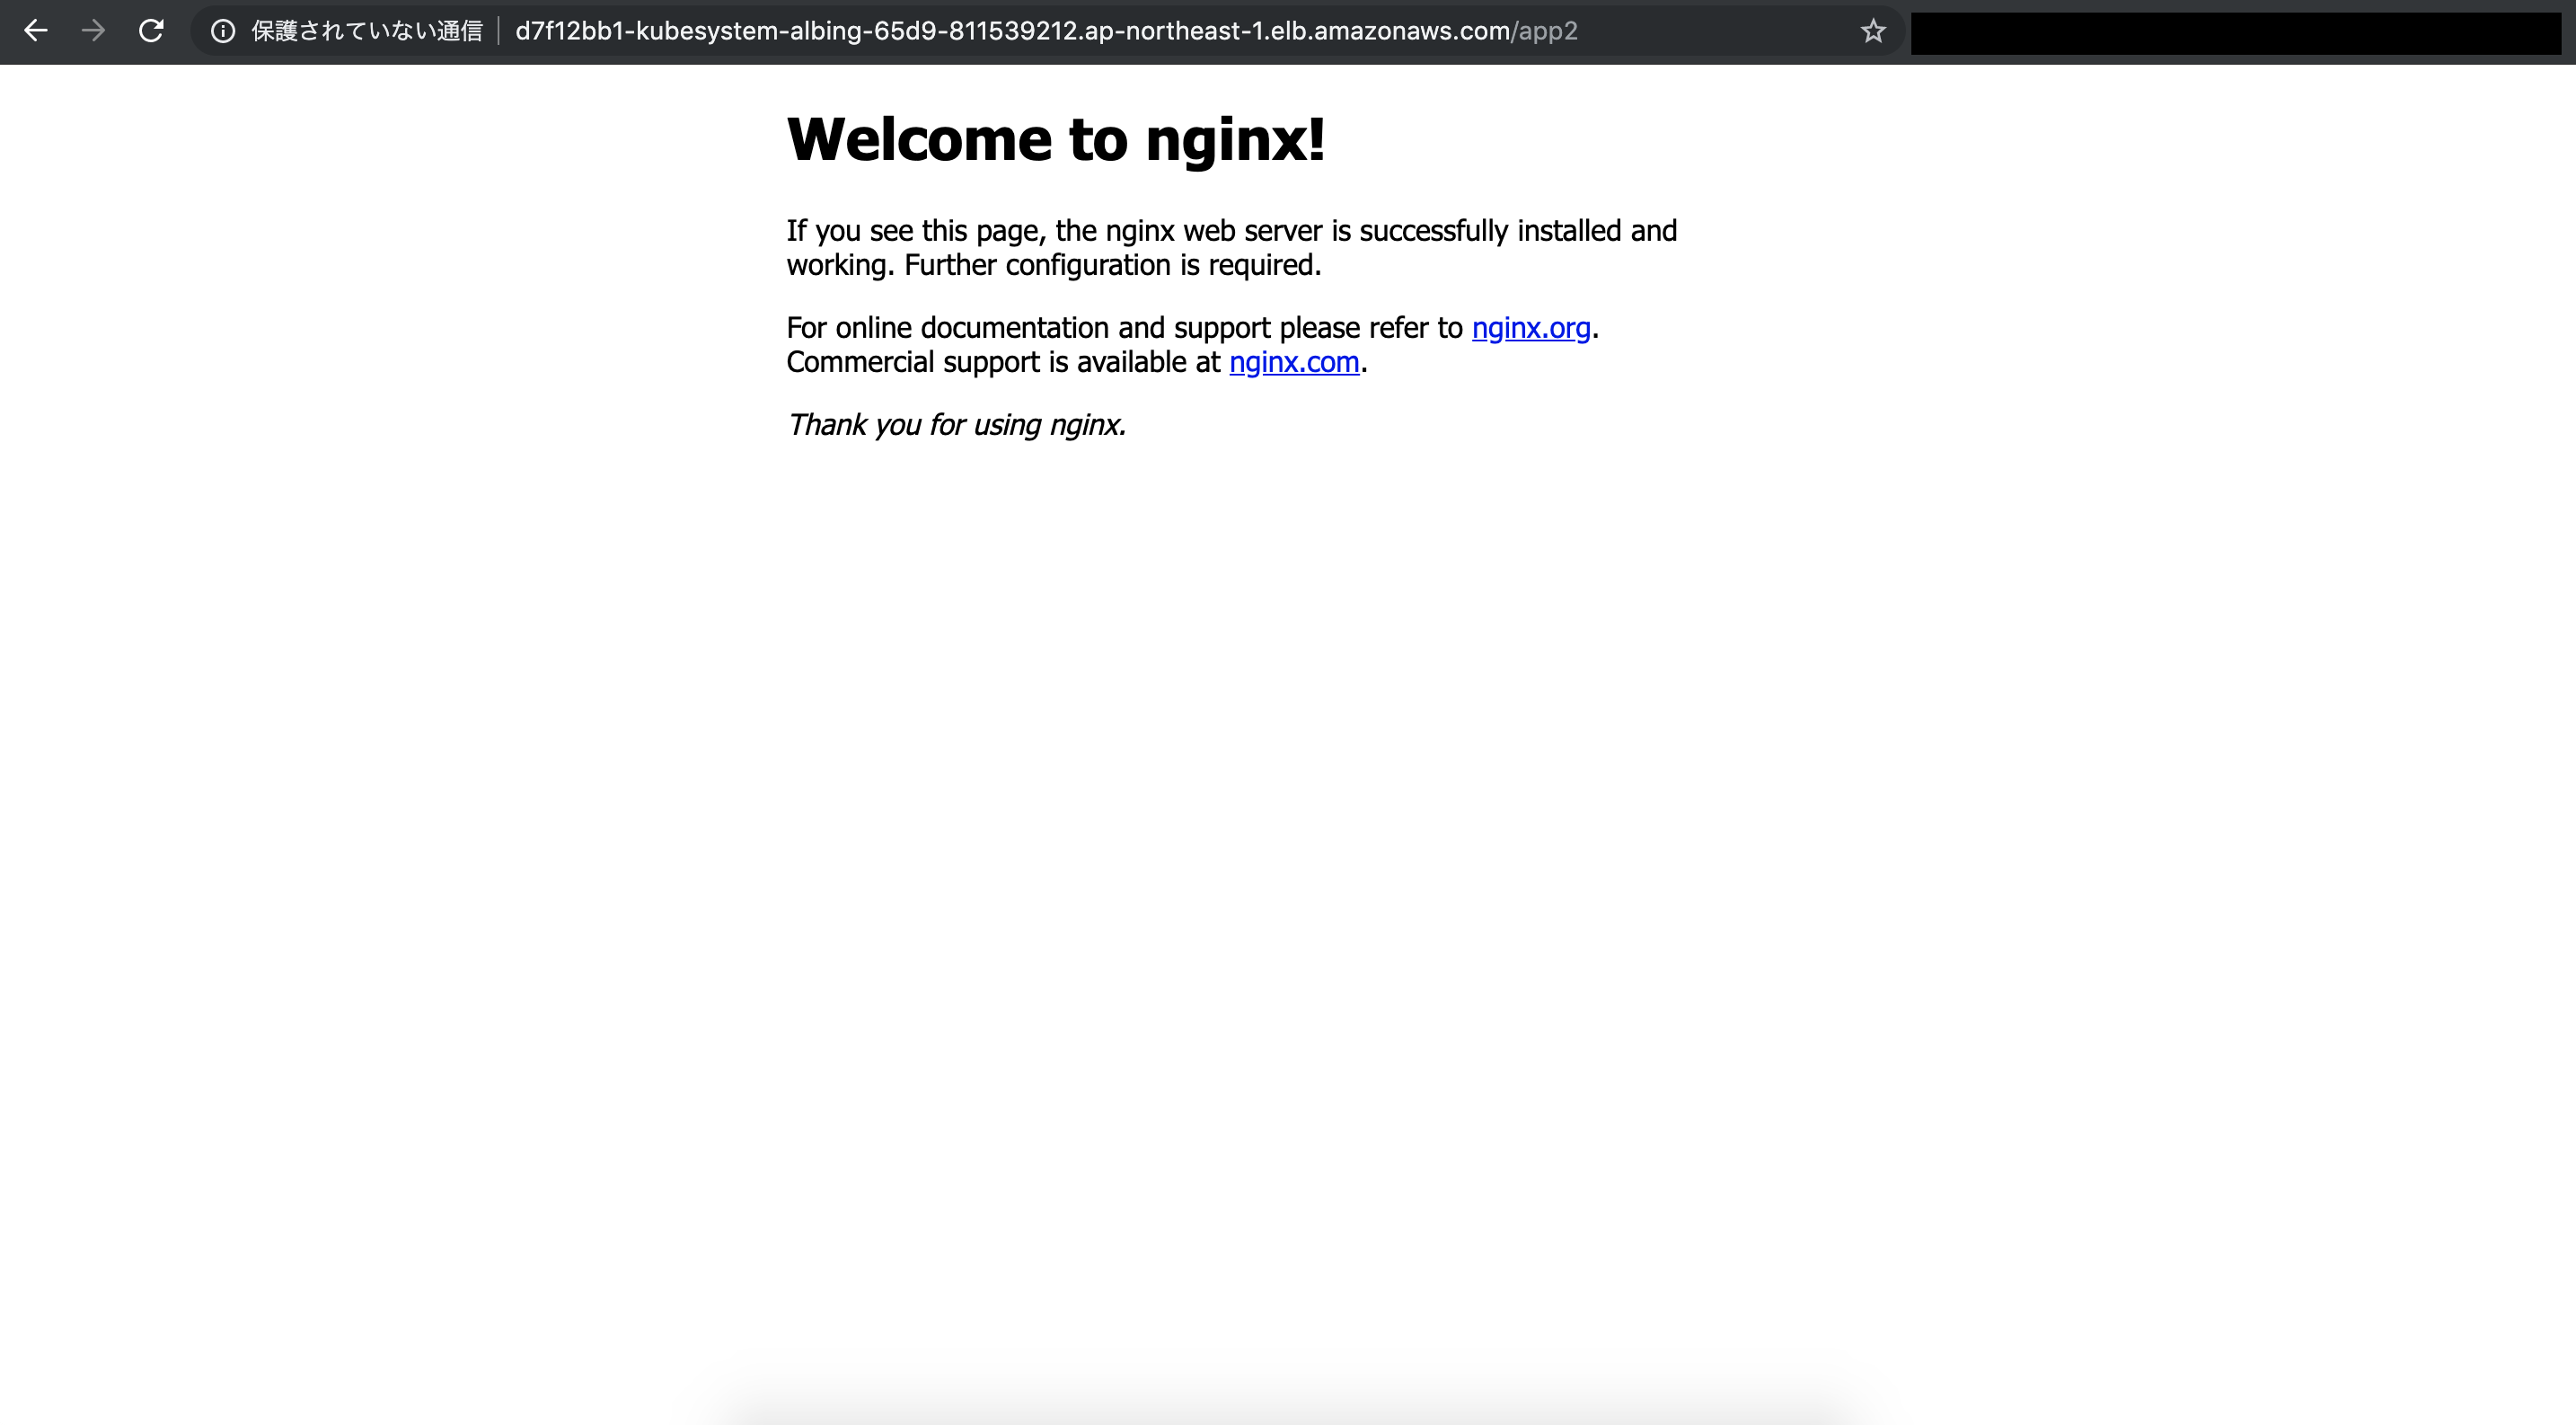
/app1と/app2にアクセスします。正しくルーティングされることがわかります。

おわりに
Namespaceの異なるIngressリソースを1つのALBで対応できることを確認しました。
できればNGINX Ingress Controllerをデプロイしたくありませんが現状技術的に無理なので、今回の構成が最もコストが低いものだと思います。