未曾有のStable Diffusionブーム!!!

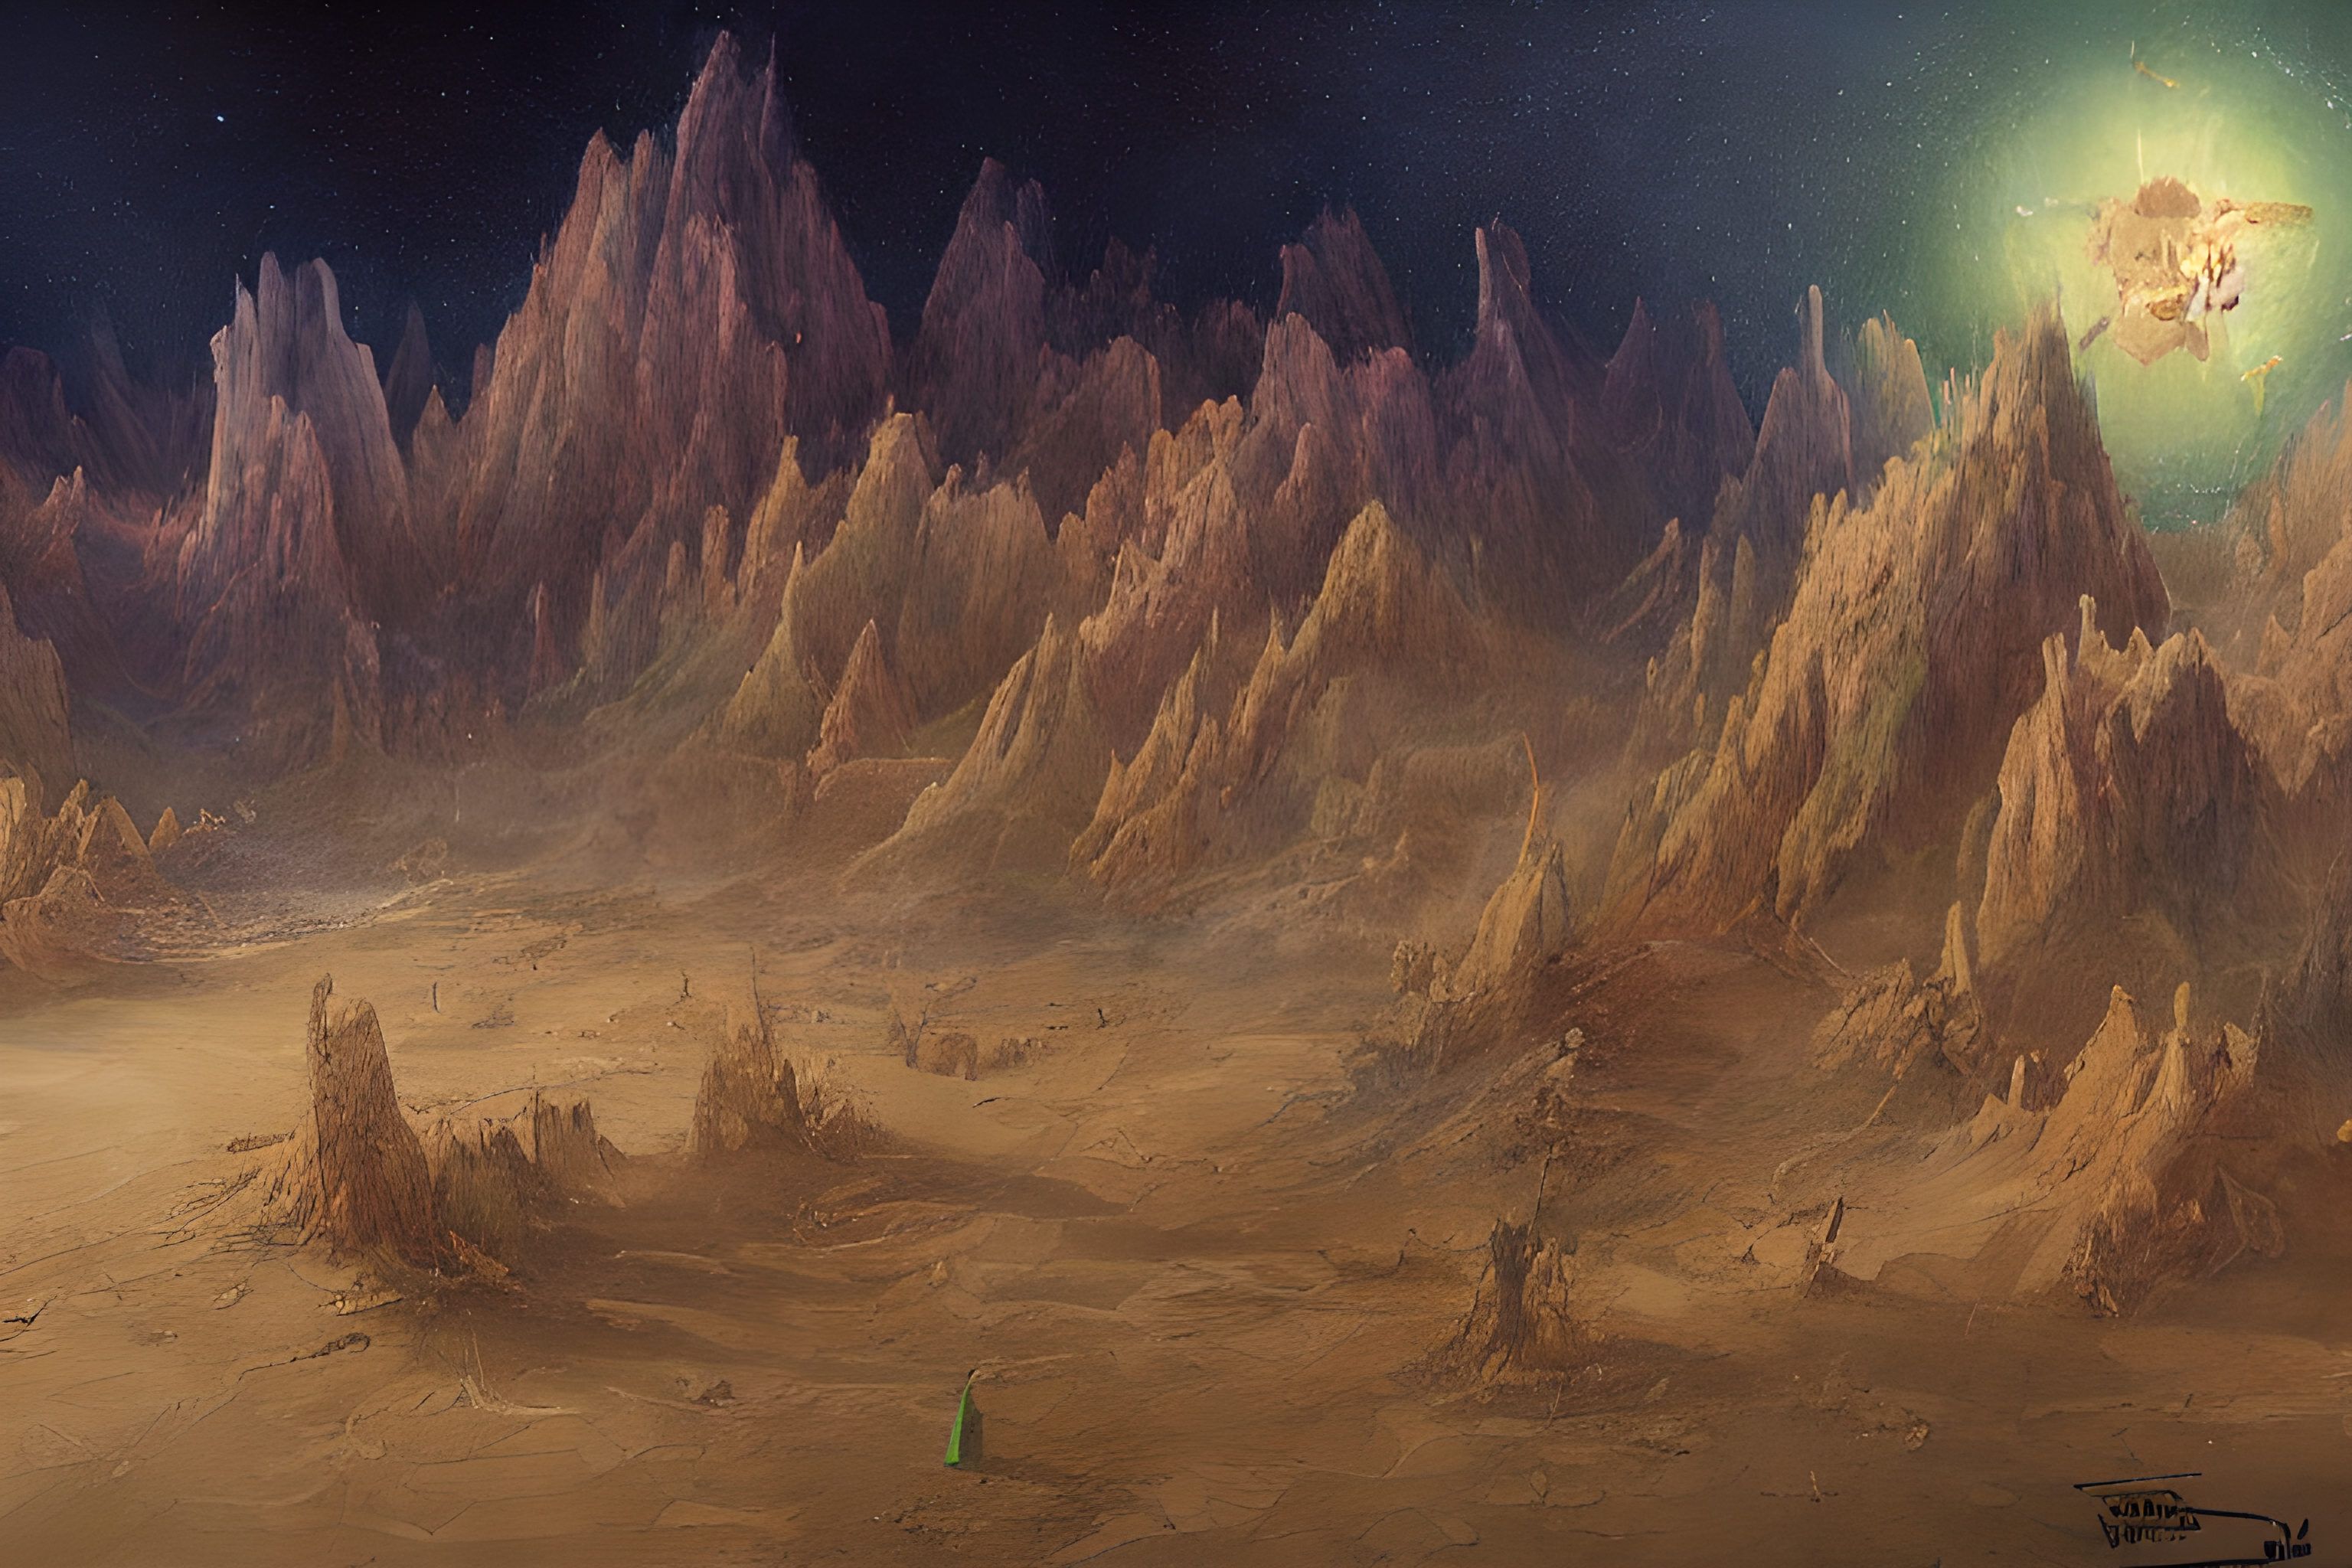
タイトル通り、gradio版Stable Diffusionで生成したタイトル画像です。
いまAI画像生成でStable Diffusionが話題です。試した方は他の人にもオススメしたいくらいでしょう。
ただ、快適な環境は導入するのにひと手間どころでなく面倒。
だけど非エンジニアの人にはもっと楽に使わせてみたい。そんな願望に応えられる環境がありました。
導入をしなくていいだけのパッケージはタケノコのように増えています。これは、あなたの余りあるグラフィック性能を分け与えるのに使えます(私の説明文がヘッタクソな翻訳文なのはこういう文体が好きだからです。ほっといてくれ)。
Gradio採用版StableDiffusion
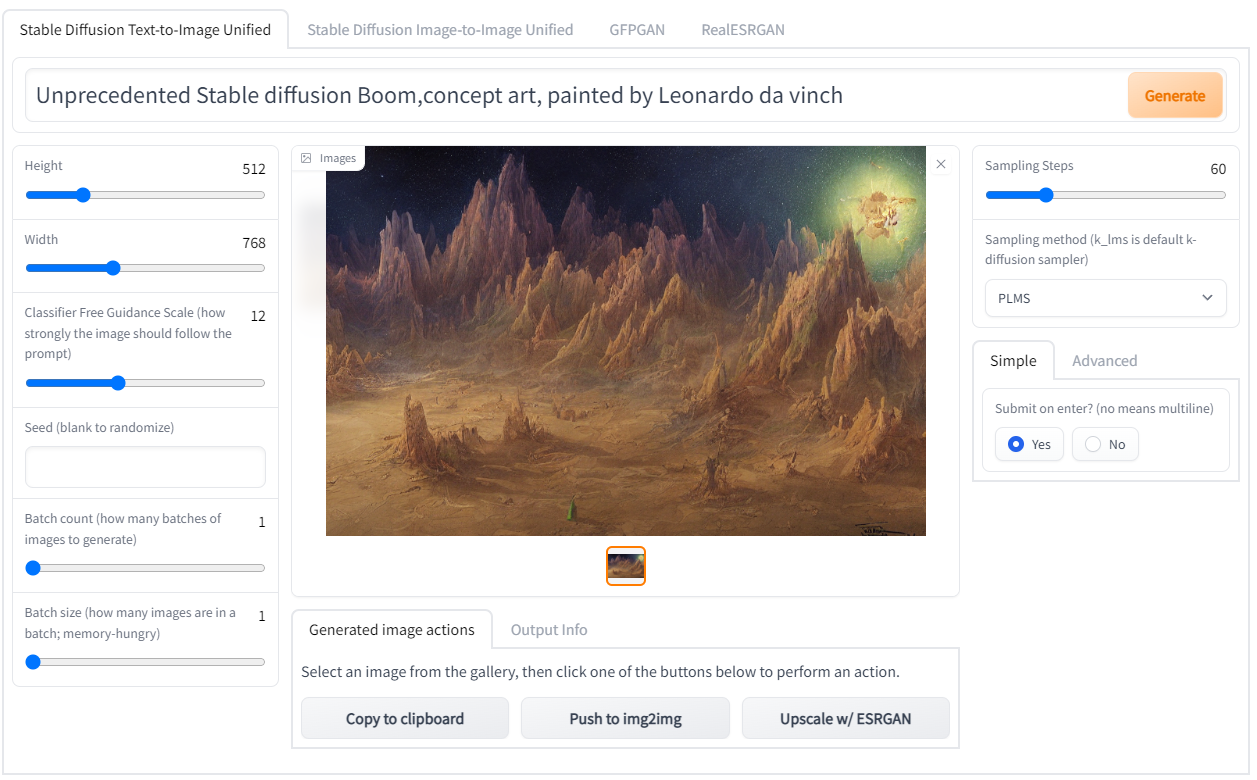
Stable Diffusionのforkリポジトリです。 gradio.appを採用しており、GUIとサービス公開機能を備えています。
https://github.com/hlky/stable-diffusion
生成した画像をimg2imgやGANでの拡大を行うGUIに転送することもできます。

導入方法
事前条件
- 私はWindows+PowerShellで行っているので、その手順を示します。他の環境では読み替えてみてください。
- CUDA環境とCUDNNが入っている必要があります。
- Anacondaを導入してください。
- Windowsの場合はGit環境が別途必要です。 Git for Windows やクライアントソフトを使用してください。
Cloneする
-
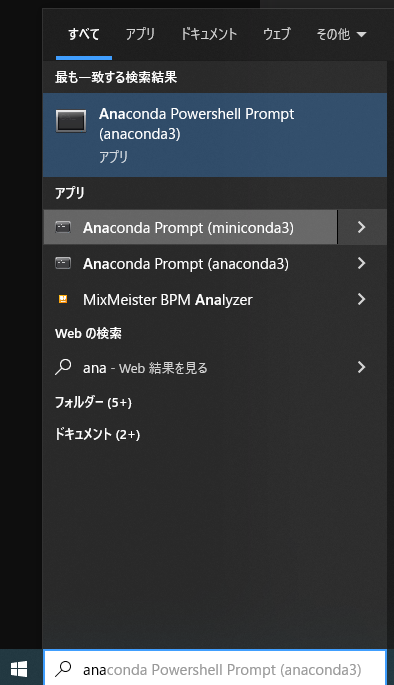
Anaconda PowerShell Promptを立ち上げます。検索窓からanaと打ち込むと見つけることができます。

-
プロンプトからStable Diffusion Gradio版をCloneします。
git clone git@github.com:hlky/stable-diffusion.git- すでにStable Diffusionがある場合には名前をつけておきましょう。
git clone git@github.com:hlky/stable-diffusion.git stable-diffusion-test
データセットの導入
- https://huggingface.co/CompVis/stable-diffusion-v-1-4-original/blob/main/sd-v1-4.ckpt をダウンロードして下さい。
- ckptファイルを models/ldm/stable-diffusion-v1/model.ckpt にリネームして移動しておいてください。
セットアップ
- condaコマンドでセットアップします。conda acitivateコマンドでは設定した環境をアクティブにしています。
conda env create -f environment.yaml conda activate ldm - pipコマンドで追加インストールします。
conda install pytorch torchvision -c pytorch
pip install transformers==4.19.2 diffusers invisible-watermark
pip install -e .
実行
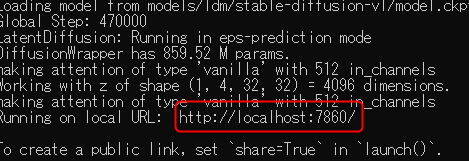
- 起動コマンドを入れればこれで動きます。エラーが起こるときは内容を見直してみましょう。アクセスURLはプロンプト内に表示されます。
python scripts/webui.py
- http://localhost:7860/ にアクセスしてGUIが表示されれば成功です。
- --share オプションでgradio.appへの公開、更に続けて --share-password パスワードをオプション引数にすることででログインパスを設定することができます。
私の環境だけかもしれないけど修正したポイント
- pip install pynvml を実行。
- stable-diffusion-test\ldm\models\autoencoder.py
- from taming.modules.vqvae.quantize import VectorQuantizer2 as VectorQuantizer -> from taming.modules.vqvae.quantize import VectorQuantizer
- stable-diffusion\scripts\txt2img.py
- from torch import autocast -> from torch.cuda.amp import autocast
- この手順には画像拡大用のGANのモデル入れ込みがないかもです。
