LINE Bot APIを使って、簡単なLINE Botを作ってみます。
環境
macOS Monterey 12.4
Rails 6.1.6
ruby 3.1
ngrok 3.0.6
LINE API側の設定
LINE Buisiness IDの登録が必要です。
Messaging API Channel(所謂、公式アカウント)を作成して、自分のLINEに友だち追加しておきます。
チャンネルの設定は「LINE Official Account Manager」から変更できます。
Railsアプリ側の設定
アプリを作成します。
$ rails new SampleLineBot
Gemfileに使用したいgemを追加して、bundleコマンドでインストールする。
gem 'line-bot-api'
$ bundle
ルーティングを設定する。
Rails.application.routes.draw do
  get 'linebot/callback'
  post '/callback' => 'linebot#callback'
end
Linebotコントローラーを新規作成。
class LinebotController < ApplicationController
  require 'line/bot'

  skip_before_action :verify_authenticity_token

  def callback
    body = request.body.read
    signature = request.env['HTTP_X_LINE_SIGNATURE']
    unless client.validate_signature(body, signature)
      error 400 do 'Bad Request' end
    end
    events = client.parse_events_from(body)

    events.each do |event|
      case event
      when Line::Bot::Event::Message
        case event.type
        when Line::Bot::Event::MessageType::Text
          message = {
            type: 'text',
            text: event.message['text']
          }
        end
      end
      client.reply_message(event['replyToken'], message)
    end
    head :ok
  end

  private

  def client
    @client ||= Line::Bot::Client.new { |config|
      config.channel_secret = 'XXXX' # シークレットキー
      config.channel_token = 'XXXX' # チャンネルアクセストークン
    }
  end
end
シークレットキーは、LINE Developers > Basic Settings > Channel secret
チャンネルアクセストークンは、LINE Developers > Messaging API > Channel access token
から取得できます。
ngrokで外部公開する
LINE APIのWebhookに、RailsサーバーのURLを登録するにはhttps接続である必要があります。
ngrokを使えば、ローカルホストを外部公開してhttpsのURLを取得できます。
ngrokのインストールと、ngrokアカウントの作成が必要です。
インストールとアカウントが作成できたら以下のコマンドを実行してください。
$ ngrok http 3000
黒い画面が表示されます。
転送先のURLは、Forwardingの右にあるのでコピーしておきましょう。
「Messaging API」のWebhook設定項目で先程取得したURLを入力。
URLの後ろには/callbackというパスを付けて下さい。
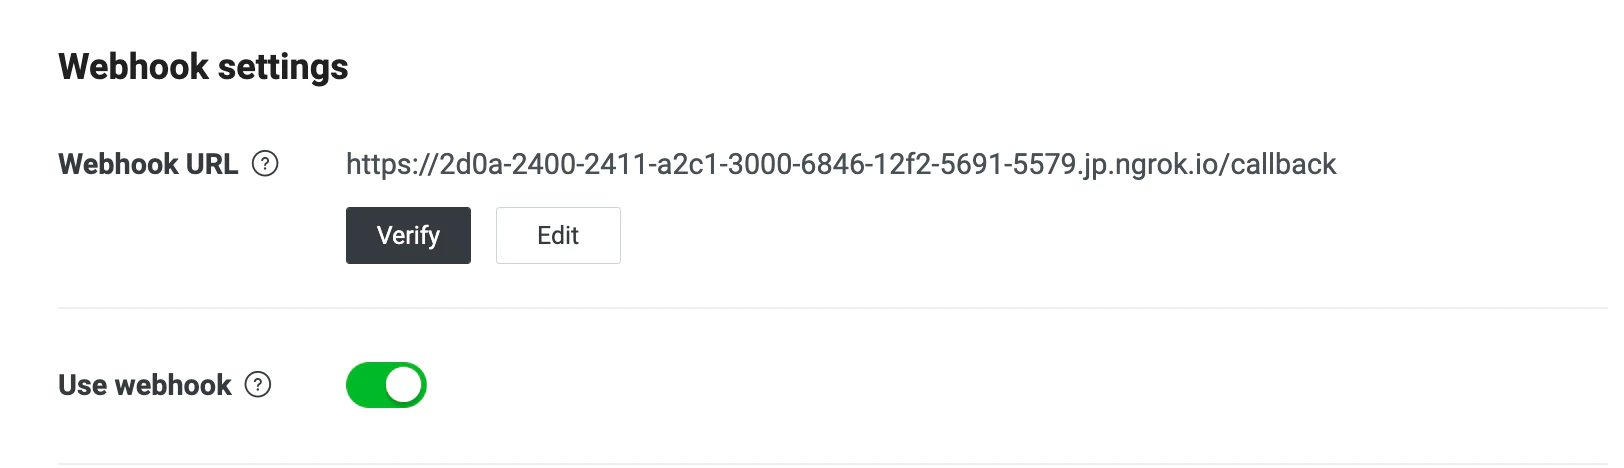
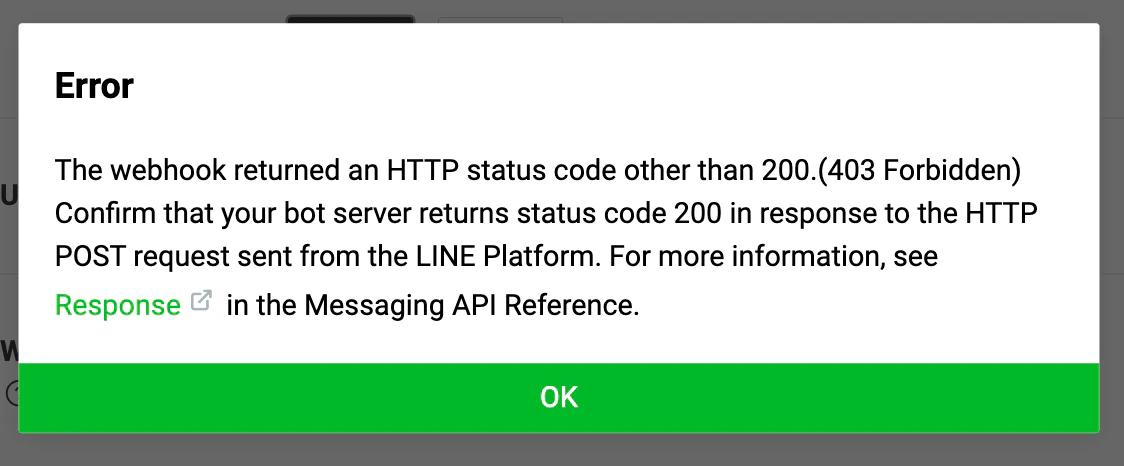
Verifyを押すと、エラーになります。403エラーですので、アクセス権の問題でしょうか。
ブラウザでも確認してみます。Blocked host エラーと表示されます。
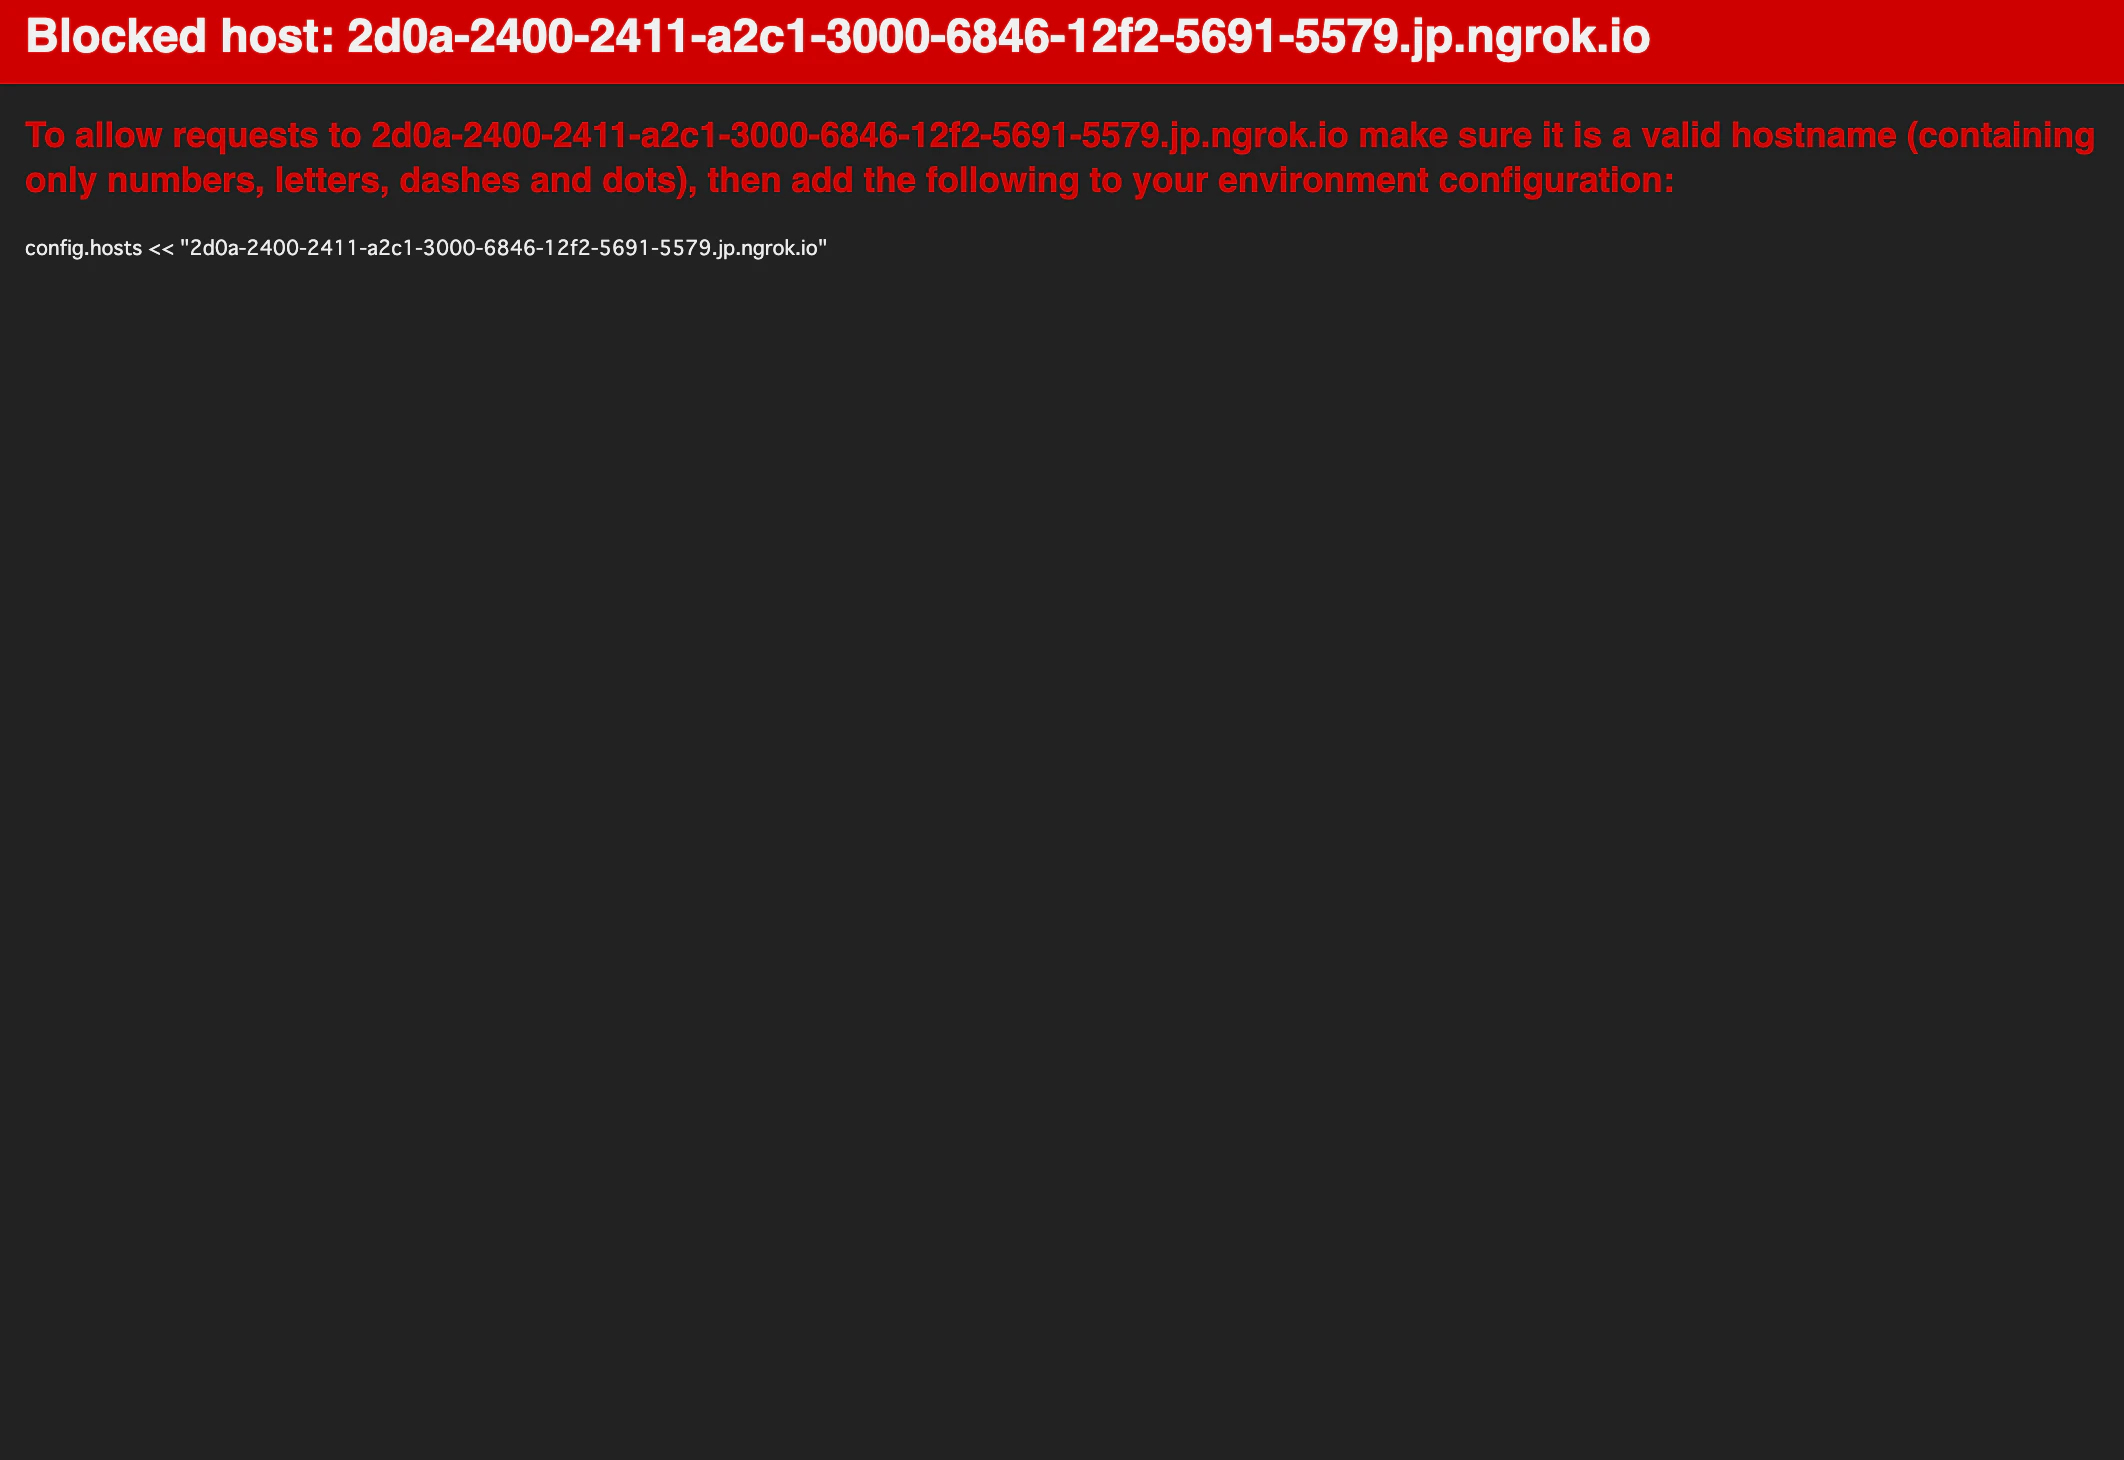
エラー対処
エラーメッセージをよく見てみると、ホストが設定されていないことが原因のようです。ngrokで取得したURLを、ホワイトリストに追加しましょう。
URLが「https://5d8h-2400-2411-a2c1-3000-6846-12f2-5691-5579.jp.ngrok.io」なら、
ホスト名は「5d8h-2400-2411-a2c1-3000-6846-12f2-5691-5579.jp.ngrok.io」です。
config.hosts << "[ngrokで取得したURL]"
再度、Verifyを押してみると…
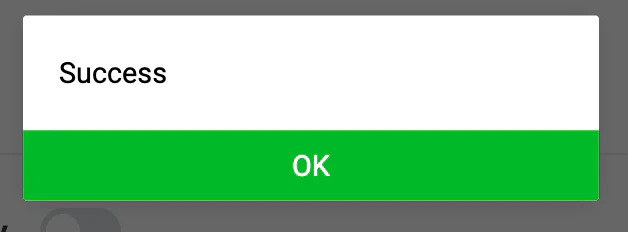
うまくいきました!
完成
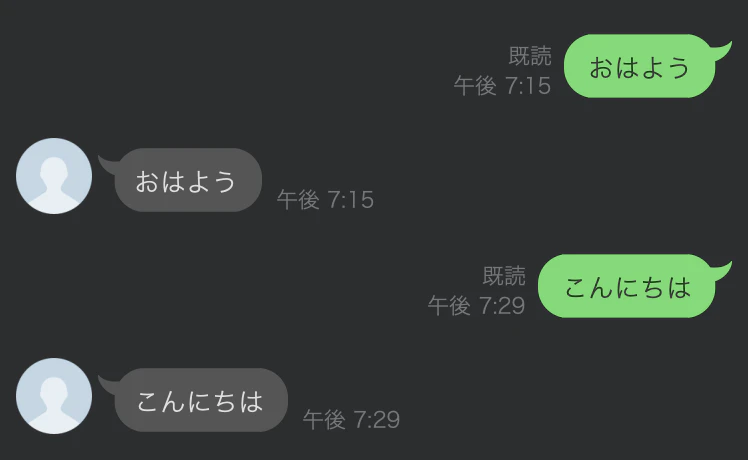
簡単なBotができました。
LINEでメッセージを送ると、Botがオウム返ししてくれます。
参考
LINE Messaging API SDK for Ruby
RailsとDockerでLINE BOTを作ってみた
ngrokが便利すぎる