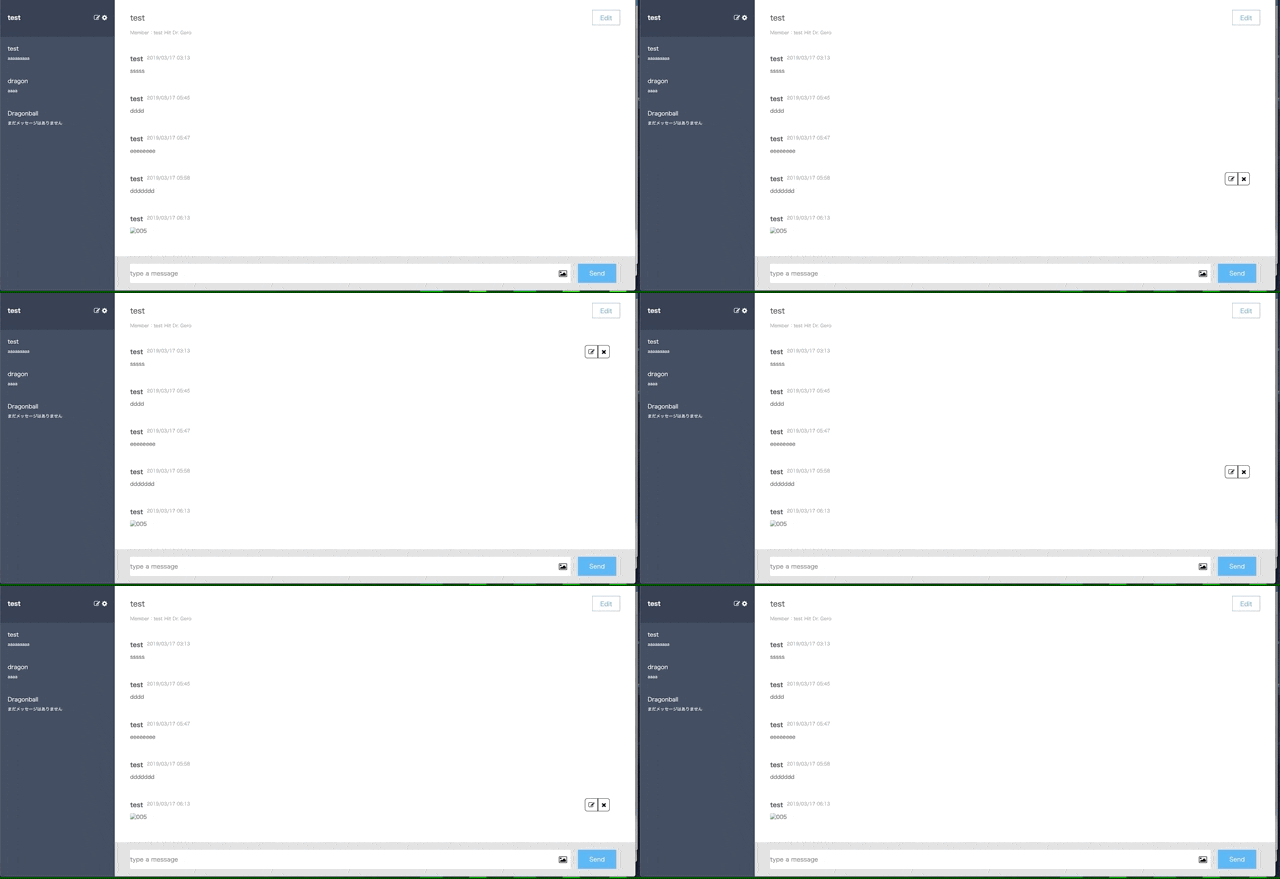
やりたいこと
現在チャットアプリを作っており、投稿したメッセージの編集と削除を行うために
まずはボタンを配置したいと思っています。またそのボタンは常時表示させるのでなく、
該当メッセージにカーソルが当たった時に表示されて、離れたら非表示にします。
環境
ruby 2.3.1
Rails 5.0.7.2
今回記載すること
今回は追記した部分だけ記載させていただきます。
他ソースは下記Githubをご参照ください。
対応したこと
それではまず、viewにボタンを配置します。ボタンはfont-awesomeのものを使います。
下記部分を追記しました。
.message{"data-id" => "#{message.id}"}
  .message__upper-info
    %p.message__upper-info__talker
      = message.user.name
    %p.message__upper-info__date
      = message.created_at.strftime("%Y/%m/%d %H:%M")
#////////////////////ここから////////////////////
    %ul.message__upper-info__menu
      %li
        = fa_icon 'pencil-square-o'
      %li
        = fa_icon 'times'
#////////////////////ここまで追記////////////////////
  .message__text
    - if message.content.present?
      %p.lower-message__content
        = message.content
    = image_tag message.image.url, class: 'lower-message__image' if message.image.present?
続いて、font-awesomeのscssに今回使用する情報を追加します。
.fa-pencil-square-o{
  &:before {
    content: "\f044";
  }
}
.fa-times{
  &:before{
    content: "\f00d";
  }
}
そして、messages.scssも編集します。
@@ -5,6 +5,7 @@
  overflow: scroll;

  .message {
    position: relative;   //追記
    padding-bottom: 40px;

    &__upper-info {
@@ -23,6 +24,31 @@
        margin-left: 10px;
      }
////////////////////ここから////////////////////
      &__menu{
        position: absolute;
        display: flex;
        display: none;
        top: -8px;
        right: 20px;
        line-height: 1;
        padding: 3px 7px;
        margin: 0 0 0 auto;

        li {
          padding: 0.5rem;
          border: solid .0625rem rgba(0,0,0,15);

          &:first-child{
            border-top-left-radius: .375em;
            border-bottom-left-radius: .375em;
          }
          &:last-child{
            border-top-right-radius: .375em;
            border-bottom-right-radius: .375em;
          }
        }
      }
////////////////////ここまで追記////////////////////
    }

    &__text {
ポイントとしては、「position: relative」「position: absolute」で配置していること。
またliタグに「&:first-child」「&:last-child」で最初と最後のボタンの角を丸くしていることです。
今後ボタンが増えた時を考えてのものです。
最後にカーソルが乗った時、離れた時のjavascriptの処理を行います。
カーソルが乗った時、その要素を取得してその子要素であるulタグを取得します。
そして、要素を表示。また要素がdisplay=flexとして横並びにしています。
これは非表示にした際にdisplayがデフォルトとなってしまうためです。
カーソルが離れた際はhideメソッドで非表示にします。
$(function() {
  var message_btn;
  $('.message').mouseover(function() {
    message_btn = $(this).find('ul')
    message_btn.show();
    message_btn.css("display", "flex")
  })
  $('.message').mouseout(function() {
    message_btn = $(this).find('ul')
    message_btn.hide();
  })
});
結果
以上です。宜しくお願いします。
参考
[参考][JavaScript] マウスポインタが触れた/離れたイベントを取得する(onMouseOver, onMouseOut)
[参考]JavaScript 要素を表示/非表示にするサンプル(displayとvisibility)
[参考]position:relativeとposition:absoluteで画像や文字を重ねてみよう
[参考]jQuery【 CSS 】display を使用した表示・非表示に関するサンプル
[参考]【JavaScript】マウスオーバー(ホバー)をトリガーにしたイベント
