本記事の目標
- TypeScriptでReactを構築
- react-routerで画面遷移を実装
パッケージのインストールの話はしません。
必要なパッケージが入っている前提で話します。
プロジェクト作成
以下のコマンドをうち、my-appというプロジェクトを作成します。
(my-appのところには好きなアプリ名に変更してください。)
npx create-react-app my-app --template typescript
プロジェクトの作成が終わったら,以下の二つのコマンドを順番に打ちます。
cd my-app
yarn start
rootフォルダの設定
tsconfig.josnの "compilerOptions"の中に以下を書き込む。
こうすることで、rootフォルダをsrcに設定でき、import文が綺麗になる。
"baseUrl": "src"
react-routerの導入
以下のコマンドをうち、react-routerを導入する。
yarn add react-router-dom
yarn add @types/react-router-dom
ページ作成
表示させたいページを作成していく。
今回はHomeとAboutというページを作成する。
Homeページ
srcフォルダの中にpagesフォルダを作成する。
pagesフォルダの中にHome.tsxを作成する。
import React from "react";
import { Link } from "react-router-dom";

class Home extends React.Component {
  render() {
    return (
      <div>
        <div
          style={{
            display: "flex",
            flexDirection: "row",
            justifyContent: "space-between",
            width: 110,
          }}
        >
          <Link to="/">Home</Link>
          <Link to="/about">About</Link>
        </div>
        <h1>Home</h1>
      </div>
    );
  }
}

export default Home;
Aboutページ
pagesフォルダの中にAbout.tsxを作成する。
class About extends React.Component {
  render() {
    return (
      <div>
        <div
          style={{
            display: "flex",
            flexDirection: "row",
            justifyContent: "space-between",
            width: 110,
          }}
        >
          <Link to="/">Home</Link>
          <Link to="/about">About</Link>
        </div>
        <h1>About</h1>
      </div>
    );
  }
}

export default About;
routerの設定
作成した画面を表示する設定を行う。
routerの設定
srcフォルダにRouter.tsxを作成する。
イメージ的にはここで表示するページのパスを設定する。
import React from "react";
import { BrowserRouter, Route, Switch } from "react-router-dom";
import Home from "pages/Home";
import About from "pages/About";

export default class Router extends React.Component {
  render() {
    return (
      <BrowserRouter>
        <Switch>
          <Route exact path="/" component={Home} />
          <Route exact path="/about" component={About} />
        </Switch>
      </BrowserRouter>
    );
  }
}
indexの設定
index.tsxを以下のように変更する。
Routerタグのところにrouter.tsxで設定したページが切り替わって表示される。
import React from "react";
import ReactDOM from "react-dom";
import * as serviceWorker from "./serviceWorker";
import Router from "Router";

ReactDOM.render(
  <React.StrictMode>
    <Router />
  </React.StrictMode>,
  document.getElementById("root")
);

serviceWorker.unregister();
ページの確認
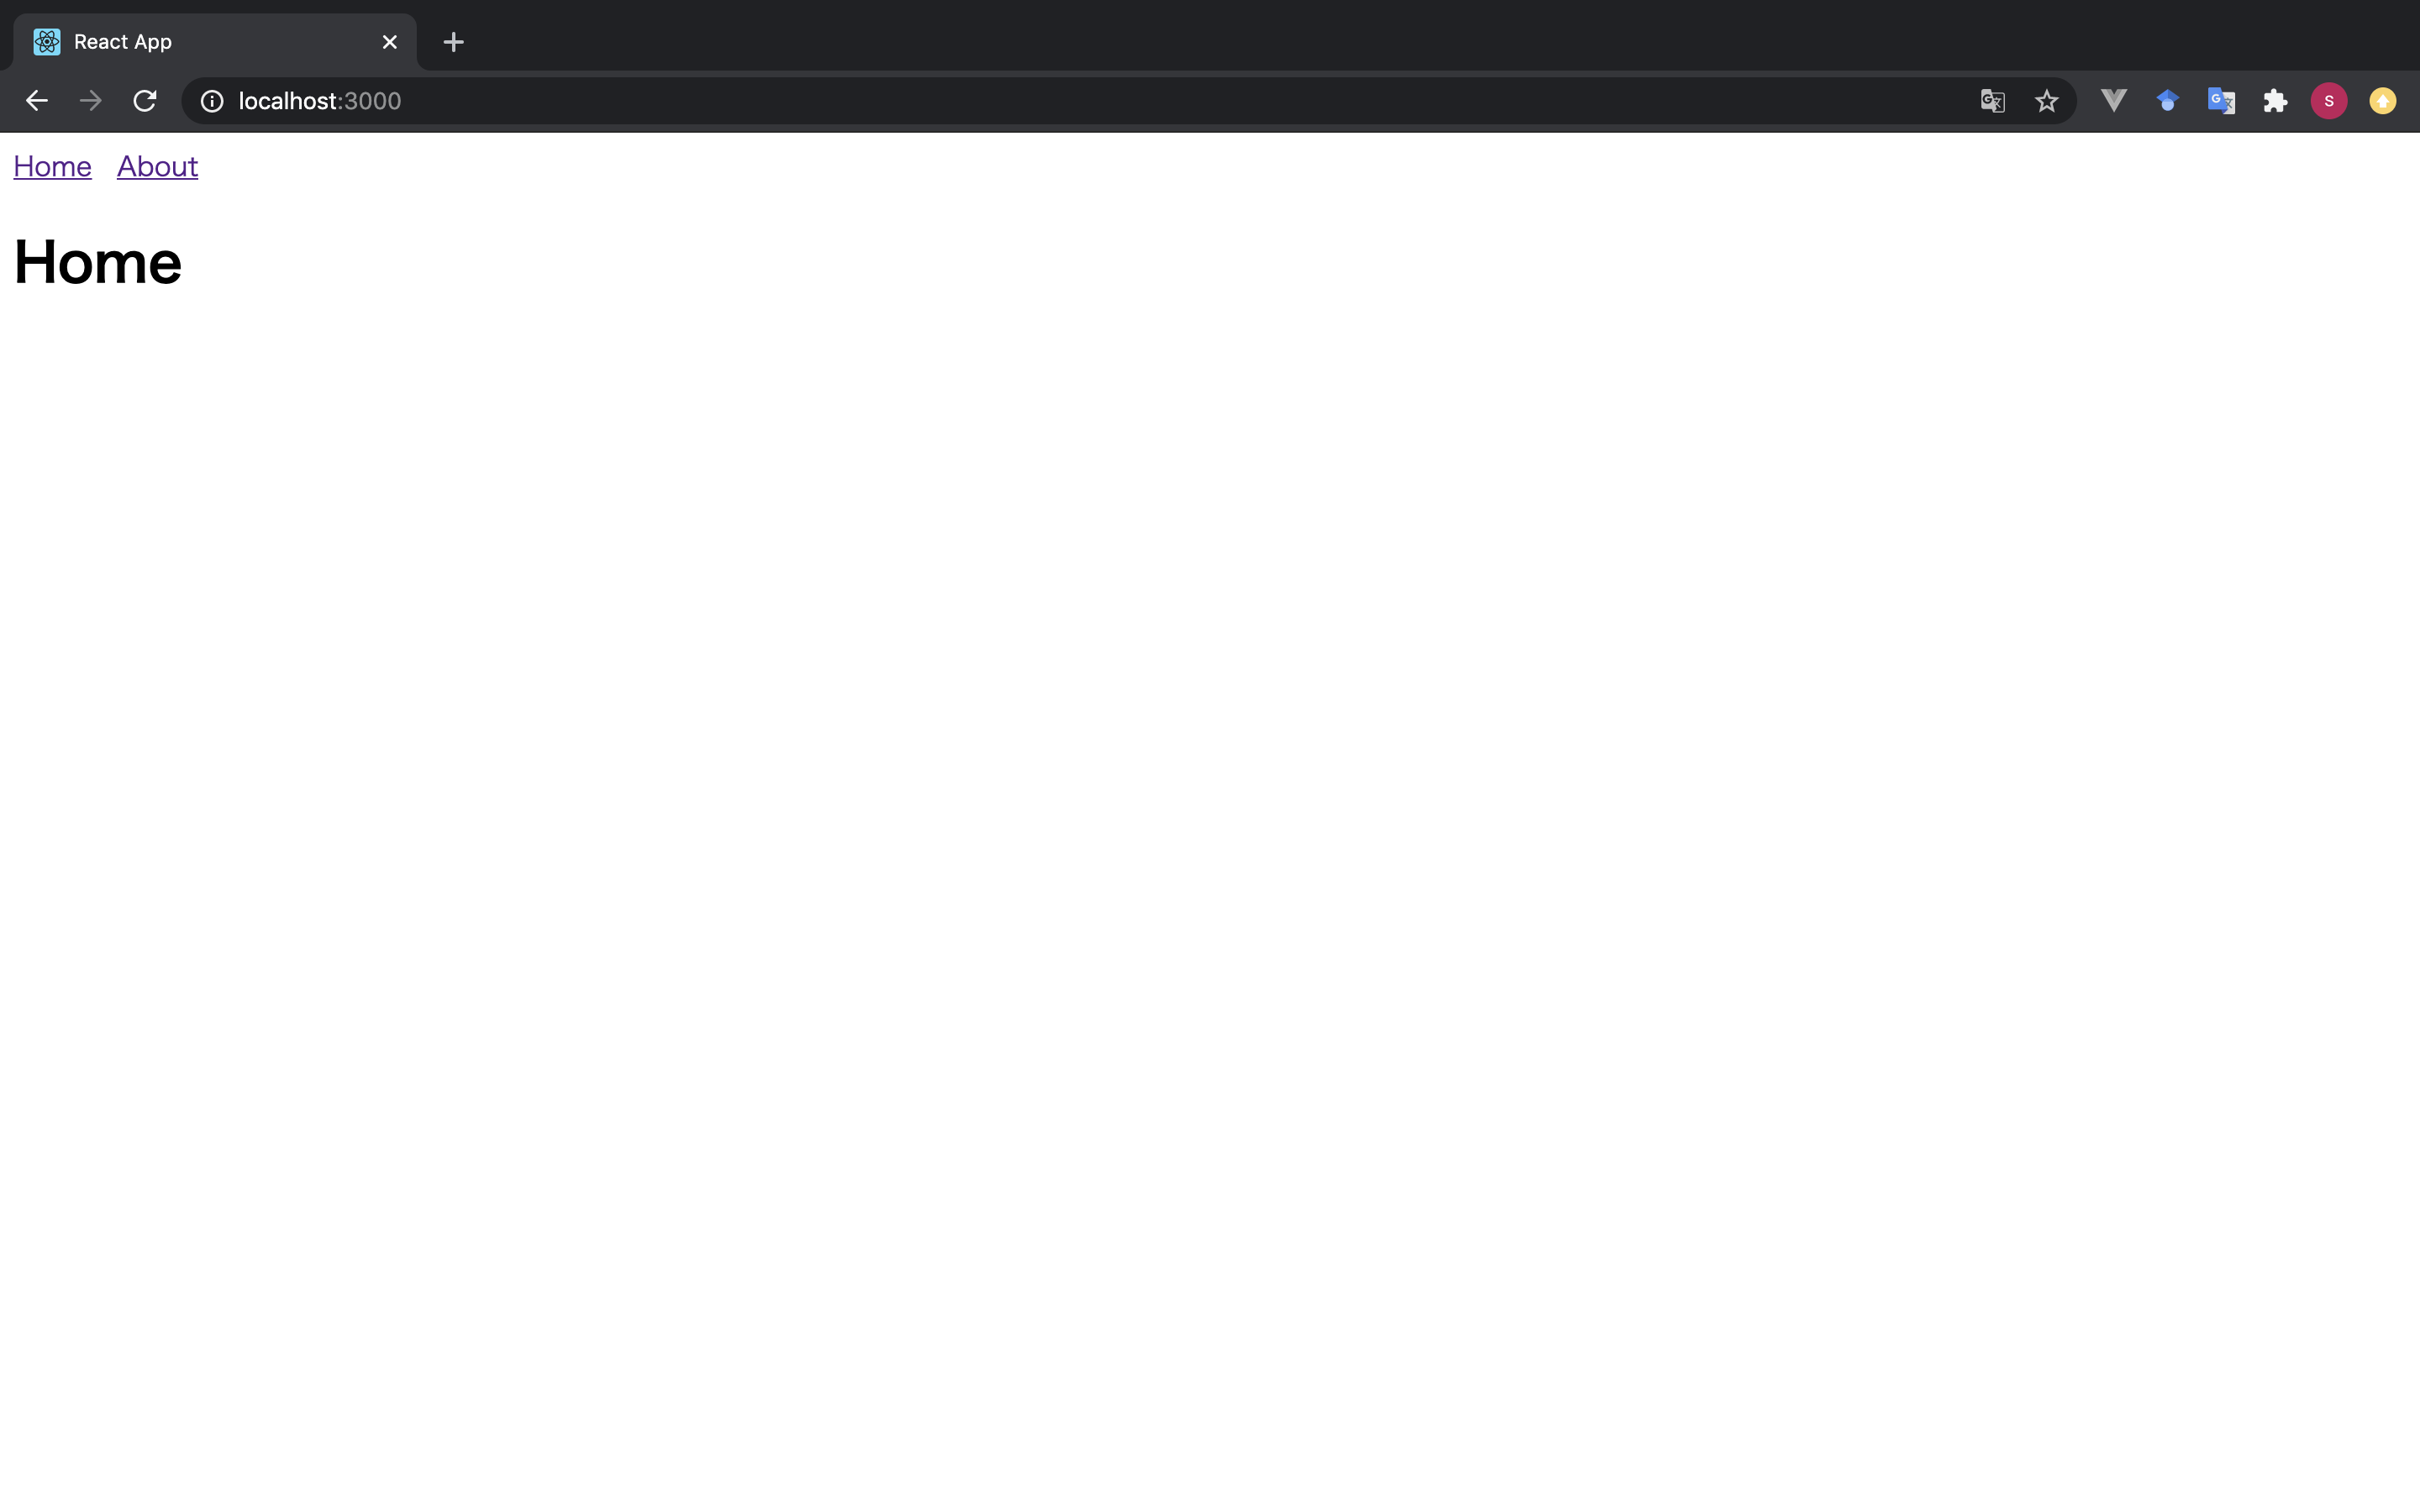
yarn startをすると以下の画面が表示される。
リンクを押すとHome画面とAbout画面を切り替えられる。

削除していいデフォルトファイル
以下に書かれたデフォルトファイは使わないので、削除してもOKです。
- App.css
- App.test.tsx
- App.tsx
- index.css
- logo.svg
