前回の構成について書いた記事はこちら
今回はVS Codeで画面作成等も行いたいので、VS CodeのコンソールからAmplifyのプロジェクトを立ち上げていきます。
アプリの作成
AWS Amplify CLIのインストール
インストールにはNode.jsが必要になります。
下記のコマンドでAWS Amplify CLIをインストールし、コマンドライン上でAWS Amplifyのプロジェクトを立ち上げられるようにします。
npm install -g @aws-amplify/cli
完了したら、下記のコマンドでインストールできているか確認します。
amplify -v
IAMユーザーの設定
ユーザー作成
続いて、プロジェクトで使うIAMユーザーを作成していきます。
まずは下記のコマンドを入力します。
amplify configure
入力後、Web上でAWSのログイン画面が開きます。
下記のようにサインインを求めているのでプロジェクトを作成したい
すでにログインされている方はコンソール画面が開くかと思います。
ログイン後は再びコマンドラインに戻り、Enterを入力します。
Follow these steps to set up access to your AWS account:

Sign in to your AWS administrator account:
https://console.aws.amazon.com/
Press Enter to continue
続いてリージョンを選択します。
下記のように
今回はus-east-1で作成していきます。

続いて、IAMユーザーの作成画面が開きます。
まずはユーザー名を入力し、次へを押下します。

IAMユーザにポリシーを設定していきます。
今回はユーザーに直接ポリシーを設定してきます。
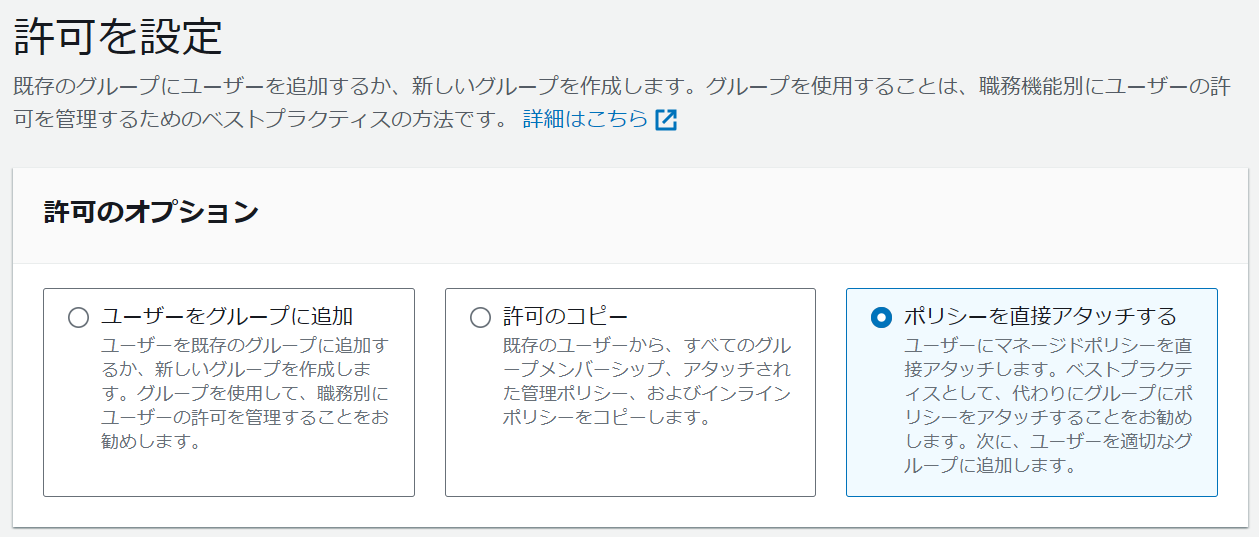
設定するポリシーはAdministratorAccess-Amplifyです。
基本的にこれで問題ないですがプロジェクトによって制限があるところは個別にカスタマイズして付与してください。

次へを押下してユーザー作成を完了させます。
アクセスキーの設定
次にアクセスキーの設定を行います。
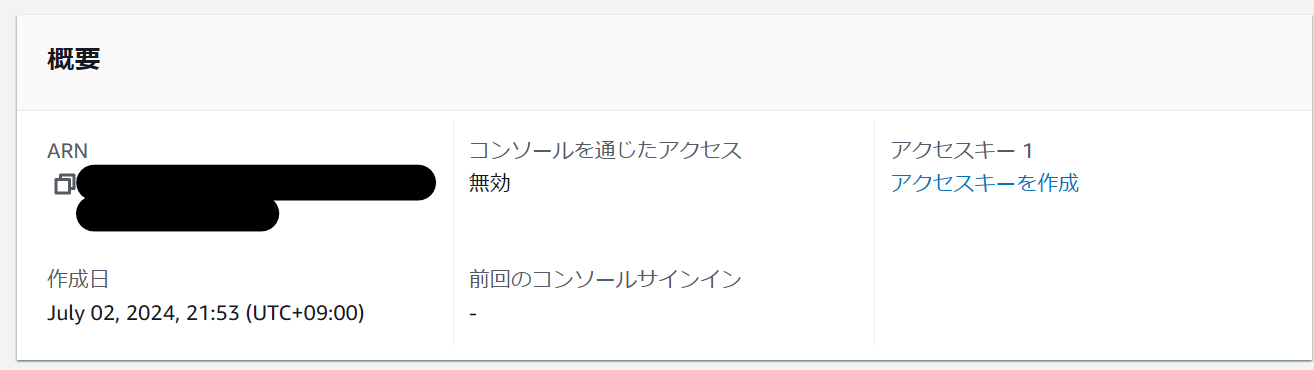
まずは先ほど作成したユーザーを押下します。
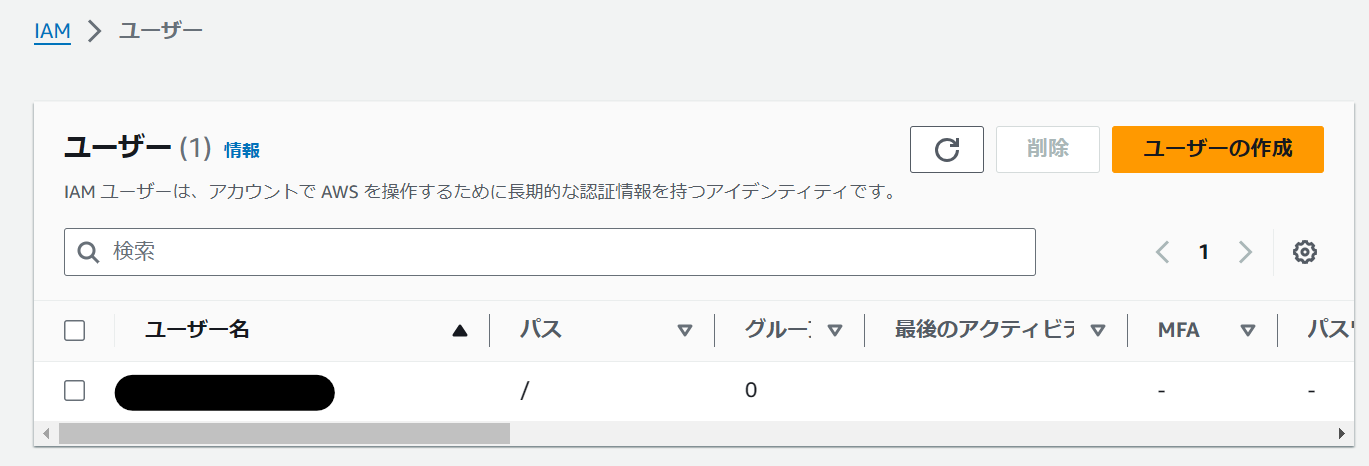
次にアクセスキー1の下になるアクセスキーを作成を押下します。
今回はローカル開発環境でプロジェクトを進めていくため、ローカルコードを選択します。
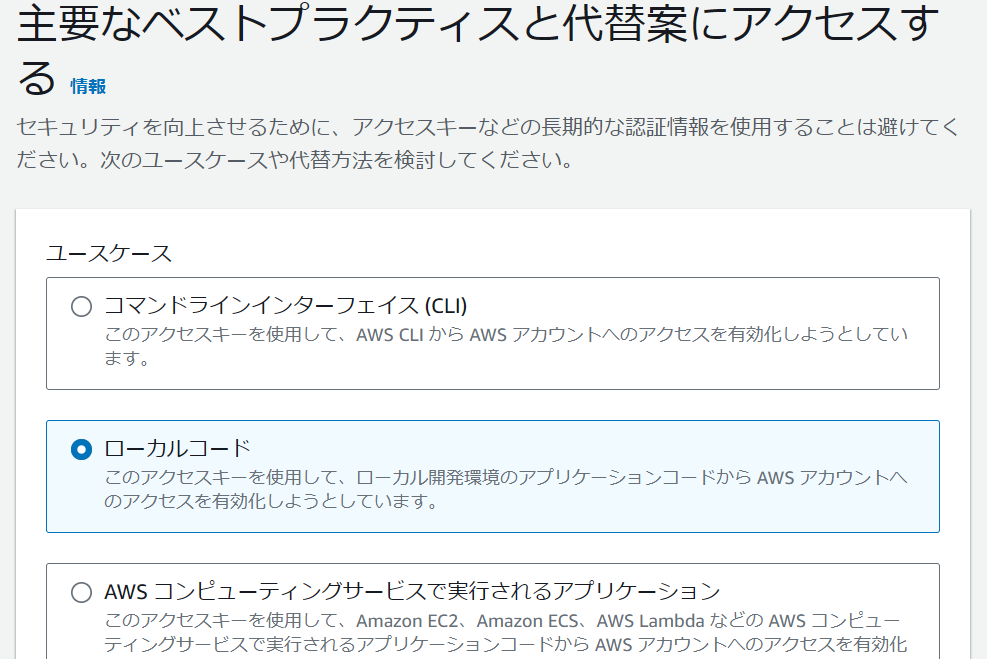
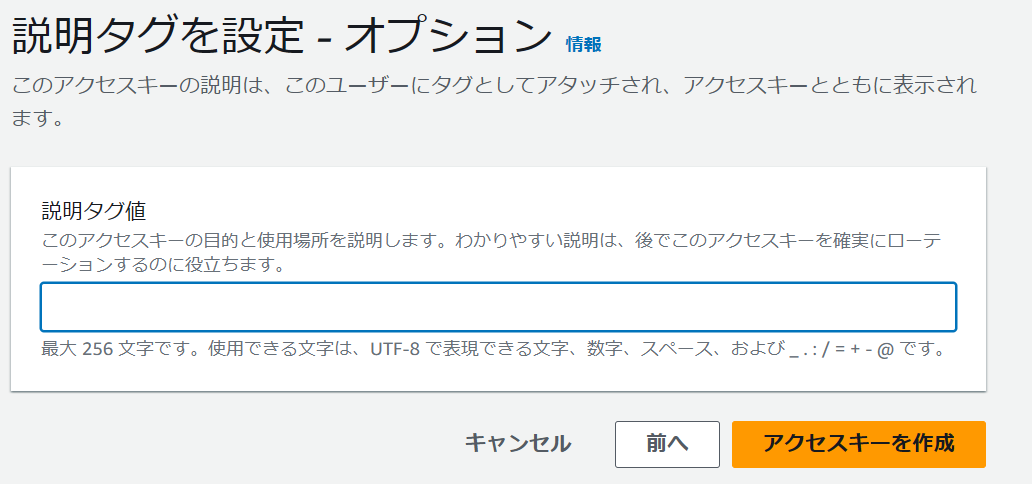
タグ付けを設定できますがこちらはどちらでもいいです。
アクセスキーを作成を押下します。
アクセスキーが作成されました。アクセスキーおよびシークレットアクセスキーはこの後どちらも必要になります。
それぞれメモをするか下にあるボタンからCSVファイルをダウンロードしましょう。

コマンドライン上で先ほどのアクセスキーおよびシークレットアクセスキーを入力します。

最後に、AWS Profileの名称を入力します。
デフォルトのままでも問題ないです。今回はわかりやすくamplify-appとします。
This would update/create the AWS Profile in your local machine
? Profile Name:  amplify-app
プロジェクトの作成
ここからは開発環境の作成をしていきます。
下記のコマンドを入力します。
amplify init
続いて、アプリ名称の入力を求められるので作成するアプリ名称を入力します。
※入力可能文字は英数字のみです!
Note: It is recommended to run this command from the root of your app directory
? Enter a name for the project wordbank
入力後、構築環境が提案されます。
内容的には問題はないのですがJavascript frameworkとして、Reactを使用したいのでここではNoを選択します。
The following configuration will be applied:

Project information
| Name: wordbank
| Environment: dev
| Default editor: Visual Studio Code
| App type: javascript
| Javascript framework: none
| Source Directory Path: src
| Distribution Directory Path: dist
| Build Command: npm.cmd run-script build
| Start Command: npm.cmd run-script start

? Initialize the project with the above configuration? (Y/n)
javascript frameworkだけ変更しています。
その他はデフォルトの提案されたもののままで問題ないです。
? Initialize the project with the above configuration? No
? Enter a name for the environment dev
? Choose your default editor: Visual Studio Code
√ Choose the type of app that you're building · javascript
Please tell us about your project
? What javascript framework are you using react
? Source Directory Path:  src
? Distribution Directory Path: build
? Build Command:  npm.cmd run-script build
? Start Command: npm.cmd run-script start
続いて、認証方法を選択します。
アクセスキーかプロファイルかを選べるので、せっかくなので先ほど作成したプロファイルを選択します。
Using default provider  awscloudformation
?  Select the authentication method you want to use: AWS profile

For more information on AWS Profiles, see:
https://docs.aws.amazon.com/cli/latest/userguide/cli-configure-profiles.html

? Please choose the profile you want to use amplify-app
Adding backend environment dev to AWS Amplify app:
しばらくしたのちに下記のようにCLIへ改善情報の提供をしてもいいか質問が表示されます。
お好きな方を回答しましょう。
Help improve Amplify CLI by sharing non-sensitive project configurations on failures (y/N)
ここまで終え、以下のようにsuccessfullyと出れば完了です。

実際にAWS上で環境が出来上がっているか確認しましょう。
下記のようにAWS Amplify上にアプリが作成されているはずです。

終わりに
コマンドラインと少しの画面操作で簡単に環境構築ができました。
爆速でアプリ開発ができるという噂はさすがですね...
次回は画面開発やGitとの連携部分を行いたいです。
参考
こちらの記事を参考に作成しました。