この記事はGo 4 Advent Calendar 2020 2日目の記事です。
この記事について
OpenAPIのyamlファイルから、APIサーバーやクライアントコードを生成するopen-generatorというツールが存在します。
今回は、これを用いてGoのAPIサーバー/クライアントのコードを自動生成させ、それに手を加えて実際に使えるようにするまでの過程を紹介します。
使用する環境・バージョン
- go version go1.14 darwin/amd64
- openapi 3.0.1
- openapi-generator 4.3.1
OpenAPIとは?
OpenAPIとは、REST APIを記述するためのフォーマット規格です。決められた記法でAPI仕様を記述すると、その内容をSwagger UIというきれいな形式にして確認することができるようになります。
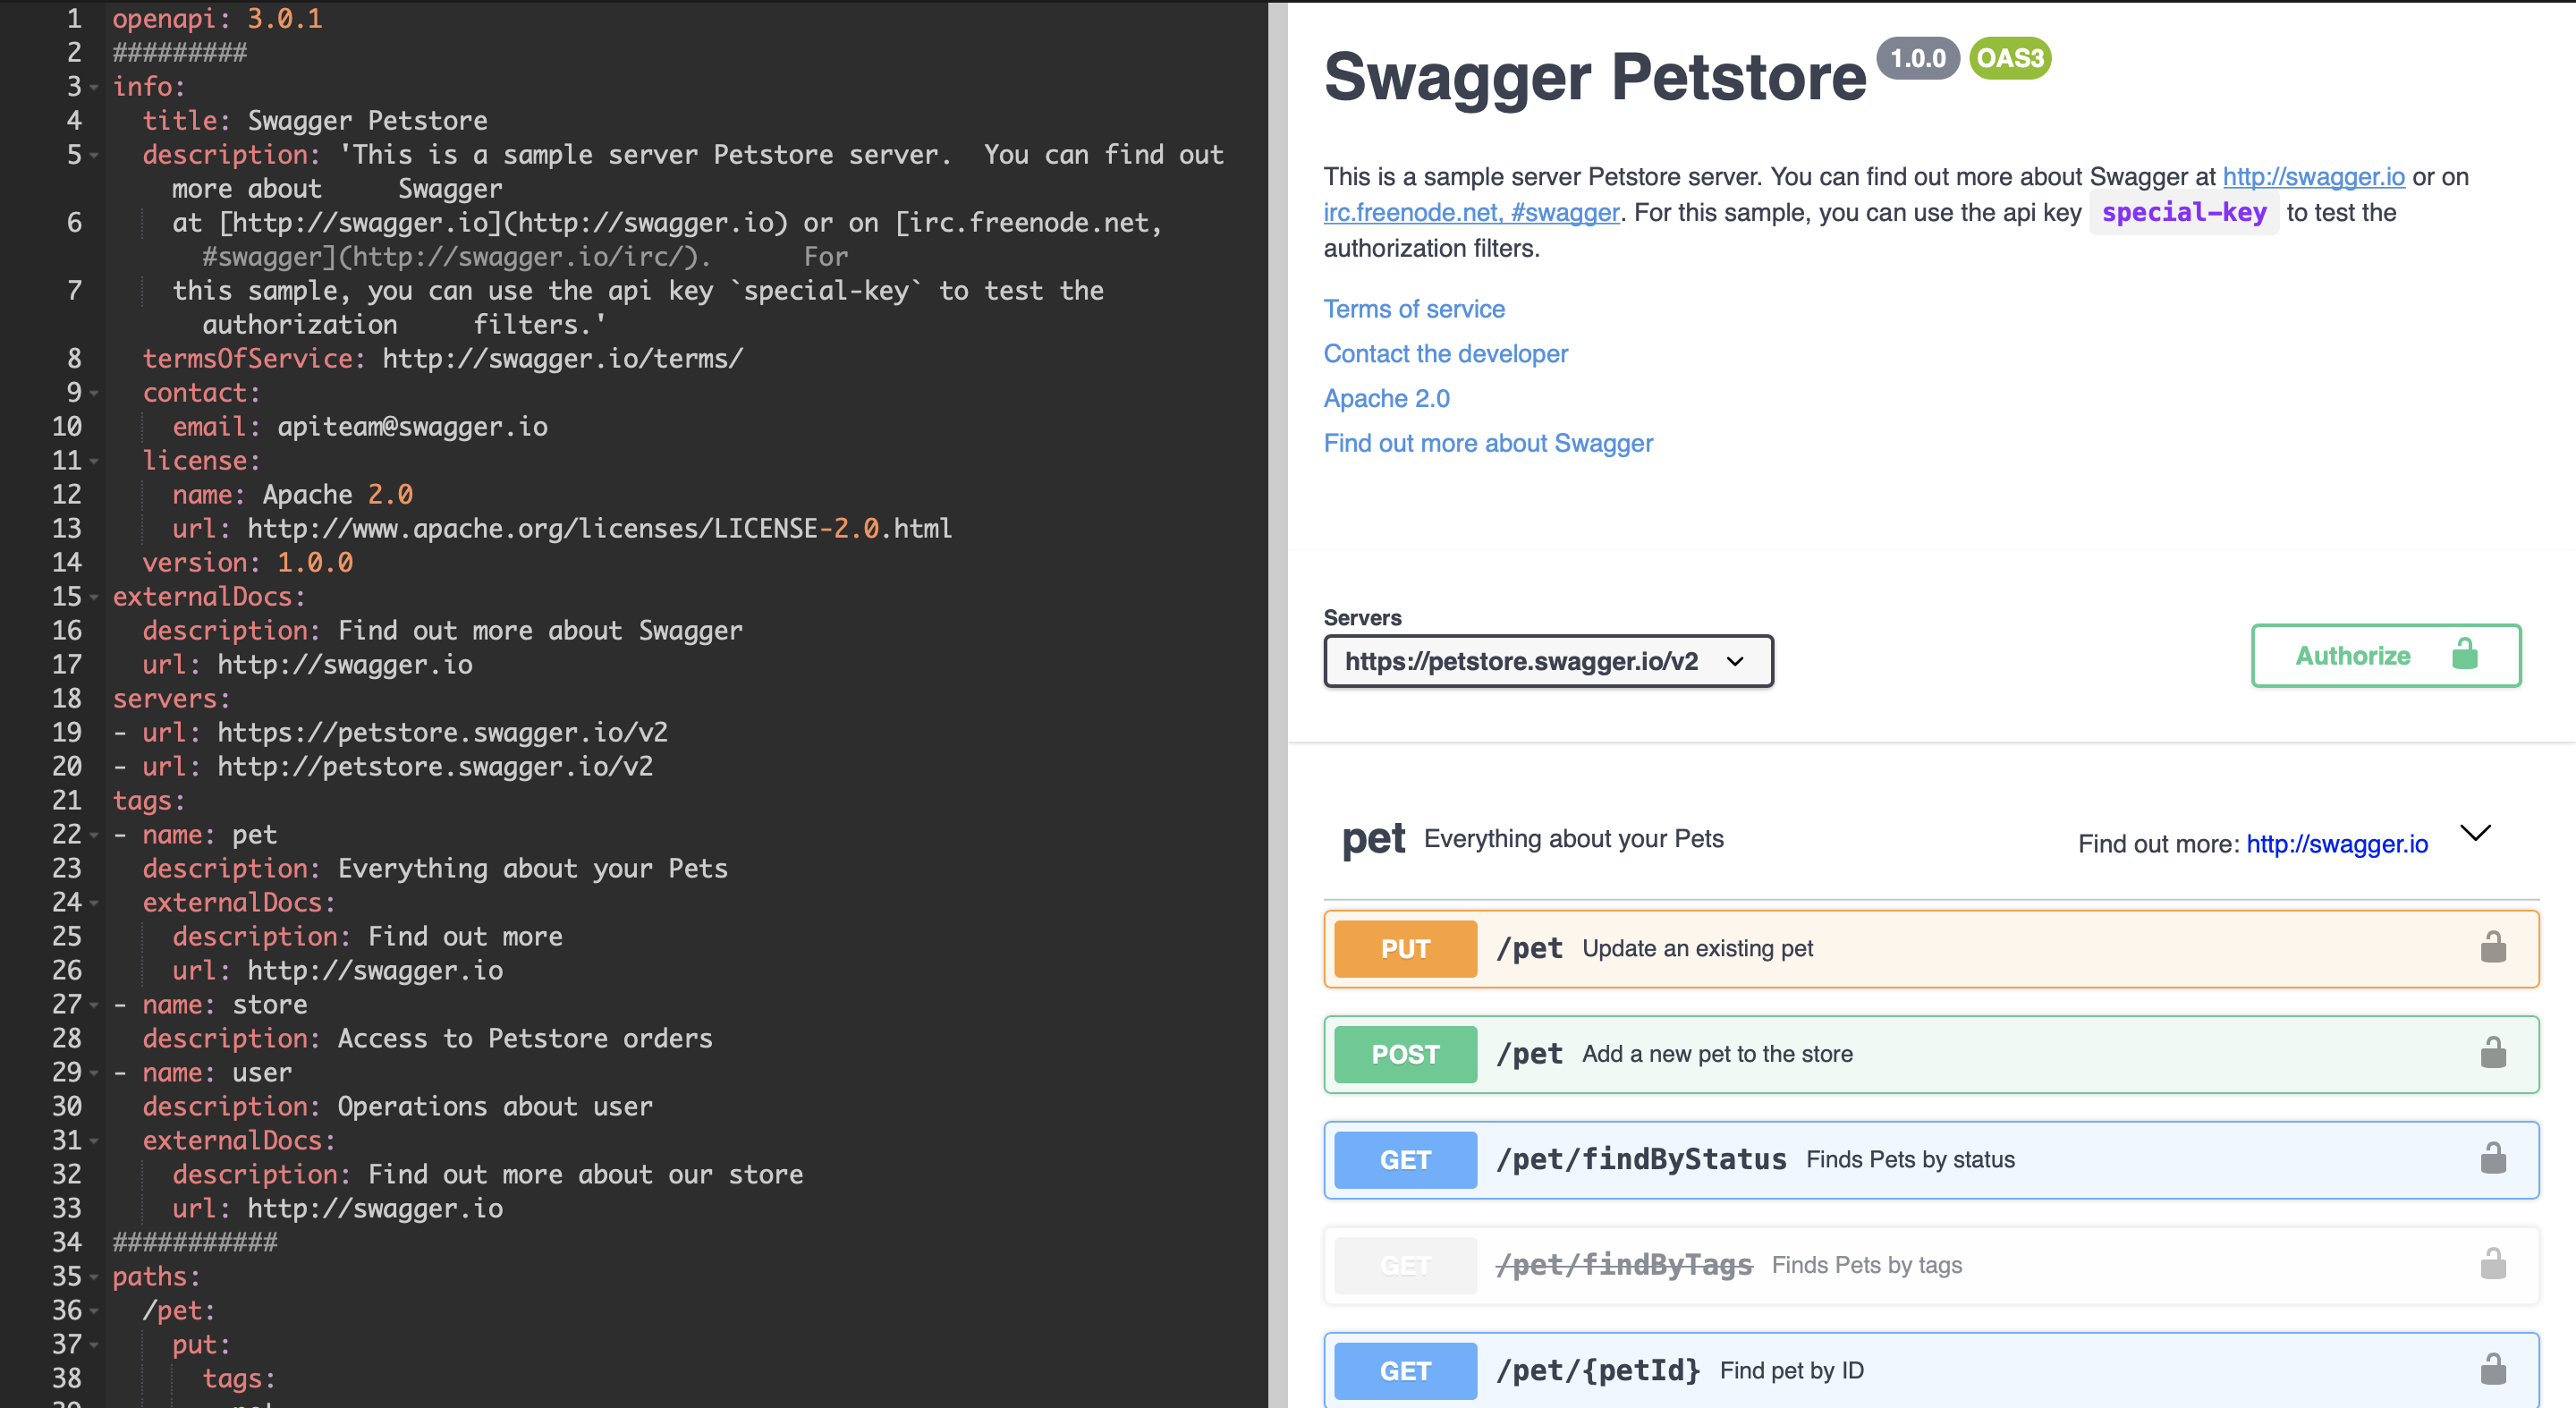
"Swagger"というのはOpenAPIの以前の名前です。メジャーバージョン2系まではSwaggerという名前でしたが、3系へアップデートされる際に紆余曲折ありOpenAPIと名前が変わりました。
ドキュメントの作成
OpenAPIでは、API仕様をyamlファイルかjson形式で書くことになっています。ここではyaml形式で書くことにします。
yamlファイルを書く
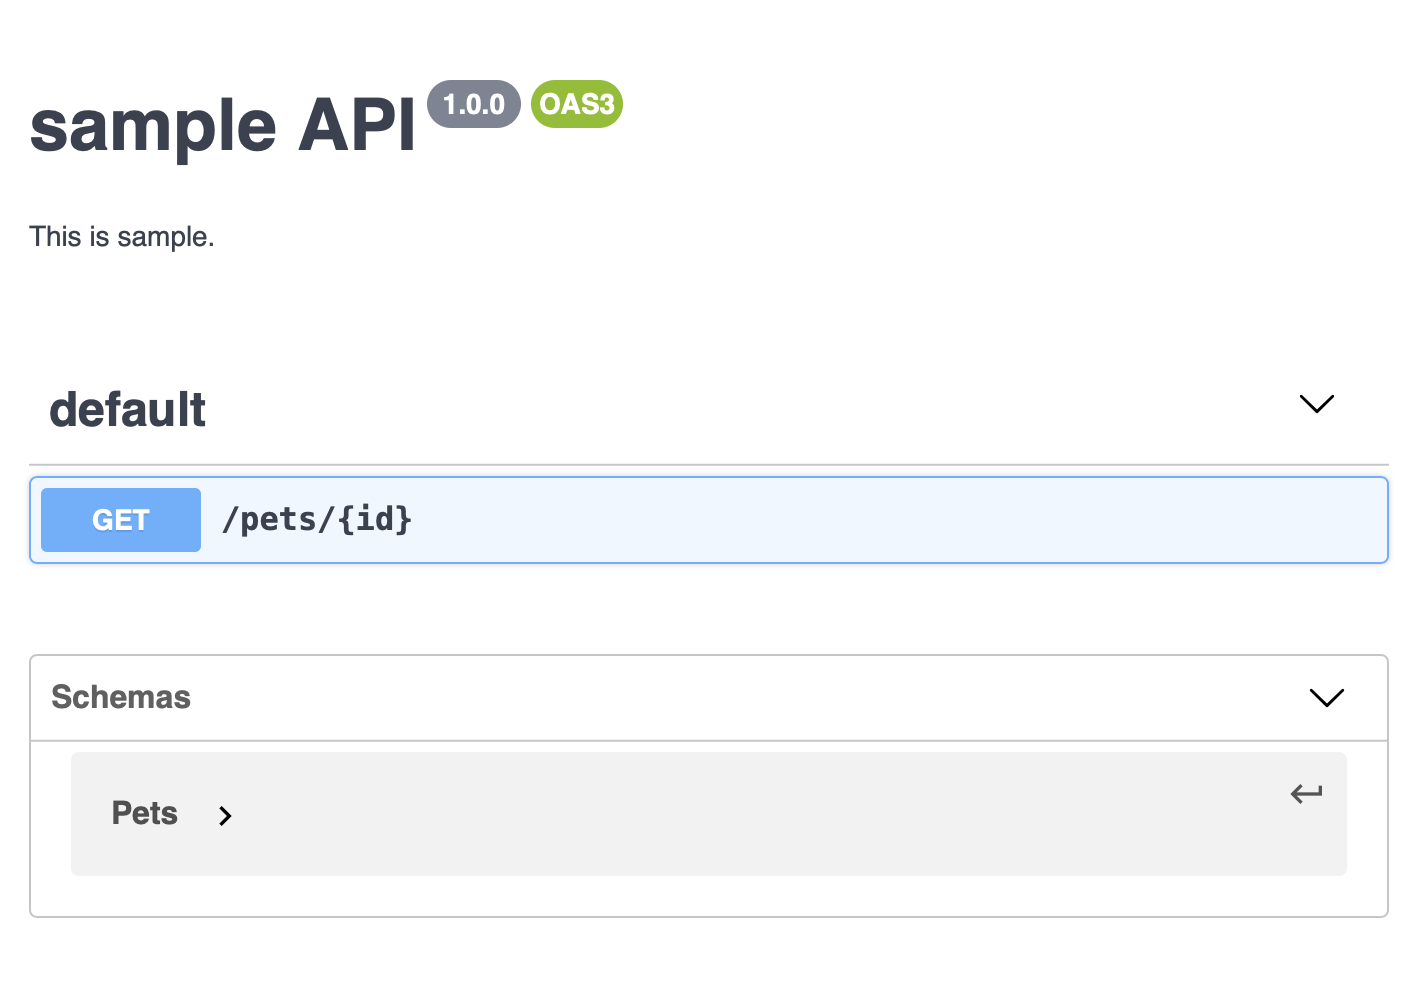
一例として、openapi.ymlというファイルを用意して簡単なAPI仕様を書いてみます。
openapi: 3.0.1

info:
  title: "sample API"
  description: "This is sample."
  version: "1.0.0"

paths:
  /pets/{id}:
    get:
      description: Returns a single pet
      parameters:
        - name: id
          in: path
          description: ID of pet to fetch
          required: true
          schema:
            type: integer
            format: int64
      responses:
        200:
          description: successful pet response
          content:
            application/json:
              schema:
                $ref: '#/components/schemas/Pets'

components:
  schemas:
    Pets:
      type: object
      properties:
        id:
          type: integer
          format: int64
        name:
          type: string
          example: doggie
        status:
          type: string
          description: pet status in the store
          enum:
          - available
          - pending
          - sold
Goのアドベントカレンダーなので、yamlファイルのフィールドの意味についてここでは詳しくは触れません。
以下、yamlファイルの記法についての参考文献を載せますので、そちらを参照ください。
エディタの紹介
Swagger Editorというウェブ上のエディタを使用すると、Swagger UI表示をすぐに確認することができます。
ウェブ上ではなくて、ローカルでも同様の環境が欲しいという場合は、VSCodeの拡張機能Swagger Viewerを使えば、VSCode上でSwagger UIを確認できるようになります。
openapi-generaterでのコード自動生成
OpenAPIのメリットは、見栄えのいいAPIドキュメントが作れることだけではなくて、yamlファイルから実際のAPIのコードをある程度自動で作成することができるというところにもあります。
OpenAPI Generatorを使うことで、yamlファイルからAPIクライアント/サーバーのコードフォーマットを自動で作成することができます。
まずはそれをhomebrewでインストールしてみましょう。
$ brew install openapi-generator
これを実行すれば、openapi-generatorを利用する準備は完了です。
APIサーバーのコードを自動生成
コマンドで生成してみる
以下のコマンドを実行します。
$ openapi-generator generate -i openapi.yml -g go-server -o ./server
openapi-generatorコマンドのオプションの意味は以下の通りです。
- i: ymlファイルの指定
- g: どんなコードを生成するかを指定。go-serverは、Go言語でAPIサーバーのコードを生成するための指定ワード。
- o: 生成ファイルの出力先ディレクトリを指定
すると、現ディレクトリ直下にserverディレクトリができ、その中にyamlファイルで規定されたAPIサーバーのコードが生成されています。
/server
├─ .openapi-generator
│    └─ VERSION
├─ api
│   └─ openapi.yaml
├─ go
│   ├─ api_default_server.go
│   ├─ api_default.go
│   ├─ api.go
│   ├─ logger.gp
│   ├─ model_pets.go
│   └─ routers.go
├─ .openapi-generator-ignore
├─ Dockerfile
├─ go.mod
├─ go.sum
├─ main.go
└─ README.md
生成されたサーバーを動かしてみる
serverディレクトリ直下のmain.goを実行してみます。
$ cd server # serverディレクトリへ移動
$ go run main.go
すると、http://localhost:8080でAPIサーバーが稼働します。
実際に別のターミナルでcurlを叩いてみましょう。
# 定義されていないパスはちゃんと404が返ってくる
$ curl http://localhost:8080
404 page not found

# 定義されたパスは通ってはいるが、500エラー
$ curl http://localhost:8080/pets/1
$ curl http://localhost:8080/pets/1 -w '%{http_code}\n'
500
定義していないパスが404なのはいいとして、定義したパスが500なのは何故でしょうか。
それではopenapi-generatorコマンドで自動生成されたサーバーコードを詳しくみてみましょう。
生成されたコード解説
service
api_default_service.goの中ではserviceの実装が行われています。
ここには「ID等の引数情報を受け取って、そこからAPIで返したいデータを作る」という部分のビジネスロジックを、DefaultApiService構造体のメソッドという形で記述します。
func (s *DefaultApiService) PetsIdGet(id int64) (interface{}, error) {
	// TODO - update PetsIdGet with the required logic for this service method.
	return nil, errors.New("service method 'PetsIdGet' not implemented")
}
しかしコード生成直後のデフォルト状態では、上記のように「データなし・エラーあり」の返り値になっています。
controller
api_default.goの中にはcontrollerが実装されています。
ここは「特定のパスにhttpリクエストがきたら、所定のserviceからレスポンスのもとになるデータを作り、返す」という部分を担っています。
func (c *DefaultApiController) PetsIdGet(w http.ResponseWriter, r *http.Request) {
	params := mux.Vars(r)
	id, err := parseIntParameter(params["id"])
	if err != nil {
		w.WriteHeader(500)
		return
	}

	result, err := c.service.PetsIdGet(id)
	if err != nil {
		w.WriteHeader(500)
		return
	}

	EncodeJSONResponse(result, nil, w)
}
このPetsIdGetの場合は、「パスパラメータからIDを抜き出して、それを先ほどのPetsIdGetサービスの引数として渡す→データが帰ってきたらjsonにしてhttpレスポンスを作成、エラーなら500を作成」という処理をしています。
そして、これらの処理はDefaultApiControllerという構造体のメソッドとして定義されています。
type DefaultApiController struct {
	service DefaultApiServicer
}
router
controllerで使用したDefaultApiController構造体には、Router()というメソッドも存在しています。
// Routes returns all of the api route for the DefaultApiController
func (c *DefaultApiController) Routes() Routes {
	return Routes{
		{
			"PetsIdGet",
			strings.ToUpper("Get"),
			"/pets/{id}",
			c.PetsIdGet,
		},
	}
}
ここで「/pets/{id}のパスにGETメソッドがきたら、controllerのPetsIdGetを呼び出す」という対応関係を定義しています。
そして、router.goの中に、この対応関係から実際のmux.Routerを生成する関数が定義されています。
func NewRouter(routers ...Router) *mux.Router {
	router := mux.NewRouter().StrictSlash(true)
	for _, api := range routers {
		for _, route := range api.Routes() {
			var handler http.Handler
			handler = route.HandlerFunc
			handler = Logger(handler, route.Name)

			router.
				Methods(route.Method).
				Path(route.Pattern).
				Name(route.Name).
				Handler(handler)
		}
	}

	return router
}
main.go
main.goでは、今まで作ってきたservice,controller,routerといった部品からサーバーを実際に動かす処理が書かれています。
func main() {
	log.Printf("Server started")

	DefaultApiService := openapi.NewDefaultApiService()
	DefaultApiController := openapi.NewDefaultApiController(DefaultApiService)

	router := openapi.NewRouter(DefaultApiController)

	log.Fatal(http.ListenAndServe(":8080", router))
}
手順としては以下の通りです。
- service構造体を作る(
DefaultApiService) - serviceからcontrollerを作る(
DefaultApiController) - controllerからrouterを作る
- routerを
http.ListenAndServeに渡してサーバーを起動する
生成されたコードを元にAPIサーバーを作る
先ほど紹介したような500を返すサーバーではなく、実際にDBにアクセスしてデータを返すようなAPIを作りたければ、api_default_service.goに手を加えればOKです。
func (s *DefaultApiService) PetsIdGet(id int64) (interface{}, error) {
	// TODO - update PetsIdGet with the required logic for this service method.
+	// idを手掛かりにDBからデータを入手する
+	data, err := GetDataFromDB(id)
+
+	return data, err
-	return nil, errors.New("service method 'PetsIdGet' not implemented")
}
この状態でそのままmain.goを動かせば、きちんとデータが返ってくるAPIサーバーになります。
モックサーバーを作る
本番環境のAPIサーバーだけでなく、テストや開発用にモックを作りたいという場合もあるかと思います。
そのときは、モック用のserviceを新たに作成します。
// mock用の新しいservice構造体
type DefaultMockService struct {
}

// mock用サービスのコンストラクタ
func NewDefaultMockService() DefaultApiServicer {
	return &DefaultMockService{}
}

// mock用serviceのメソッド
func (s *DefaultMockService) PetsIdGet(id int64) (interface{}, error) {
	pet := Pets{
		Id:     id,
		Name:   "doggie",
		Status: "available",
	}
	return pet, nil
}
そして、main.goに以下のように手を加えます。
func main() {
	log.Printf("Server started")


-	DefaultApiService := openapi.NewDefaultApiService()
-	DefaultApiController := openapi.NewDefaultApiController(DefaultApiService)


+	DefaultMockService := openapi.NewDefaultMockService()
+	DefaultApiController := openapi.NewDefaultApiController(DefaultMockService)

	router := openapi.NewRouter(DefaultApiController)

	log.Fatal(http.ListenAndServe(":8080", router))
}
すると、サーバー起動時にmockの方のserviceが使われるようになります。
実際に、サーバーを起動させてcurlを叩いてみましょう。
$ curl http://localhost:8080/pets/1
{"id":1,"name":"doggie","status":"available"}
きちんとmockで用意したテストデータが返ってきます。
APIクライアントのコードを自動作成
コマンドで生成してみる
$ openapi-generator generate -i test2.yml -g go -o ./client/openapi
先ほどのAPIサーバーとの相違点は、オプション-gの指定がgoになっているところです。
このコマンドを実行することで、client/openapi直下に以下のようなファイルが生成されます。
/client/openapi
├─ .openapi-generator
│    └─ VERSION
├─ api
│   └─ openapi.yaml
├─ docs
│   ├─ DefaultApi.md
│   └─ Pets.md
│
├─ api_default.go
├─ clinet.go
├─ configuration.go
├─ model_pets.go
├─ response.go
│
├─ .gitignore
├─ git_push.sh
├─ .openapi-generator-ignore
├─ .travis.yml
├─ go.mod
├─ go.sum
└─ README.md
このうちAPIクライアント実装部分は、ファイル拡張子が.goである5つです。
生成されたコード解説
client.go
client.goに、定義したAPIへのクライアントが実装されています。
// APIClient manages communication with the sample API API v1.0.0
// In most cases there should be only one, shared, APIClient.
type APIClient struct {
	cfg    *Configuration
	common service // Reuse a single struct instead of allocating one for each service on the heap.

	// API Services
	DefaultApi *DefaultApiService
}
このAPIClientのコンストラクタは以下のように定義されています。見るとわかる通り、*Configuration型の引数を必要としています。
func NewAPIClient(cfg *Configuration) *APIClient
configuration.go
APIClientのコンストラクタに渡すConfigurationは何かというと、サーバーURLなどの情報を保持しておく構造体です。
Configurationのコンストラクタは、configuration.goファイル内にNewConfiguration()として存在します。
func NewConfiguration() *Configuration {
	cfg := &Configuration{
		BasePath:      "http://localhost:8080",
		DefaultHeader: make(map[string]string),
		UserAgent:     "OpenAPI-Generator/1.0.0/go",
		Debug:         false,
		Servers: []ServerConfiguration{
			{
				Url:         "/",
				Description: "No description provided",
			},
		},
	}
	return cfg
}
api_default.go
実際にAPIを叩くためにはどうすればいいのでしょうか。
もう一度APIClientの定義を見てみます。
type APIClient struct {
	cfg    *Configuration
	common service
	// API Services
	DefaultApi *DefaultApiService
}
DefaultApiというフィールドがあるのが分かります。実は、このフィールドのDefaultApiService構造体のメソッドを呼び出すことでAPIを叩く仕組みになっています。
DefaultApiServiceのメソッドはapi_default.goファイルに記述されています。
// (例)
// /pets/{id}へGETリクエストを送るメソッド
func (a *DefaultApiService) PetsIdGet(ctx _context.Context, id int64) (Pets, *_nethttp.Response, error)
次に、実際にこれらClientの機能を使ってAPIを叩くコードを書いてみましょう。
APIClientを使ってAPIを叩いてみる
コード作成
clientフォルダの中にmain.goを作り、以下のように記述します。
package main

import (
	"context"
	"fmt"

	"./openapi"
)

func main() {
	cfg := openapi.NewConfiguration()
	c := openapi.NewAPIClient(cfg)

	ctx := context.Background()
	pets, _, err := c.DefaultApi.PetsIdGet(ctx, 1)

	fmt.Println(pets, err)
}
まずは、importの部分でopenapiパッケージを読み込んでいます。これは、今まで紹介したclient.goやconfiguration.goがpackage openapiで生成されているので、このようにすることでこれらを使用できるようにしています。
そして、main関数の中で以下のように処理を実行しています。
1. configurationを生成
cfg := openapi.NewConfiguration()
2. configurationからAPIClientを生成
c := openapi.NewAPIClient(cfg)
3. 空のContextを作成→それを引数にとりAPIServiceを呼び出す
pets, _, err := c.DefaultApi.PetsIdGet(ctx, 1)
実行
実際にClientが使えているかどうか確かめてみましょう。
先ほど作成したmockサーバーを動かした上で、このmain.goを実行します。
$ go run main.go
{1 doggie available} <nil>
きちんとmockサーバーで書いた内容が取得できました。
まとめ
以上、openapi-generatorでAPIサーバー/クライアントのコードを生成する手順でした。
感想としては、きちんとインターフェースが定義されていて、テストしやすそうなコードが生成されるなと思いました。
Swagger UIのドキュメントも合わせて簡単に作れることも考えると、yamlの書き方の学習コストを上回るだけの便利さだと思います。
ぜひ、REST APIを作りたいときは、OpenAPIを試してみてください。