はじめに
MacでFlutterの環境構築をしたときの作業ログです。
基本的に公式のドキュメント通りに進めます。
環境
- macOS Catalina 10.15.5
$ git version
git version 2.24.3 (Apple Git-128)
1. Flutter SDKのインストール
zipをダウンロードする方法もありますが、今回はリポジトリをクローンする方法でやります。
$ git clone https://github.com/flutter/flutter.git
Cloning into 'flutter'...
remote: Enumerating objects: 239418, done.
remote: Total 239418 (delta 0), reused 0 (delta 0), pack-reused 239418
Receiving objects: 100% (239418/239418), 100.00 MiB | 4.60 MiB/s, done.
Resolving deltas: 100% (183567/183567), done.
Updating files: 100% (4890/4890), done.
クローンしたバイナリのパスを通します。
公式の通りだとシェルを終了すると再度パスを通す必要があり面倒なので.zshrcに書くことで自動的にパスを通すようにします。
使用しているシェルがzshでない場合は適宜変更してください。
$ vi ~/.zshrc
# 以下の行を追加する
export PATH="$PATH:/path/to/flutter/bin"
# 追記したら設定を反映させます。
$ source ~/.zshrc
whichコマンドでパスが通っているか確認します
$ which flutter
/path/to/bin/flutter
開発用バイナリをダウンロード
$ flutter precache
Downloading Dart SDK from Flutter engine 6589dcb2d459a77fe67c62e293df1299390d8df5...
  % Total    % Received % Xferd  Average Speed   Time    Time     Time  Current
                                 Dload  Upload   Total   Spent    Left  Speed
100  225M  100  225M    0     0  44.7M      0  0:00:05  0:00:05 --:--:-- 46.8M
Building flutter tool...
Downloading Material fonts...                                       0.5s
Downloading Gradle Wrapper...                                       0.1s
Downloading Android Maven dependencies...                          68.1s
Downloading android-arm-profile/darwin-x64 tools...                 0.4s
・
・
・
Downloading darwin-x64/font-subset tools...                         0.7s
ドクターコマンドを使用して不足しているパッケージを確認します。
$ flutter doctor
Doctor summary (to see all details, run flutter doctor -v):
[✓] Flutter (Channel master, 1.19.0-4.0.pre.20, on Mac OS X 10.15.5 19F101, locale ja-JP)

[✓] Android toolchain - develop for Android devices (Android SDK version 28.0.3)
[✗] Xcode - develop for iOS and macOS
    ✗ Xcode installation is incomplete; a full installation is necessary for iOS development.
      Download at: https://developer.apple.com/xcode/download/
      Or install Xcode via the App Store.
      Once installed, run:
        sudo xcode-select --switch /Applications/Xcode.app/Contents/Developer
        sudo xcodebuild -runFirstLaunch
    ✗ CocoaPods not installed.
        CocoaPods is used to retrieve the iOS and macOS platform sides plugin code that
        responds to your plugin usage on the Dart side.
        Without CocoaPods, plugins will not work on iOS or macOS.
        For more info, see https://flutter.dev/platform-plugins
      To install:
        sudo gem install cocoapods
[✓] Android Studio (version 3.3)
[✓] VS Code (version 1.45.1)
[!] Connected device
    ! No devices available

! Doctor found issues in 2 categories.
バツになっているところに不備があります。
私の環境ではXcodeに不備がありました。丁寧に解消するコマンドも教えてくれるのでその通りにインストールします。
$ sudo xcode-select --switch /Applications/Xcode.app/Contents/Developer
$ sudo xcodebuild -runFirstLaunch
$ sudo gem install cocoapods
ドクターコマンドで不備が解消されたか確認します。
$ flutter doctor
Doctor summary (to see all details, run flutter doctor -v):
[✓] Flutter (Channel master, 1.19.0-4.0.pre.20, on Mac OS X 10.15.5 19F101, locale ja-JP)

[✓] Android toolchain - develop for Android devices (Android SDK version 28.0.3)
[✓] Xcode - develop for iOS and macOS (Xcode 11.5)
[✓] Android Studio (version 3.3)
[✓] VS Code (version 1.45.1)
[!] Connected device
    ! No devices available

! Doctor found issues in 1 category.
[!]と出ているところは実機がつながってないよというメッセージなので環境構築には問題ありません。
以上でFlutter SDKのインストールは完了です。
2. プロジェクト作成とアプリの動作確認
プロジェクトの作成
$ flutter create my_app
$ cd my_app
iOSシミュレータで動作確認
iOSシミュレータを起動します。
Xcode → Open Developer Tool → Simulator から起動できます。
起動した状態で下記コマンドを実行することでシミュレータ場でアプリをデバッグできます。
$ flutter run
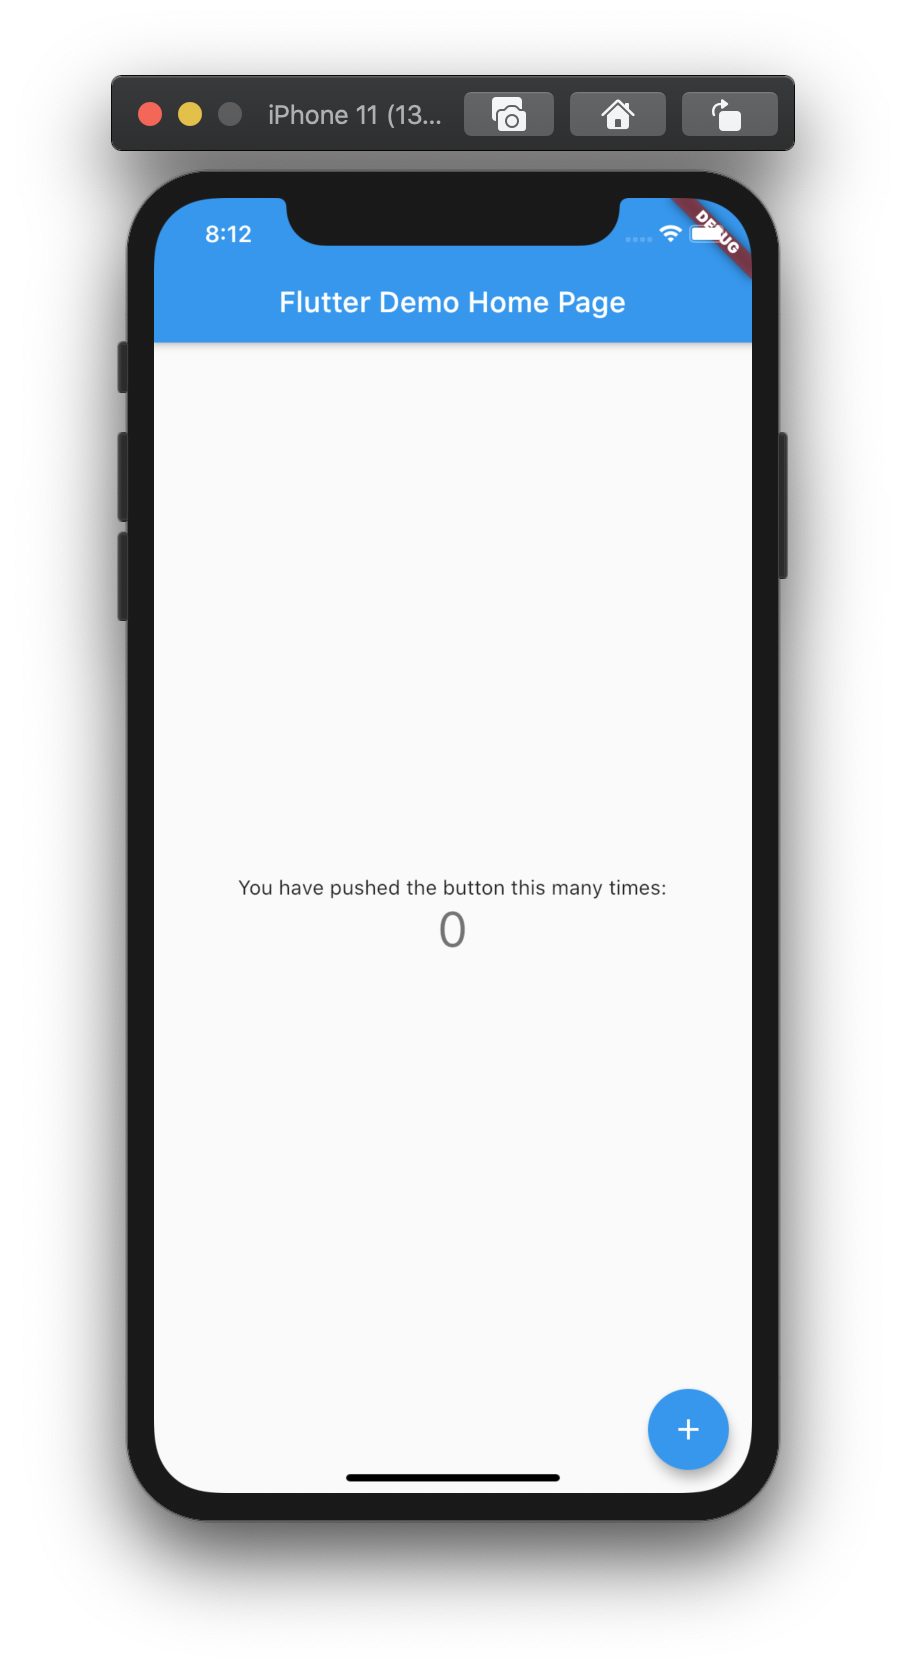
ビルドが完了すると以下のようなカウントアップアプリがシミュレータ上で起動します。

Androidシミュレータで動作確認
Androidシミュレータを起動します。
Android Studio → Configure → AVD Manager から起動できます。
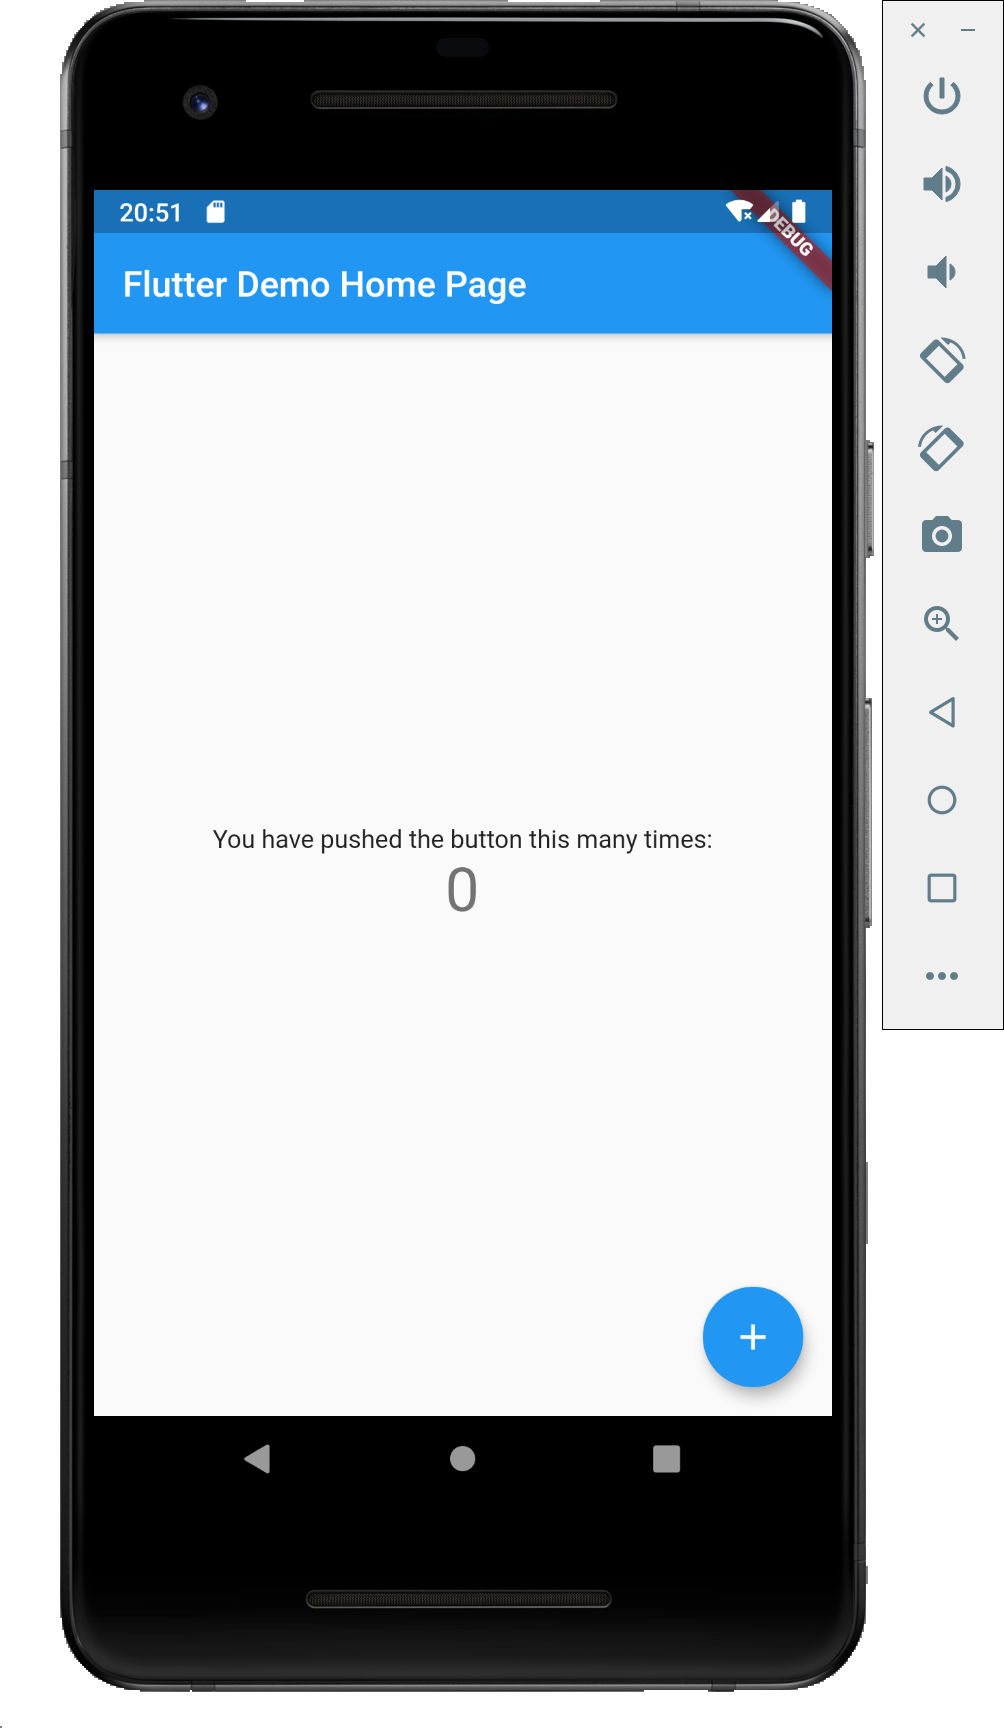
$ flutter run
