はじめに
github actionsののself host runnerを試したことがなかったので、今回はそれを試してみました.
self host runnerとは
github actionsのCI/CD機能は特に設定を弄らない限り、github側が用意しているインフラの上で稼働するようになります.
self host runnerを利用することで、稼働するインフラ基盤を自前で用意することが出来るようになります.
公式ドキュメントはコチラ
今回の設計イメージ
セルフホストランナーをgcpのGCEに設置します.
もちろんOSはLinux
構築
1. リポジトリ、インフラの用意⛹️♂️
まずはリポジトリの用意.
いつもどおりリポジトリを作成します.
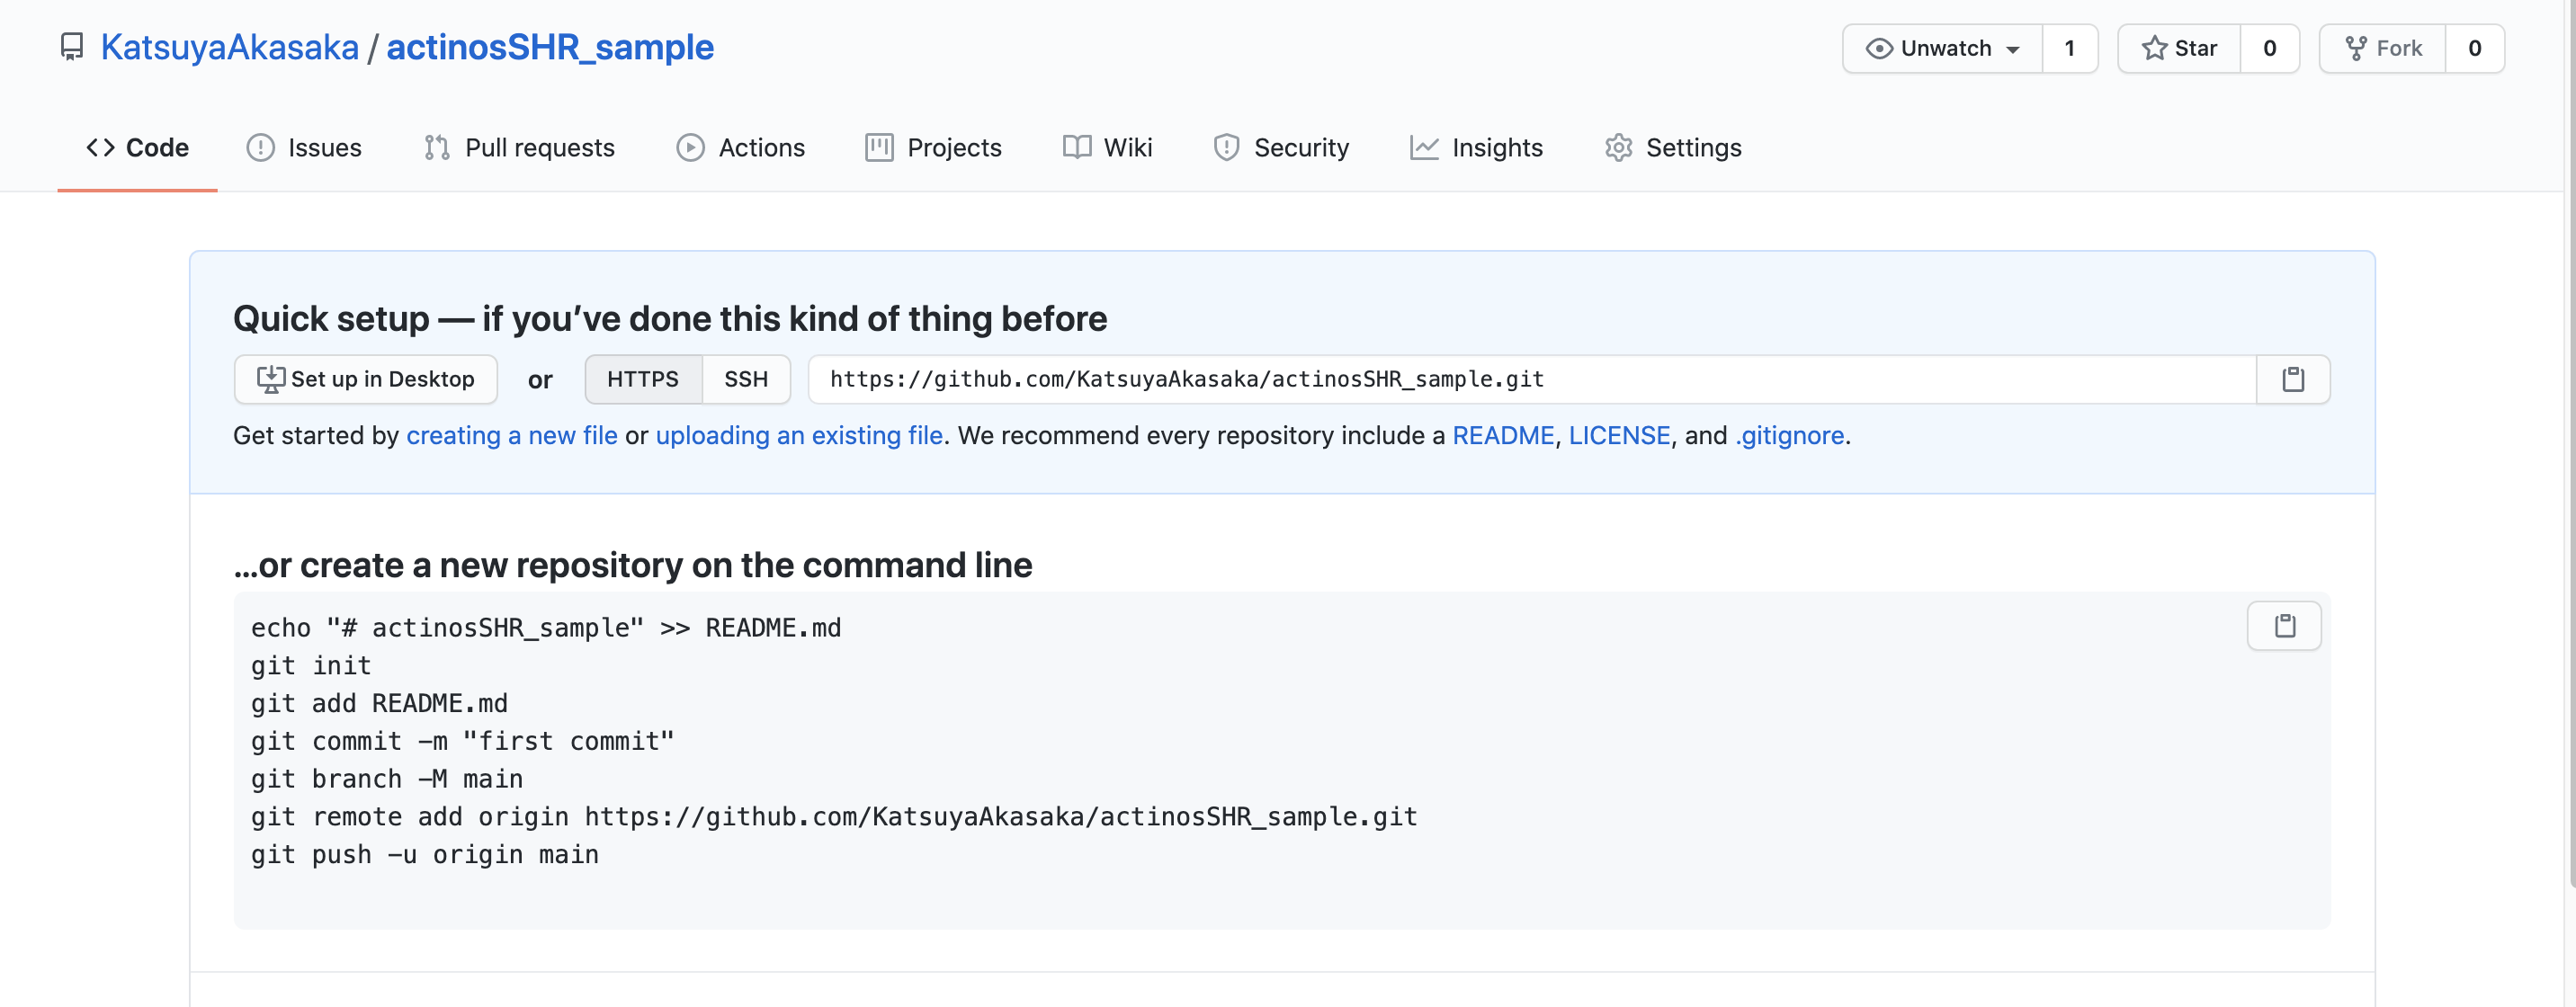
typoしたの許して...
Setting > Actionsタブで、セルフホストランナーを有効にするボタンがあるので、コチラをクリック
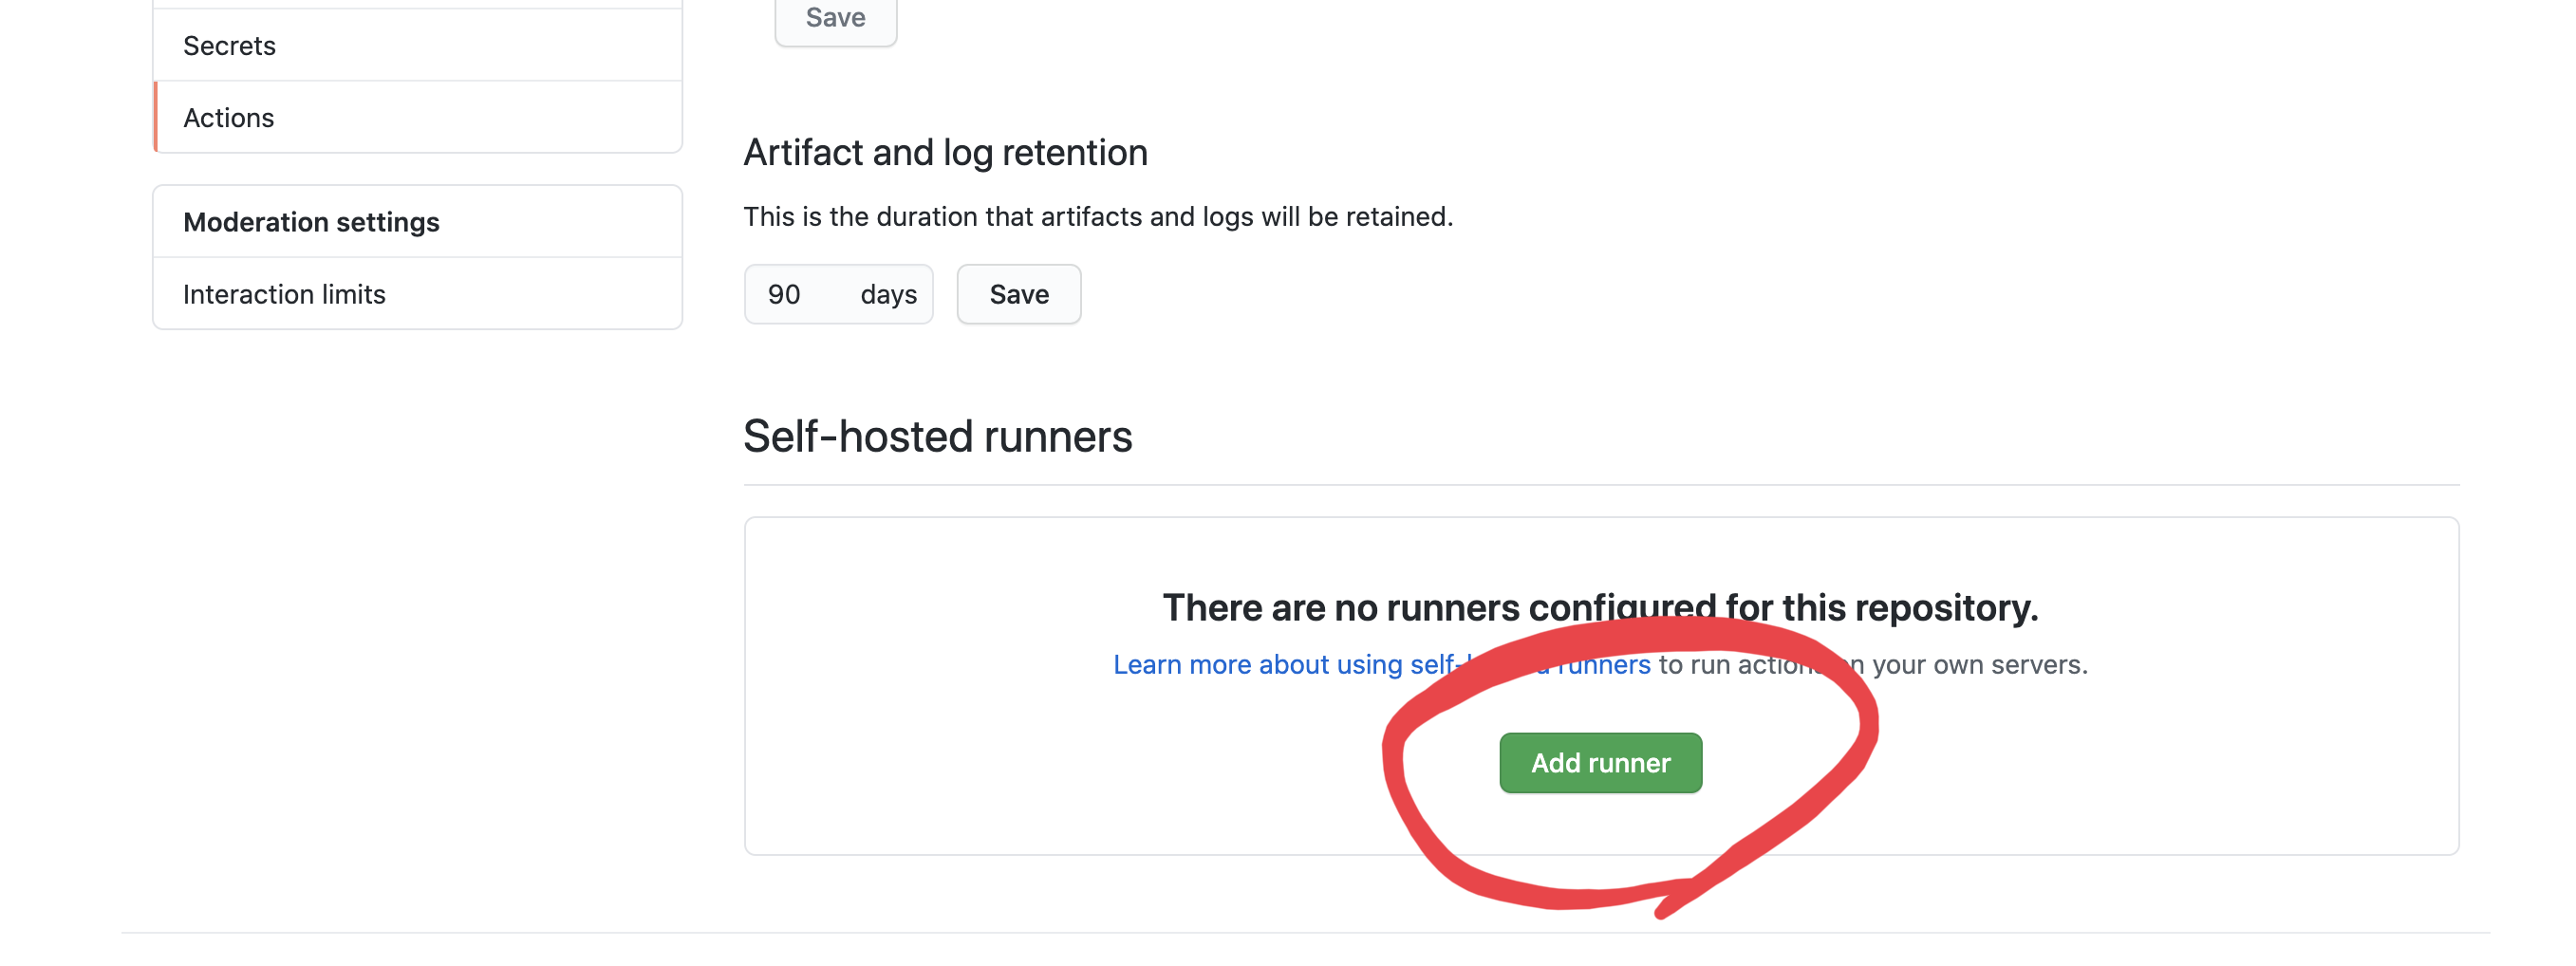
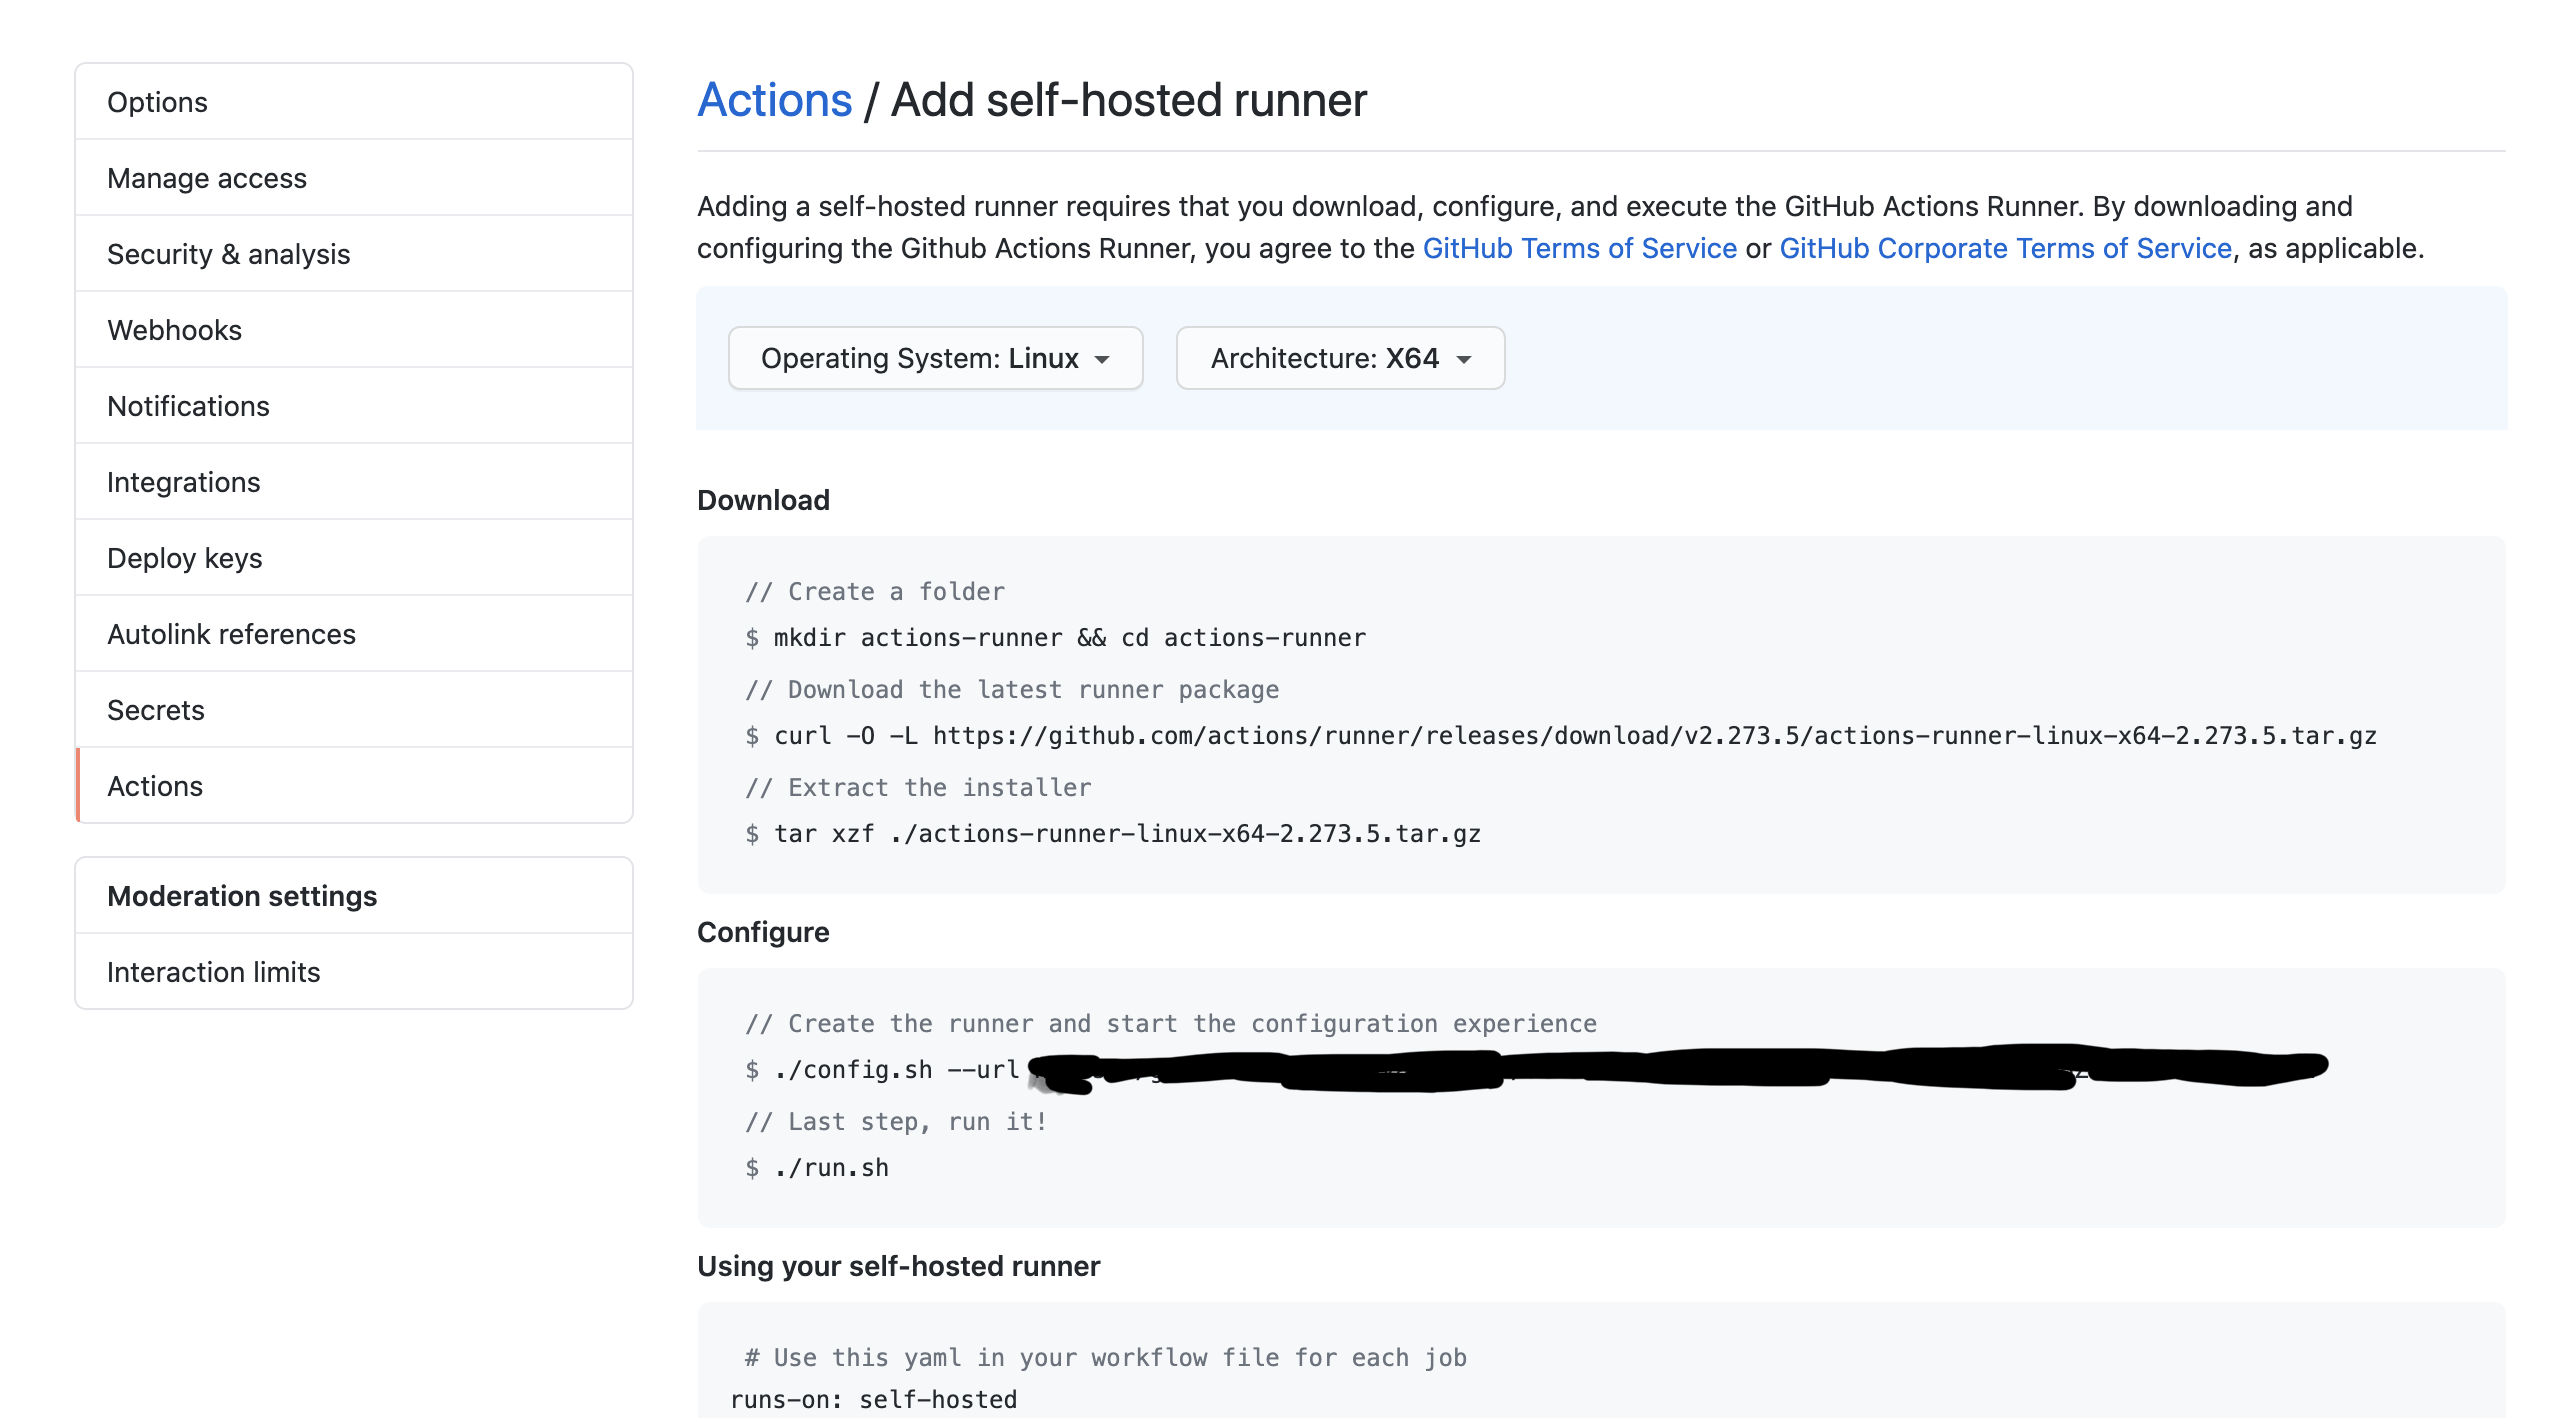
そうすると導入ガイドが出てくるので一旦これでok.
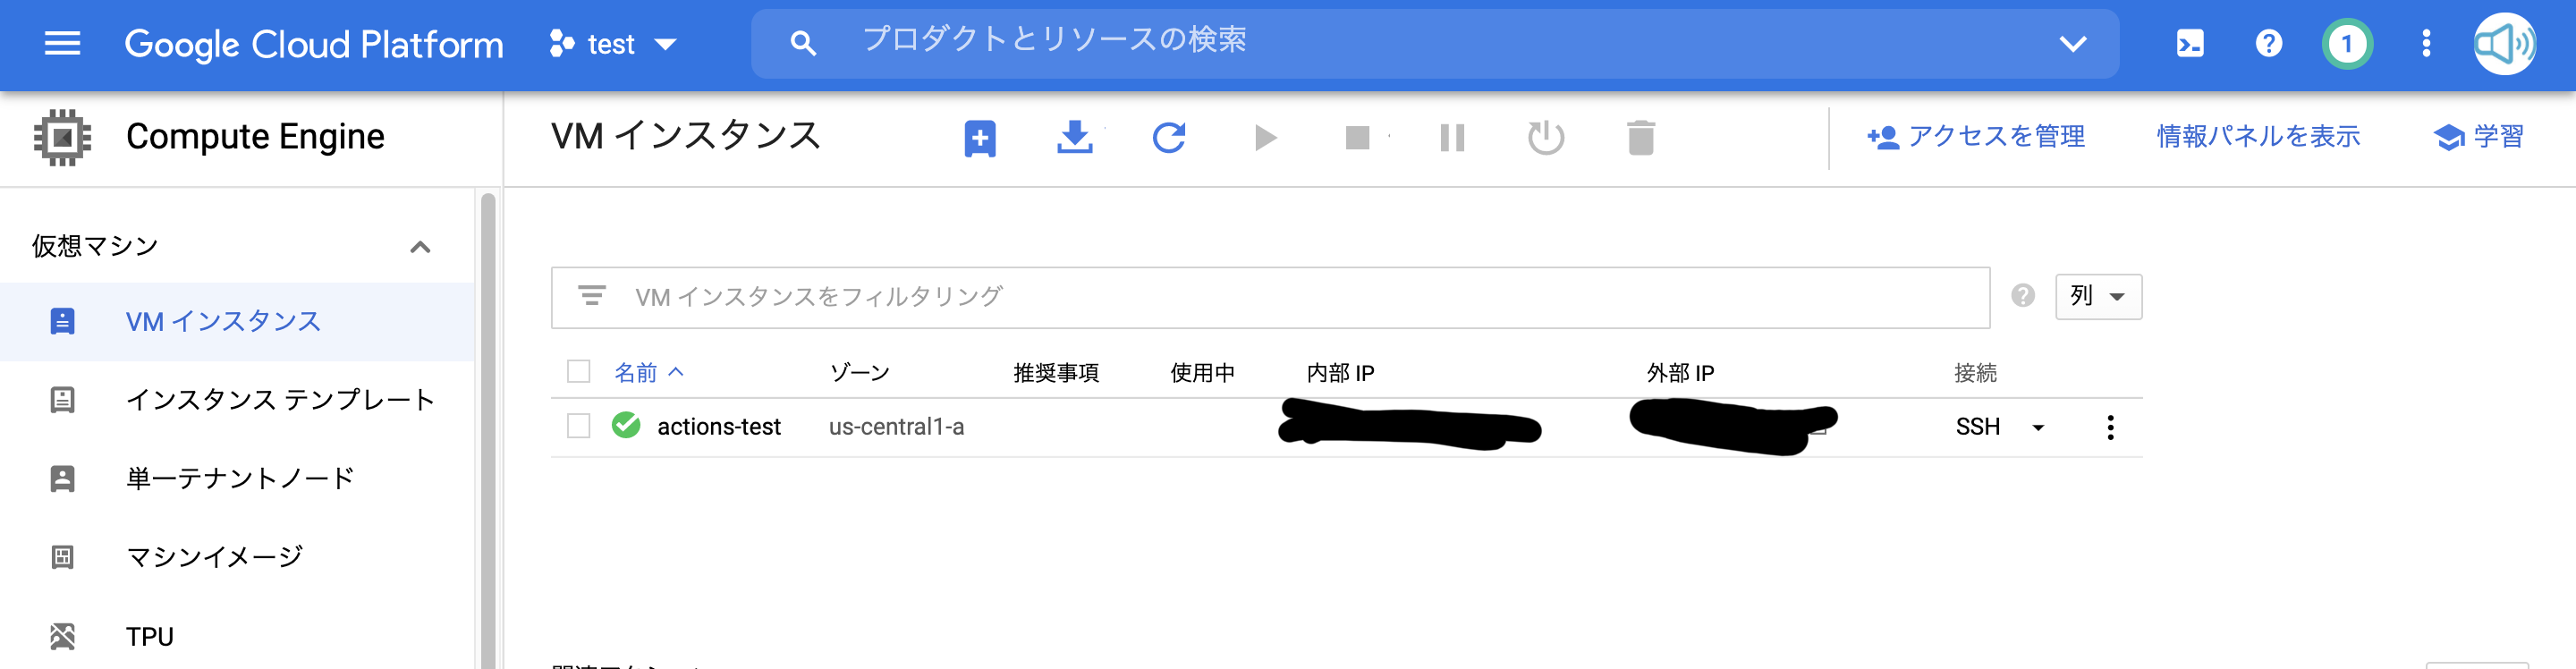
つづいてインフラの準備.
特に何もいじらずe2-microで作成しました.
2. runnerのインストール、起動💊
作成したインスタンスにsshして、先程githubの方で出てきた導入ガイドに沿って実行していきます
sakas1231@actions-test:~$ mkdir actions-runner && cd actions-runner
sakas1231@actions-test:~/actions-runner$ curl -O -L https://github.com/actions/runner/releases/download/v2.273.5/actions-runner-linux-x64-2.273.5.tar.gz
  % Total    % Received % Xferd  Average Speed   Time    Time     Time  Current
                                 Dload  Upload   Total   Spent    Left  Speed
100   665  100   665    0     0   3243      0 --:--:-- --:--:-- --:--:--  3243
100 72.0M  100 72.0M    0     0  57.1M      0  0:00:01  0:00:01 --:--:-- 99.5M
sakas1231@actions-test:~/actions-runner$ tar xzf ./actions-runner-linux-x64-2.273.5.tar.gz
sakas1231@actions-test:~/actions-runner$ ./config.sh --url https://github.com/KatsuyaAkasaka/actinosSHR_sample --token xxxxxx
'Libicus dependencies is missing for Dotnet Core 3.0
Execute ./bin/installdependencies.sh to install any missing Dotnet Core 3.0 dependencies.'

# うまく行かなかったので、エラー通り以下スクリプトを実行
sakas1231@actions-test:~/actions-runner$ sudo ./bin/installdependencies.sh
...

# 再度実行
sakas1231@actions-test:~/actions-runner$ ./config.sh --url https://github.com/KatsuyaAkasaka/actinosSHR_sample --token xxxxxx

--------------------------------------------------------------------------------
|        ____ _ _   _   _       _          _        _   _                      |
|       / ___(_) |_| | | |_   _| |__      / \   ___| |_(_) ___  _ __  ___      |
|      | |  _| | __| |_| | | | | '_ \    / _ \ / __| __| |/ _ \| '_ \/ __|     |
|      | |_| | | |_|  _  | |_| | |_) |  / ___ \ (__| |_| | (_) | | | \__ \     |
|       \____|_|\__|_| |_|\__,_|_.__/  /_/   \_\___|\__|_|\___/|_| |_|___/     |
|                                                                              |
|                       Self-hosted runner registration                        |
|                                                                              |
--------------------------------------------------------------------------------

# Authentication
...

# ok これでホストランナーが起動したことになる
sakas1231@actions-test:~/actions-runner$ ./run.sh

√ Connected to GitHub

2020-11-01 07:02:29Z: Listening for Jobs
実際にプロダクション環境で実行する場合は/etc/rc.localに起動スクリプト書いたり、GCEの話で言えばstartup-scriptオプションがあるのでそこに指定するなどの対応が必要そうですが今回はこのまま放置.
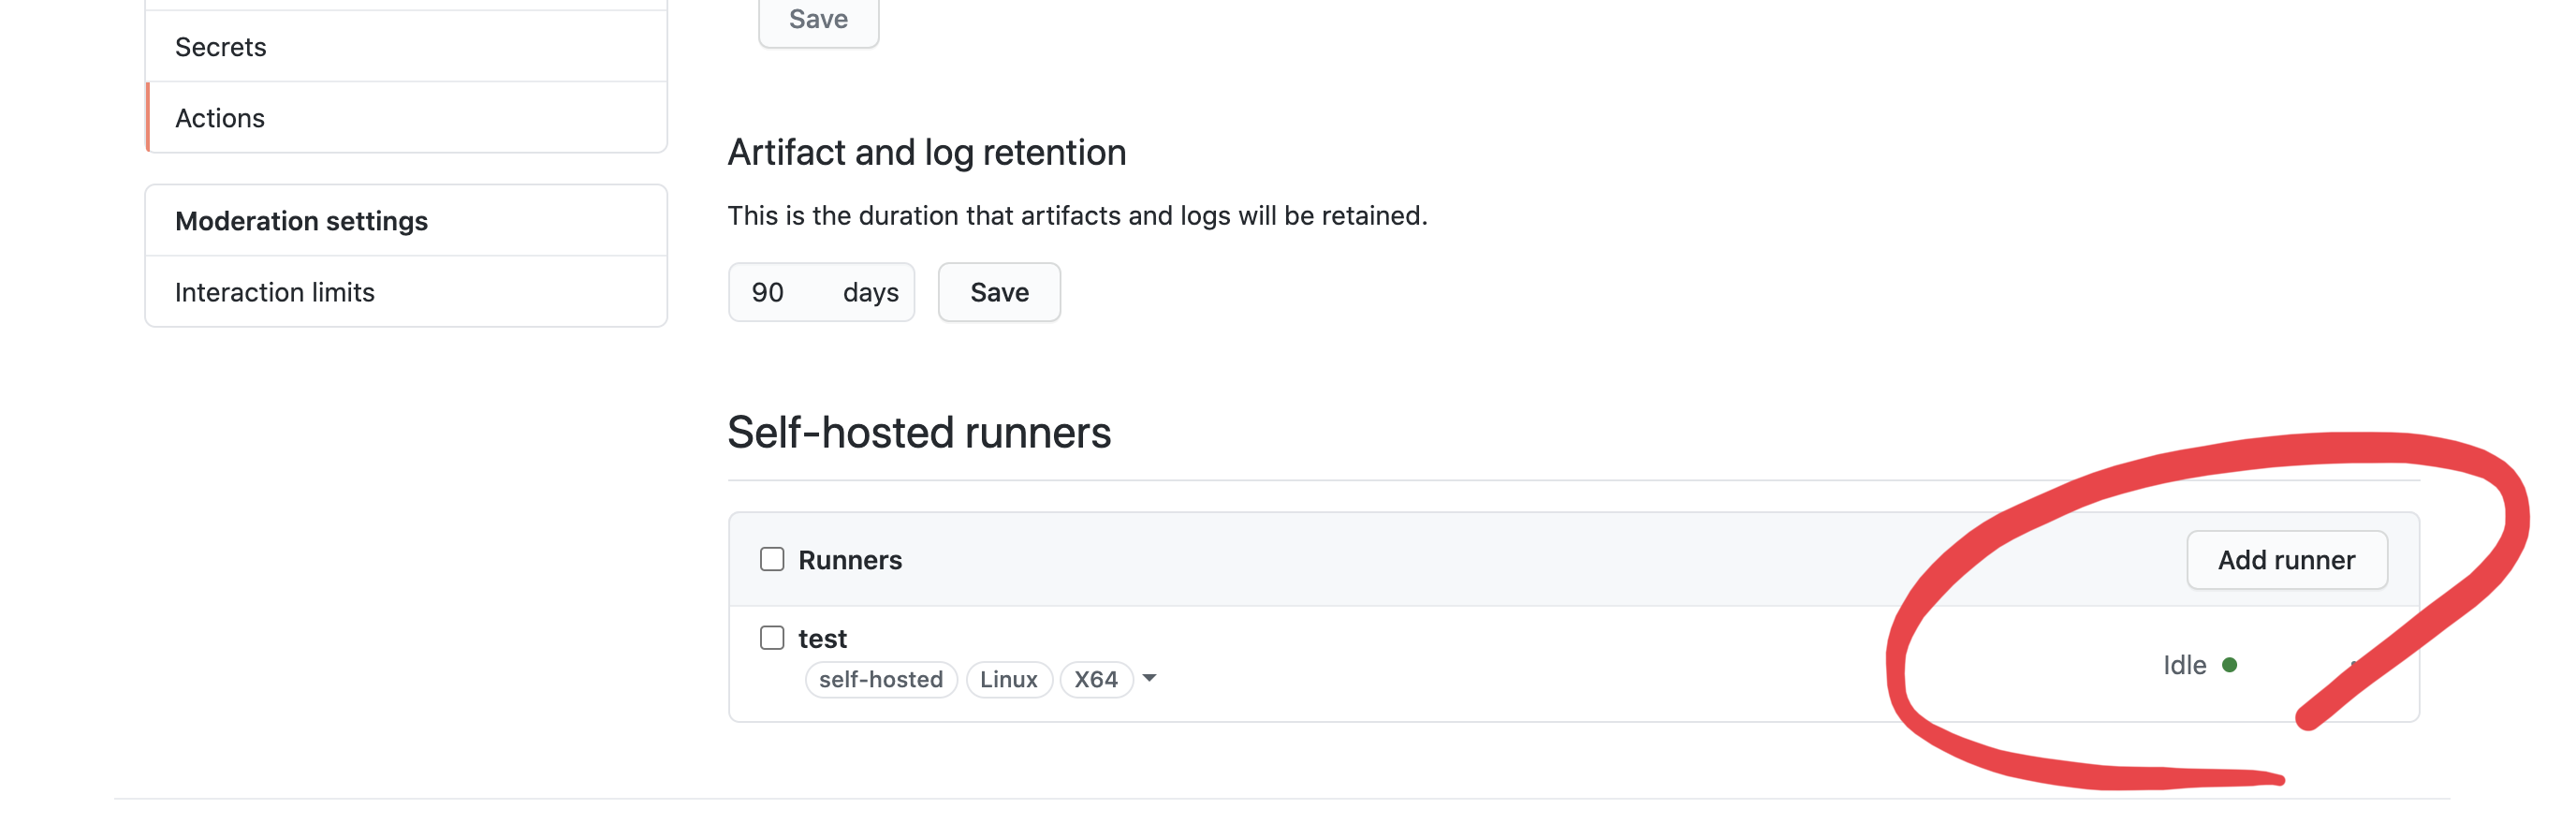
actionsタブのrunnersのリストを見てみると、Idleになっていることがわかります.
3. github actionsの実行スクリプト作成🛠
簡単にechoするスクリプトを作成しました.
name: actions_test
on:
    # Trigger the workflow on push or pull request,
    # but only for the main branch
  push:
    branches:
      - master
jobs:
  job1:
    runs-on: self-hosted
    # ステップの出力をジョブの出力にマップ
    outputs:
      output1: ${{ steps.step1.outputs.test }}
      output2: ${{ steps.step2.outputs.test }}
    steps:
    - id: step1
      run: echo "::set-output name=test::hello"
    - id: step2
      run: echo "::set-output name=test::world"
  job2:
    runs-on: self-hosted
    needs: job1
    steps:
    - run: echo ${{needs.job1.outputs.output1}} ${{needs.job1.outputs.output2}}
.github/workflows配下にyaml ymlファイルを作成すると認識してくれます.
↑のyamlは、master pushしたら走り出すjobです.
セルフホストランナーを起動させた場合、ランナーに自動的に self-hosted というラベルがつくので、 runs-onに同様に設定することでmasterプッシュ時にセルフホストランナー上で実行させるようにさせました.
nameを省略した場合はファイル名がそのままビルド名になります.
4. 動作確認 🎉
さて、これでgithub actionsが正常に稼働しているはずです.確認してみましょう.
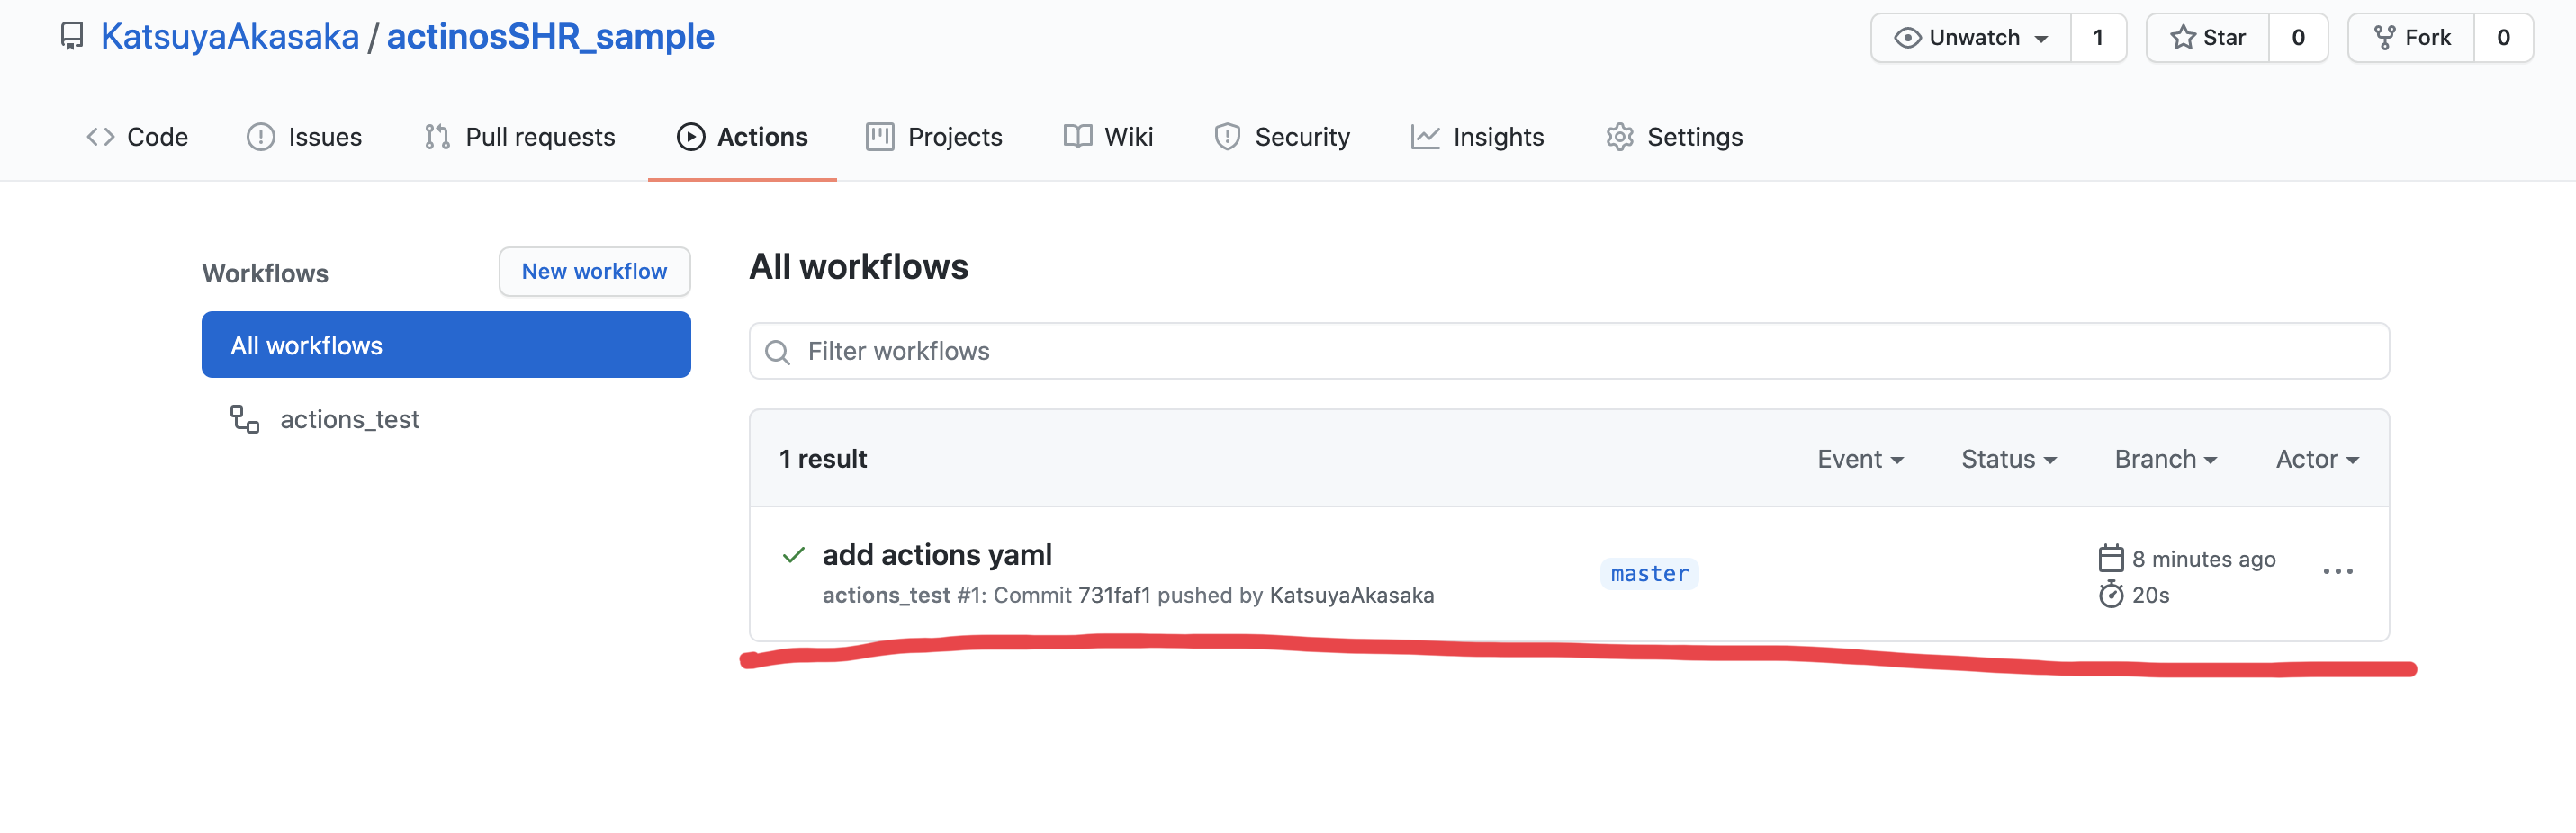
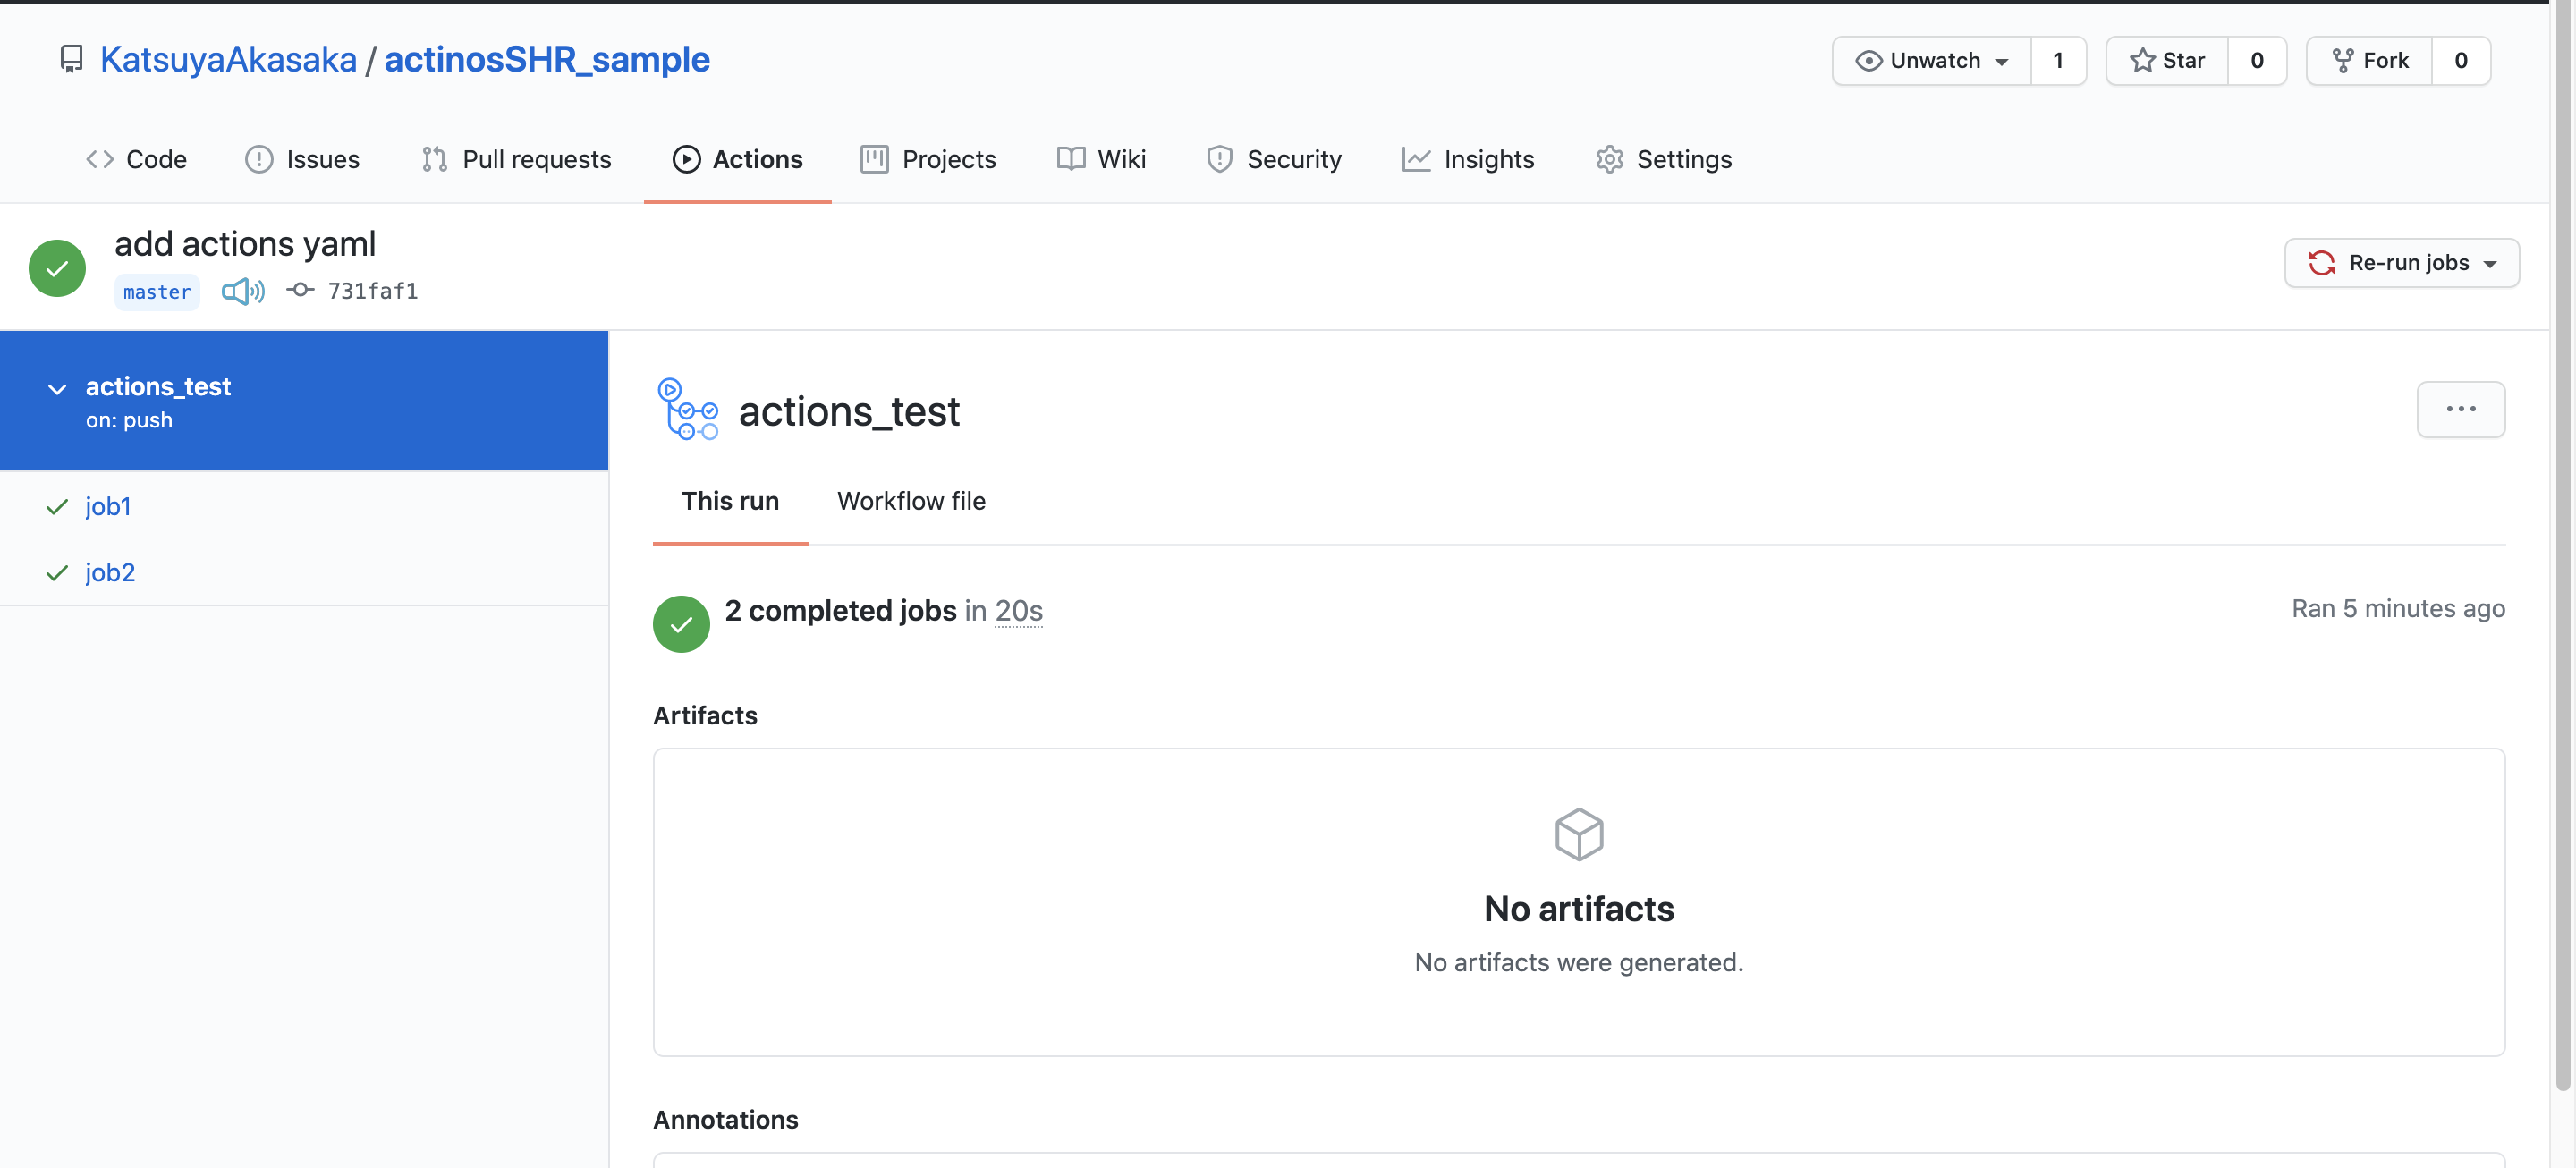
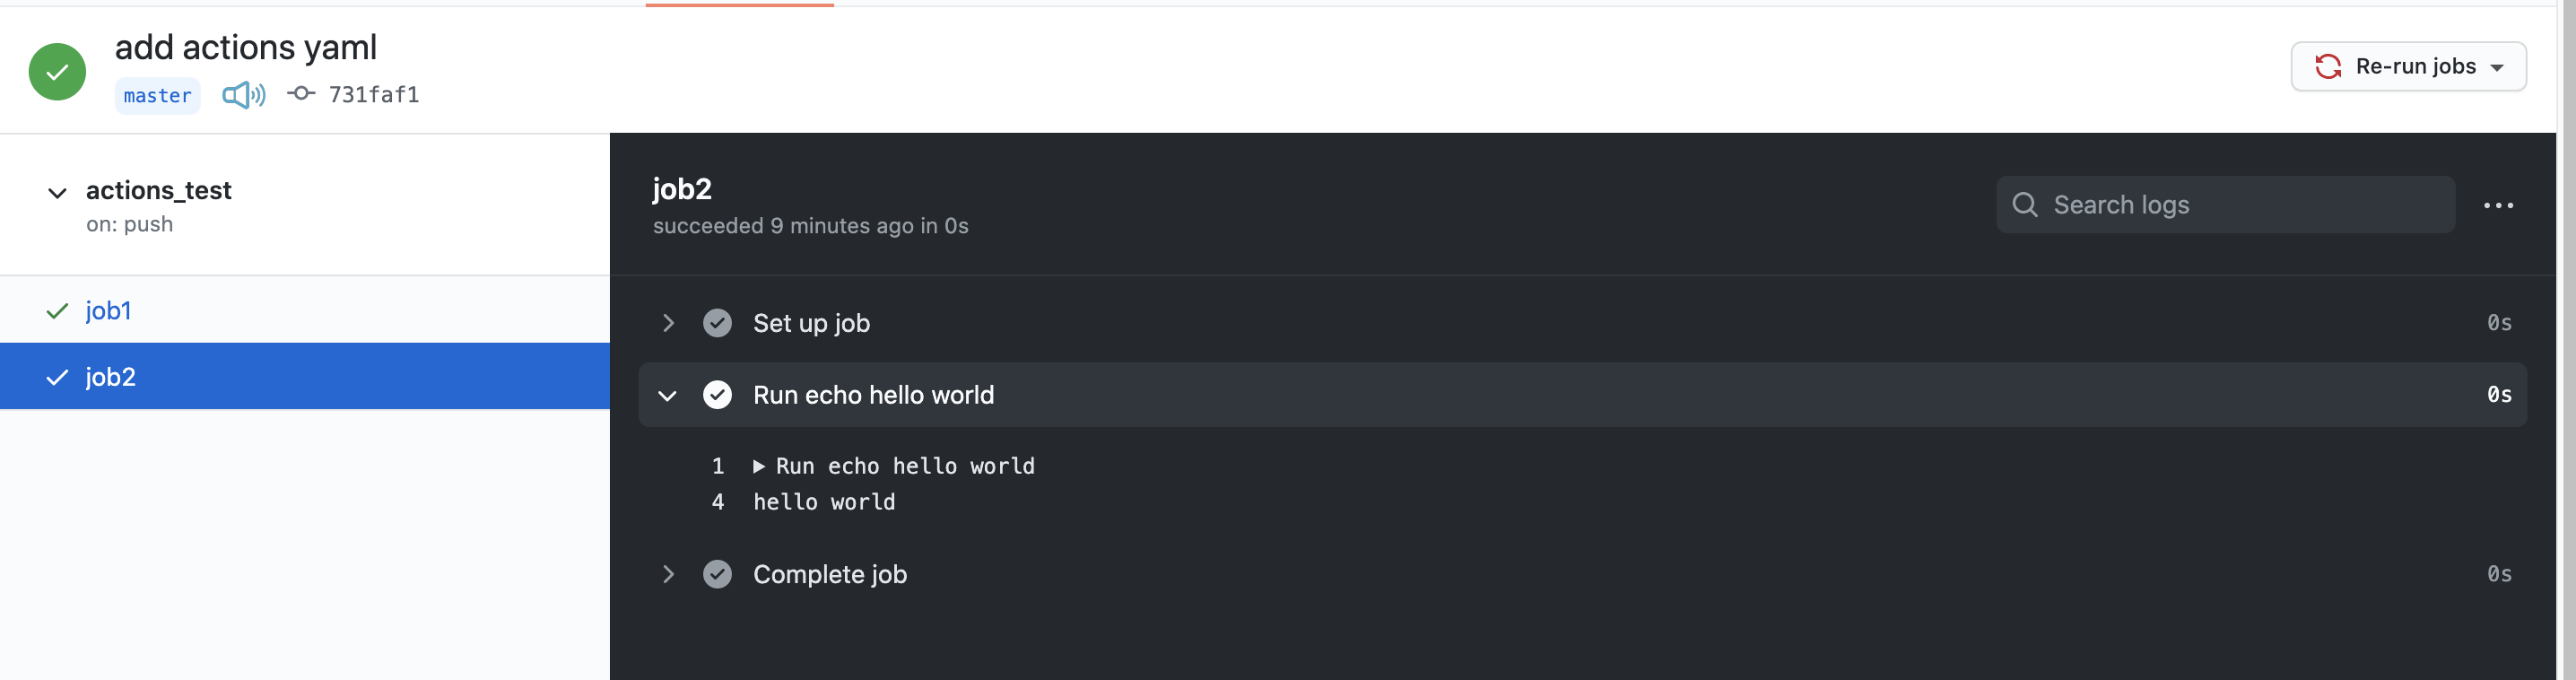
無事echoされていることが確認できました. 🎉
まとめ
セルフホストランナーの導入自体初めてでしたが、30分程度で出来、簡単でびっくりしました.
ただセキュリティ的なところで言うとセルフホストランナーへのインバウンドの部分が心もとないので、githubから飛んでくるリクエストのIPレンジやポート等指定あるのか調べて絞る必要がありそうです.