はじめに
本記事はPytorchのRustバインディングをUbuntu版VisualStudioCode上で試してみました。
真っ更な状態のUbuntuからRustバインディングを実行する方法までを初学者向けに極力丁寧に書いています。
対象者
PythonからRustに乗り換えたいなーと考えているRust初学者
環境情報
| バージョン | 備考 | |
|---|---|---|
| Ubuntu | 20.04.3 LTS | |
| Rustc | 1.56.1 | Rustコンパイラ ※下記Rustインストール手順にて自動的にインストールされる |
| Rustup | 1.24.3 | Rustインストーラおよびバージョン管理ツール ※下記Rustインストール手順にて自動的にインストールされる |
| Cargo | 1.56.0 | Rustビルドツール ※下記Rustインストール手順にて自動的にインストールされる |
| VisualStudioCode | 1.62.3 | |
| Rust support for VisualStudioCode | 0.7.8 | VSCode拡張機能Rustツール |
| CodeLLDB | 1.6.10 | VSCode拡張機能Rustデバッガー |
Pytorch/Rustバインディング
今回実行するPytorch/Rustバインディングはこちら
tch-rs
Rust実行環境を構築する
Rustをインストールする
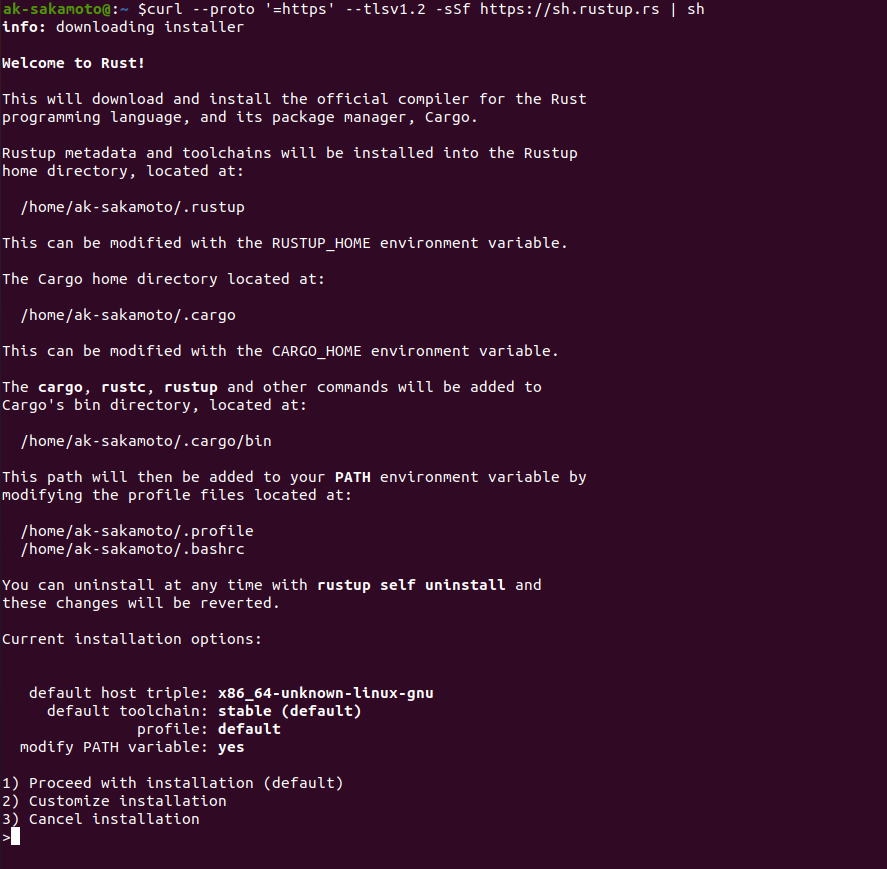
下記URLに表示されているコマンドをターミナル上から実行してRustをインストールする
https://www.rust-lang.org/ja/tools/install

下記画面が表示されるので1を入力する(未入力のままでも可)
下記画面が表示されたら完了
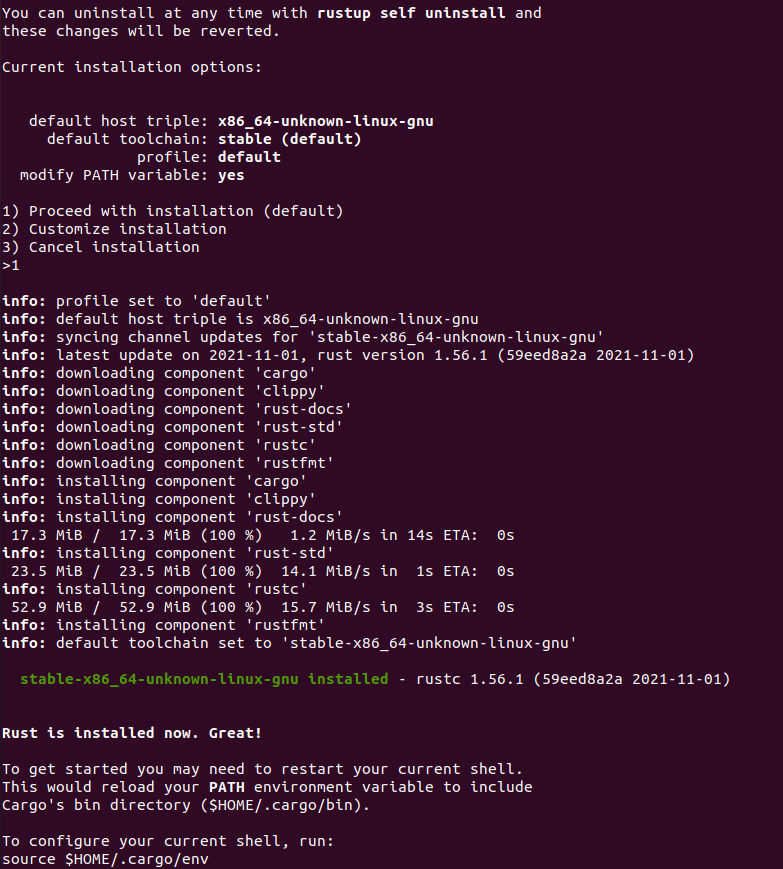
Rustがインストールされたか確認するために下記コマンドをする
rustc -V
rustup -V
cargo --version
VisualStudioCodeをインストールする
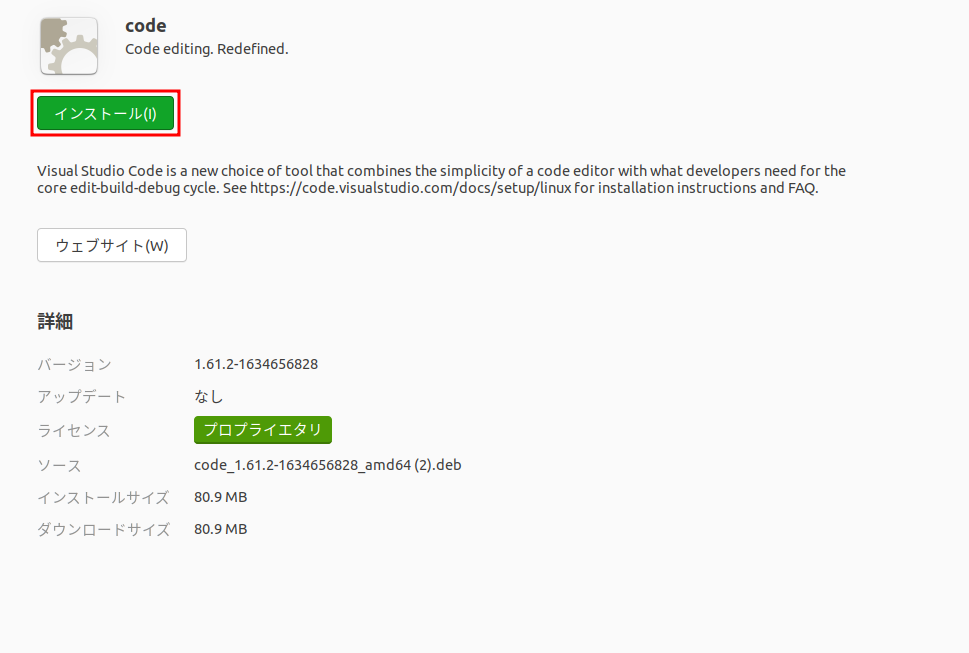
下記URLの「.deb」よりdebファイルをダウンロードしVisualStudioCodeをインストールする
https://code.visualstudio.com/Download

VisualStudioCodeの拡張機能をインストールする
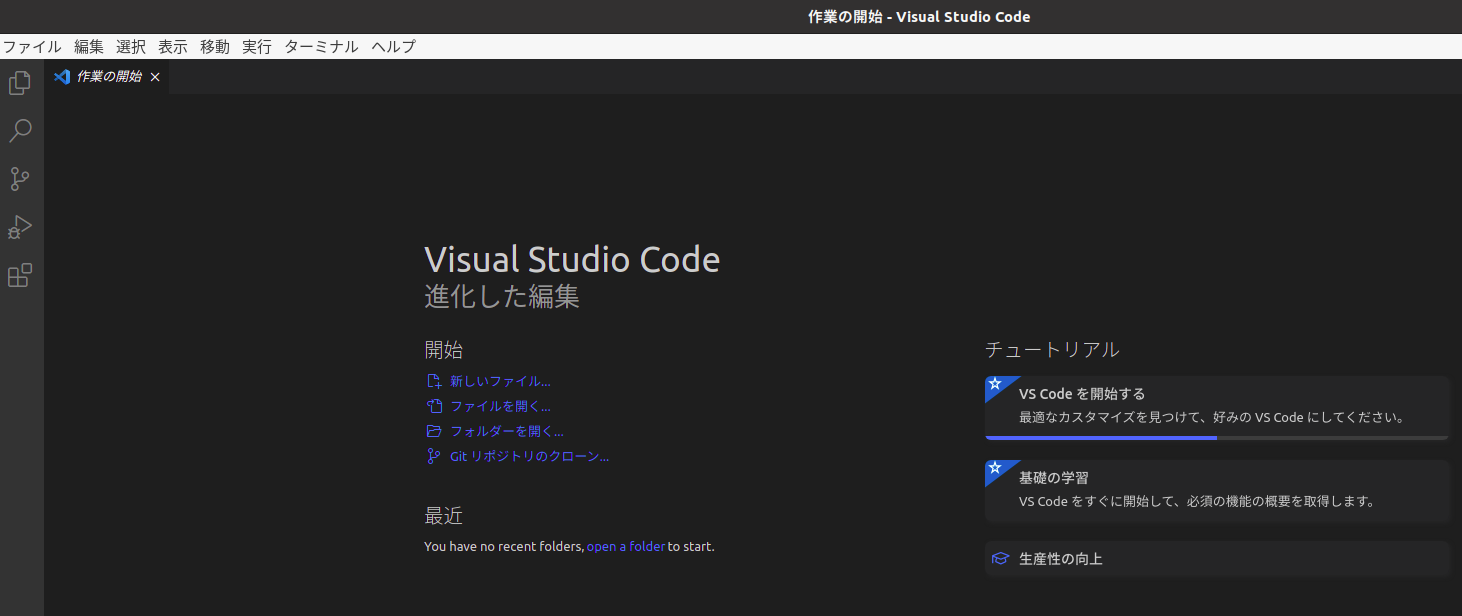
アプリケーションからVisualStudioCodeを実行する
左のメニューより拡張機能を選択する

Rust support for VisualStudioCode(拡張機能の名称はRustとなっている)をインストールする

CodeLLDBをインストールする

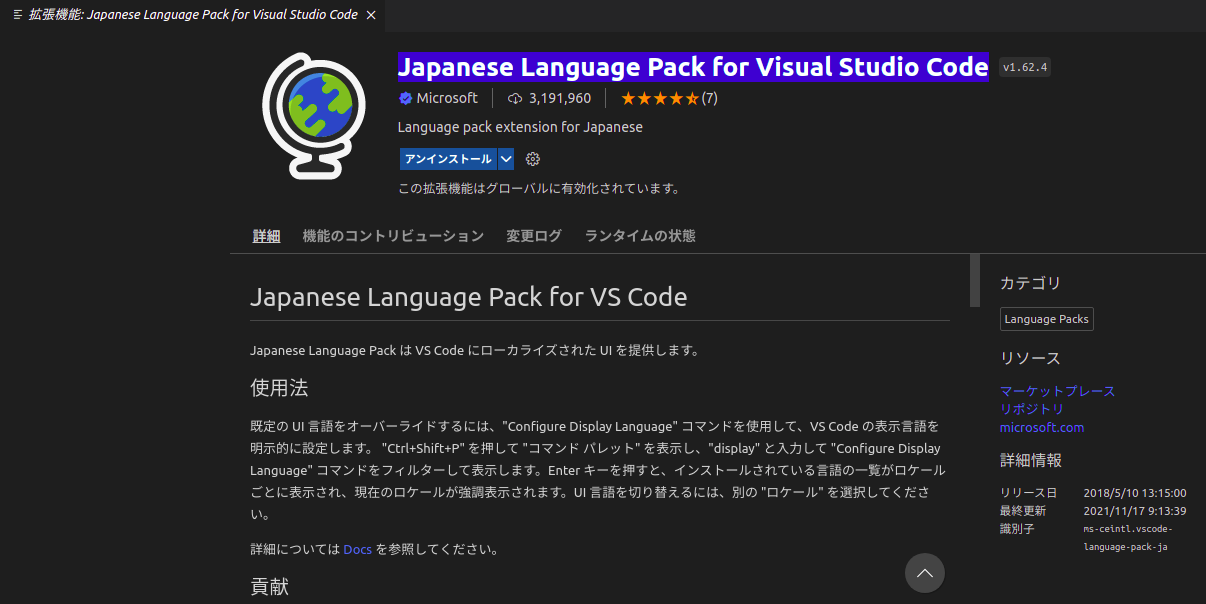
※おまけ
VisualStudioCodeはデフォルトでは英語表記だが
JapaneseLanguagePack for VisualStudioCodeをインストールすることで日本語化できる
GitリポジトリのクローンおよびMNISTのダウンロードを行う
「エクスプローラー」⇒「Gitリポジトリのクローン」の順に選択し、
検索窓に「https://github.com/LaurentMazare/tch-rs.git 」を入力してEnterを押下する

複製先となる任意のパスを選択し「リポジトリの場所を選択」を選択する
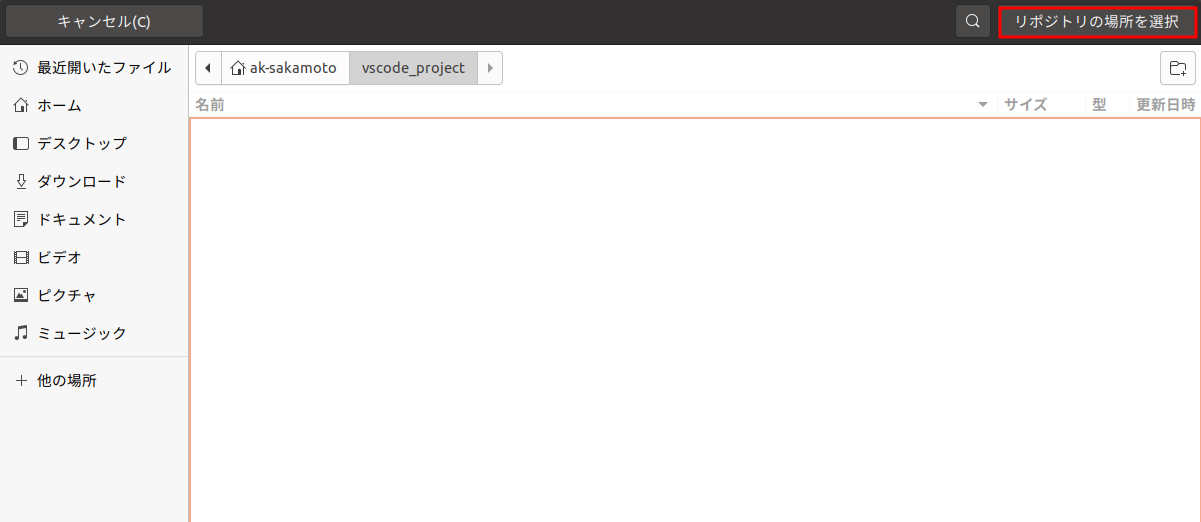
複製したプロジェクトを開く

下記URLよりMNISTのデータセットをダウンロードする
http://yann.lecun.com/exdb/mnist/
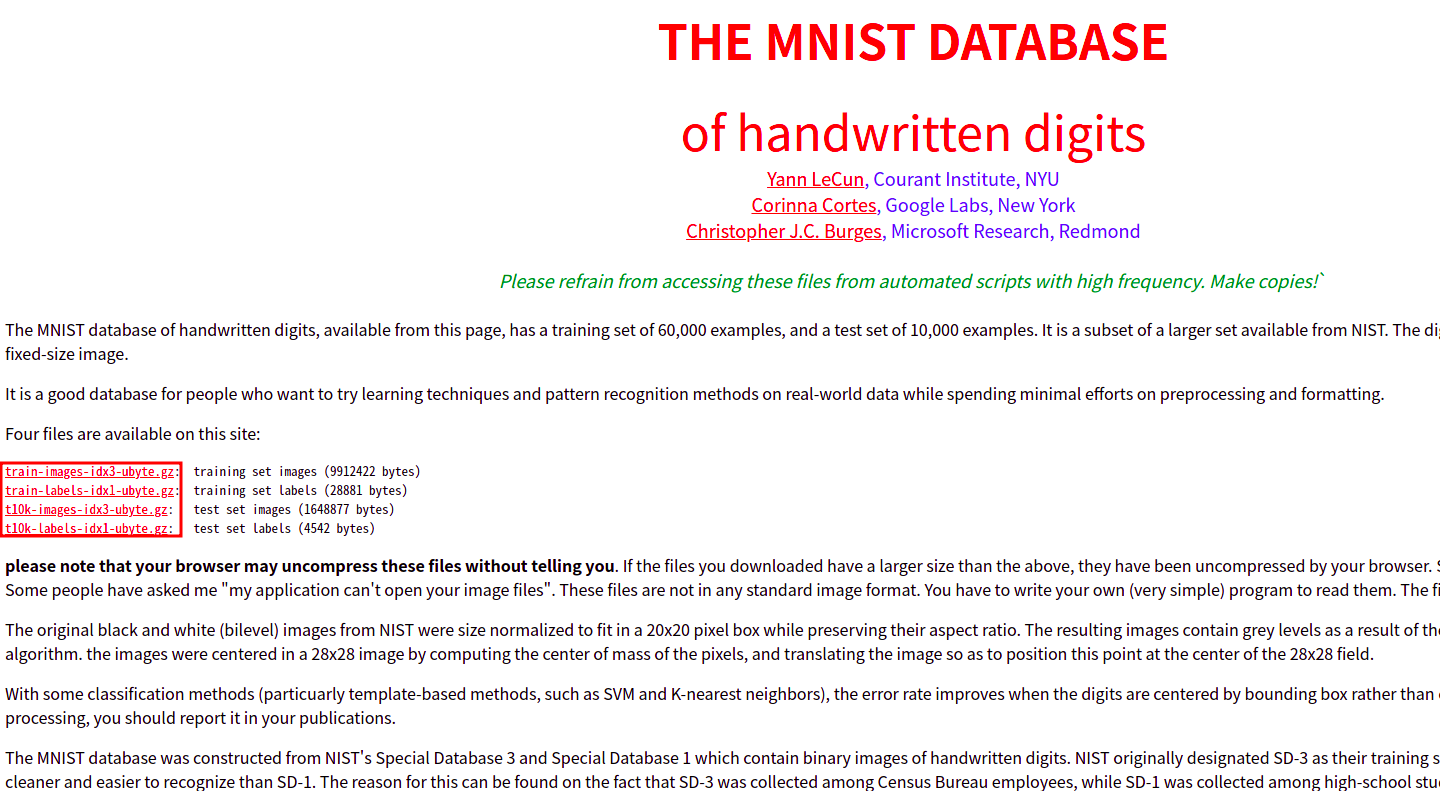
tch-rs直下にdataフォルダを作成し、先程ダウンロードした.gzファイルを解凍して配置する

CodeLLDBの設定を行う
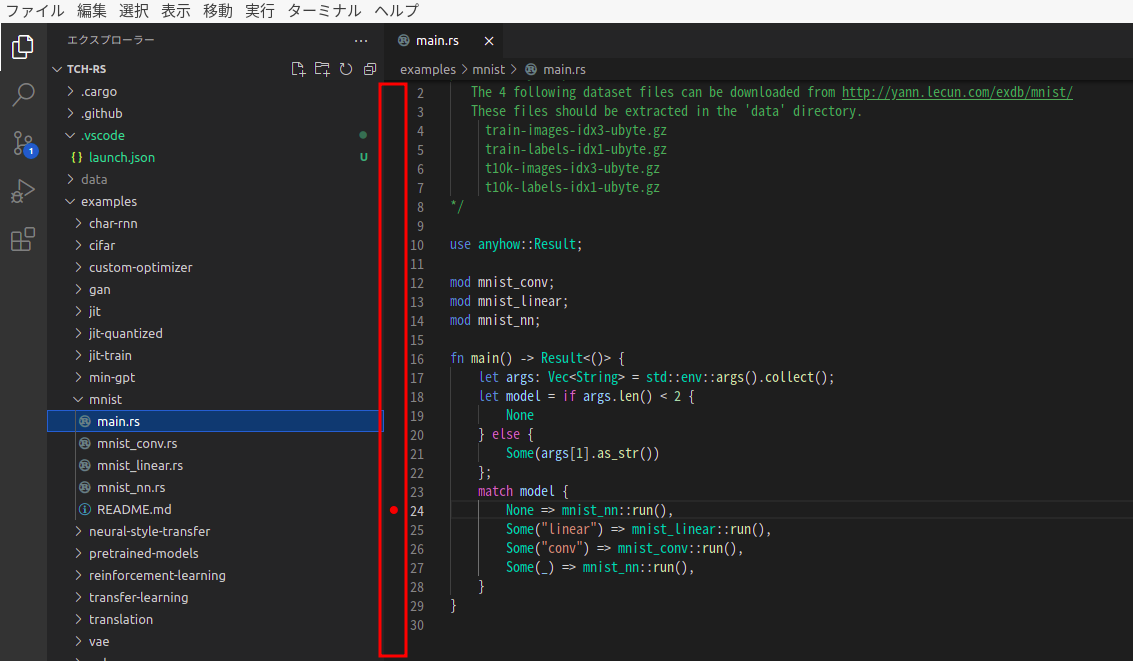
tch-rs/examples/mnist/main.rsを開く
※拡張子が.rsとなっているファイルならば何でも問題ないが、後続の作業のためこのファイルを選択する

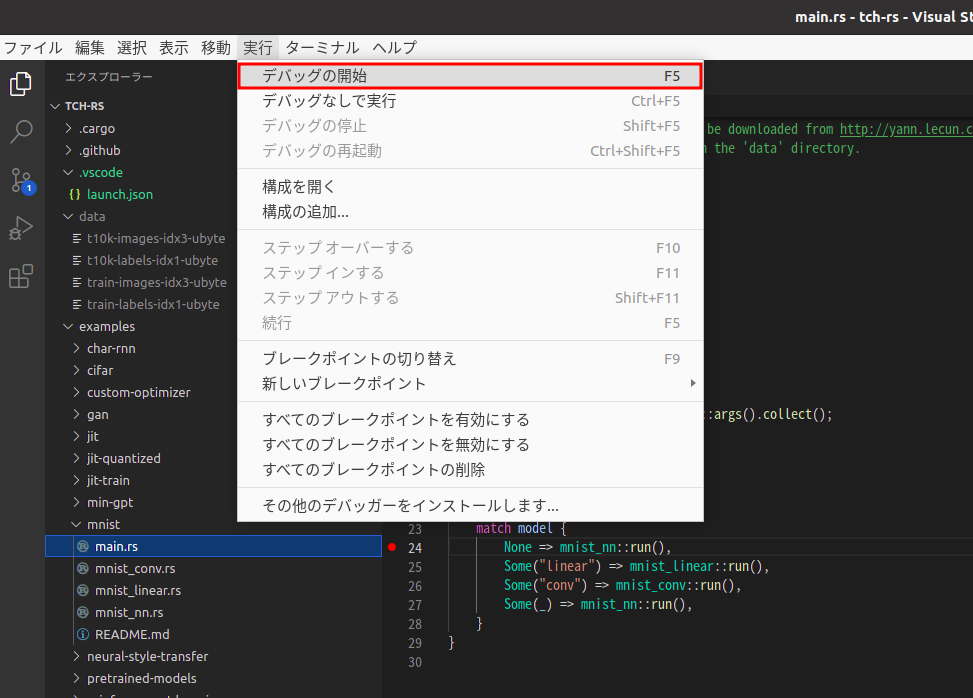
「実行」⇒「デバッグの開始」を選択する

初回起動時はデバッグ構成ファイルが存在しないため作成ダイアログが表示される
画像のように「OK」⇒「はい(Y)」を選択することで自動的にCodeLLDBが構成ファイルを作成する
※CodeLLDBをインストールする前に同様の操作をした場合は全く別の構成ファイルが生成されてしまうため削除すること


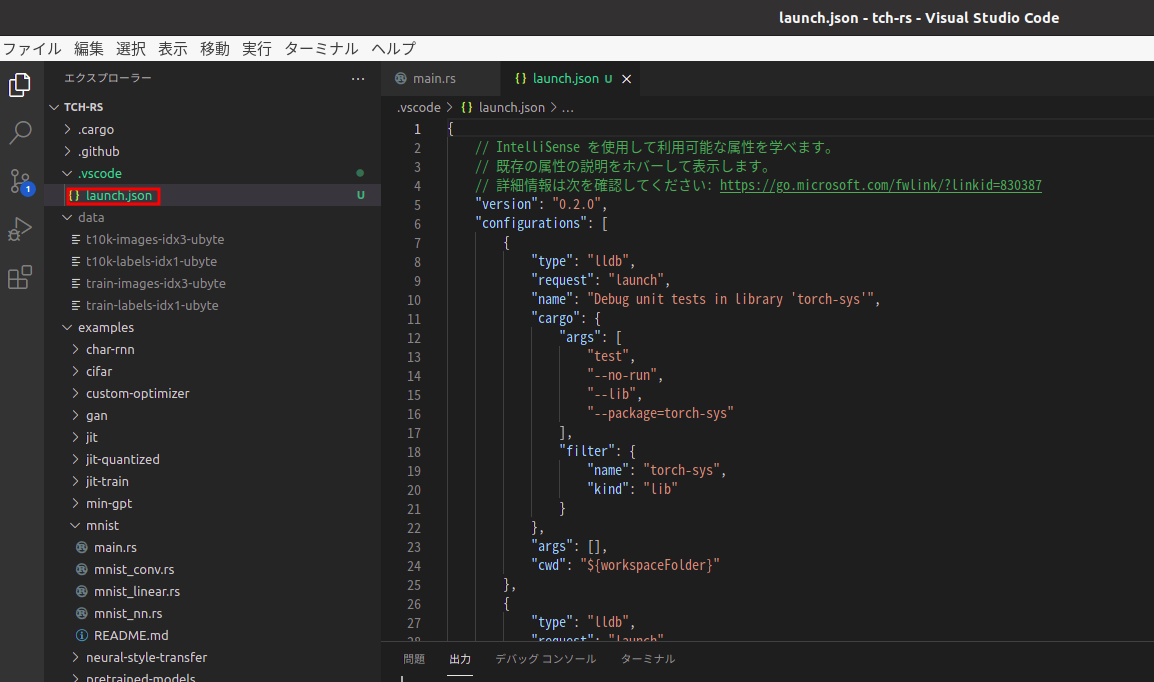
出力されたlaunch.jsonはプロジェクト全体をビルドしてしまう設定となるため、tch-rs/examples/mnist配下のビルド設定のみを残して他の設定を削除する

下記は書き換えた例
※CodeLLDBのバージョンによって内容が変わる可能性があるため異なるバージョンを利用する場合は
自動出力されたファイルからtch-rs/examples/mnist配下のビルド設定のみを残して他の設定を削除することを推奨
{
    "version": "0.2.0",
    "configurations": [
        {
            "type": "lldb",
            "request": "launch",
            "name": "Debug example 'mnist'",
            "cargo": {
                "args": [
                    "build",
                    "--example=mnist",
                    "--package=tch"
                ],
                "filter": {
                    "name": "mnist",
                    "kind": "example"
                }
            },
            "args": [],
            "cwd": "${workspaceFolder}"
        },
        {
            "type": "lldb",
            "request": "launch",
            "name": "Debug unit tests in example 'mnist'",
            "cargo": {
                "args": [
                    "test",
                    "--no-run",
                    "--example=mnist",
                    "--package=tch"
                ],
                "filter": {
                    "name": "mnist",
                    "kind": "example"
                }
            },
            "args": [],
            "cwd": "${workspaceFolder}"
        }
    ]
}
赤枠内の任意の行をクリックしブレークポイントを設定する
※MNISTの学習を実行するだけならば不要
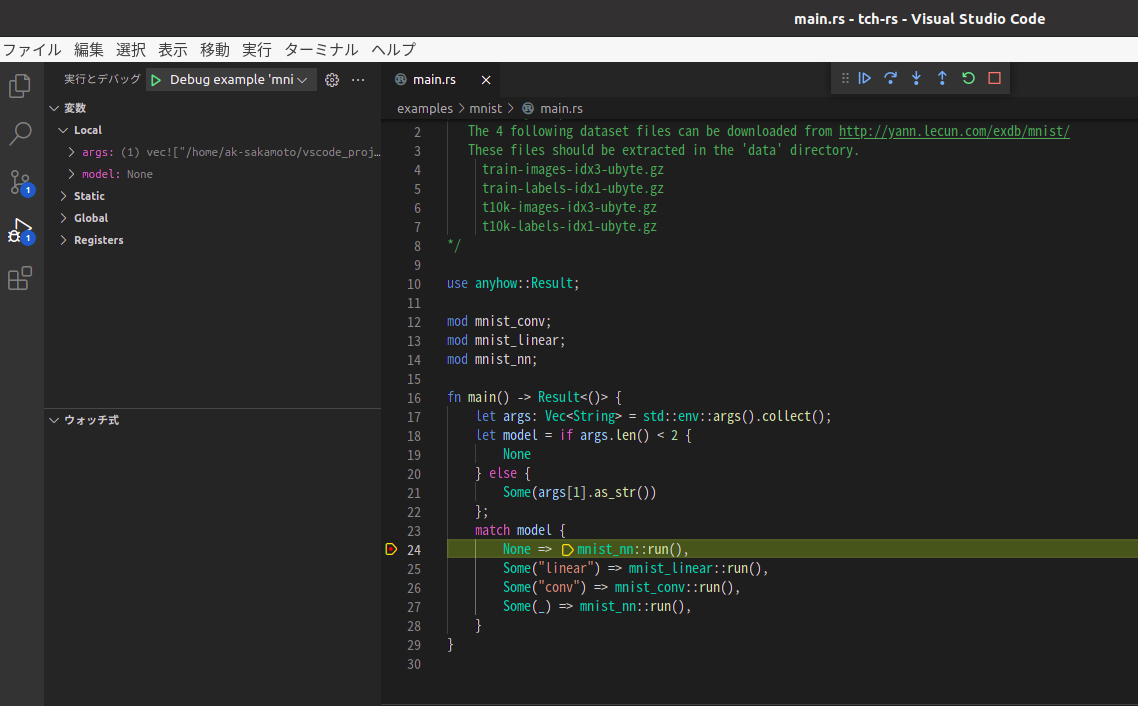
Pytorch/Rustバインディングを実行する
再度「実行」⇒「デバッグの開始」を選択する
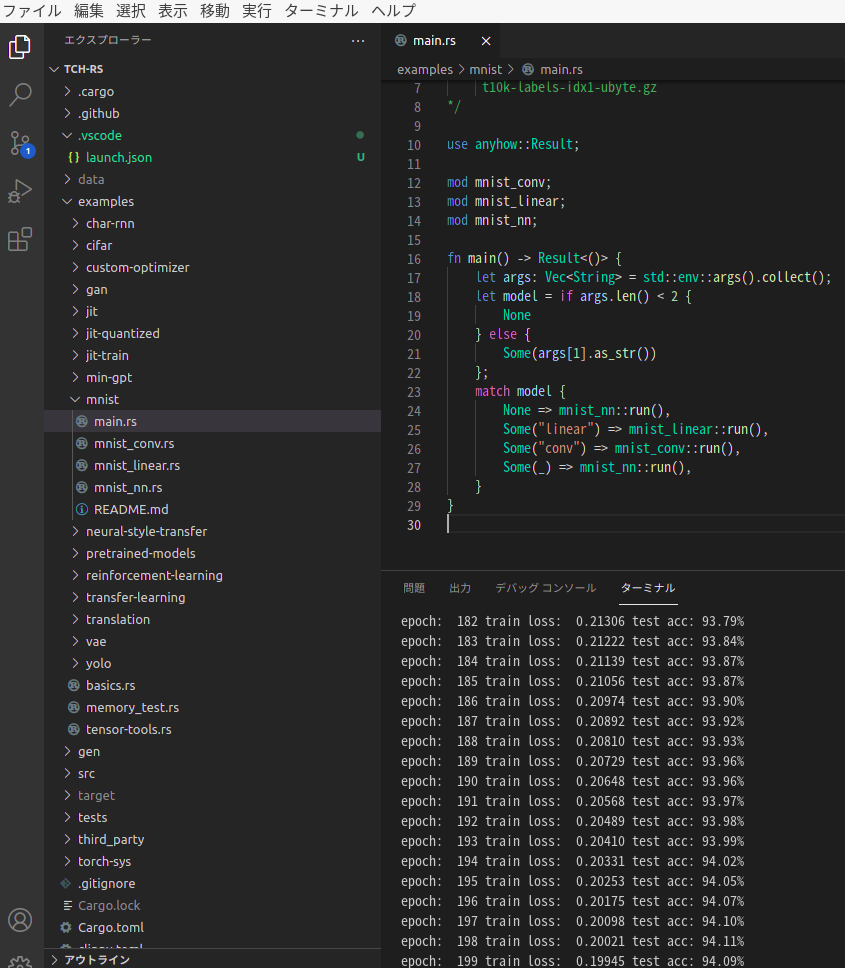
実行結果
以上です