概要
Vuetifyのv-data-tableに画像の表示させる方法があまり見つからなかったためここで共有しようと思います。vuetifyのサンプルコードを元に画像を表示していきます。
おまけとして画像ホバー時にメニューボタンを表示する機能も紹介しています。
環境
- vue 2.6.14
- vuetify 2.6.2
- npm: 7.21.1
- node: 14.17.5
実装
vuetifyのインストール
vue add vuetify
npm run serveで起動し、下の画面が出てきたら準備は完了です。

詳しい方法は以下のリンクで説明されています。
v-data-tableの準備
v-data-tableはvuetifyで使用できるAPIです。今回はこれのカスタム変更機能を利用し、画像を表示していきます。
まず、土台となるテーブルを作成します。HelloWorld.vueを以下のように変更します。
<template>
  <v-data-table
    :headers="headers"
    :items="desserts"
    :items-per-page="5"
    class="elevation-1 my-3 mx-auto"
    style="width:1000px;"
  ></v-data-table>
</template>

<script>
  export default {
    name: 'HelloWorld',

    data () {
      return {
        headers: [
          {
            text: 'サムネイル予定',
            align: 'start',
            sortable: false,
            value: 'thumbnail',
            width: "30%",
          },
          { text: '名前',
            value: 'name',
            width: "30%",
          },
          { text: '体重',
            value: 'fat',
            width: "40%",
          },
        ],
        desserts: [
          {
            thumbnail: 'https://cdn.pixabay.com/photo/2021/09/22/05/06/city-6645646_960_720.jpg',
            name: 'yoko',
            fat: 6.0
          },
          {
            thumbnail:'https://cdn.pixabay.com/photo/2021/12/19/14/36/bird-6881277_960_720.jpg',
            name: 'tae',
            fat: 9.0,
          },
          {
            thumbnail:'https://cdn.pixabay.com/photo/2021/12/03/21/22/kastoria-6843842_960_720.jpg',
            name: 'taro',
            fat: 16.0,
          },
          {
            thumbnail:'https://cdn.pixabay.com/photo/2021/10/09/05/33/cosmos-6693008_960_720.jpg',
            name: 'bonbon',
            fat: 3.7,
          },
          {
            thumbnail:'https://cdn.pixabay.com/photo/2021/10/02/07/40/ink-6674441_960_720.jpg',
            name: 'sampleMan',
            fat: 16.0,
          },
          {
            thumbnail:'https://cdn.pixabay.com/photo/2021/11/14/07/28/background-6793549_960_720.jpg',
            name: 'samppleWoman',
            fat: 0.0,
          },
          {
            thumbnail:'https://cdn.pixabay.com/photo/2020/11/27/06/58/cat-5781057_960_720.jpg',
            name: 'justin',
            fat: 0.2,
          },

        ],
      }
    },
  }
</script>
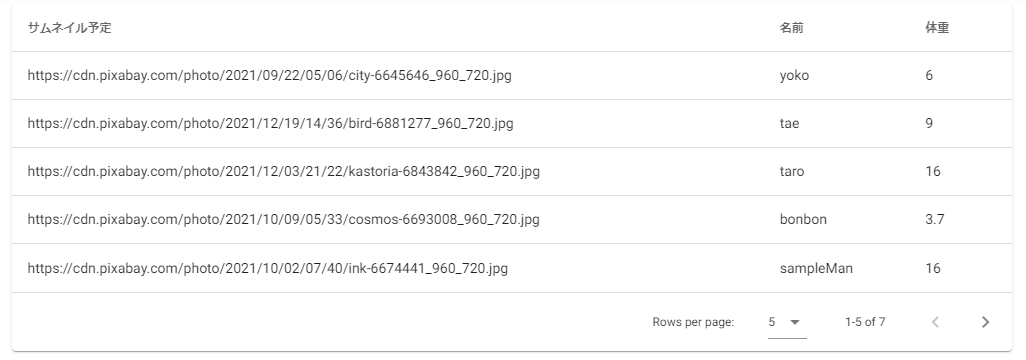
上手く作成できると以下のようなテーブルができます。ただ、サムネイルの部分がURLのままです。
画像の表示
v-data-tableの部分を以下のように変更します。
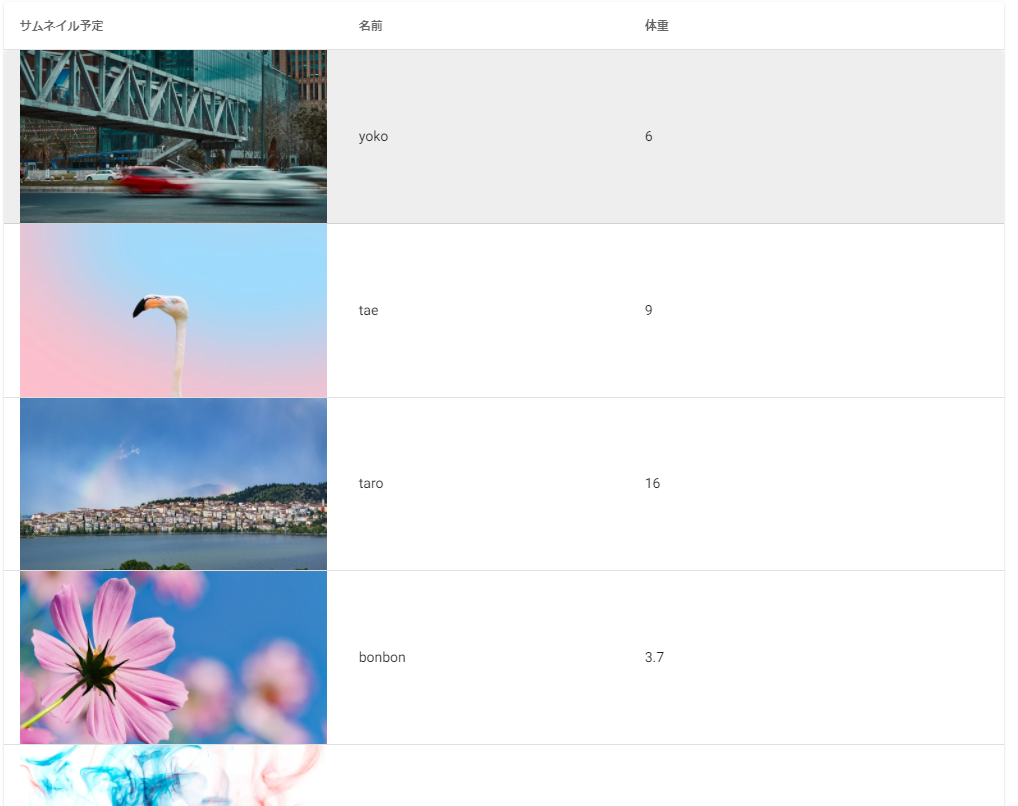
まず、<template v-slot:item.thumbnail="{ item }" >でサムネイルのコラムを変更できます。そのタグの中でv-imgで実際に画像を表示します。
高さや幅はv-imgのheightやwidthを変更して調節が可能です。
  <v-data-table
    :headers="headers"
    :items="desserts"
    :items-per-page="5"
    class="elevation-1 my-3 mx-auto"
    style="width:1000px;"
  >
   <!-- サムネイル -->
   <template v-slot:item.thumbnail="{ item }" >
         <v-img :src="item.thumbnail"
                :aspect-ratop="16/9"
                height="9vw"
                min-height="100px"
                width="16vw"
                min-width="160px"
                class="ma-0 pa-0"
        ></v-img>
    </template>

  </v-data-table>
結果
以下のようなテーブルが表示されていれば成功です。
おまけ(ホバー表示機能)
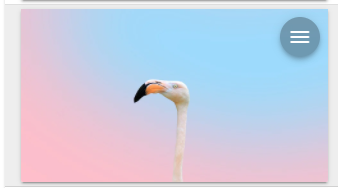
今回のように画像を表示するだけでもいいですが、画像ホバー時にボタンを出現させる機能も追加したいと思います。
見た目としては以下のようになります。
ホバー時
ボタンを押したとき
実装
まず、画像表示の部分をコンポーネント化した、TableThumbnail.vueを作成します。それに合わせてHelloWorld.vueも変更します。
<template>
  <v-data-table
    :headers="headers"
    :items="desserts"
    :items-per-page="5"
    class="elevation-1 my-3 mx-auto"
    style="width:1000px;"
  >
   <!-- サムネイル -->
   <template v-slot:item.thumbnail="{ item }" >
   <!--  ここを変更 -->
      <TableThumbnail
      :item="item"
      />
    </template>

  </v-data-table>
</template>

<script>
  import TableThumbnail from "./TableThumbnail.vue"

  export default {
    name: 'HelloWorld',
    components:{TableThumbnail},  //追加
    data () {
      return {
        headers: [
          {
            text: 'サムネイル予定',
            align: 'start',
            sortable: false,
            value: 'thumbnail',
            width: "30%",
          },
          { text: '名前',
            value: 'name',
            width: "30%",
          },
          { text: '体重',
            value: 'fat',
            width: "40%",
          },
        ],
        desserts: [
          {
            thumbnail: 'https://cdn.pixabay.com/photo/2021/09/22/05/06/city-6645646_960_720.jpg',
            name: 'yoko',
            fat: 6.0
          },
          {
            thumbnail:'https://cdn.pixabay.com/photo/2021/12/19/14/36/bird-6881277_960_720.jpg',
            name: 'tae',
            fat: 9.0,
          },
          {
            thumbnail:'https://cdn.pixabay.com/photo/2021/12/03/21/22/kastoria-6843842_960_720.jpg',
            name: 'taro',
            fat: 16.0,
          },
          {
            thumbnail:'https://cdn.pixabay.com/photo/2021/10/09/05/33/cosmos-6693008_960_720.jpg',
            name: 'bonbon',
            fat: 3.7,
          },
          {
            thumbnail:'https://cdn.pixabay.com/photo/2021/10/02/07/40/ink-6674441_960_720.jpg',
            name: 'sampleMan',
            fat: 16.0,
          },
          {
            thumbnail:'https://cdn.pixabay.com/photo/2021/11/14/07/28/background-6793549_960_720.jpg',
            name: 'samppleWoman',
            fat: 0.0,
          },
          {
            thumbnail:'https://cdn.pixabay.com/photo/2020/11/27/06/58/cat-5781057_960_720.jpg',
            name: 'justin',
            fat: 0.2,
          },

        ],
      }
    },
  }
</script>
<template>

  <div >
    <v-hover v-slot="{ hover }">
      <v-card
        justify-center
        class=" my-1 rounded-sm"
      >
        <template>
          <div class="text-right pr-2 pt-2 " style="position:absolute ; z-index:99; width:100%;">
            <v-menu
              left
              offset-y
              :nudge-width="200"
              >
              <template v-slot:activator="{ on, attrs }">
                <v-btn
                  elevation=4
                  small
                  icon
                  v-bind="attrs"
                  :ripple="false"
                  v-on="on"
                  fab
                  dense
                  color="gray"
                  :class="(hover & $vuetify.breakpoint.smAndUp) ? 'ma-0 pa-0 menu-color on-hover-img':'on-hover-img' "
                >
                  <v-icon class="ma-0 pa-0" color="white">
                    mdi-menu
                  </v-icon>
                </v-btn>
              </template>

              <v-list>
                <v-list-item dense btn  @click="displayName(item)">
                    <v-list-item-icon>
                      <v-icon>mdi-image</v-icon>
                    </v-list-item-icon>
                  <v-list-item-title> アイテムの詳細</v-list-item-title>
                </v-list-item>
              </v-list>
            </v-menu>
          </div>
        </template>

        <v-img  :src=" item.thumbnail "
                :alt="item.name  "
                :aspect-ratop="16/9"
                height="9vw"
                min-height="100px"
                width="16vw"
                min-width="160px"
                class="ma-0 pa-0"
        ></v-img>
      </v-card>
    </v-hover>
  </div>

</template>

<script>

export default {
  name: 'TableThumbnail',
  props:['item'],

  methods : {

    displayName(item){
      window.alert(item.name)
    }

  }
}
</script>


<style scoped>


.on-hover-img {
  transition: opacity .1s ease-in-out;
  opacity: 0;
 }


.menu-color{
  opacity: 1;
  background-color: rgba(0, 0, 0, 0.265) !important;
}


</style>
概要
HelloWorld.vue
HelloWorld.vueの変更点はv-imgをコンポーネント化したのでそれに付随する変更のみです。
 <!-- サムネイル -->
   <template v-slot:item.thumbnail="{ item }" >
     <!--  ここを変更 -->
      <TableThumbnail
      :item="item"
      />
    </template>

  </v-data-table>
</template>

<script>
  import TableThumbnail from "./TableThumbnail.vue"

  export default {
    name: 'HelloWorld',
    components:{TableThumbnail},
///省略
TableThumbnail.vue
構成としては
- v-hover
- v-card
- v-menu
- v-btn
- v-list
- v-img
- v-menu
- v-card
というような構造をとっています。
v-hoverによってv-btnのクラスを切り替えてボタンの表示・非表示を操作します。そのため、ホバー時のcssクラスを作成しておく必要があります。
v-btnをクリックするとv-menu中身のv-listを表示するという形になっています。
:class="hover ? 'ma-0 pa-0 menu-color ':'on-hover-img' "
まとめ
今回はvuetifyのテーブルv-data-tableでの画像表示とその他の機能について説明しました。何かご指摘等あれがコメントお願いします。


