概要
Rails6.0のアプリにBootstrap4.5を導入する方法をまとめました。
フロント開発に便利なCSSフレームワーク「Bootstrap」をRailsに導入したい方は、ぜひご参考下さい!
【参考】
想定読者
1. RailsアプリにBootstrapを導入したい
2. でも、記事が多すぎて、結局どのGemを入れて良いのかわからない...!
3. なんとか入れたはいいけど、CSSが適用されない...??
本記事では、公式ドキュメントやGemのREADMEの記載を解説しつつ進んでいきます。
僕自身「公式に全部書いてあるなあ…」と実感できたいい例ですので、皆さんもよかったら公式ドキュメントを参照する癖をつけてみて下さい!
(以下は、2020/12/3 時点での内容です)
環境
- macOS Catalina 10.15.6
- ruby 2.6.5
- Rails 6.0.3.4
- MySQL : 5.6.47
- Bootstrap : 4.5.3
要約(実装の流れ)
- 新規アプリ作成 (rails new)
- Gemfileに記述を追加
gem 'bootstrap', '~> 4.5.0'gem 'jquery-rails'bundle install
- application.cssをapplication.scssに名前変更
- application.scssを修正
- 元の記述を全削除
-
@import "bootstrap";を追加
- その他のSCSSを反映
@import "file_name.scss";
1. 実装
0. 新規アプリ作成
% rails _6.0.0_ new bootstrap-app -d mysql
% cd bootstra-app
% rails db:create
1. Gemを導入
# Gemfileの一番下に2つのGemを追加

gem 'bootstrap', '~> 4.5.0'
gem 'jquery-rails'   # Rails5.1以上の場合は追加
その後、bundle installです。
% bundle install
なお、jquery-railsについては、GemのREADMEに記載があります。
[原文]
Bootstrap JavaScript depends on jQuery. If you're using Rails 5.1+, add the jquery-rails gem to your Gemfile:
[Google翻訳]
ブートストラップJavaScriptはjQueryに依存しています。 Rails 5.1以降を使用している場合は、jquery-railsgemをGemfileに追加します。
2. application.cssをapplication.scssに名前変更
Railsアプリ作成時にできるファイルapplication.cssの拡張子を、scssに変更します。
ファイル右クリック -> 名前変更 -> 拡張子変更

- app/assets/stylesheets/application.css
+ app/assets/stylesheets/application.scss
でOKです。
なお、こちらに関してもREADMEに記載があります。
[原文]
If you have just generated a new Rails app, it may come with a .css file instead. If this file exists, it will be served instead of Sass, so rename it:
$ mv app/assets/stylesheets/application.css app/assets/stylesheets/application.scss
[Google翻訳]
新しいRailsアプリを生成したばかりの場合は、代わりに.cssファイルが付属している可能性があります。このファイルが存在する場合は、Sassの代わりに提供されるため、名前を変更します。
$ mv app/assets/stylesheets/application.css app/assets/stylesheets/application.scss
3. application.scssの記述を全削除
今、application.scssはこのように記述されています。
結論、全て削除しましょう。
# 以下の記述を全て削除

/*
 * This is a manifest file that'll be compiled into application.css, which will include all the files
 * listed below.
 *
 * Any CSS and SCSS file within this directory, lib/assets/stylesheets, or any plugin's
 * vendor/assets/stylesheets directory can be referenced here using a relative path.
 *
 * You're free to add application-wide styles to this file and they'll appear at the bottom of the
 * compiled file so the styles you add here take precedence over styles defined in any other CSS/SCSS
 * files in this directory. Styles in this file should be added after the last require_* statement.
 * It is generally better to create a new file per style scope.
 *
 *= require_tree .
 *= require_self
 */
補足すると、READMEによれば、「require」を削除してほしいとのことです。
ただそれ以外の部分を削除しても問題ないので、Bootstrap導入時はこちらは全て削除しましょう。
[原文]
Then, remove all the *= require and *= require_tree statements from the Sass file. Instead, use @import to import Sass files.
Do not use *= require in Sass or your other stylesheets will not be able to access the Bootstrap mixins and variables.
[Google翻訳]
次に、Sassファイルからすべての* = requireステートメントと* = require_treeステートメントを削除します。代わりに、@ importを使用してSassファイルをインポートします。
Sassで* = requireを使用しないでください。使用しないと、他のスタイルシートがBootstrapミックスインと変数にアクセスできなくなります。
4. Bootstrapをapplication.scssにインポート
まっさらになったapplication.scssに、Bootstrapを使うための記述を追加します。
@import "bootstrap";
これもREADMEに記載があります。
[原文]
Import Bootstrap styles in app/assets/stylesheets/application.scss
[Google翻訳]
app / assets / stylesheets /application.scssにブートストラップスタイルをインポートします
これでOK!
導入自体は以上です。試しに使ってみましょう!
2. Bootstrap導入チェック
以上で、Bootstrap導入が完了しました。
試しに、公式サイトからコンポーネントを設置して確かめてみましょう。
1. 適当なページをトップページに表示
試しに、tweetでコントローラを作ってみましょう。
% rails g controller tweets index
+ root to: "tweets#index"
これで、rails sしてlocalhost:3000にアクセスすると、次のページになります。

2. コンポーネントを設置
公式サイトから適当なコンポーネントをコピペします。
<%# デフォルト部分 %>
<h1>Tweets#index</h1>
<p>Find me in app/views/tweets/index.html.erb</p>

<%# コンポーネントを追加 %>
<div class="alert alert-primary" role="alert">
  A simple primary alert—check it out!
</div>
これでブラウザをリロードすると。。。
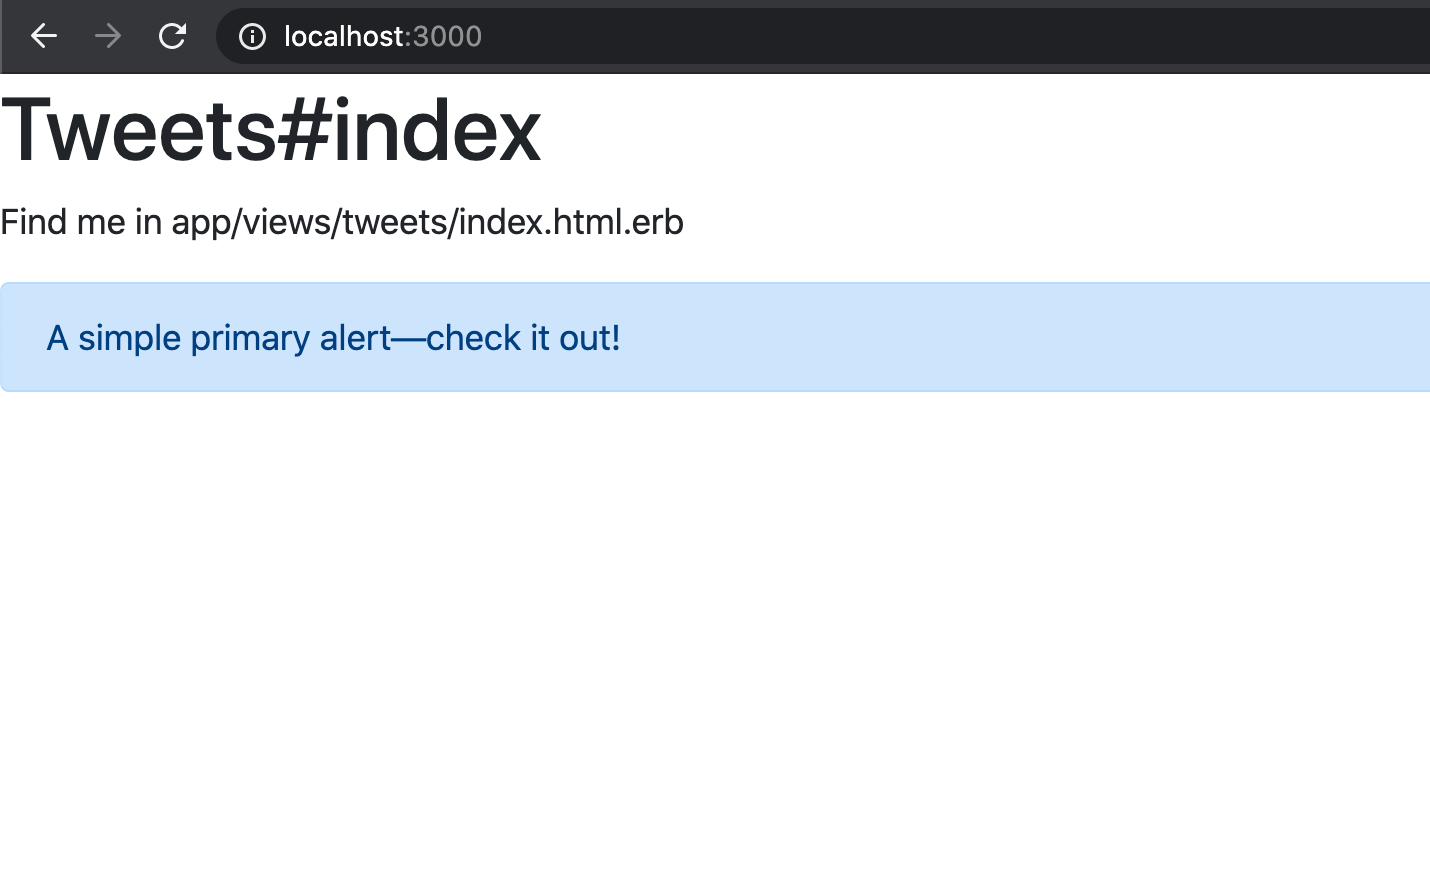
無事、Bootstrap導入が確認できました!
3. 作成したScssファイルを適用
ただ、もう少し踏み込んで解説しておきます。
実は、今の状態ですと、例えばrails g controller tweetsコマンド実行時に作成されたtweets.scssにCSSを追加しても、反映されません。
それを確かめ、そして反映される手順を紹介します。
(なお、筆者はSassの知見がゼロなので、CSSで書いていきます。。)
1. ファイルにCSSを記述
ビューにclassを付与し、そのclassの色を変えようとしてみます。
<%# H1タグの色を赤くしてみます %>
<h1 class="text-red">Tweets#index</h1>
<p>Find me in app/views/tweets/index.html.erb</p>

<div class="alert alert-primary" role="alert">
  A simple primary alert—check it out!
</div>
.text-red {
  color: red;
}
さて、この場合はどうなるか?
結論、CSSは適用されず、文字色は赤くなりません。

これが適用されるよう記述を追加します。
2. 適用したいScssファイルをインポート
もし作成したScssファイルを適用させたいときは、application.scssで@importをすればOKです。
@import "bootstrap";
@import "tweets.scss";   # これを追加
ブラウザをリロードしてみましょう。
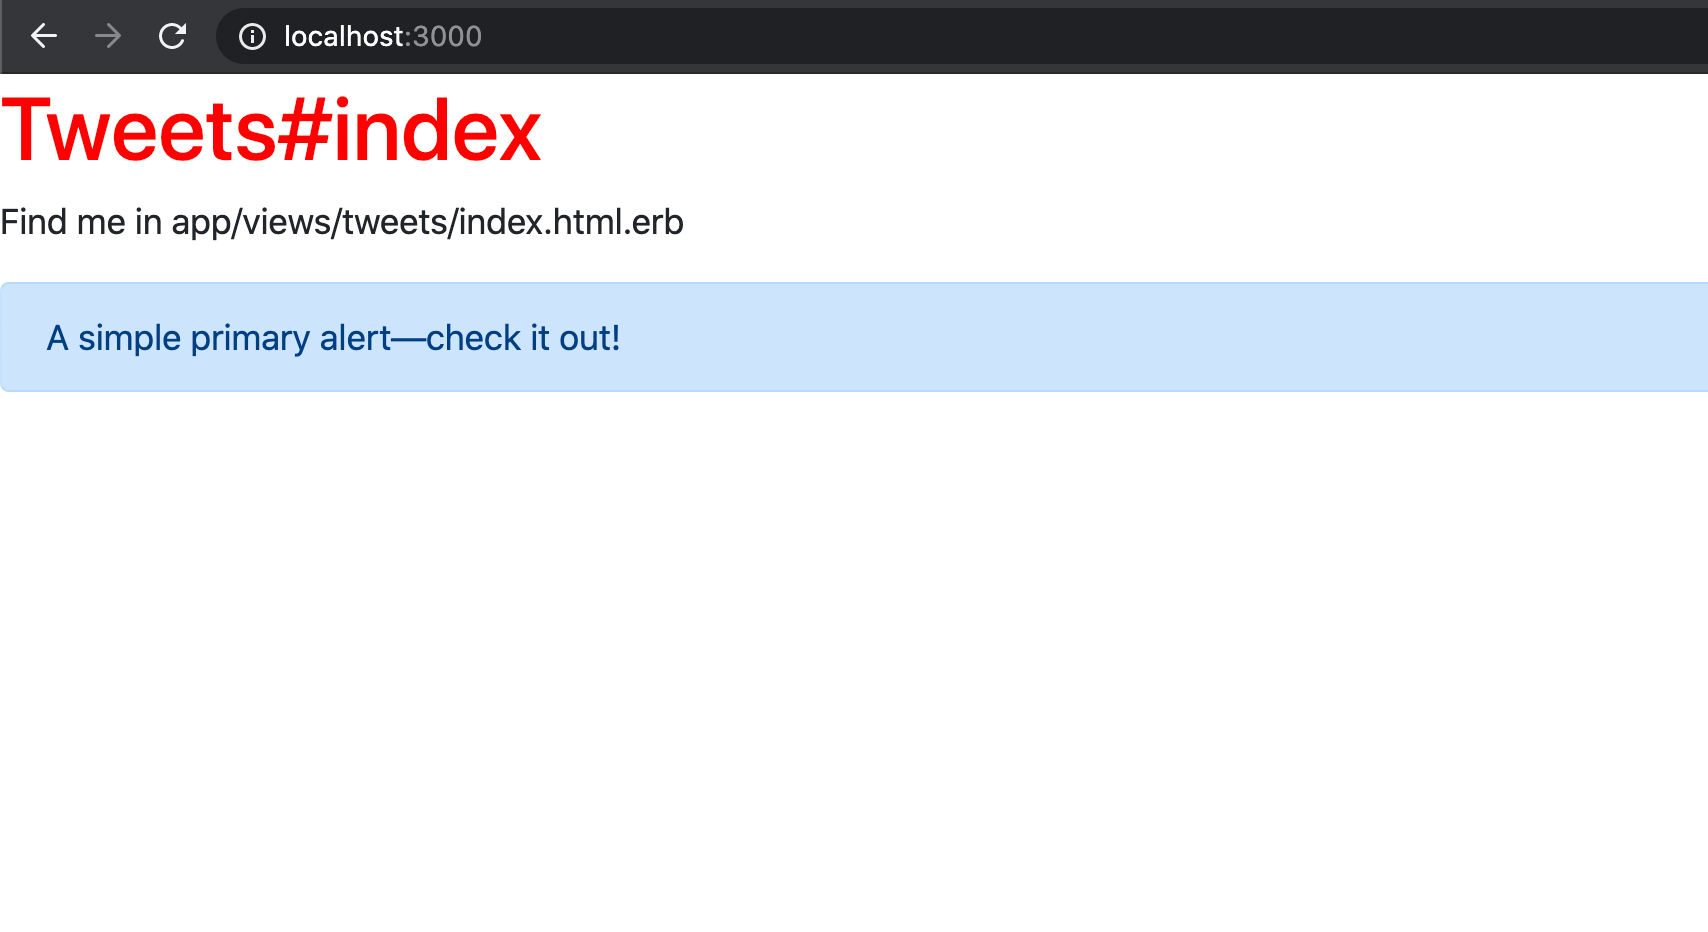
無事、H1要素の色が赤く変わりました!
なお、こちらについてもREADMEに記載があります。
[原文]
Instead, use @import to import Sass files.
[Google翻訳]
代わりに、@ importを使用してSassファイルをインポートします。
以上、Bootstrap導入手順でした!